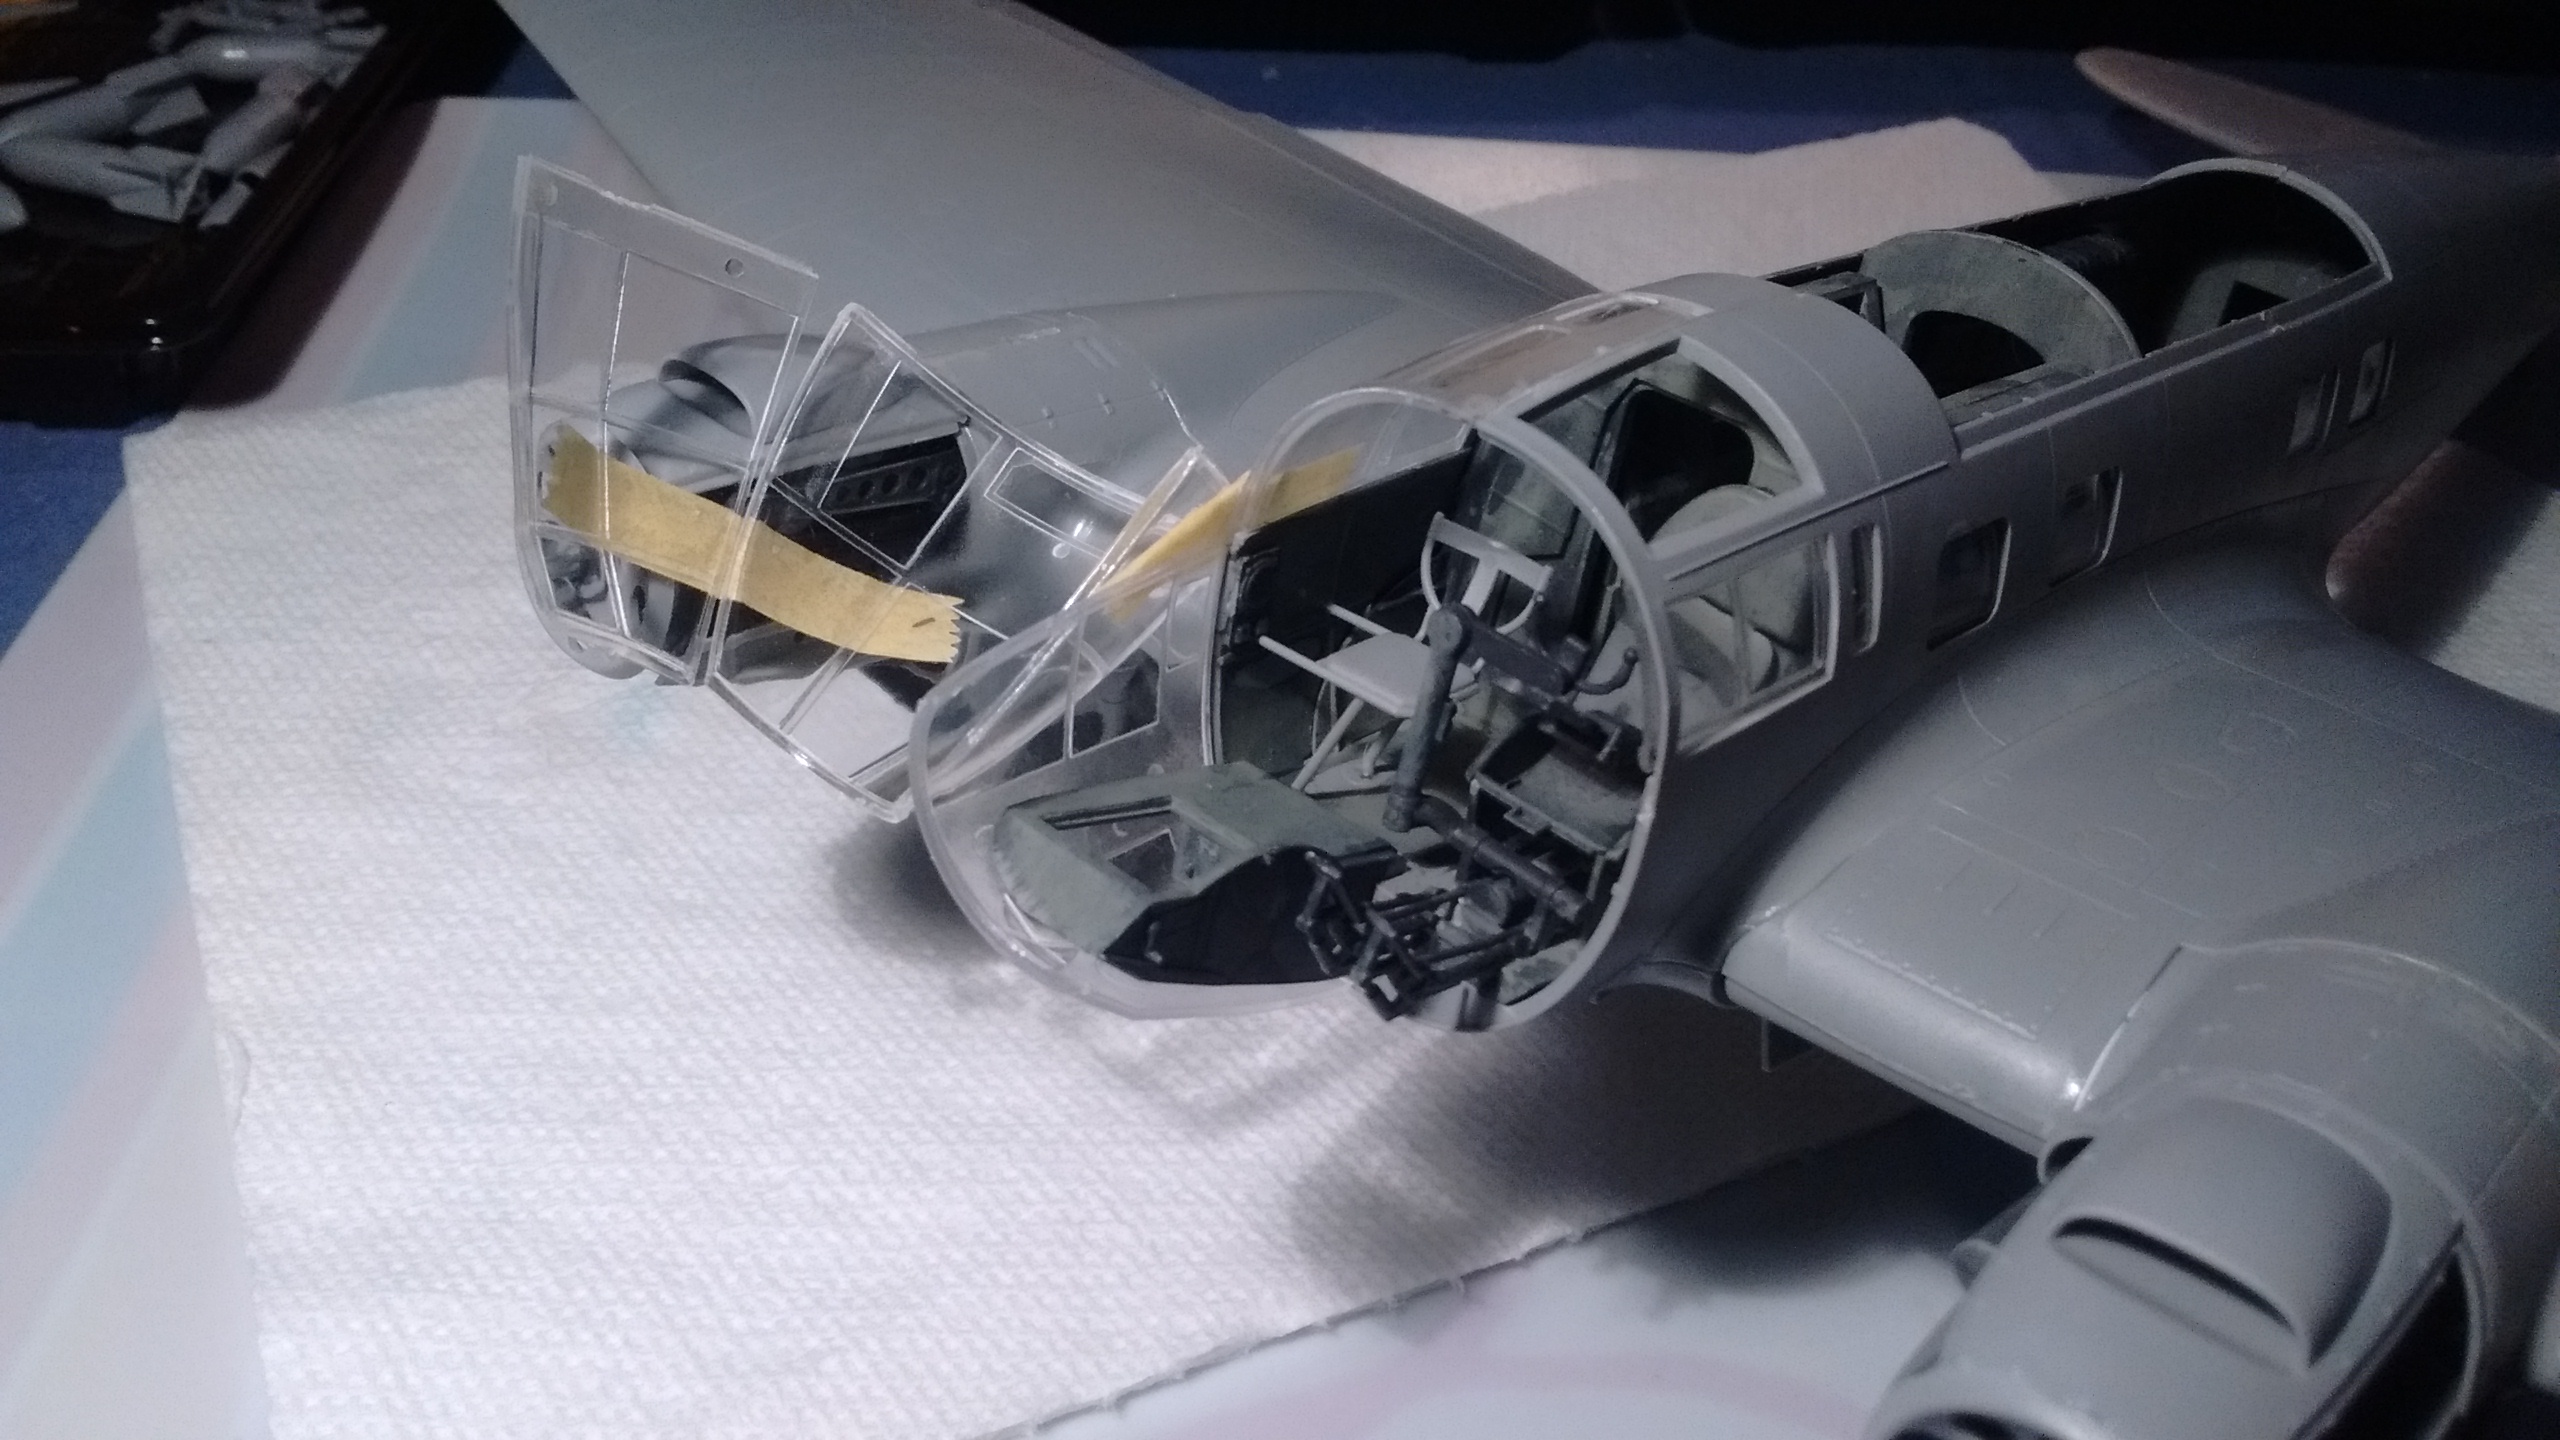
Day 30 was a day for mixing homemade paint with some leftover paint I had already made. I just mixed homemade zinc chromate with homemade dark grey and stirred it up until I had the shade I wanted…


I tested it in the cockpit area…


Day 30 was a day for mixing homemade paint with some leftover paint I had already made. I just mixed homemade zinc chromate with homemade dark grey and stirred it up until I had the shade I wanted…
I tested it in the cockpit area…
Day 29 was a day for “colorizing” the past. This is what I like to do in my spare time beside building model airplane kits.
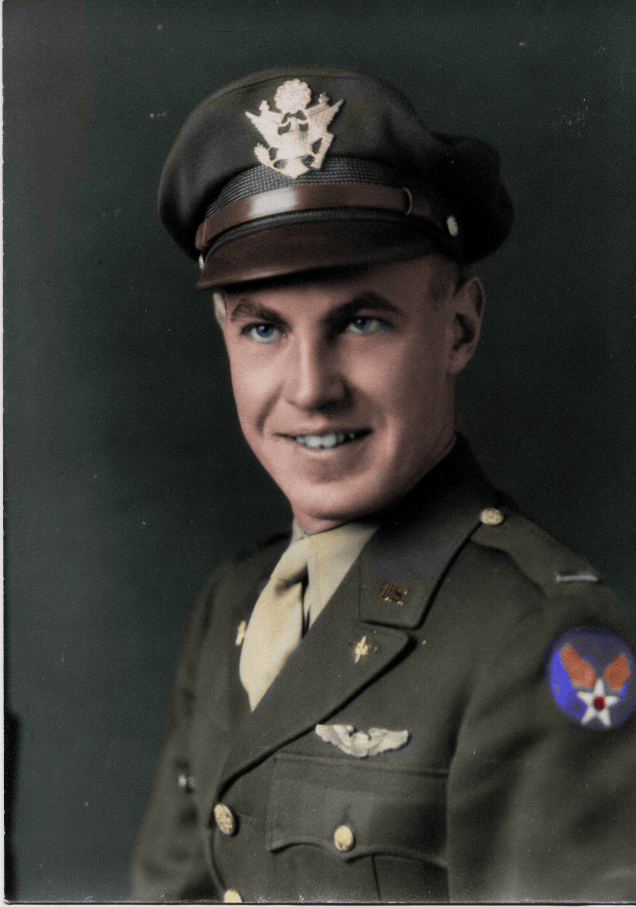
 This is the latest one I did for his children using a black and white photo they had of their father. Looking at it I think I got the shirt color wrong. I will fix it later.
If you are interested, what I wrote about Flight Lieutenant Thomas Oscar Meteyer is here. He is the reason I bought these two model kits of the planes he flew in WWII.
This is the latest one I did for his children using a black and white photo they had of their father. Looking at it I think I got the shirt color wrong. I will fix it later.
If you are interested, what I wrote about Flight Lieutenant Thomas Oscar Meteyer is here. He is the reason I bought these two model kits of the planes he flew in WWII.


 And after…


Day 28 was a day of “remembering” the past. Remembering why I have been doing all this since December 2013…writing about a forgotten hobby.
It was written in the stars back in 1958 that I would start writing about my forgotten hobby in December 2013. I was then remembering the movie Air Force I saw as a kid, and I had started following Amateur Airplanes’ blog.
Amateur Airplanes was building 1/72 scale model airplane kits and his collection of what he was building, as well as his stash, was impressive.
I was learning a lot from him even the word “stash” which I had in the basement but did not know how it was called.
Not my stash but I wish it was…
So this is how I started remembering in December 2013 that I had a stash collection of unbuilt model kits in my basement, and also remembering all those model airplanes I had built starting in 1958.
The first one was Lindberg F-86.

Source Scalemates
Lindberg F-86 was state of the art back then. It was not perfect by any means but I did not know that in 1958.
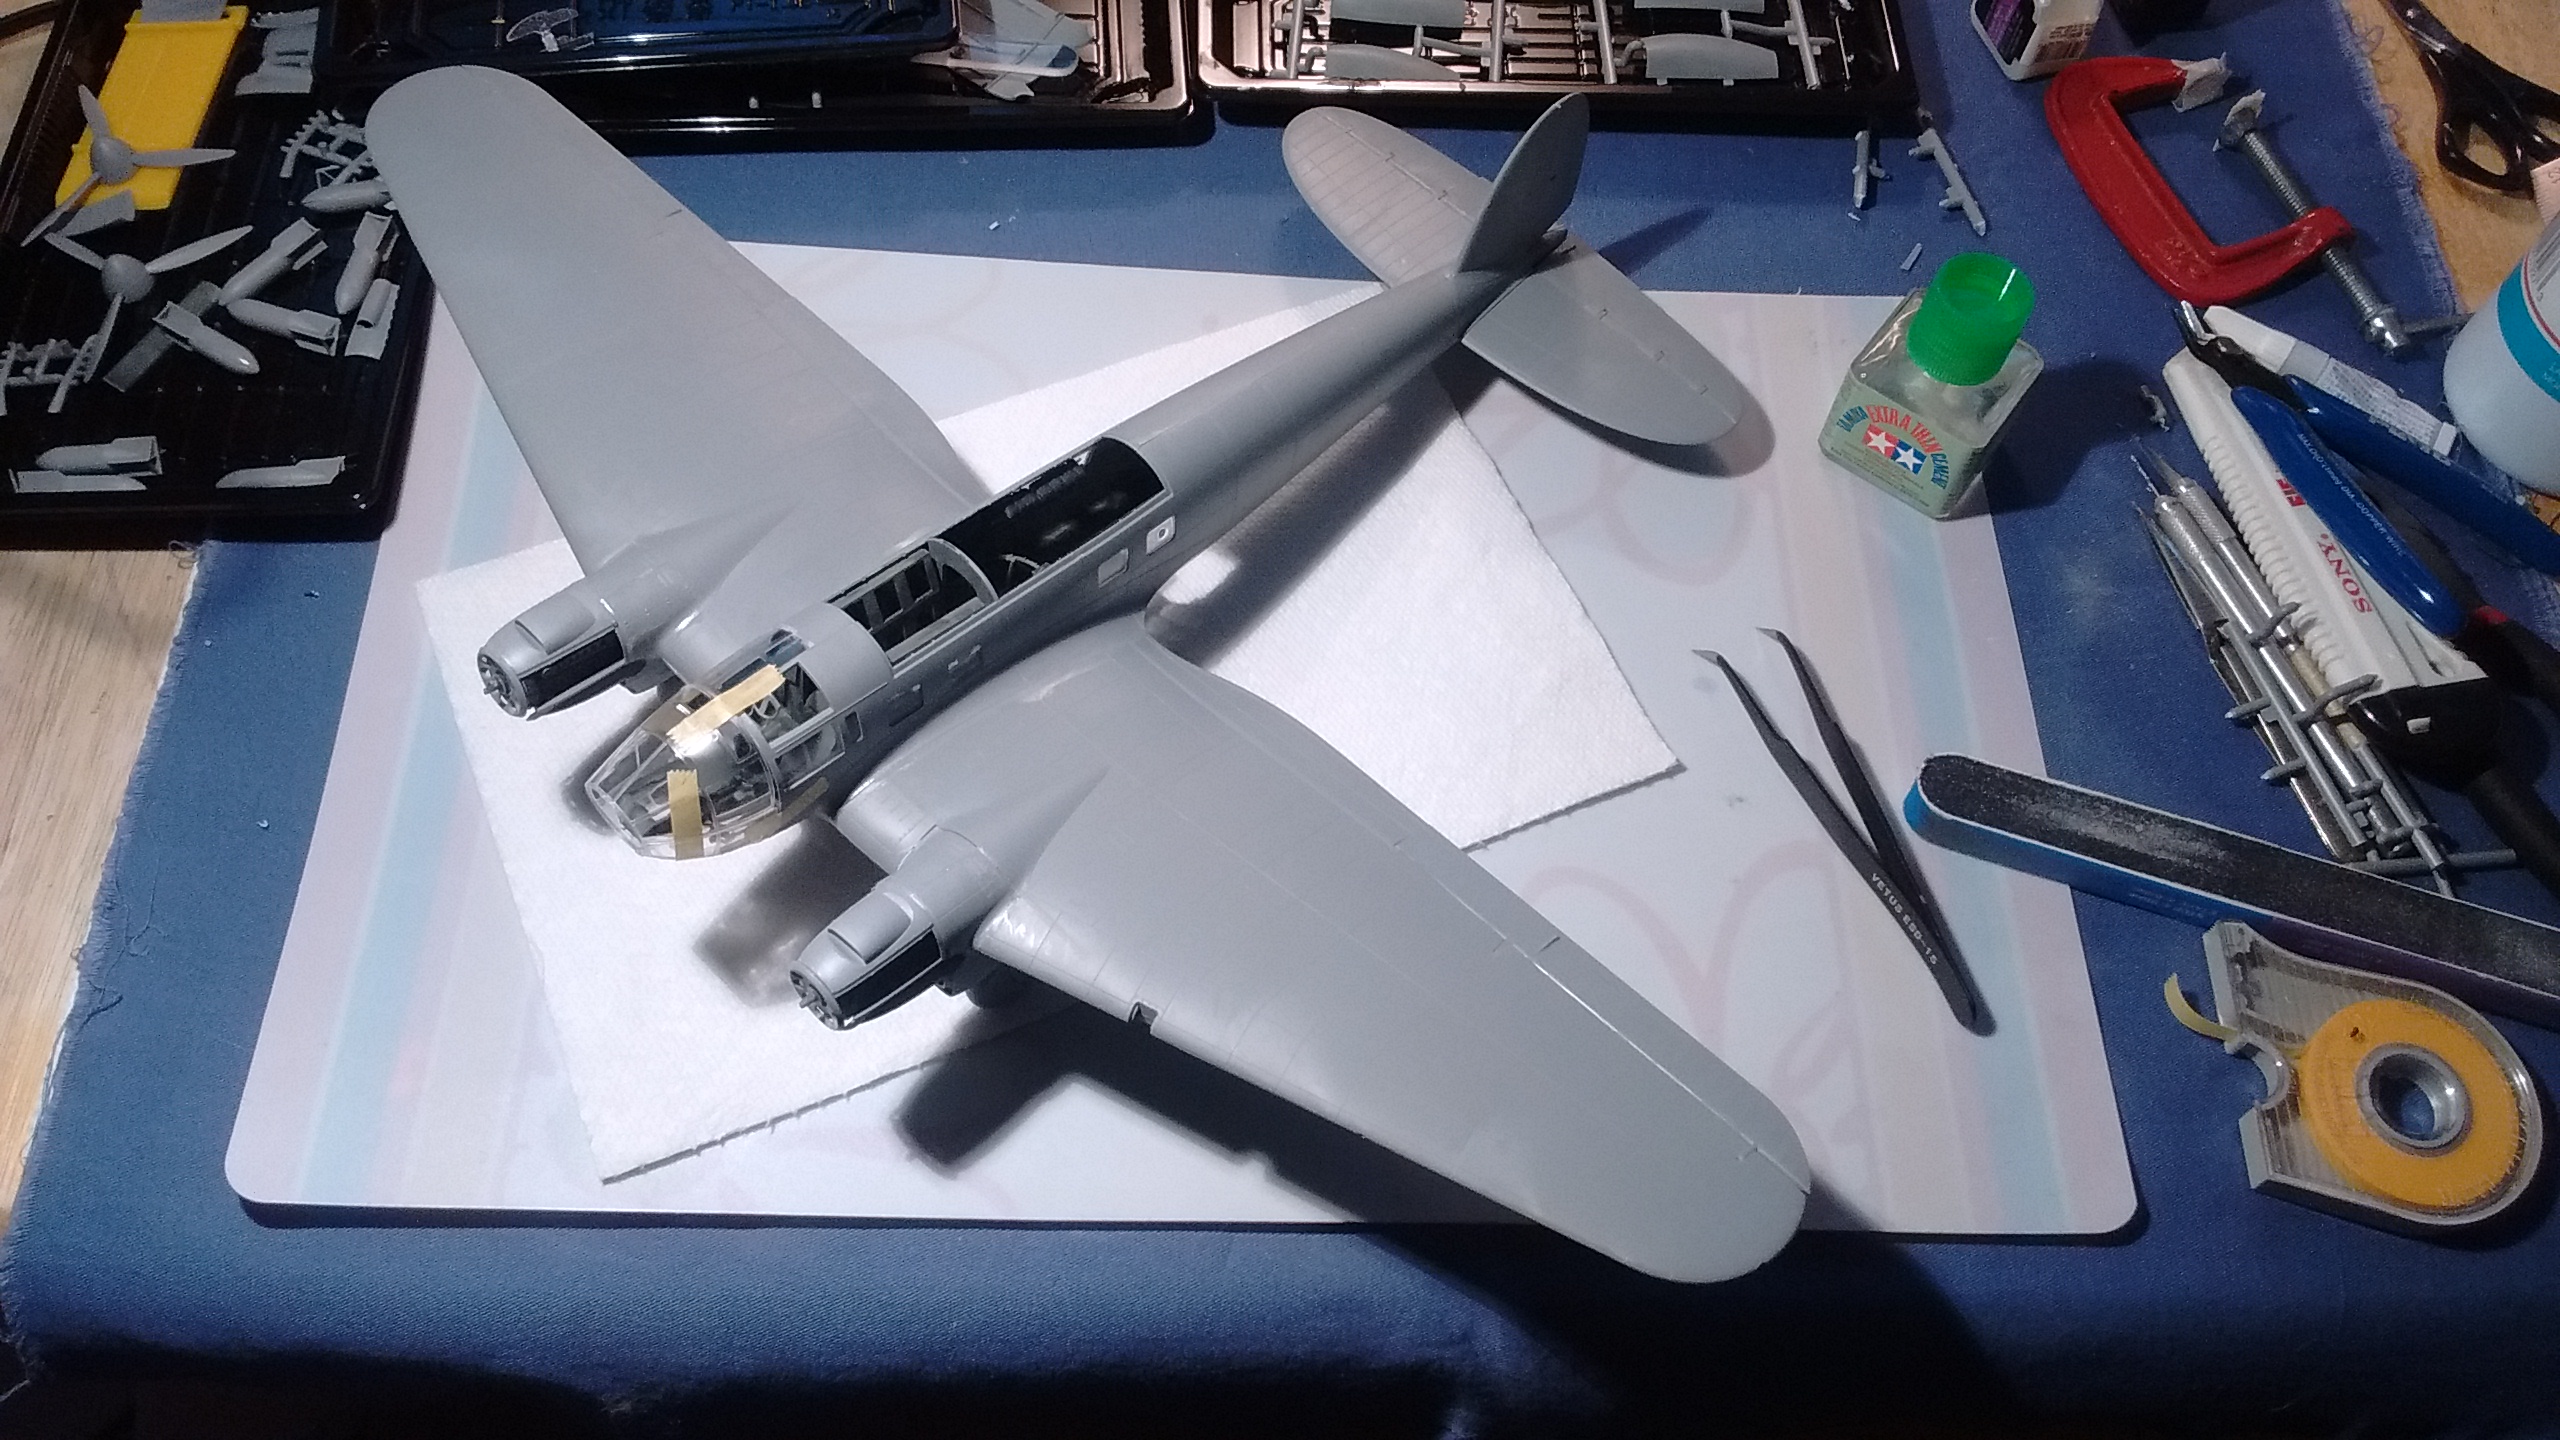
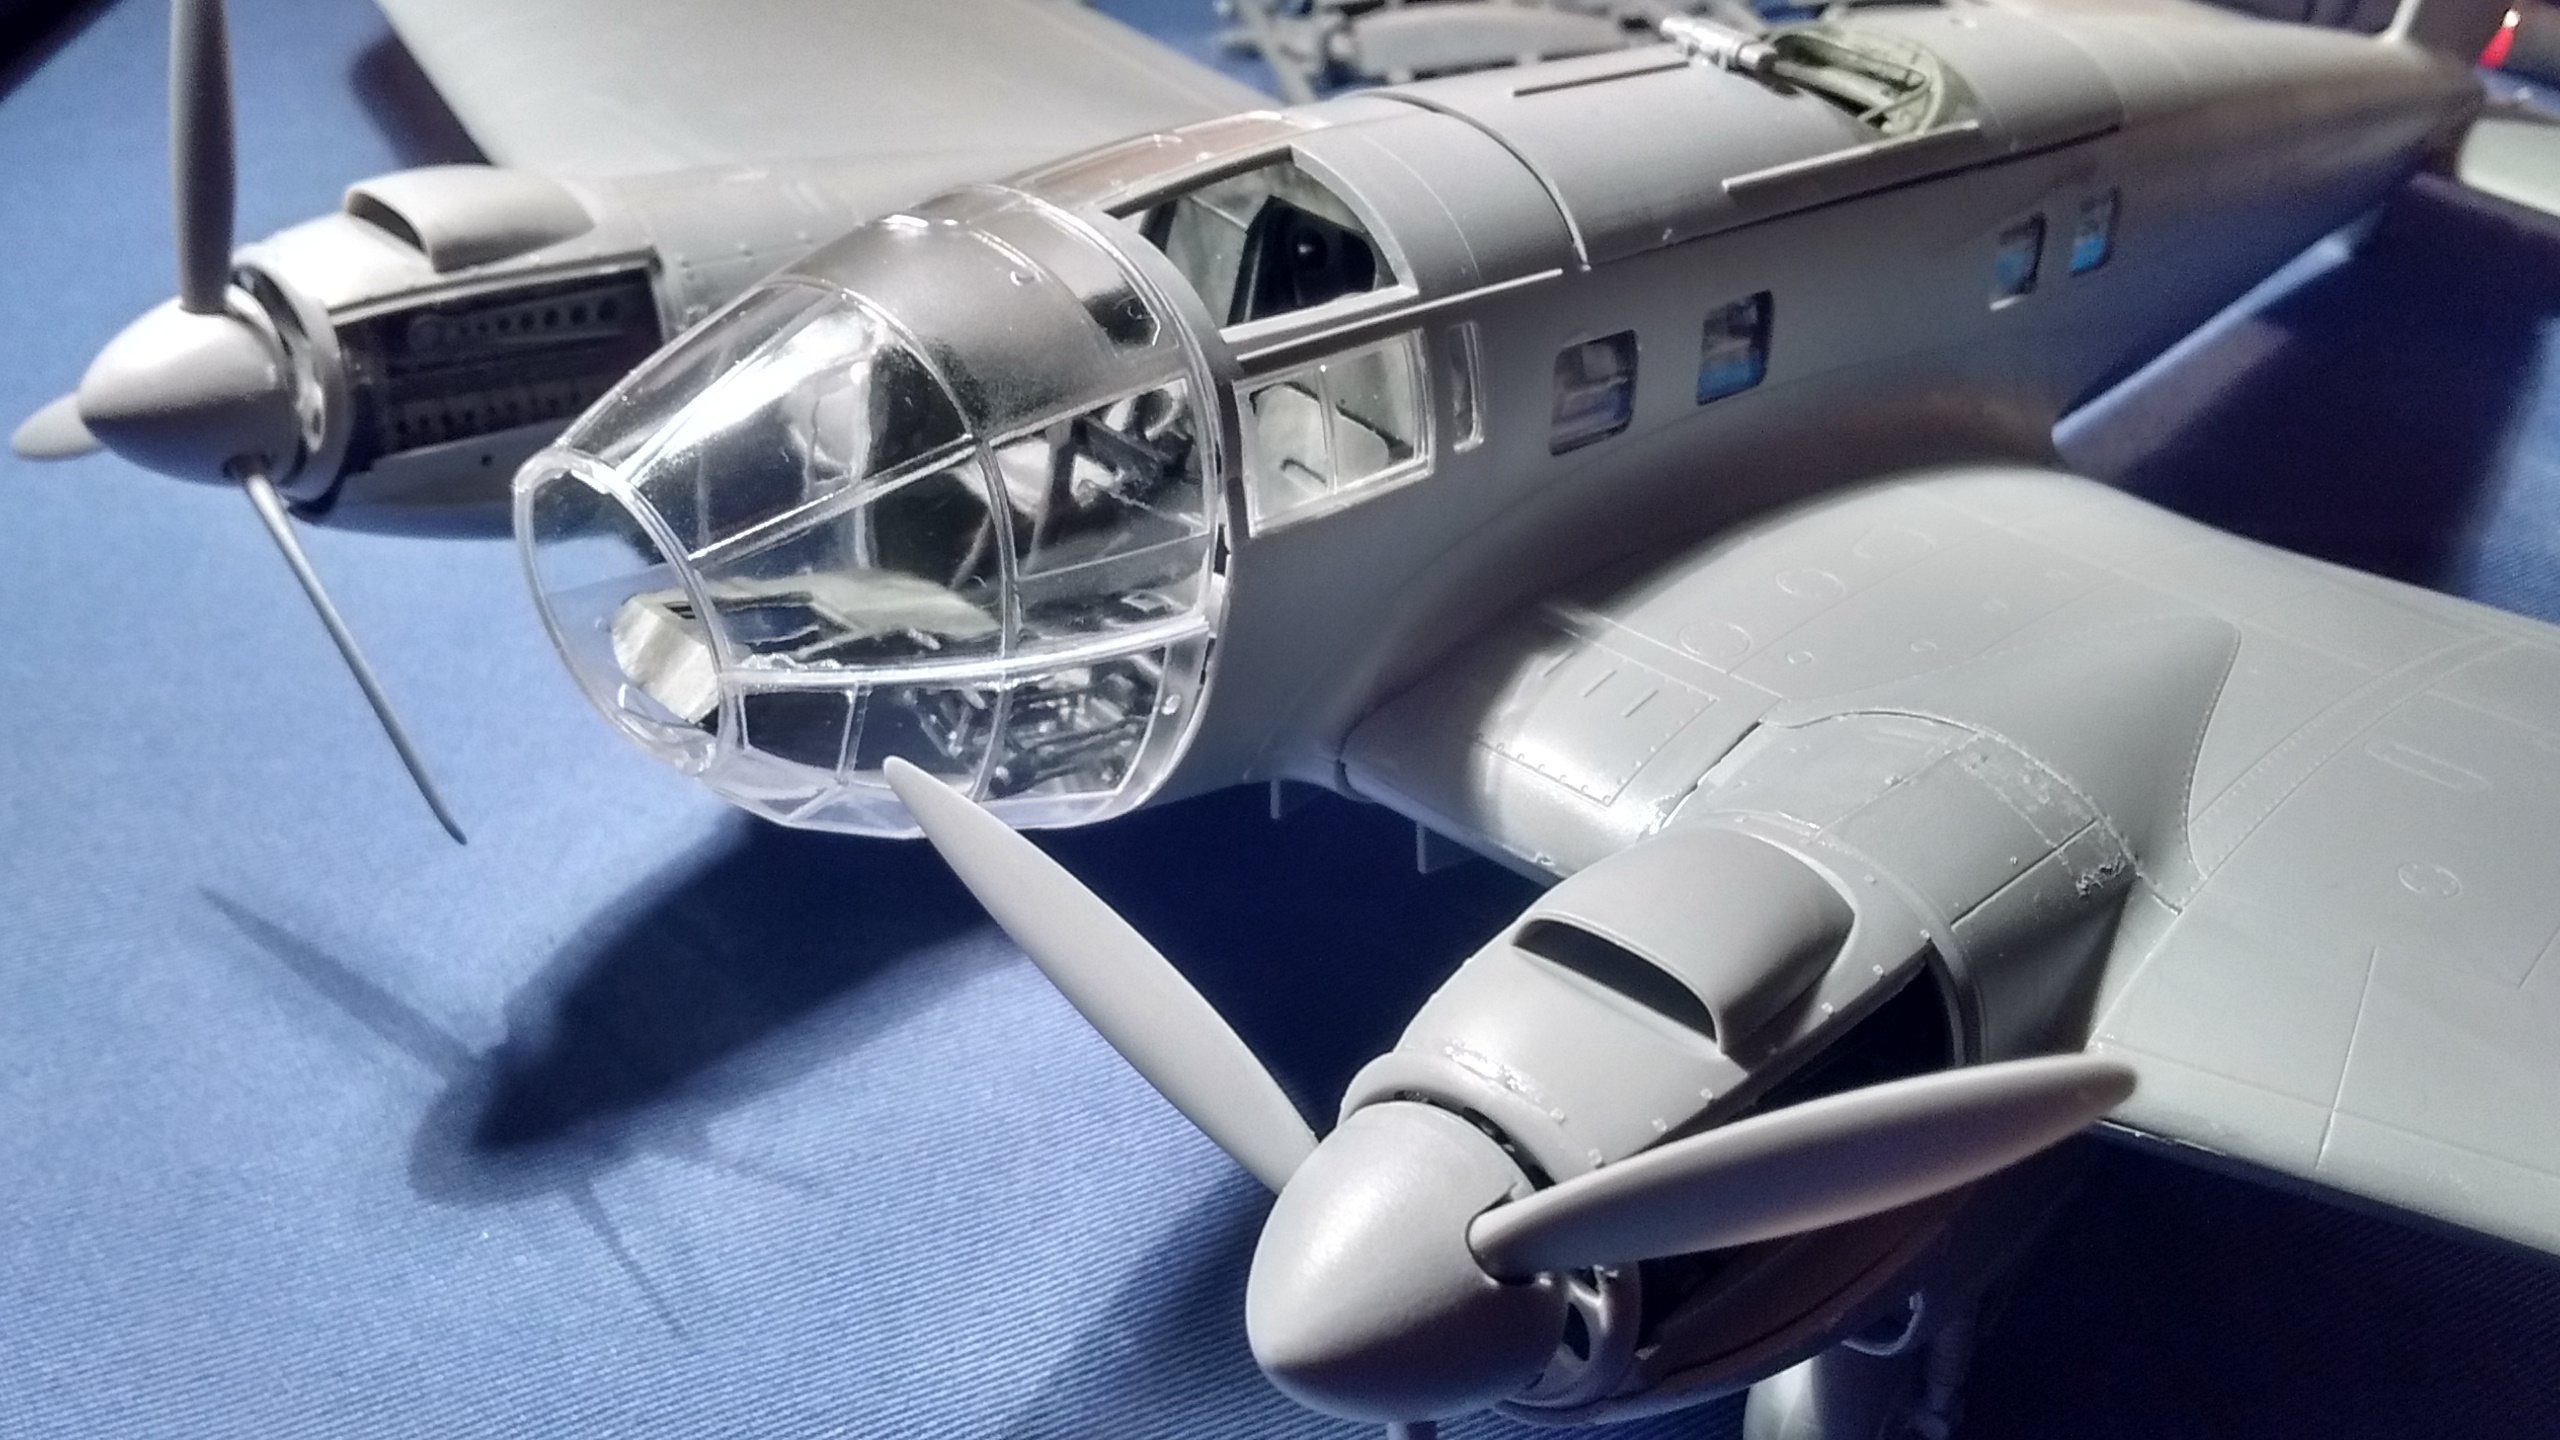
Moving fast forward to 2020, this is my work in progress…
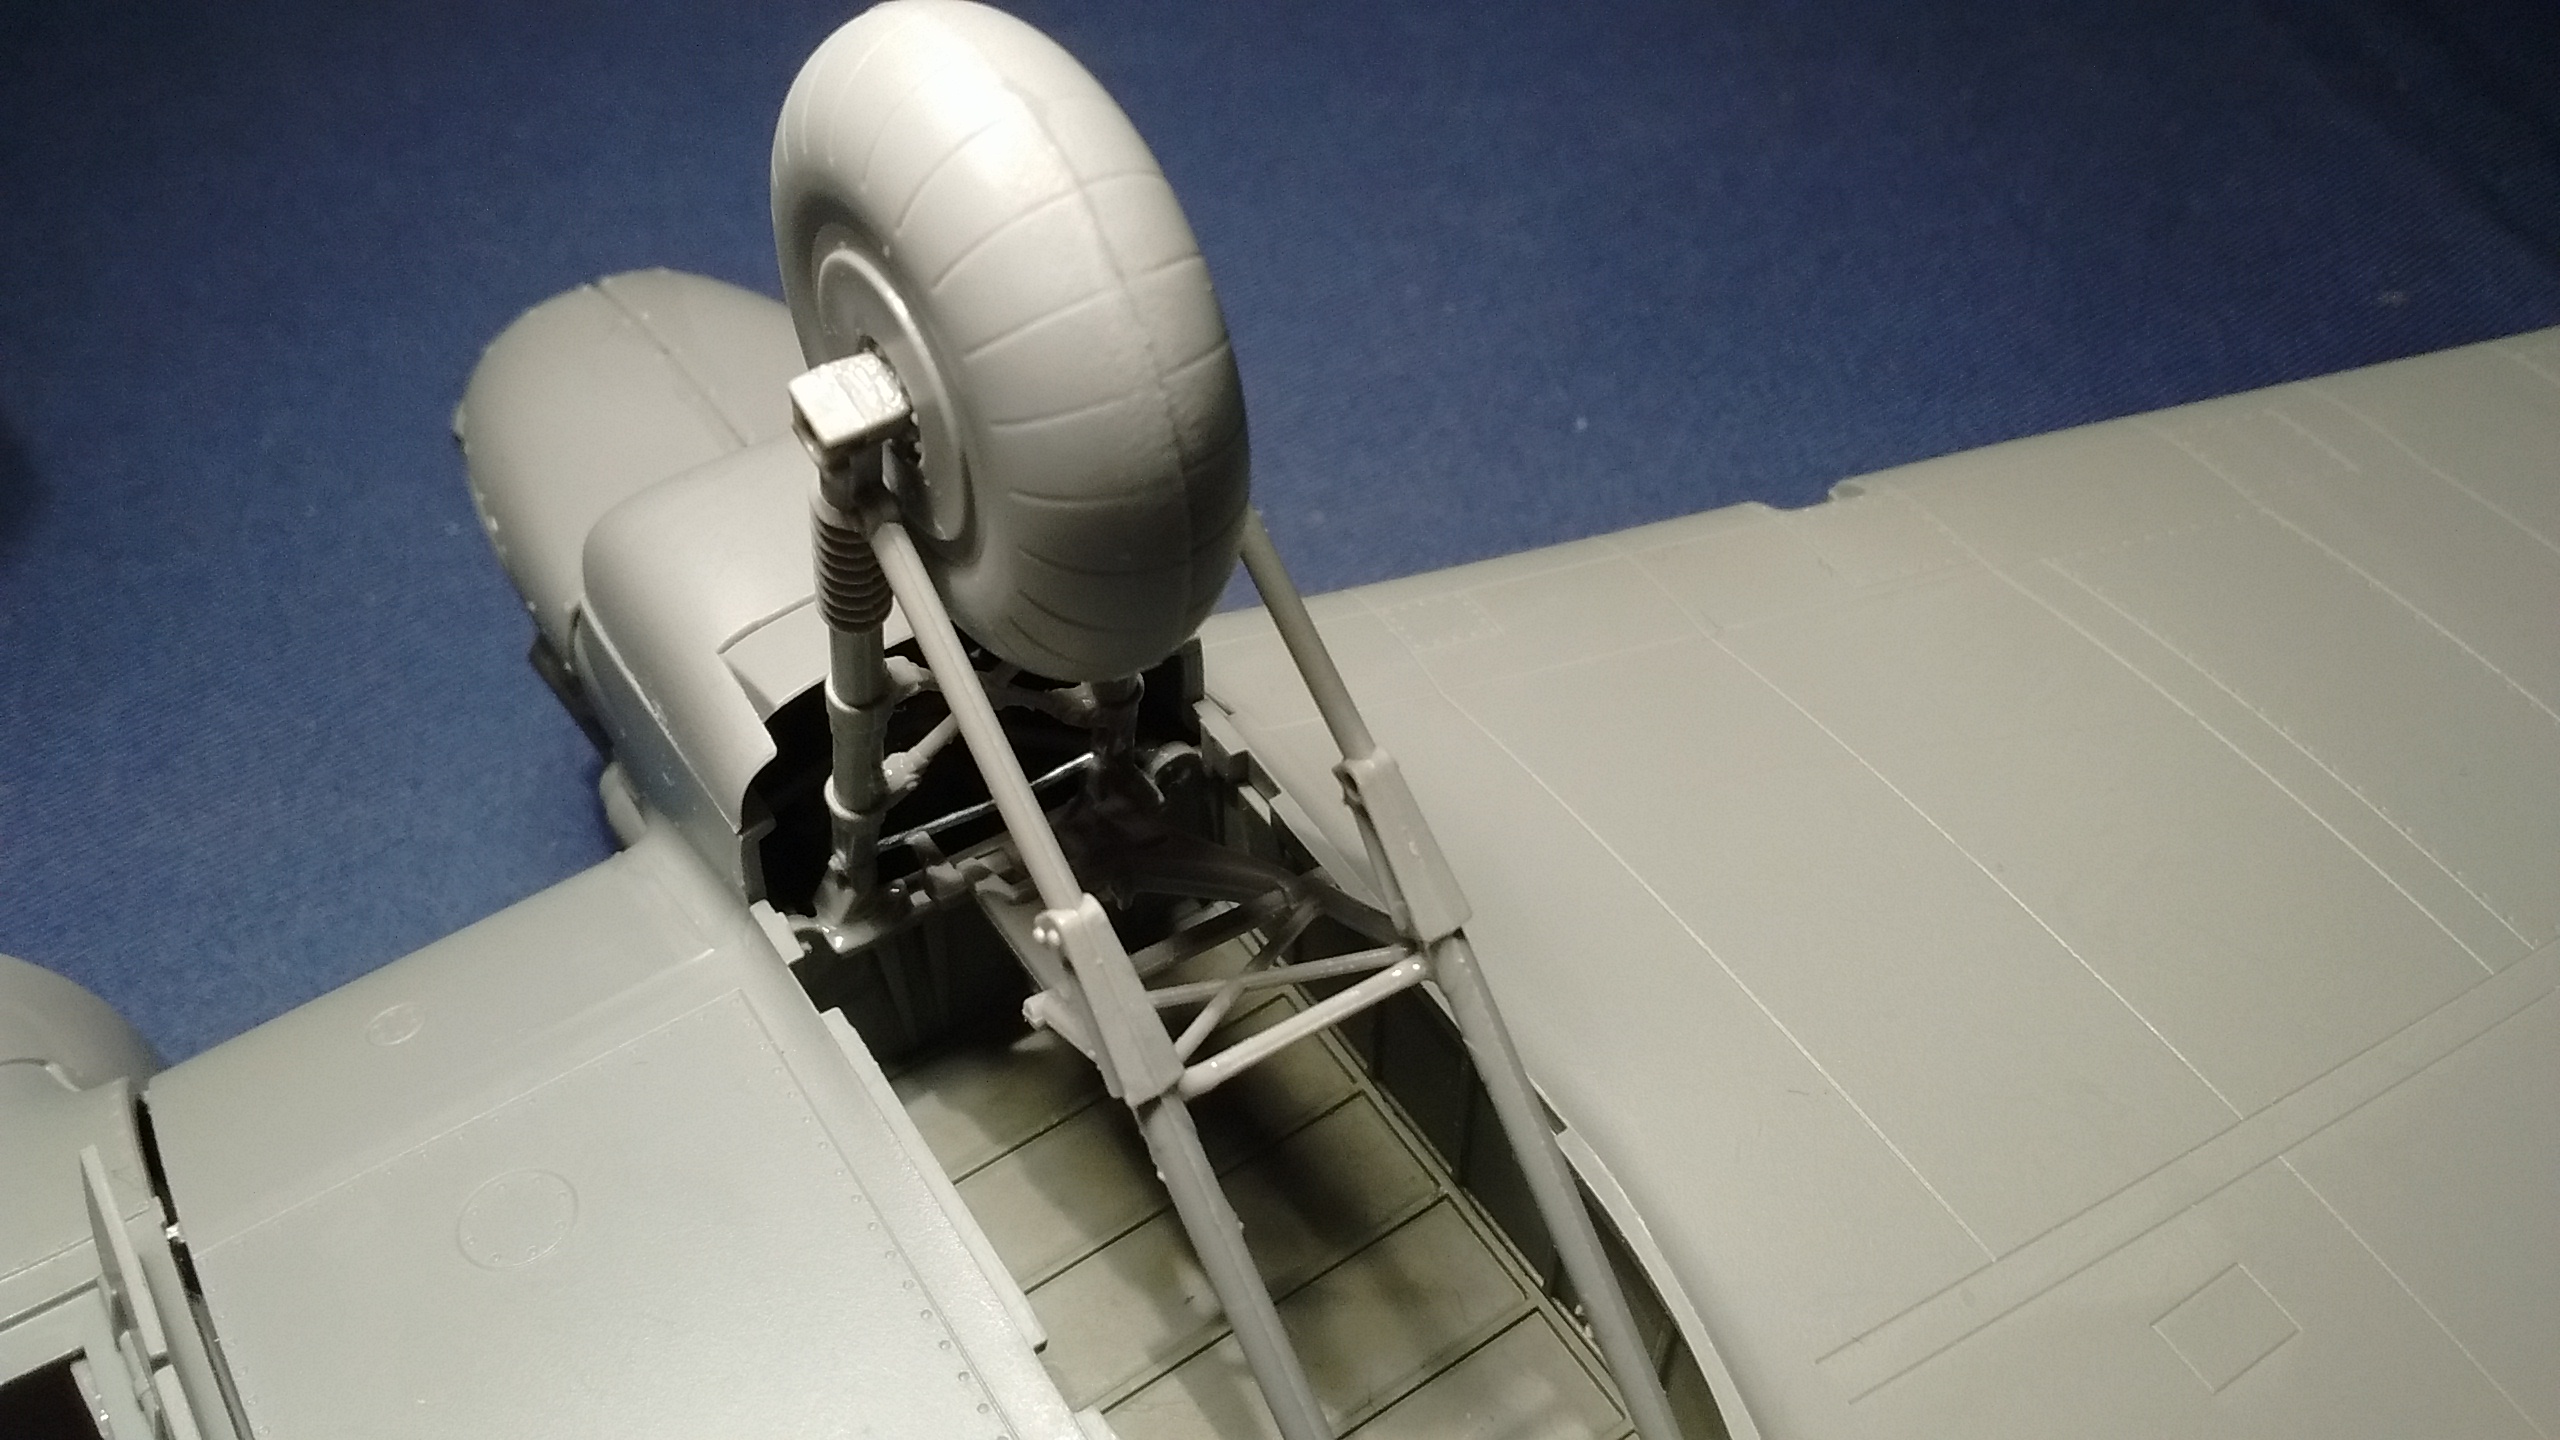
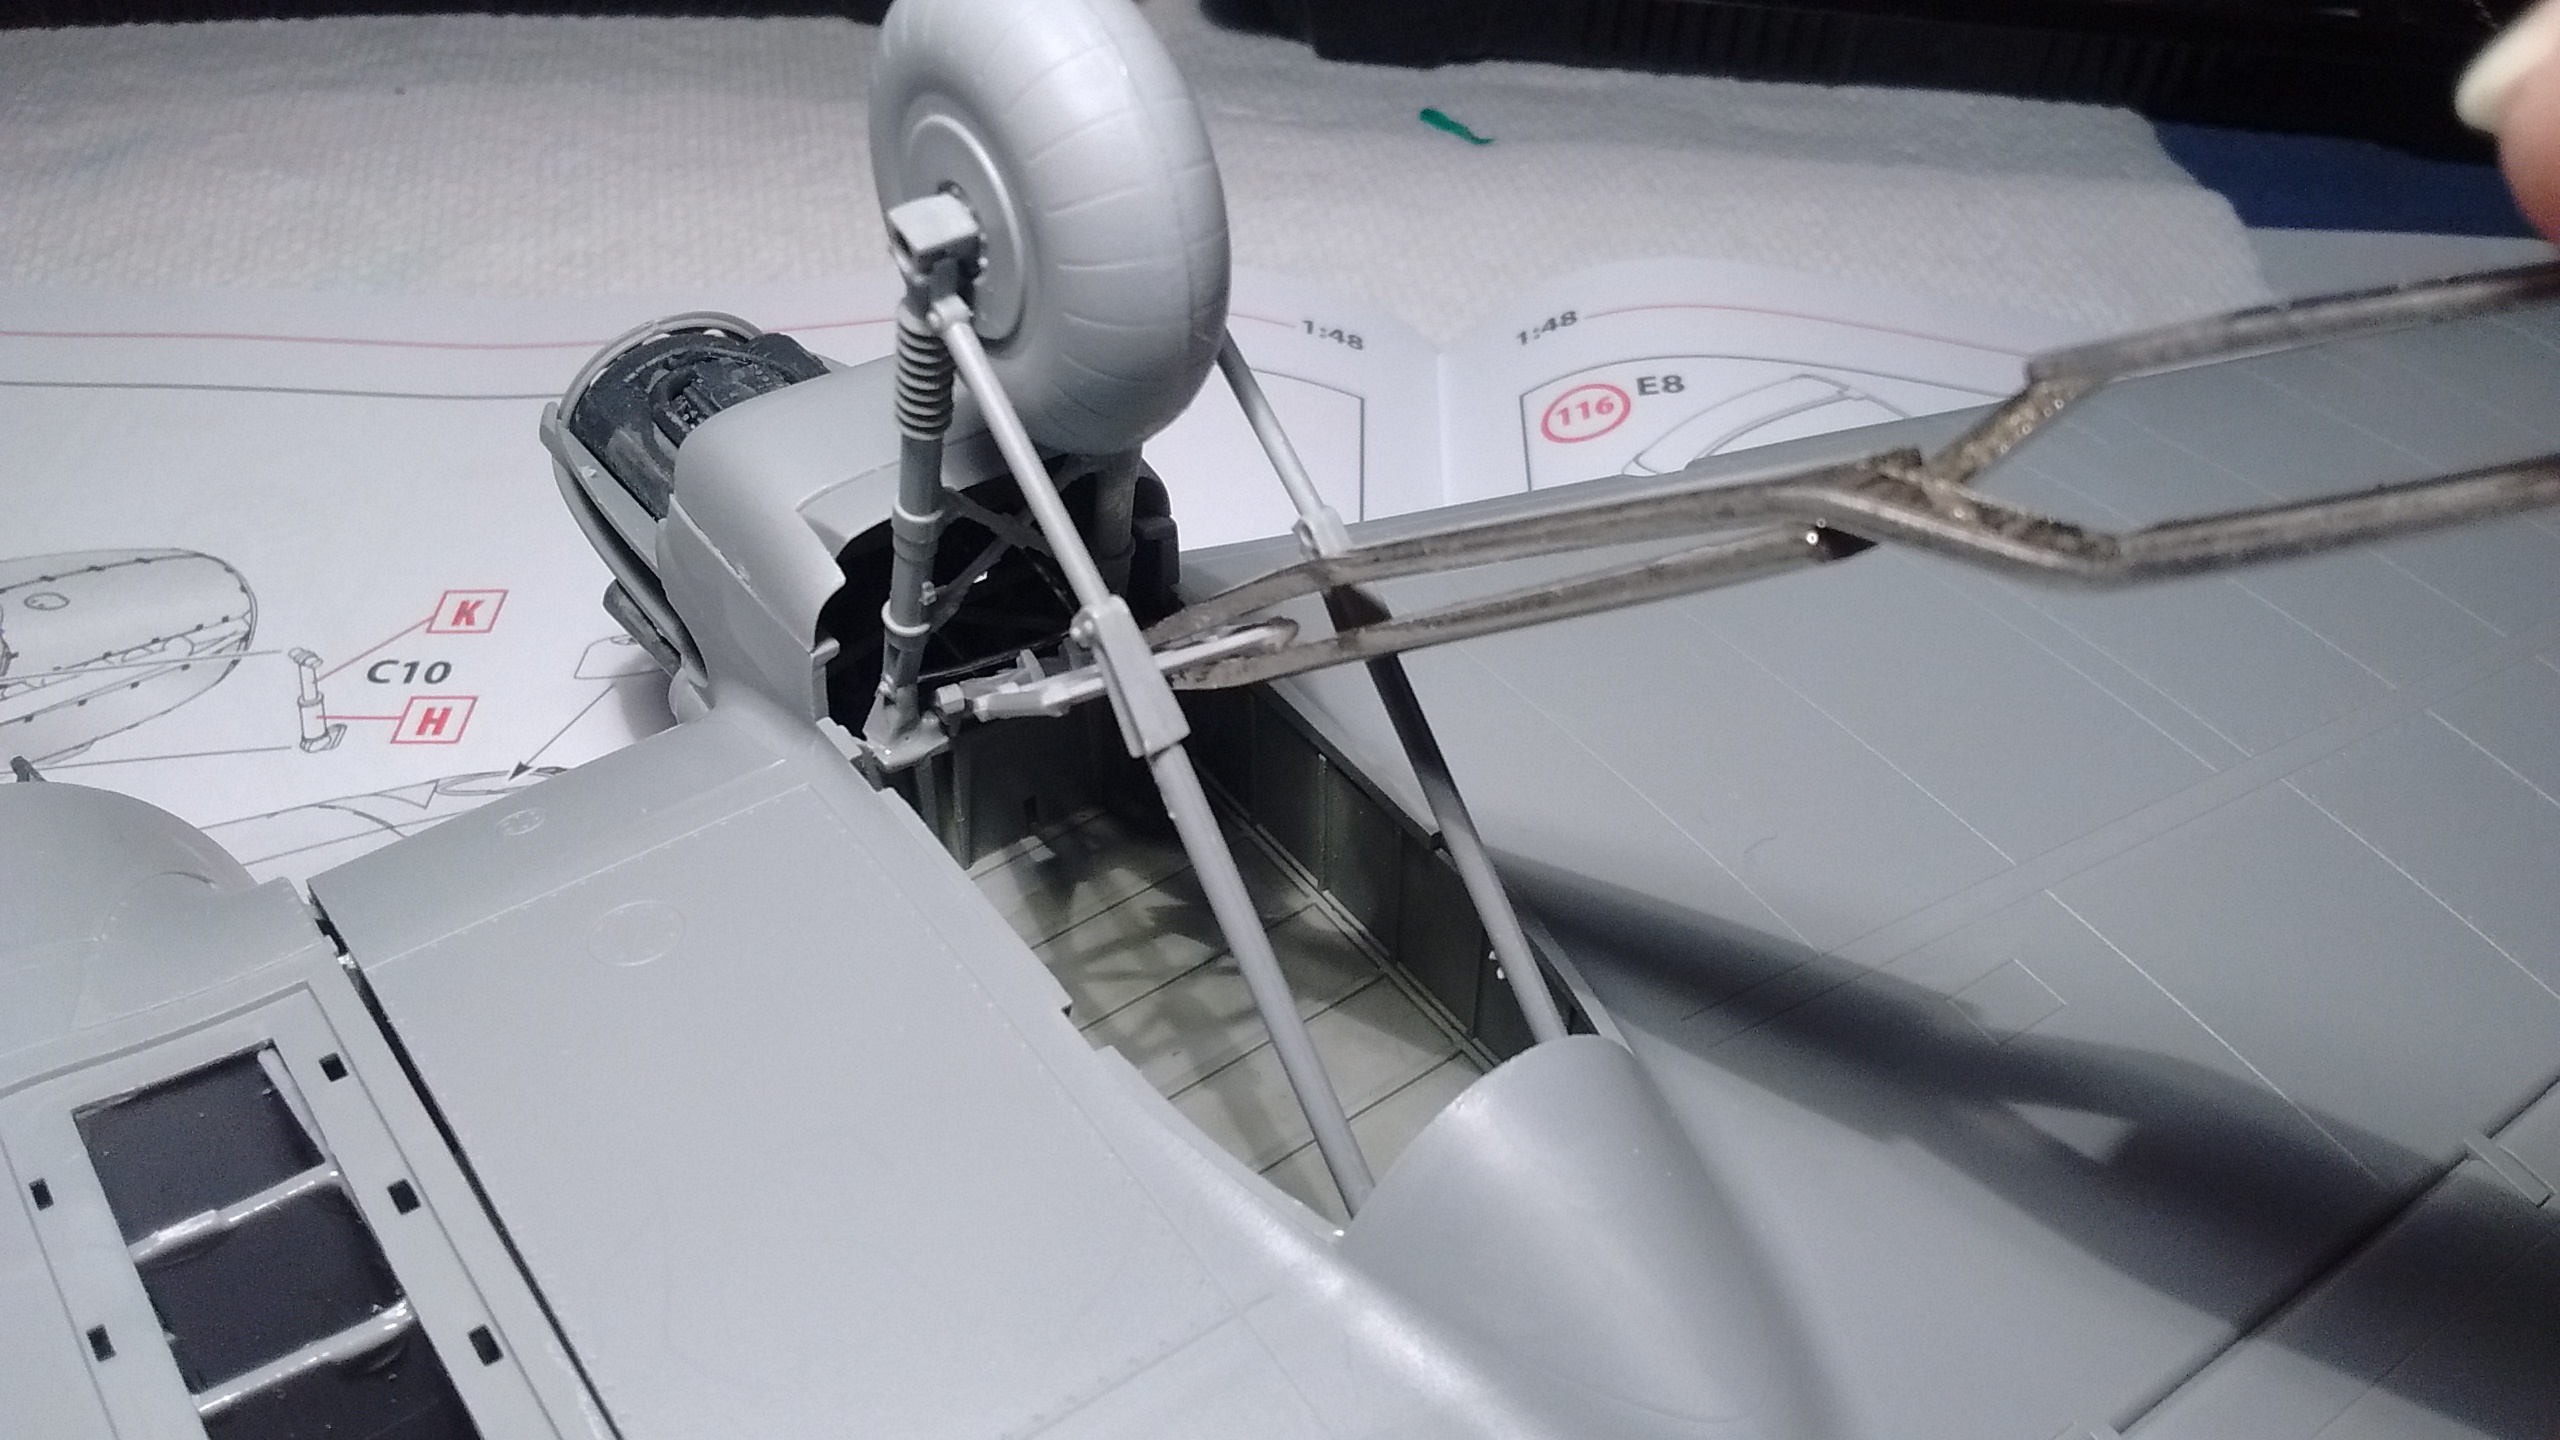
I remembered I had to glue these last parts to complete the landing gear assembly before I start painting. I had procrastinated long enough and for good reasons.
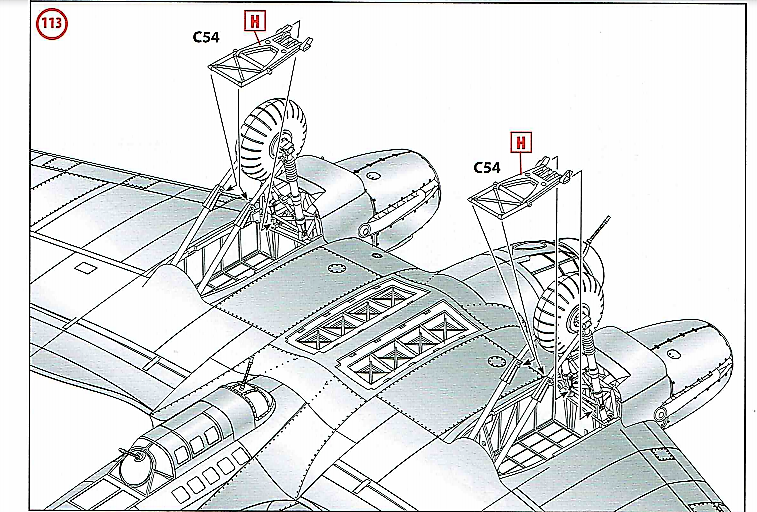

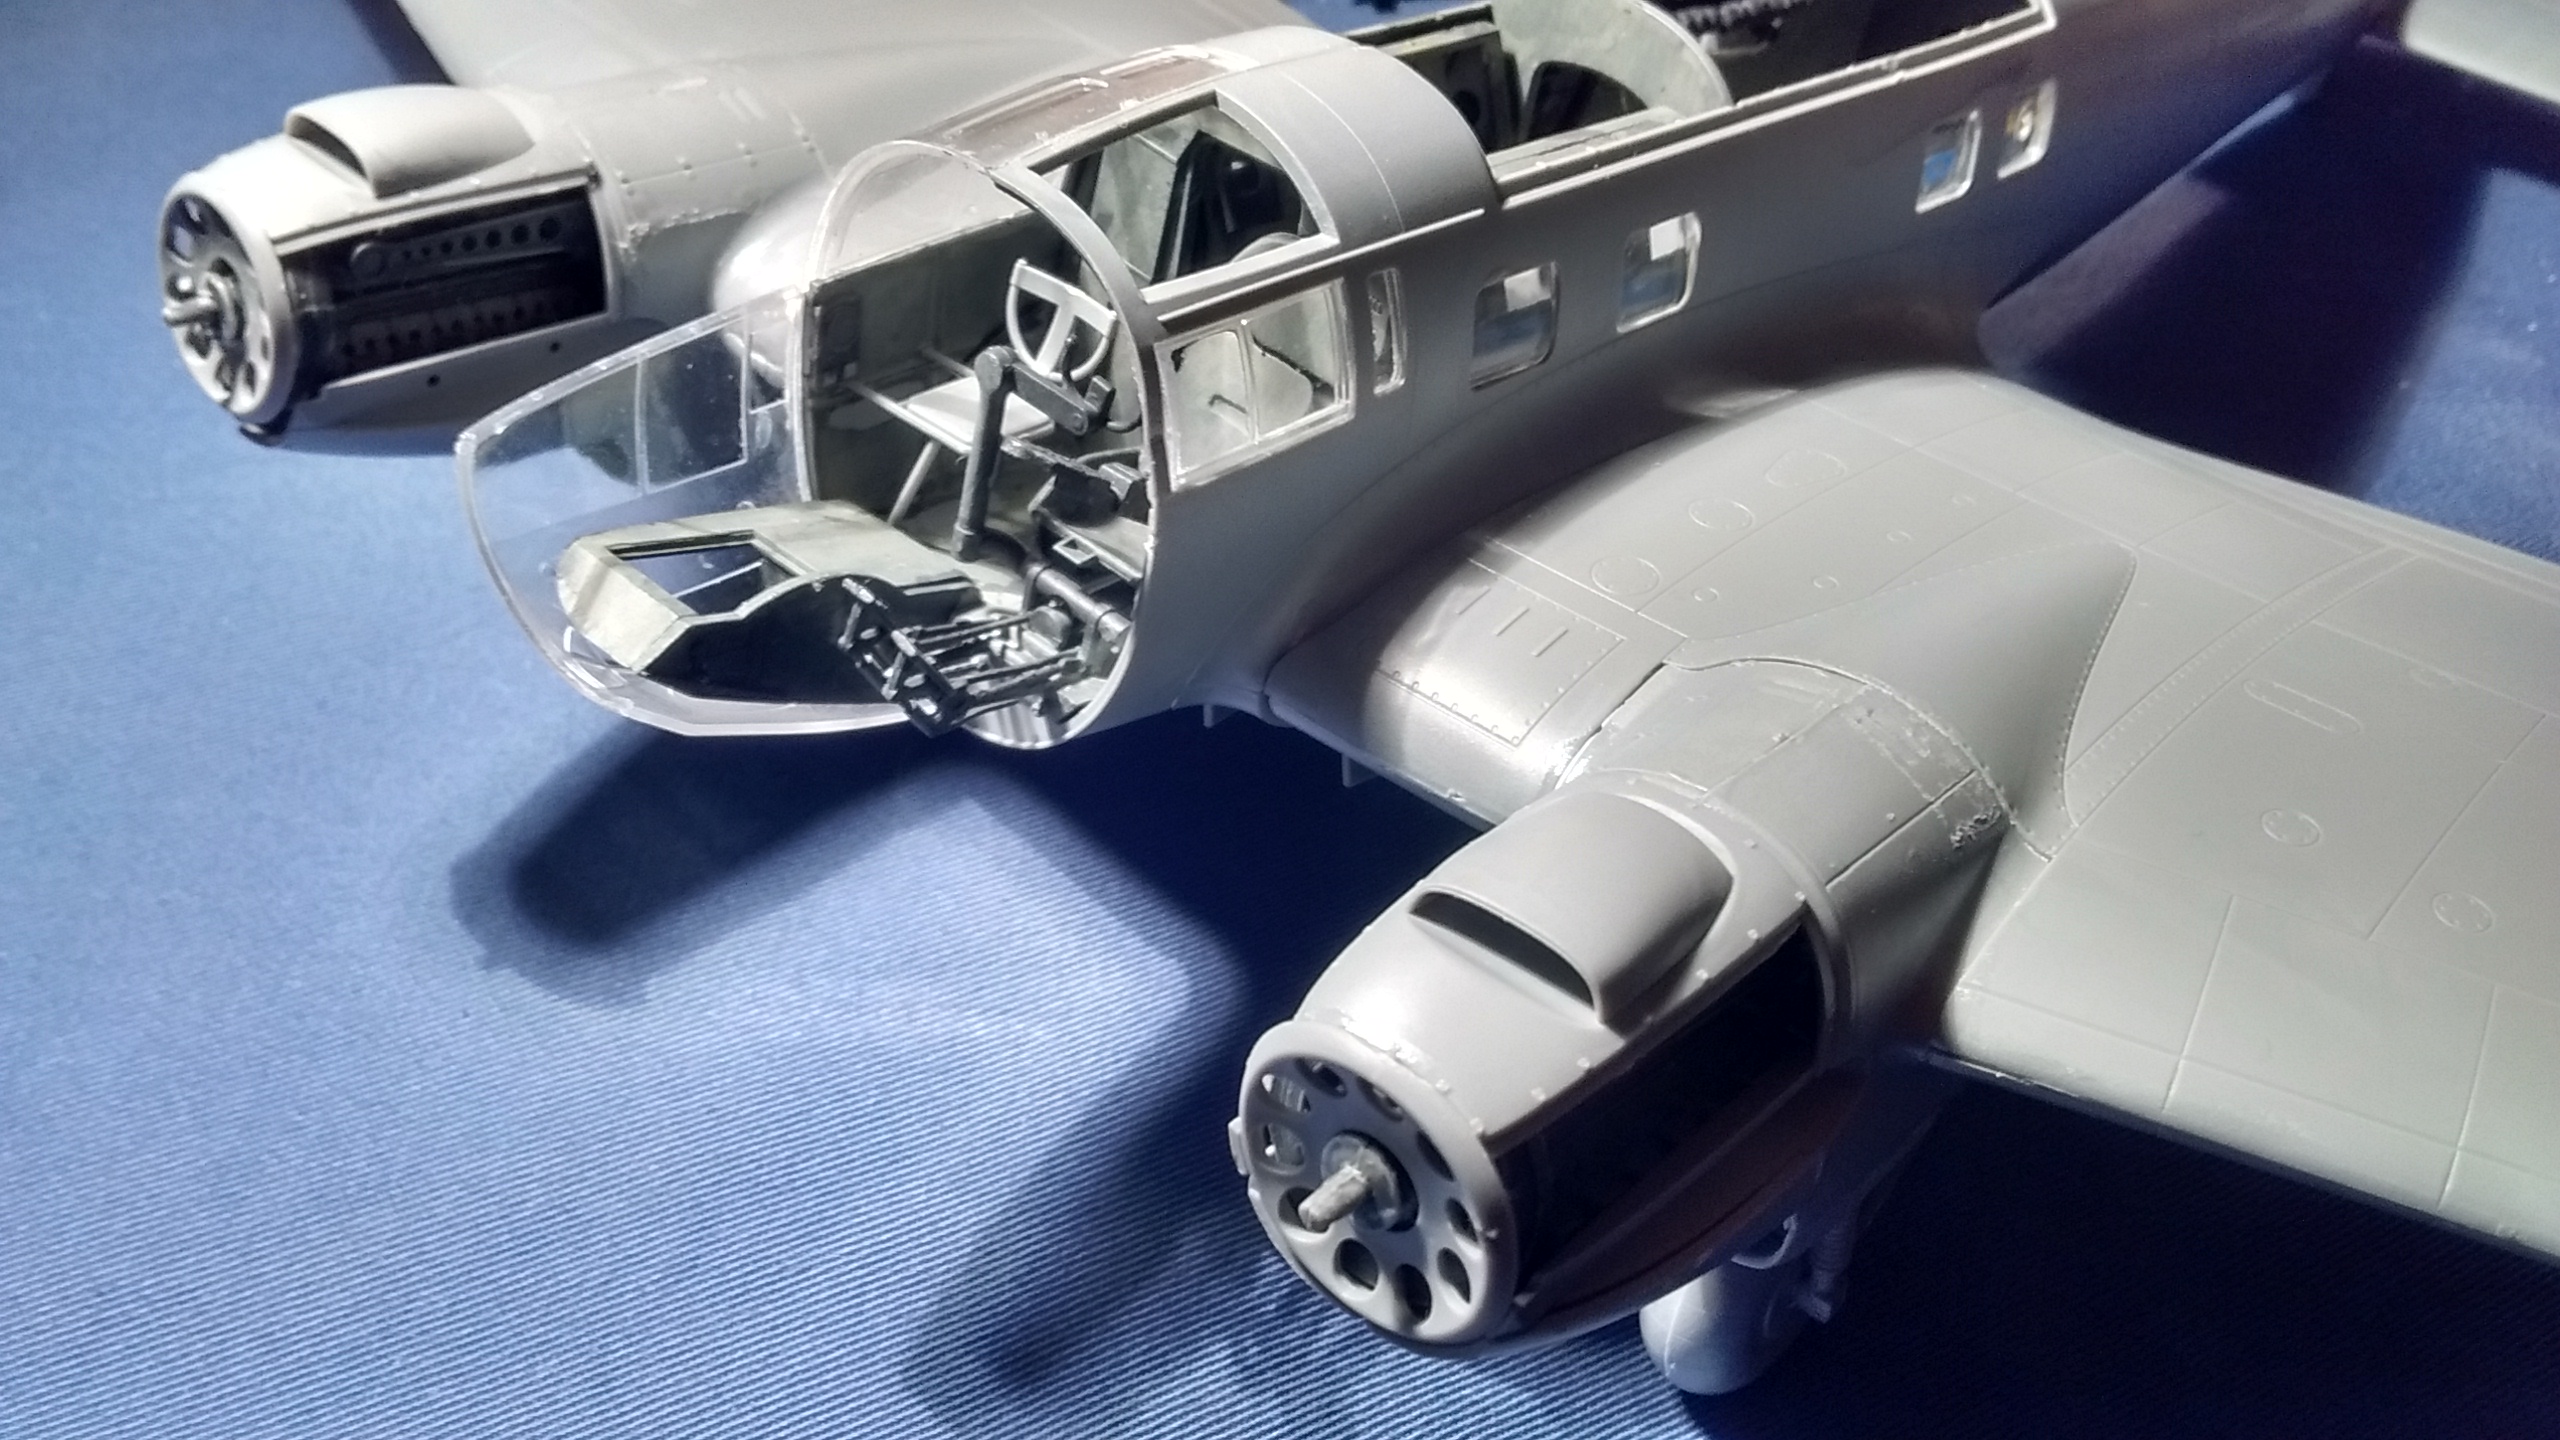
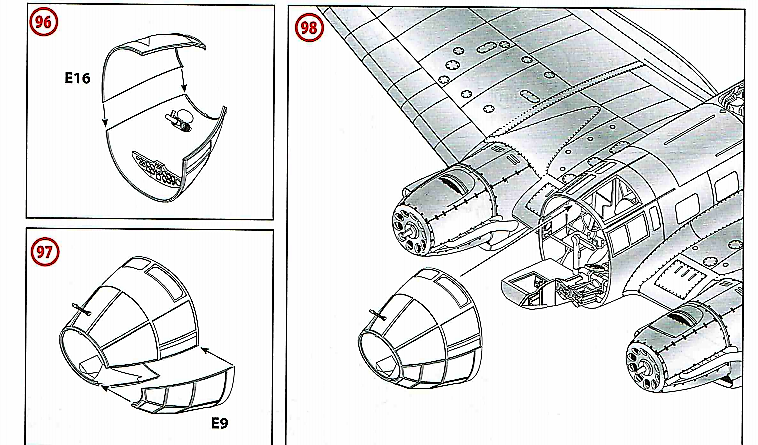
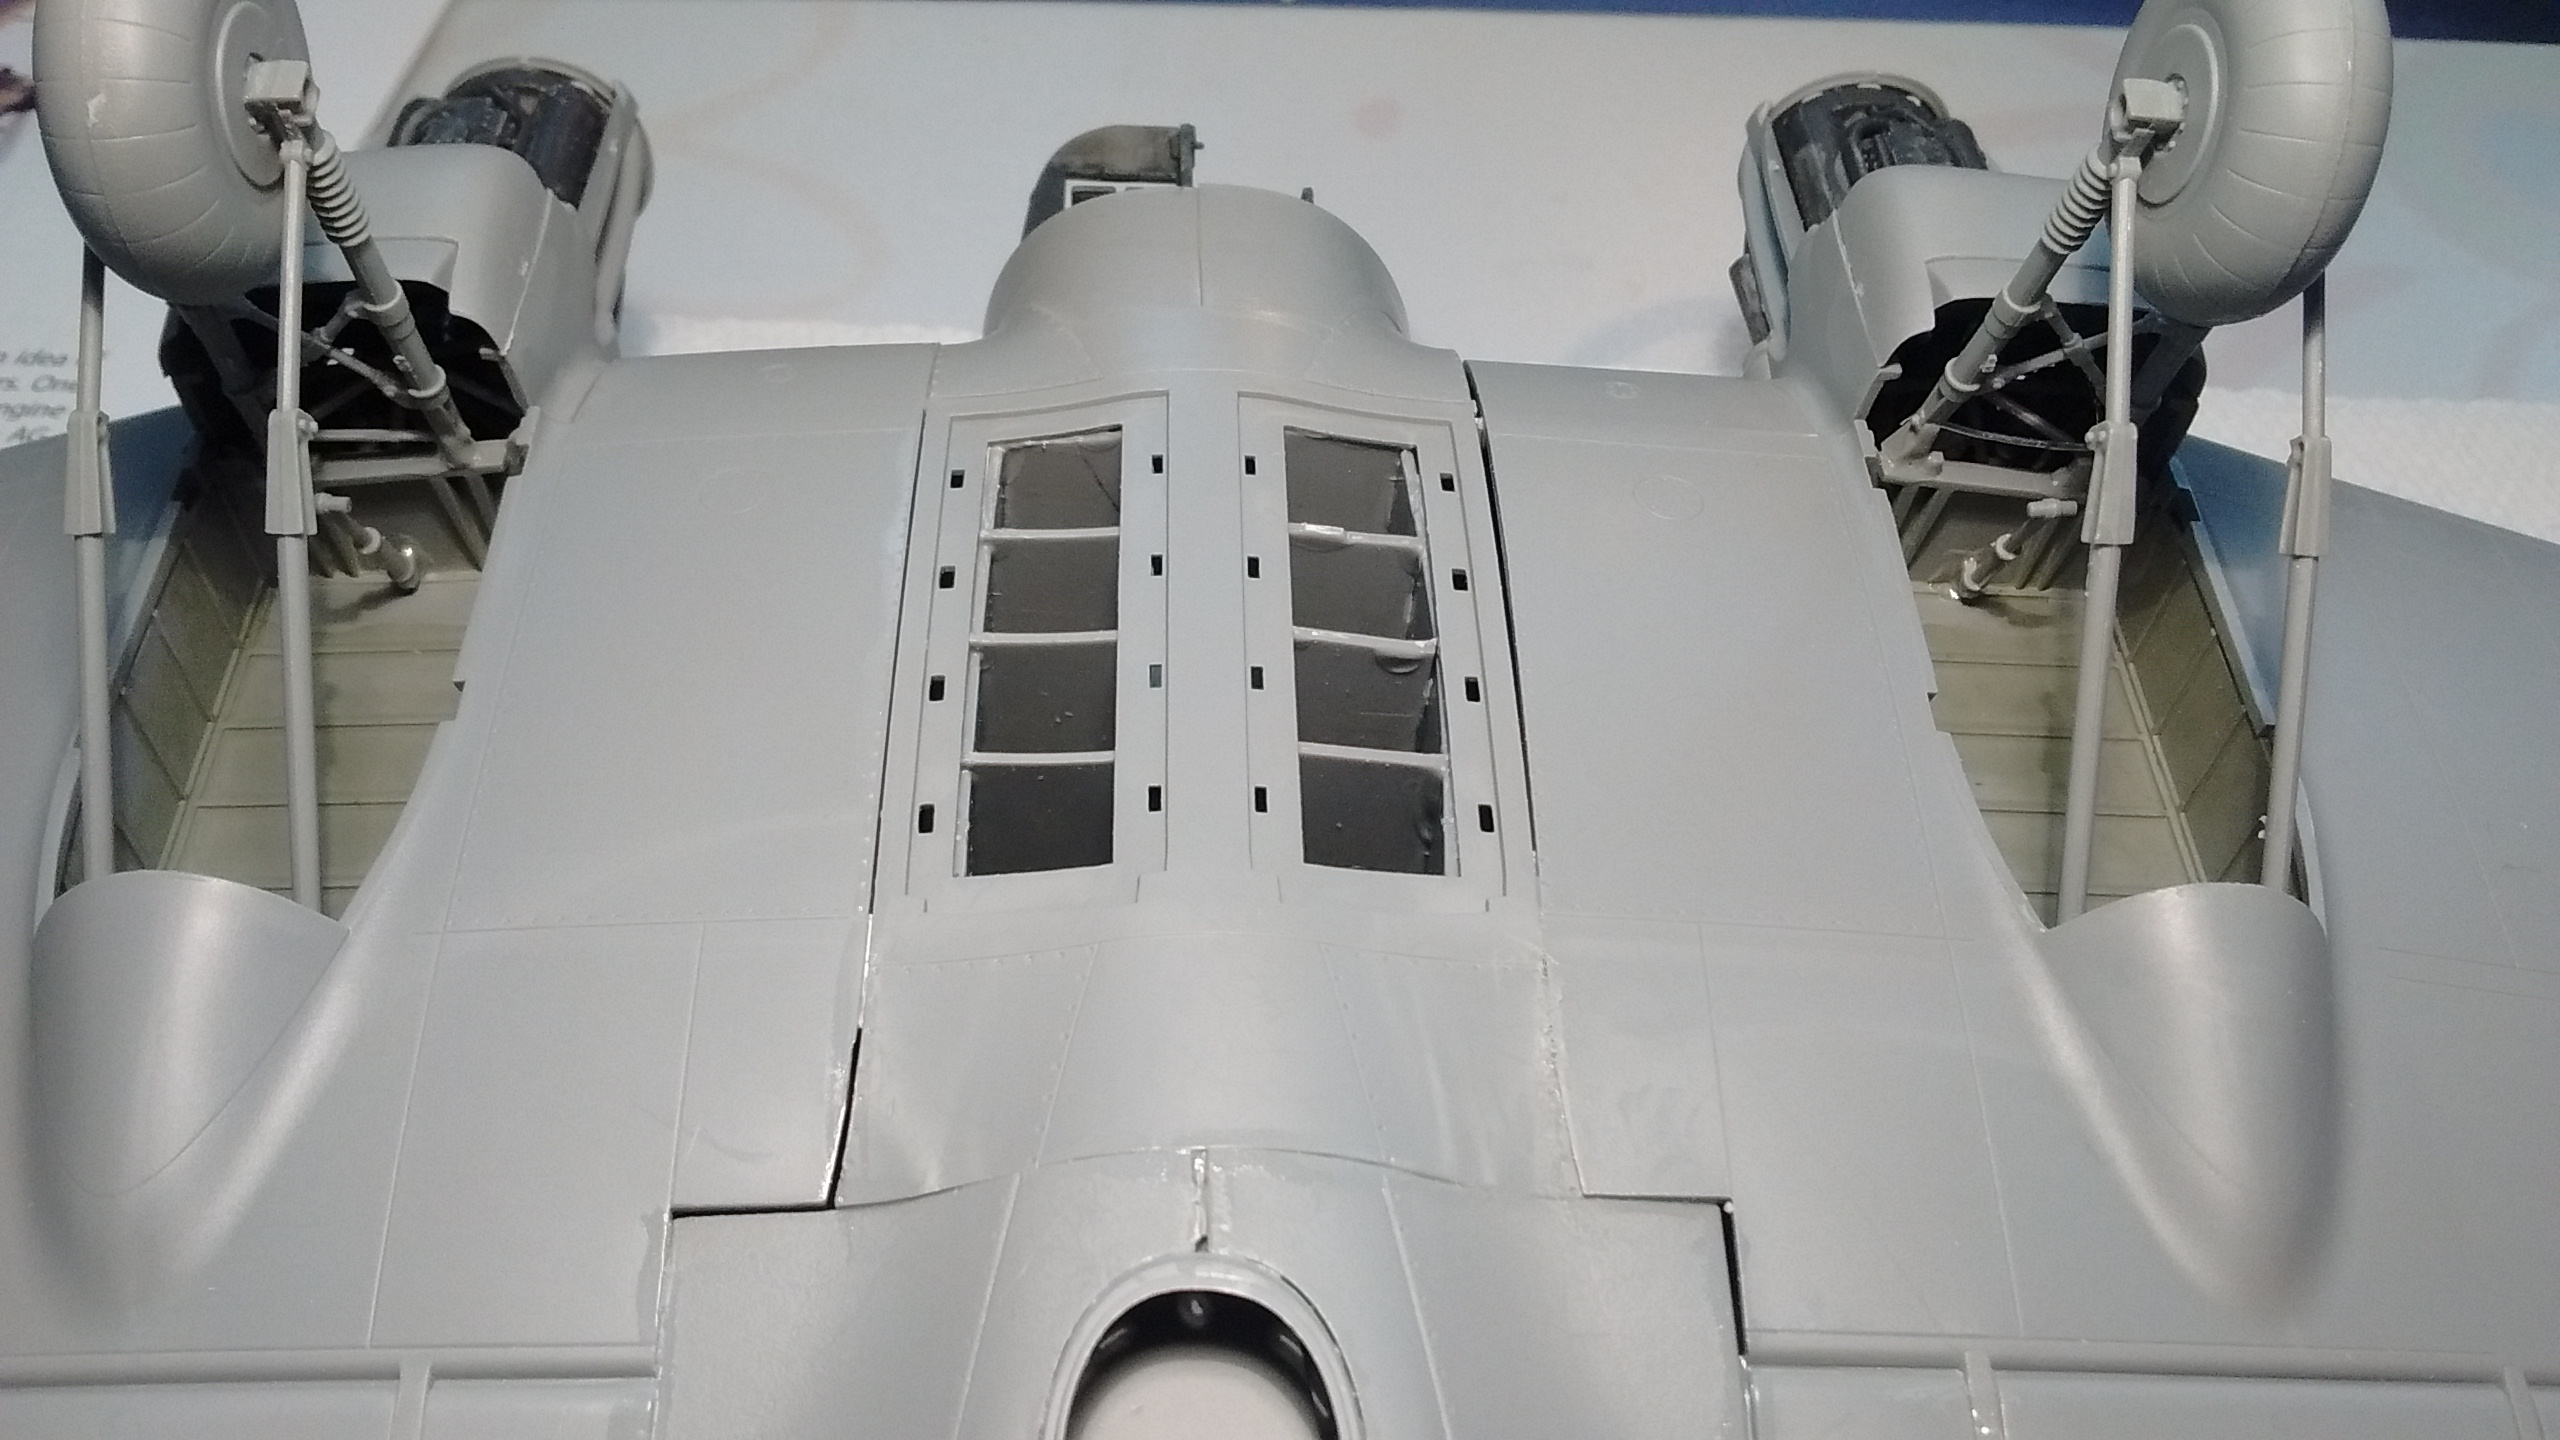
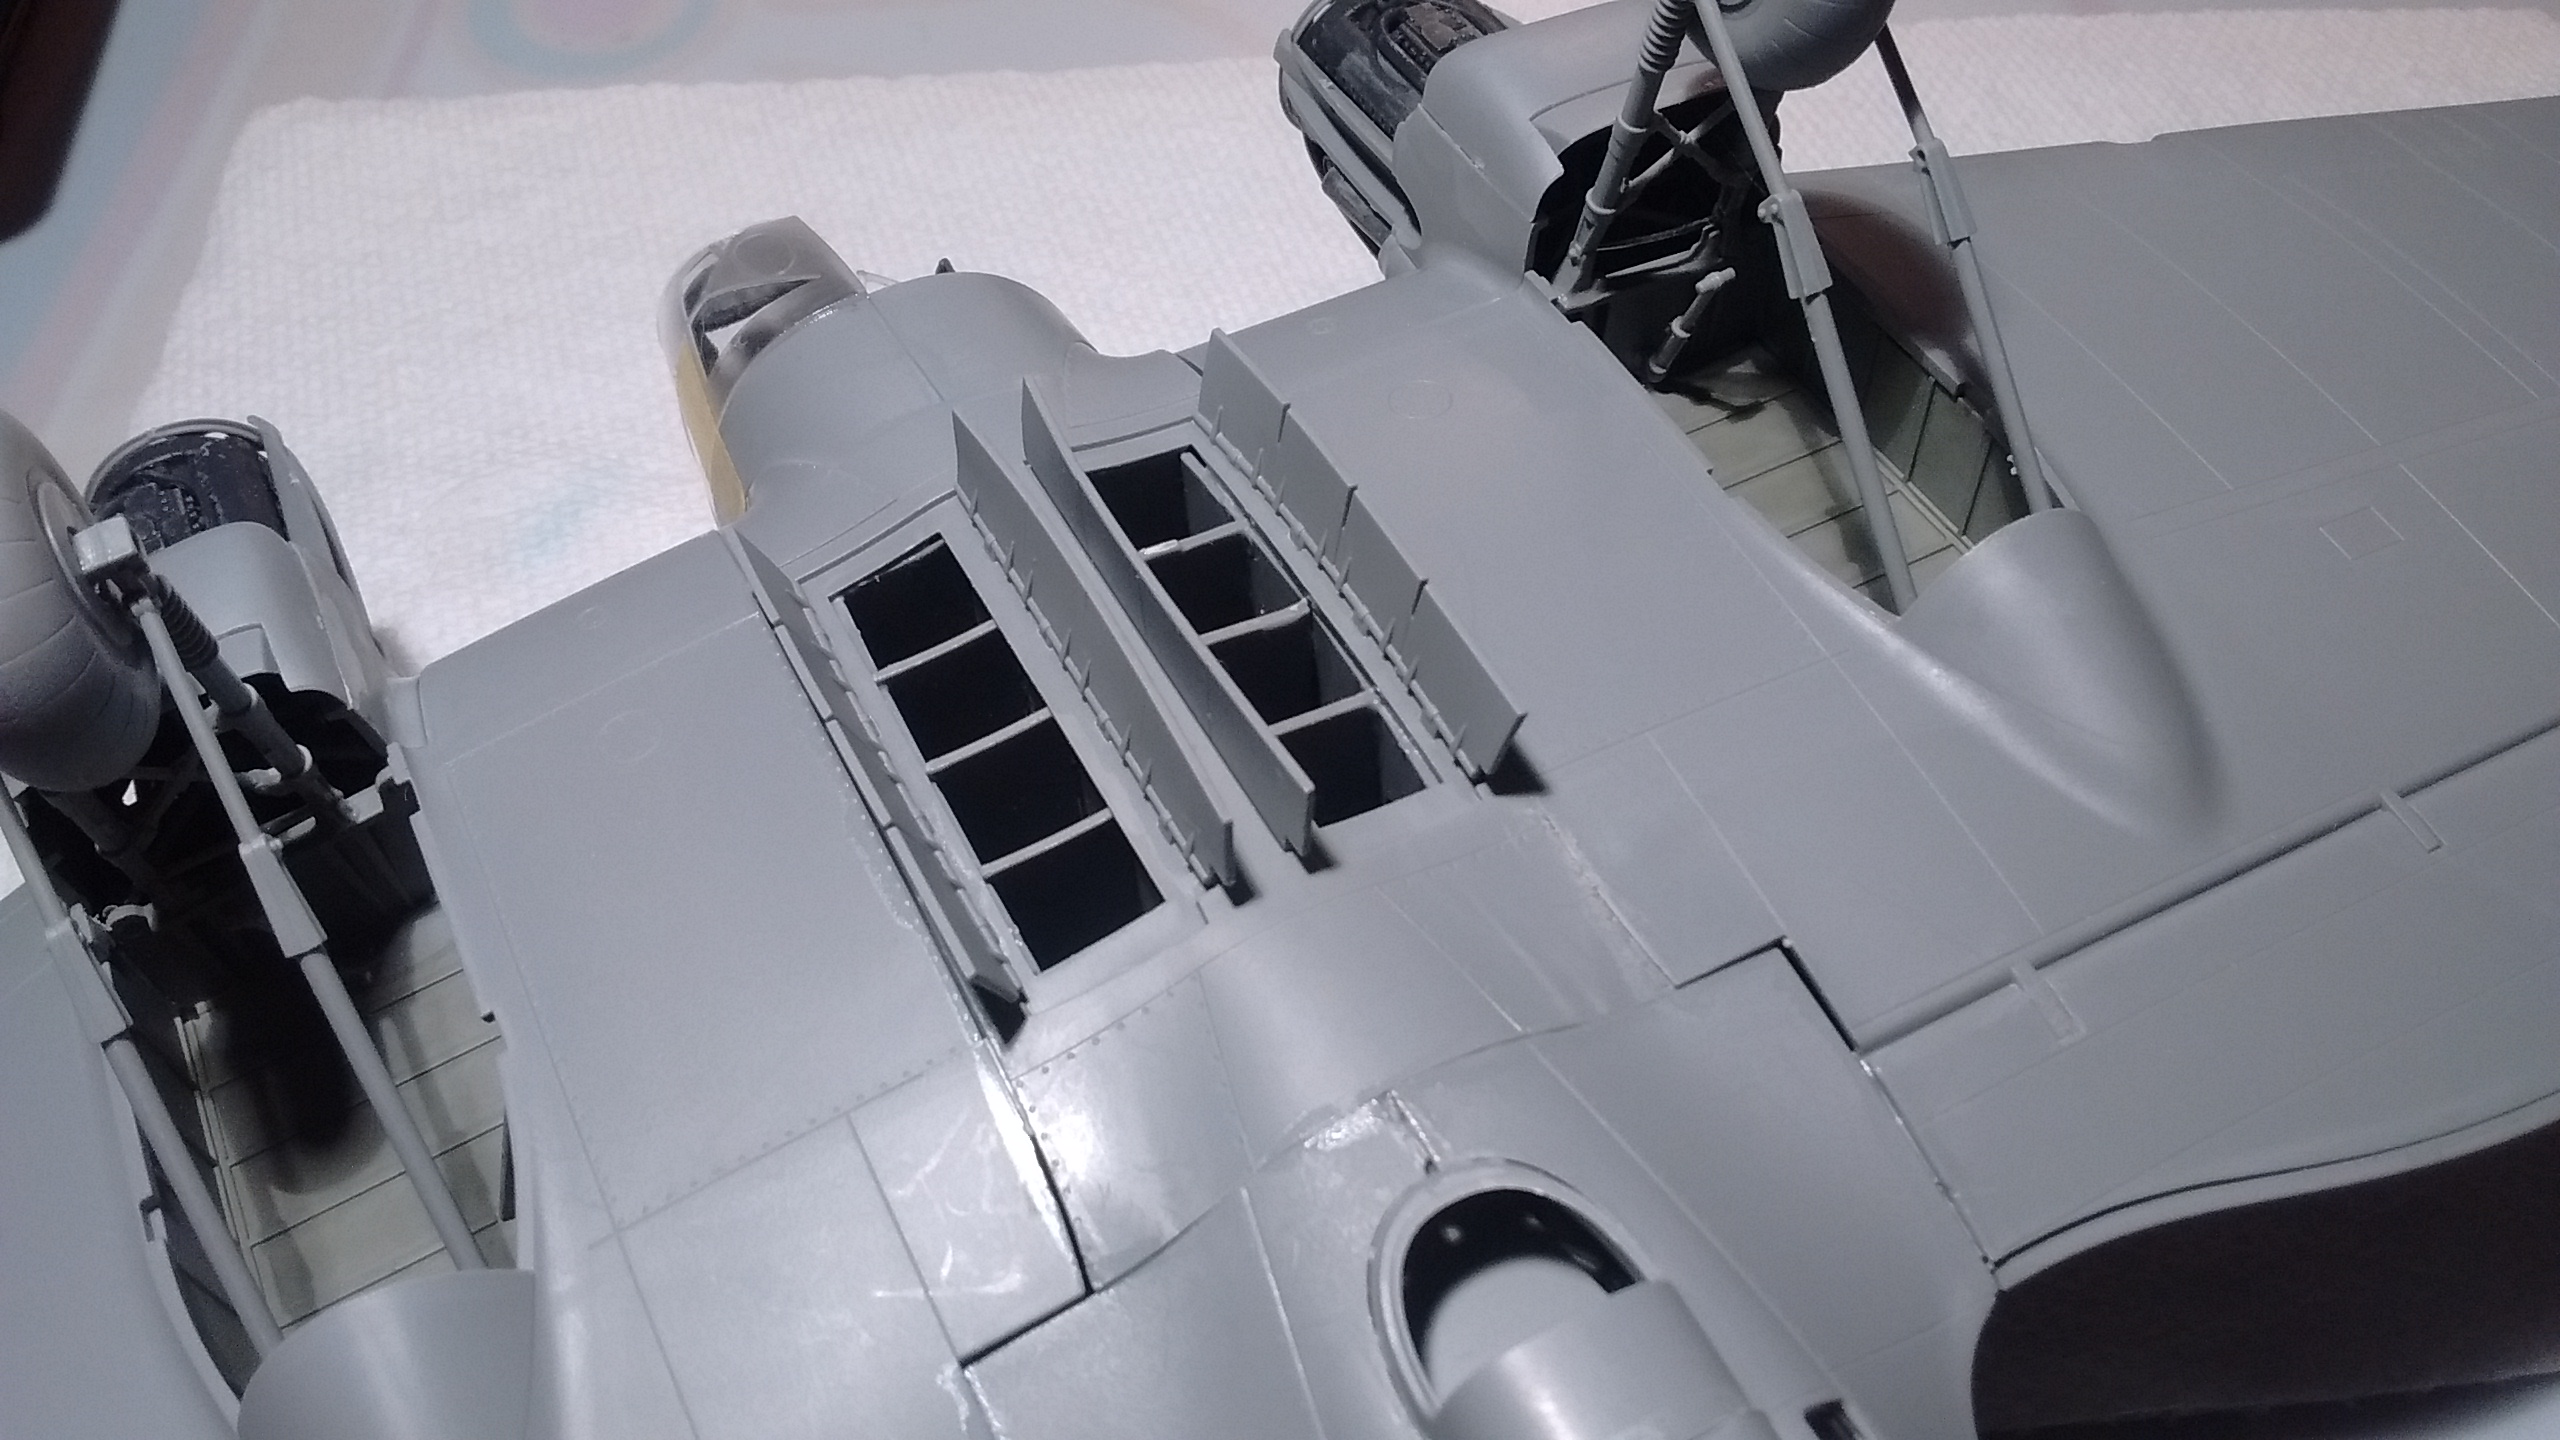
Next I moved to install these panels on the engine nacelles.
 And then there was checking on this.
 Solid as a rock!
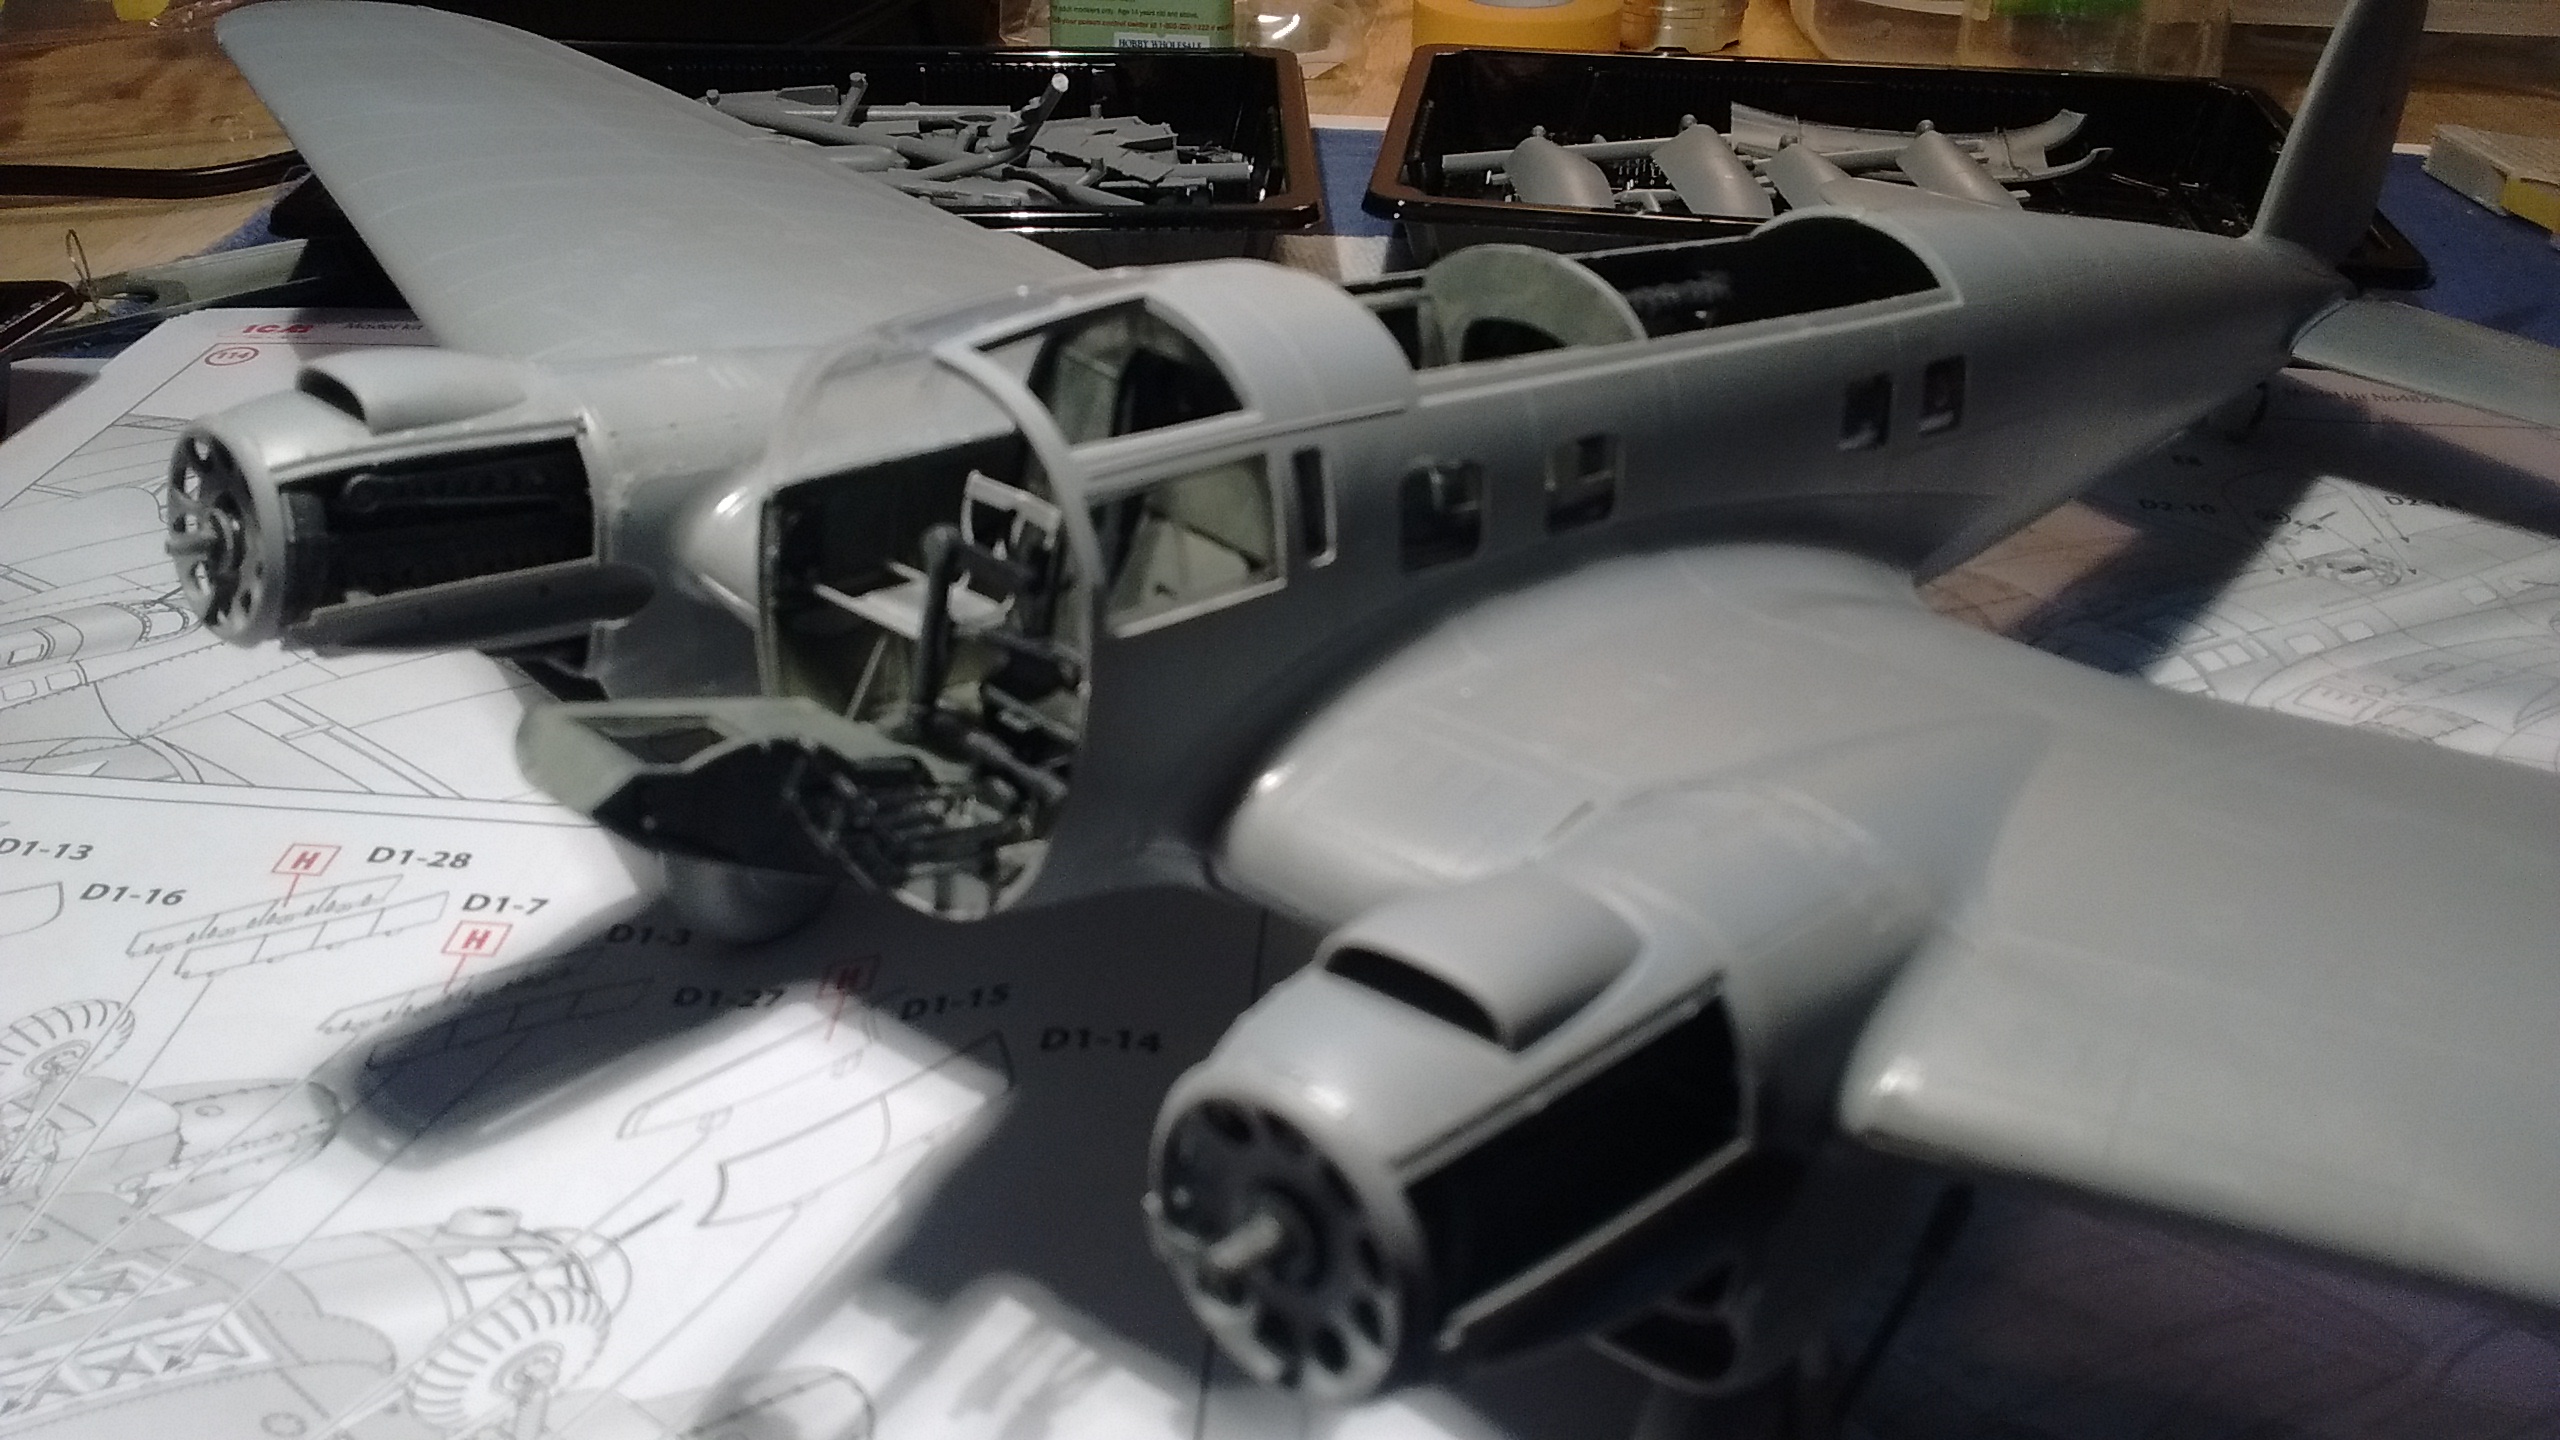
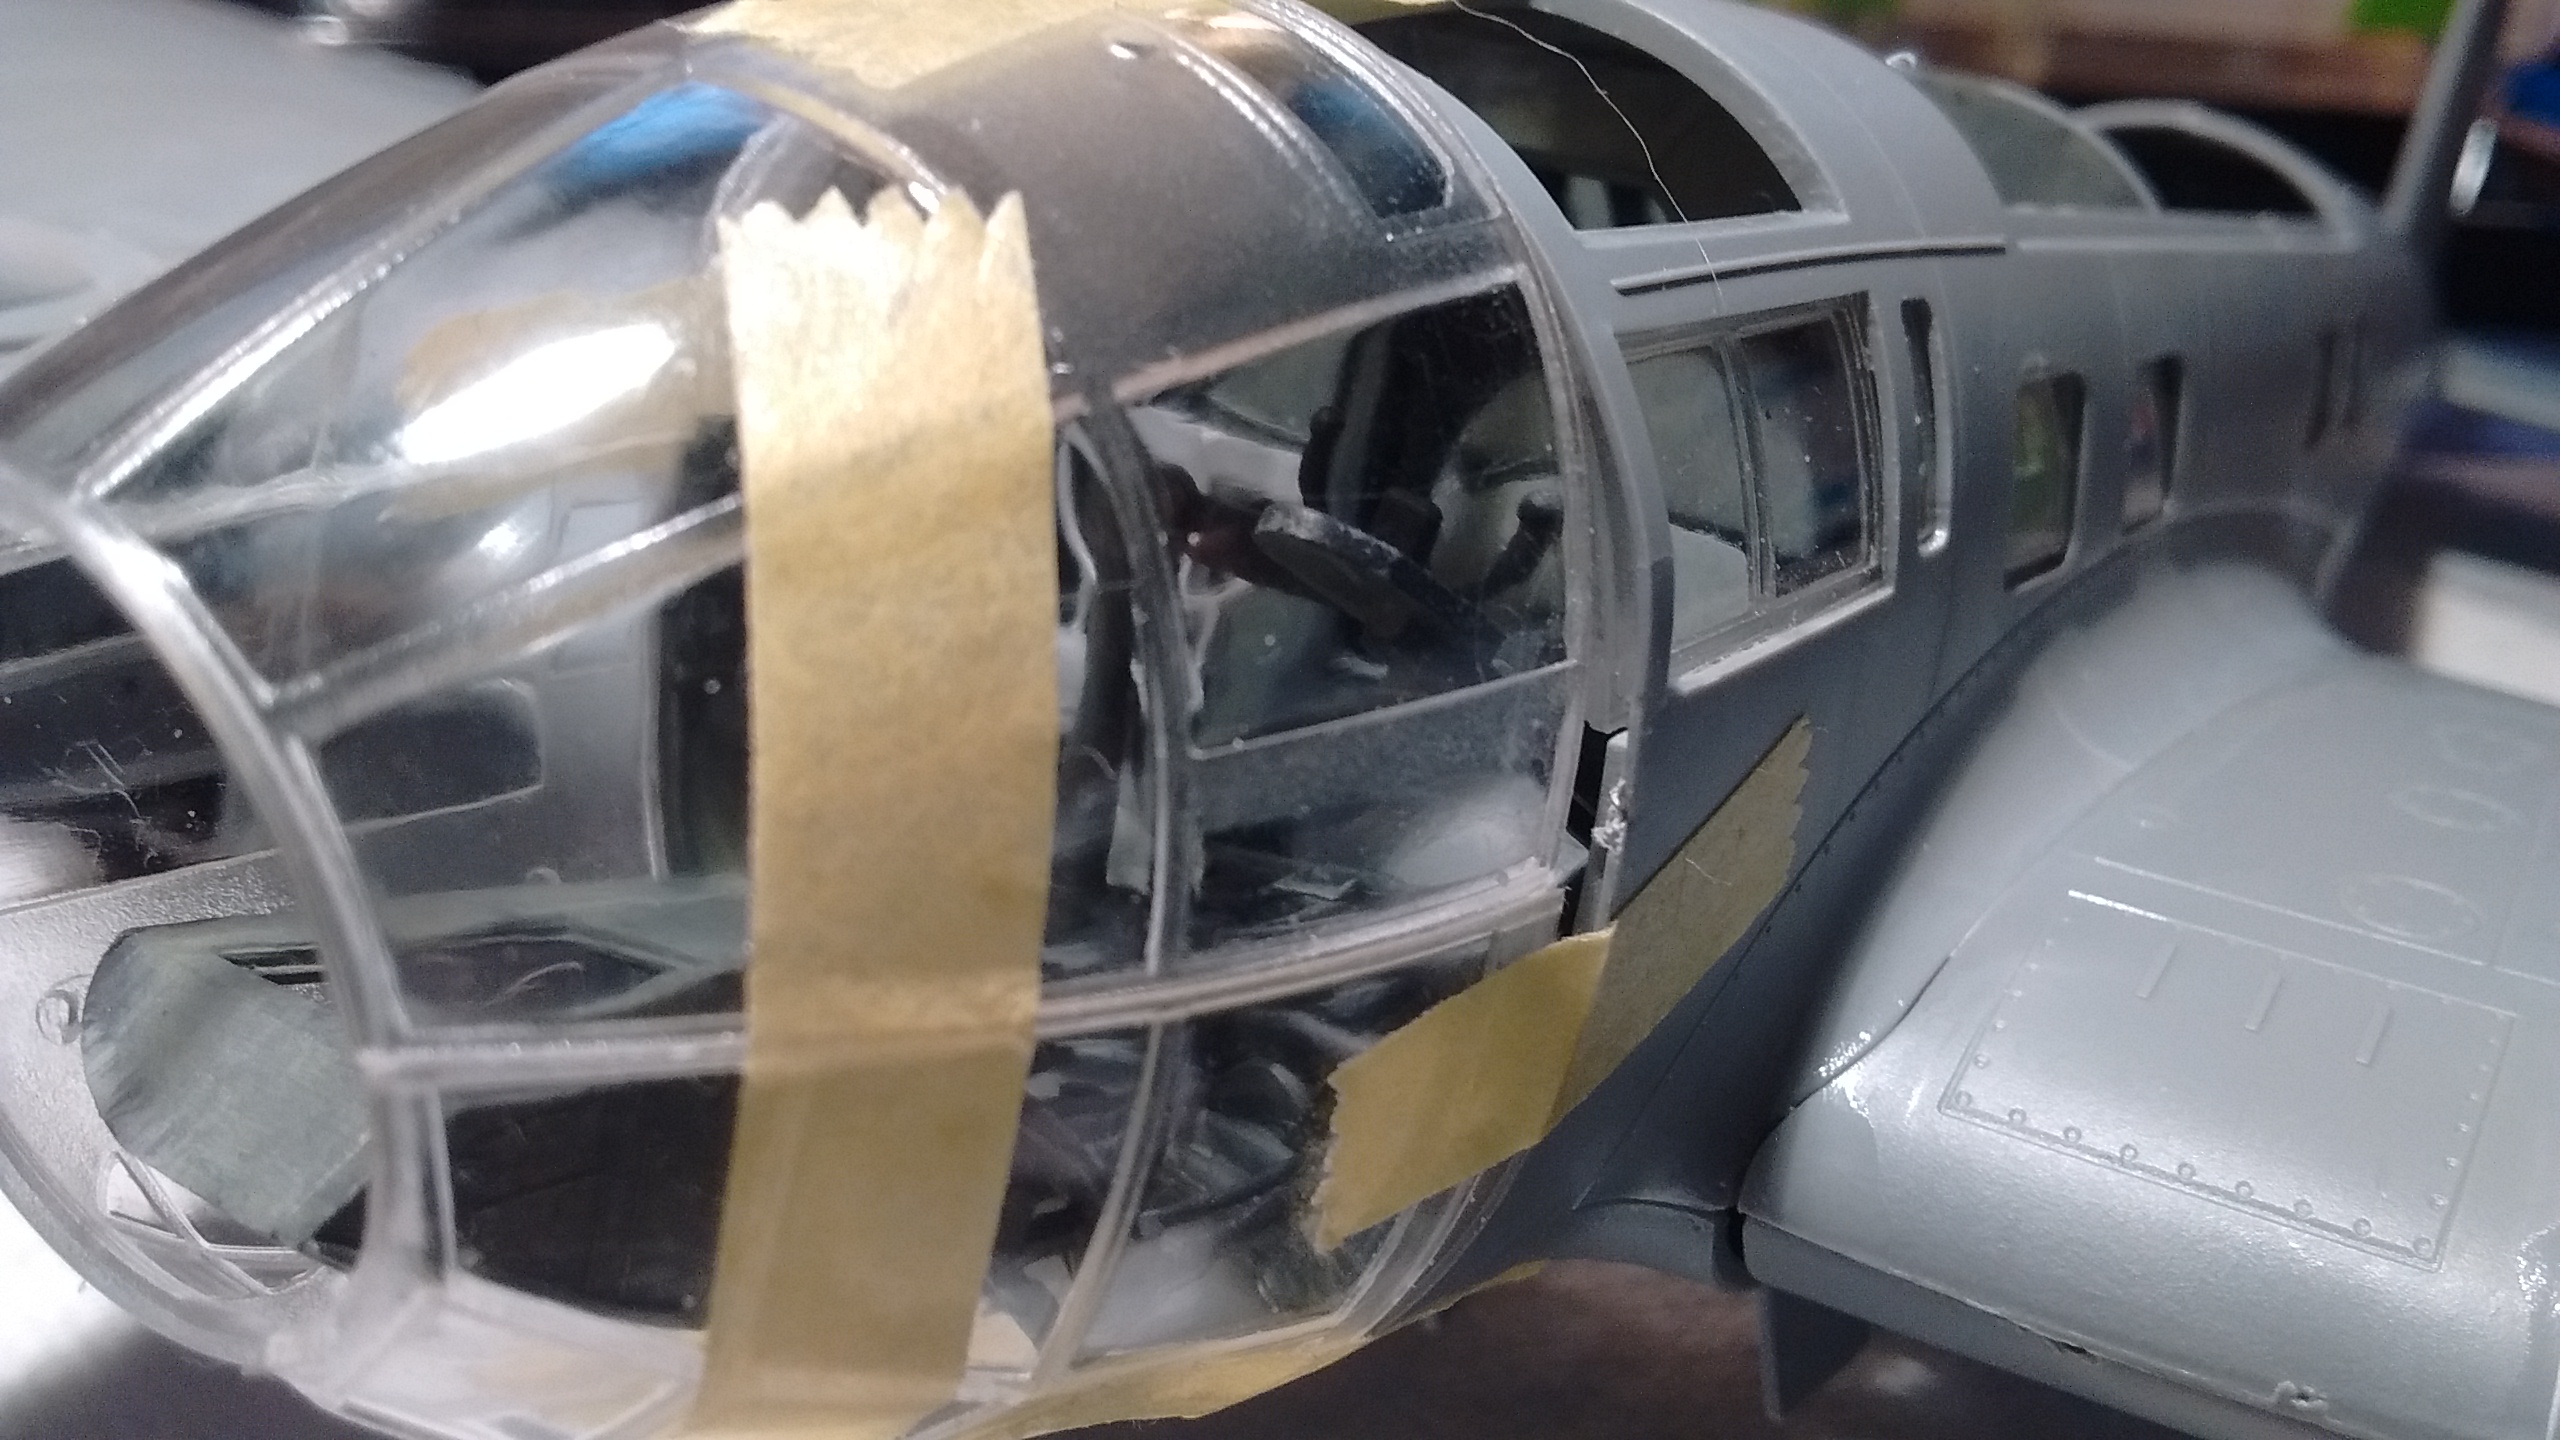
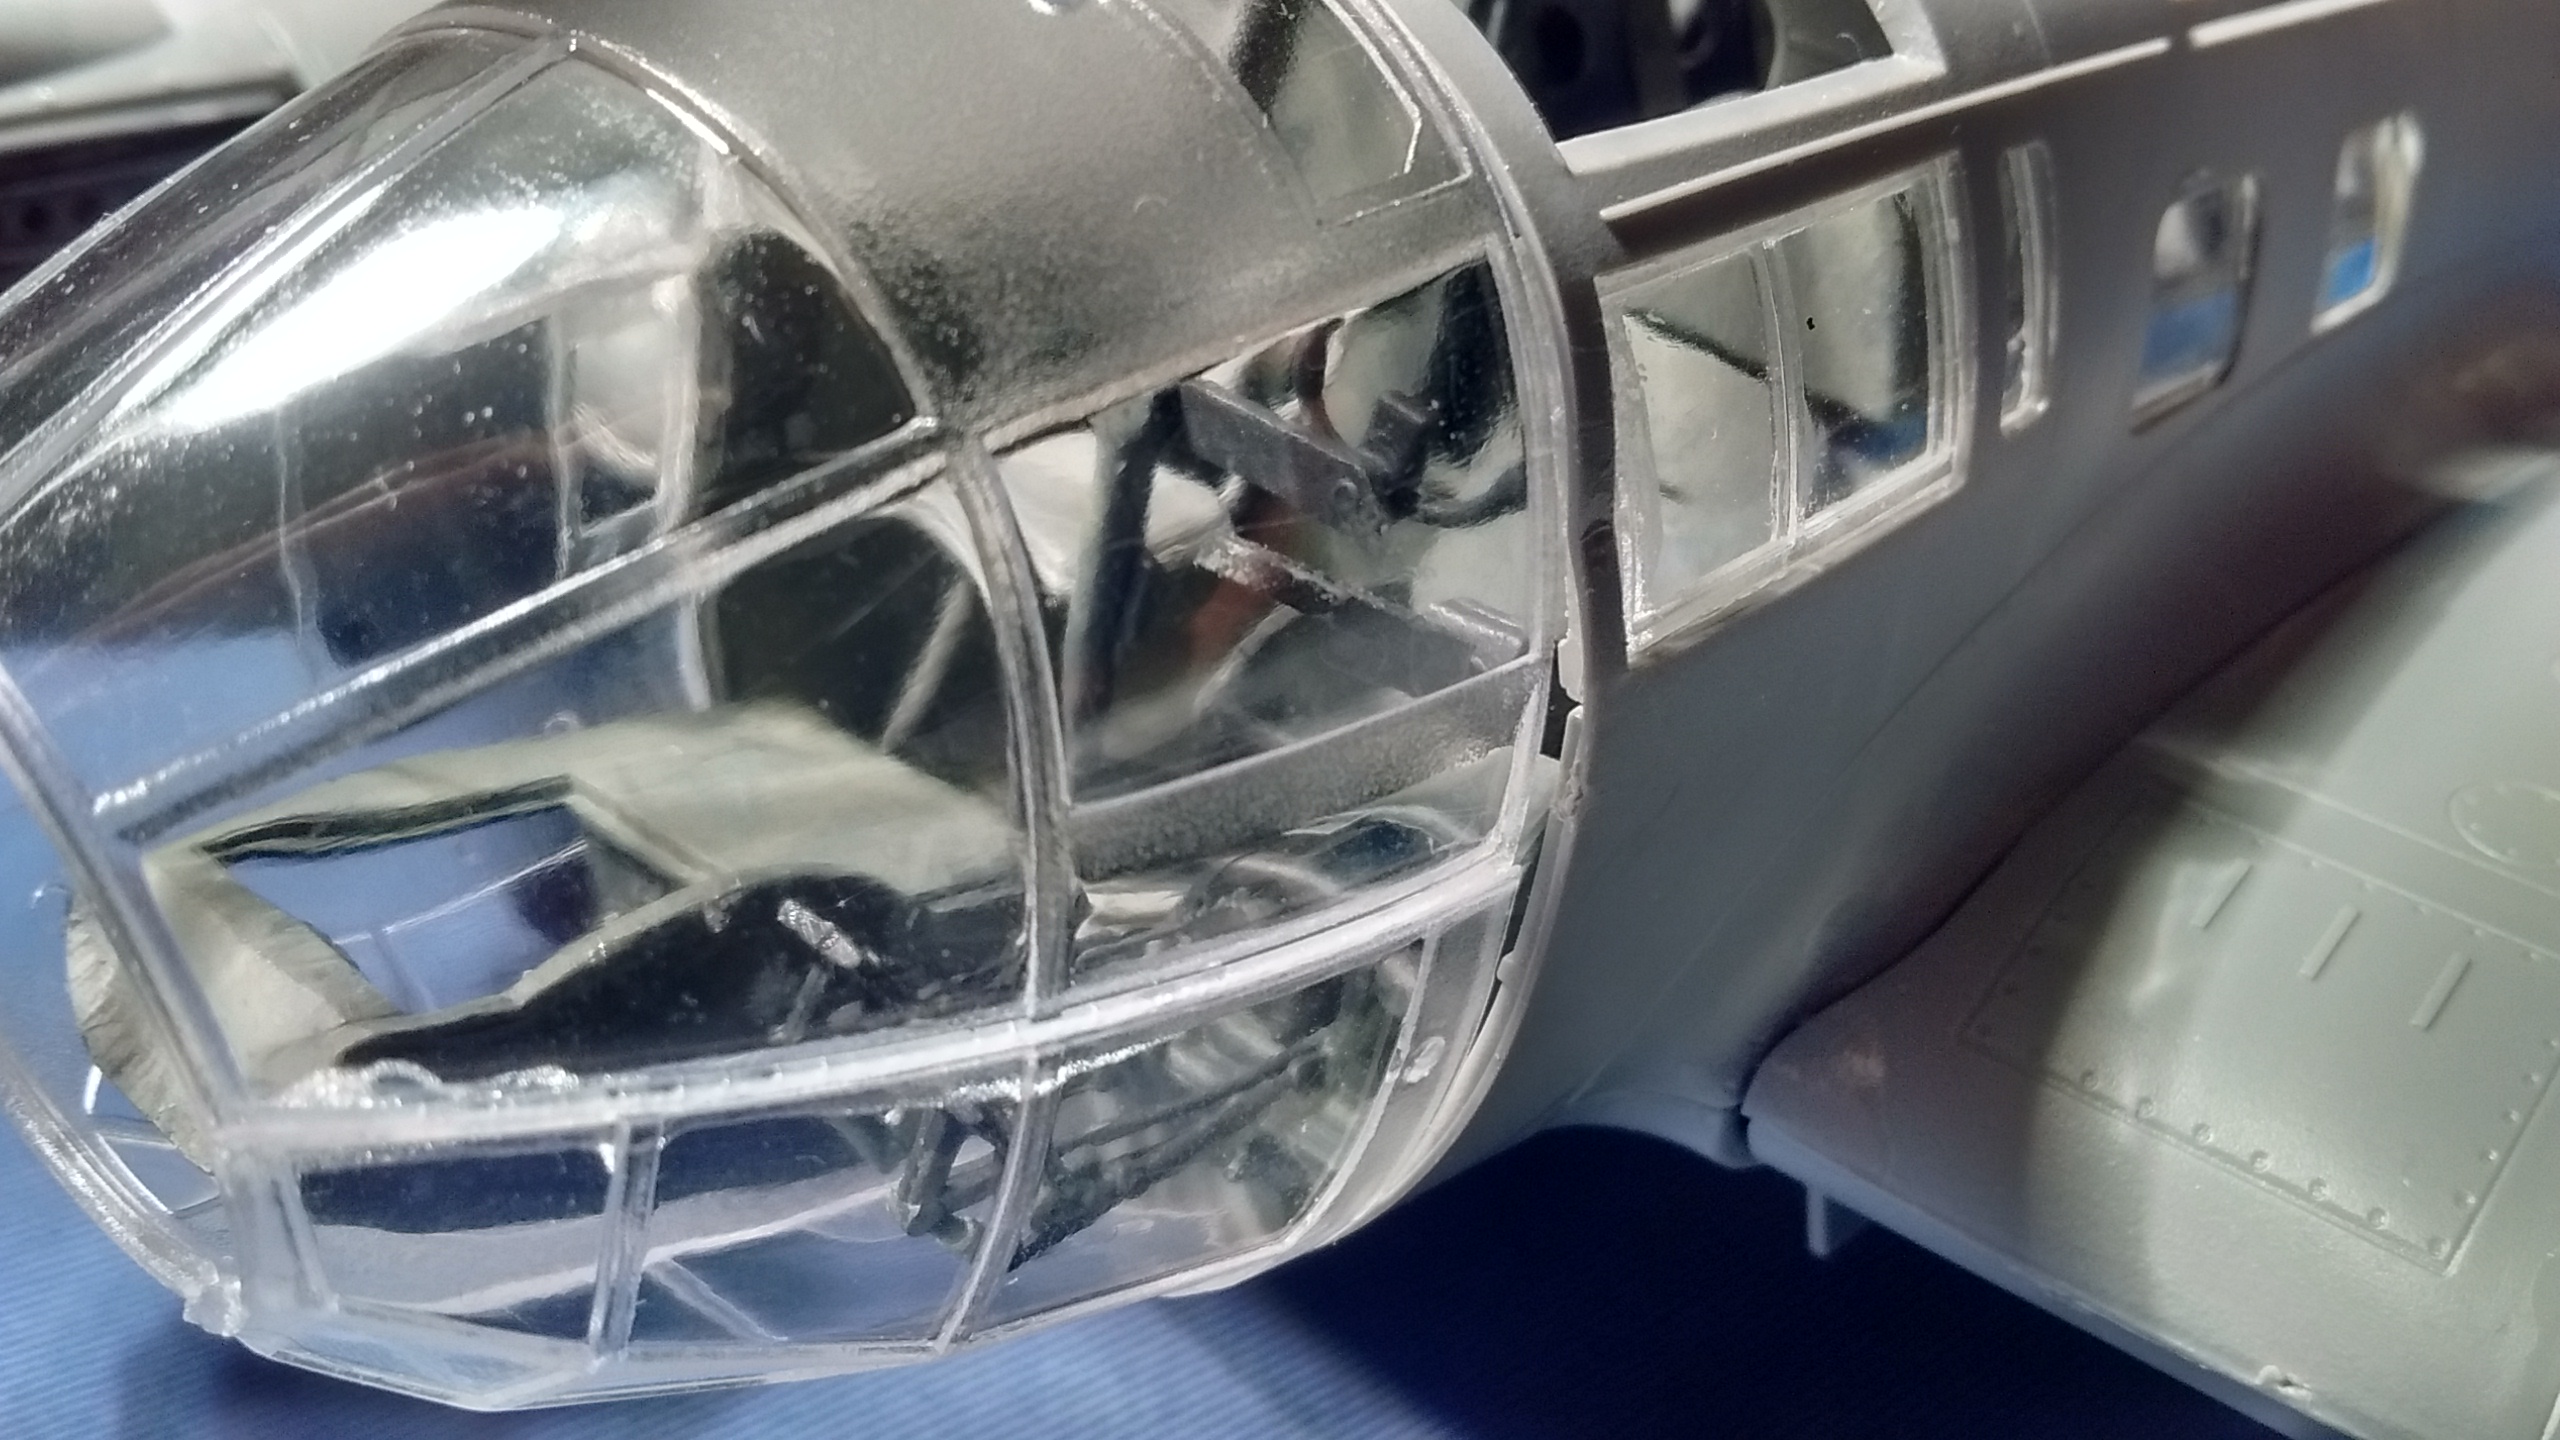
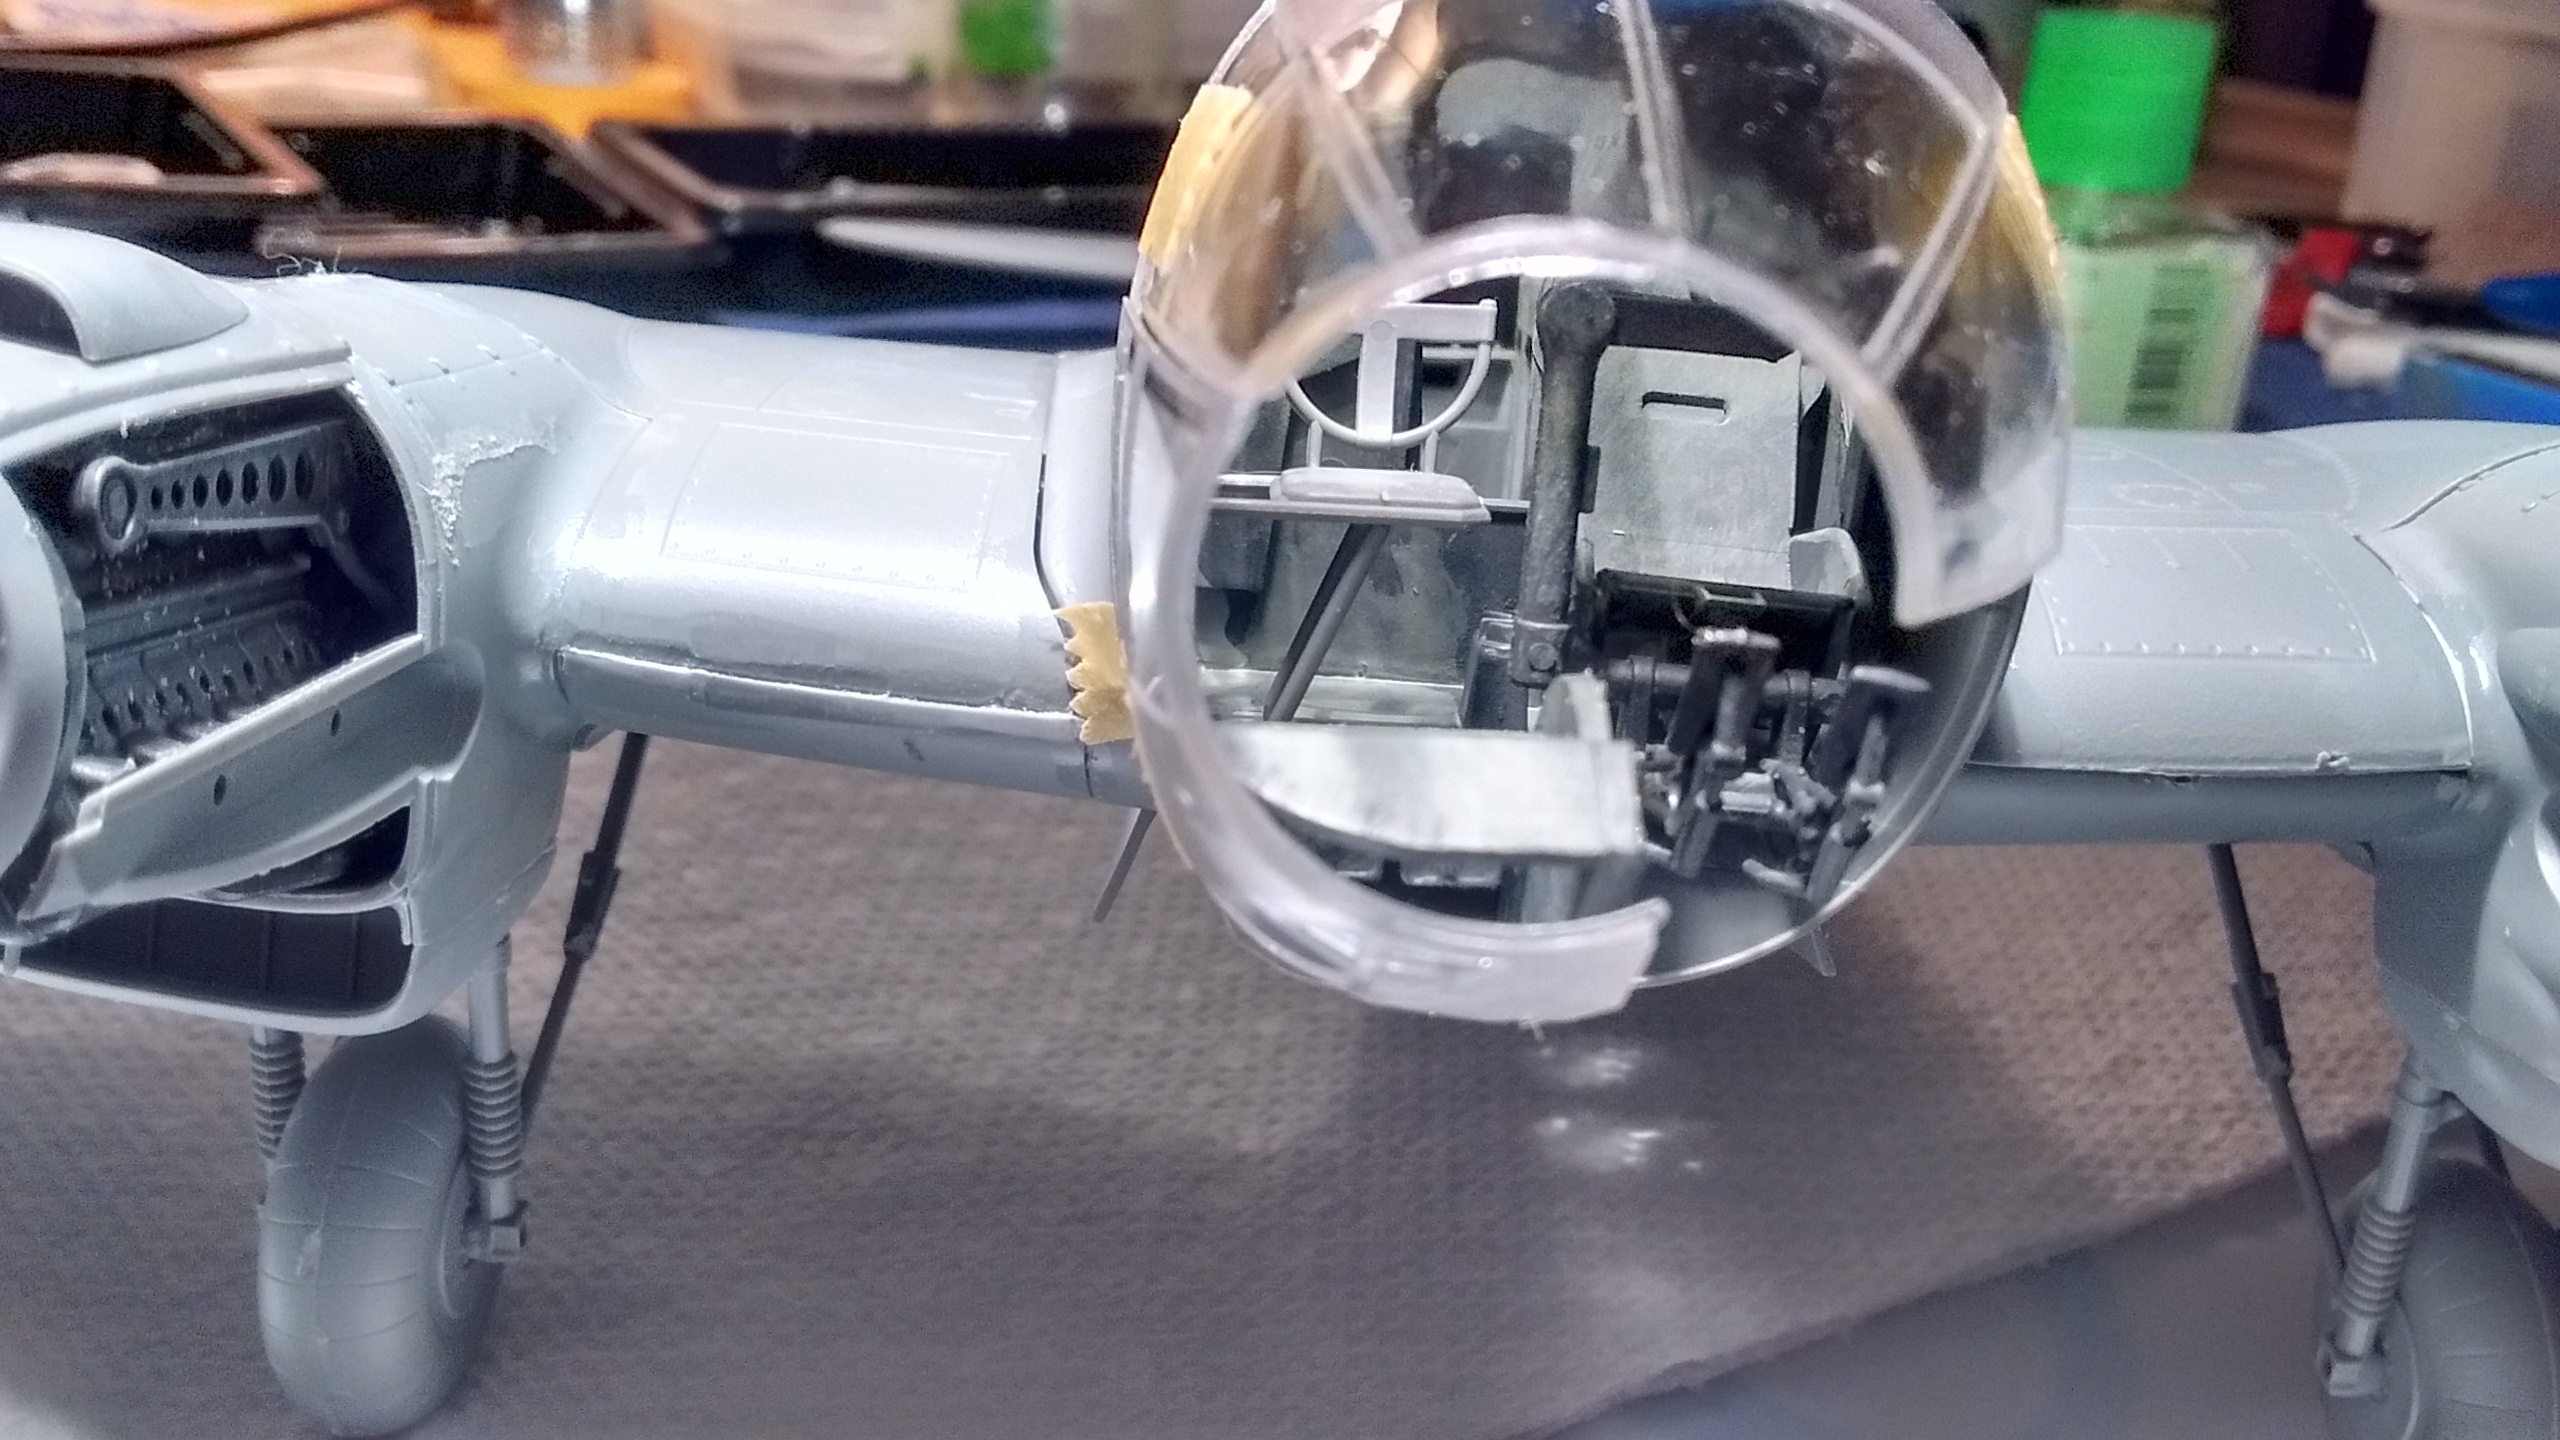
The side window was causing the problem with the fit. It was not glued tight leaving a bulge.
Solid as a rock!
The side window was causing the problem with the fit. It was not glued tight leaving a bulge.
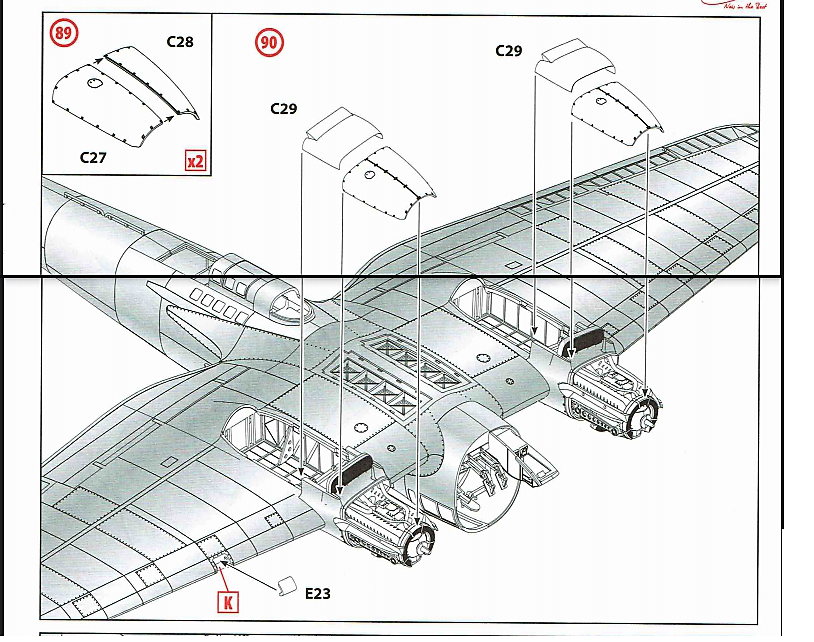
 With so many parts in that model kit, each part has to fit perfectly so all the others will fit just right.

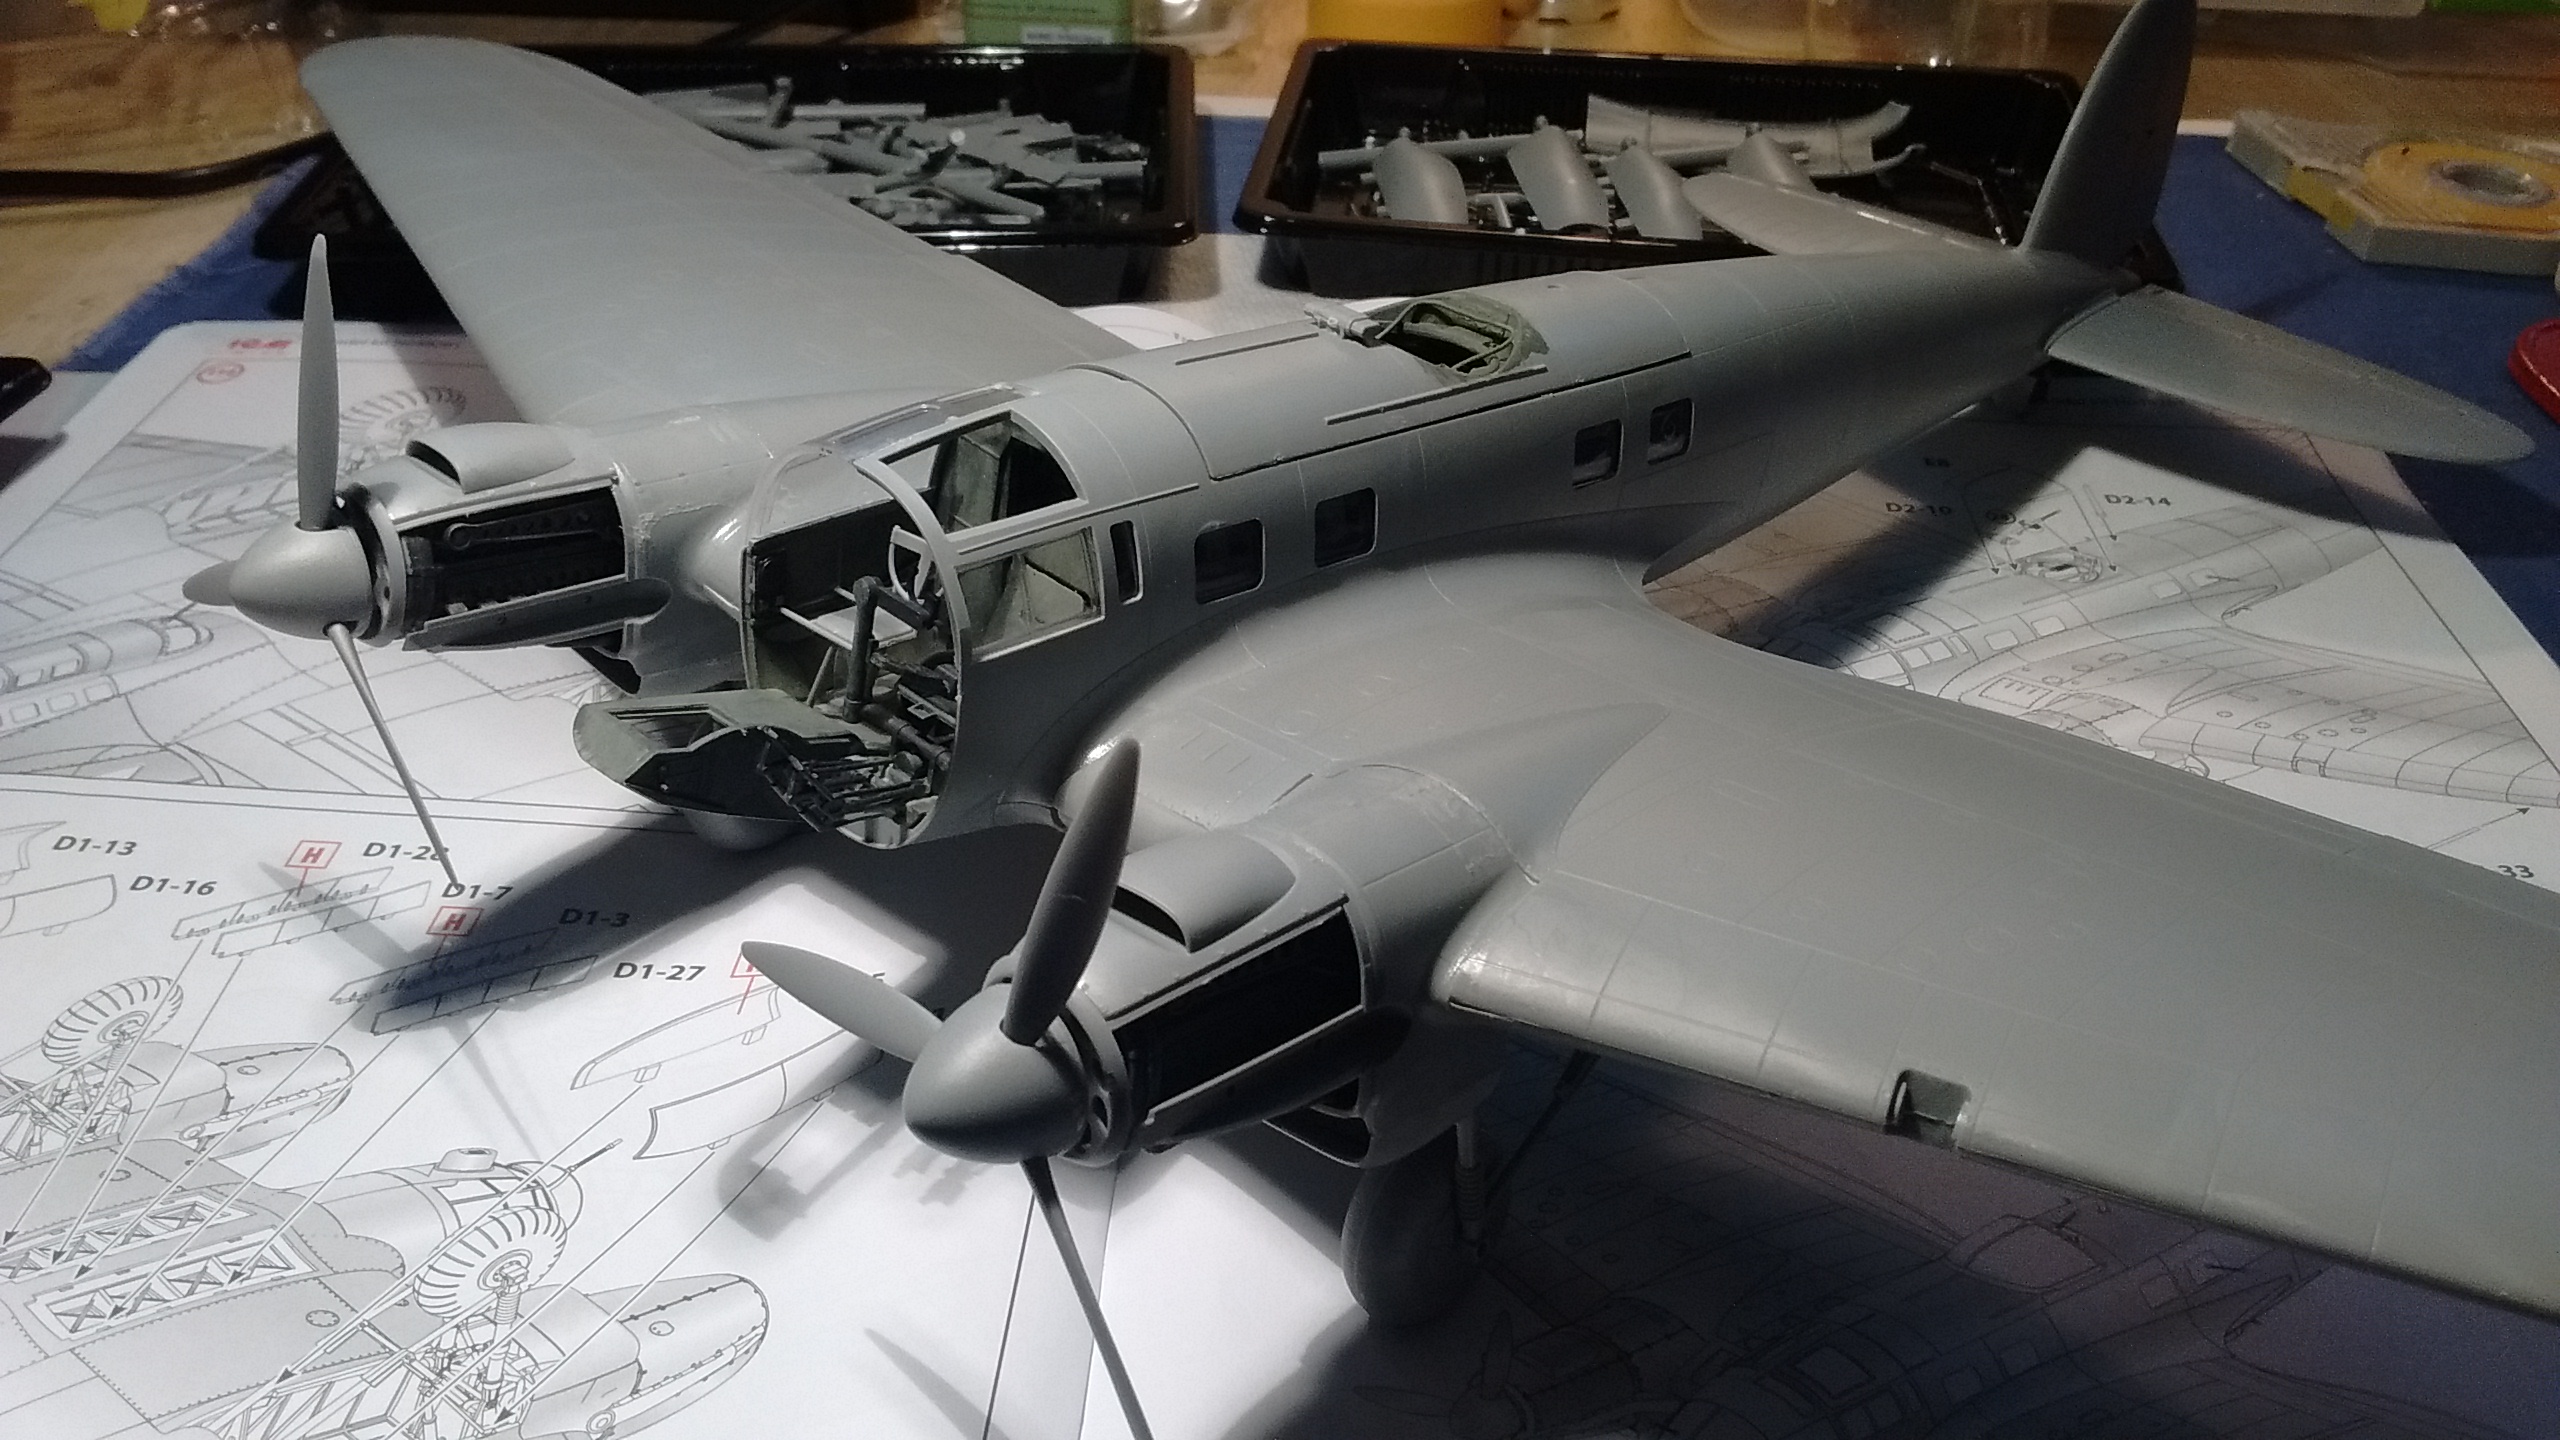
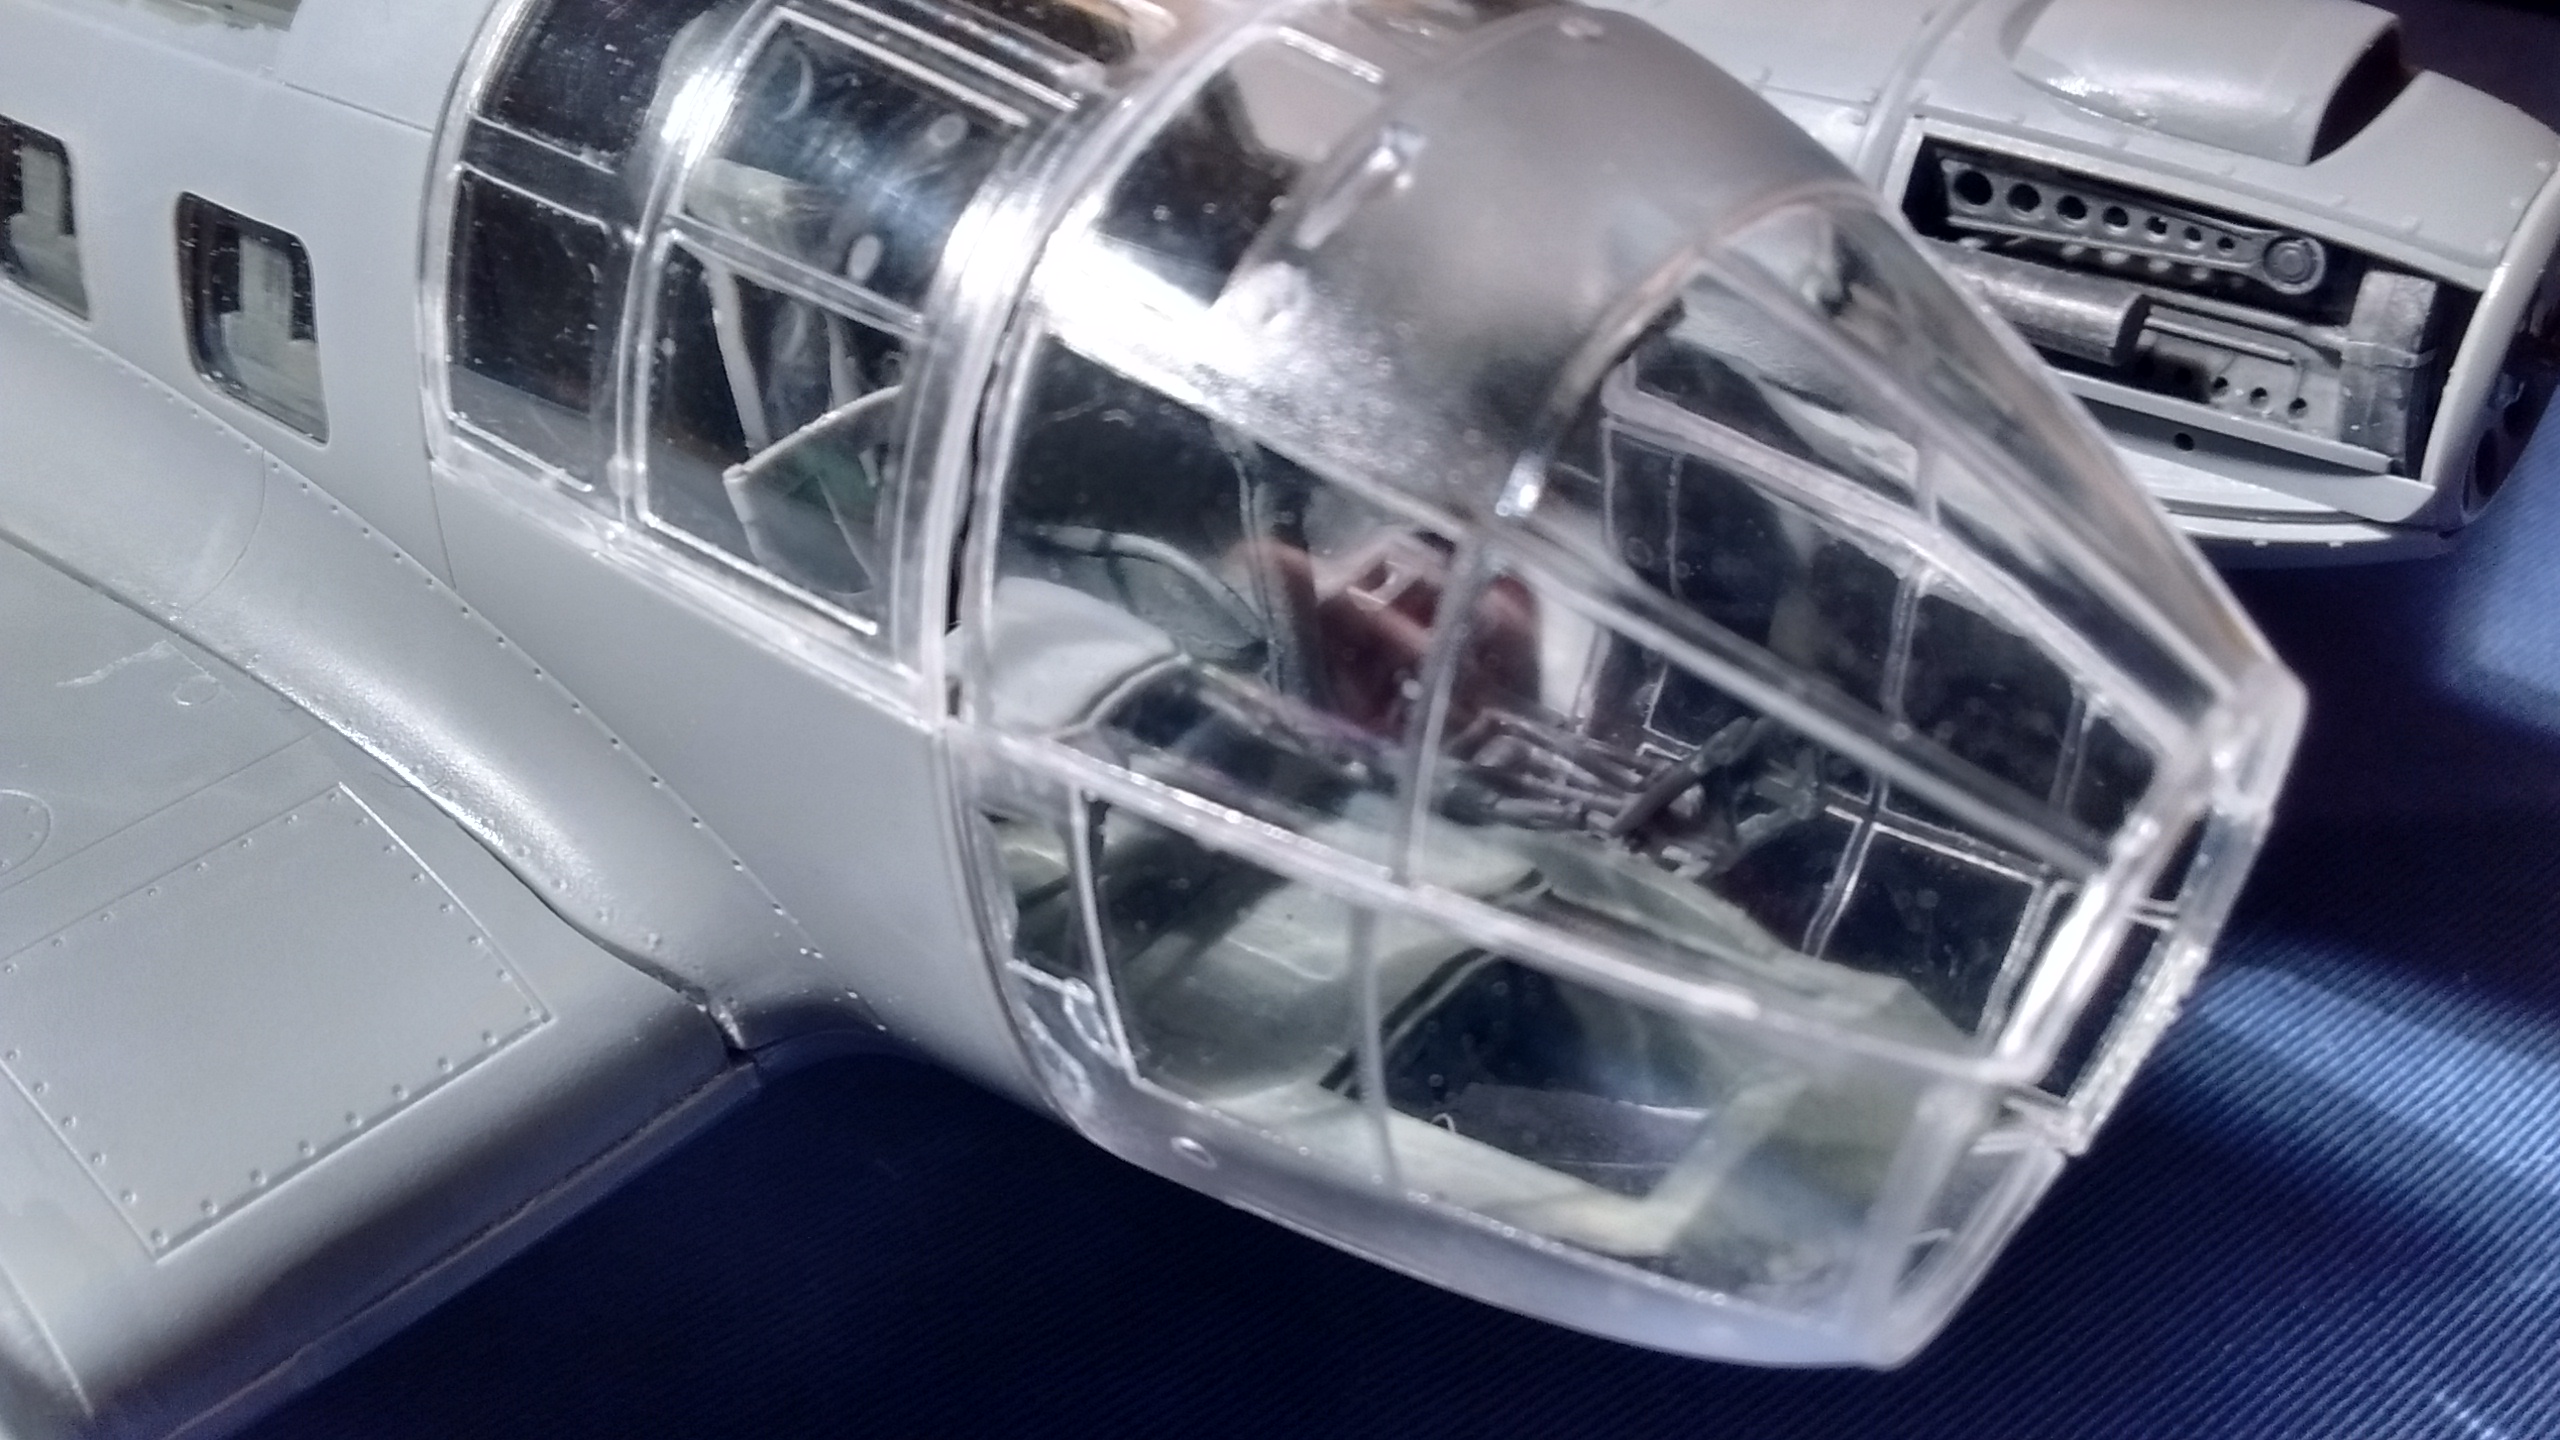
 There is still a gap but I will fill it with Testors clear glue.
 The other side looks fine with a small gap.
 So why I have been doing all this since December 2013…? I am still looking for the answer, but it might be hidden here.
I have ICM Do 17Z-2 in my collection.

I won’t be building it right away after my ICM He 111H-3 because I will be needing to take a break and find something more relaxing to build next.


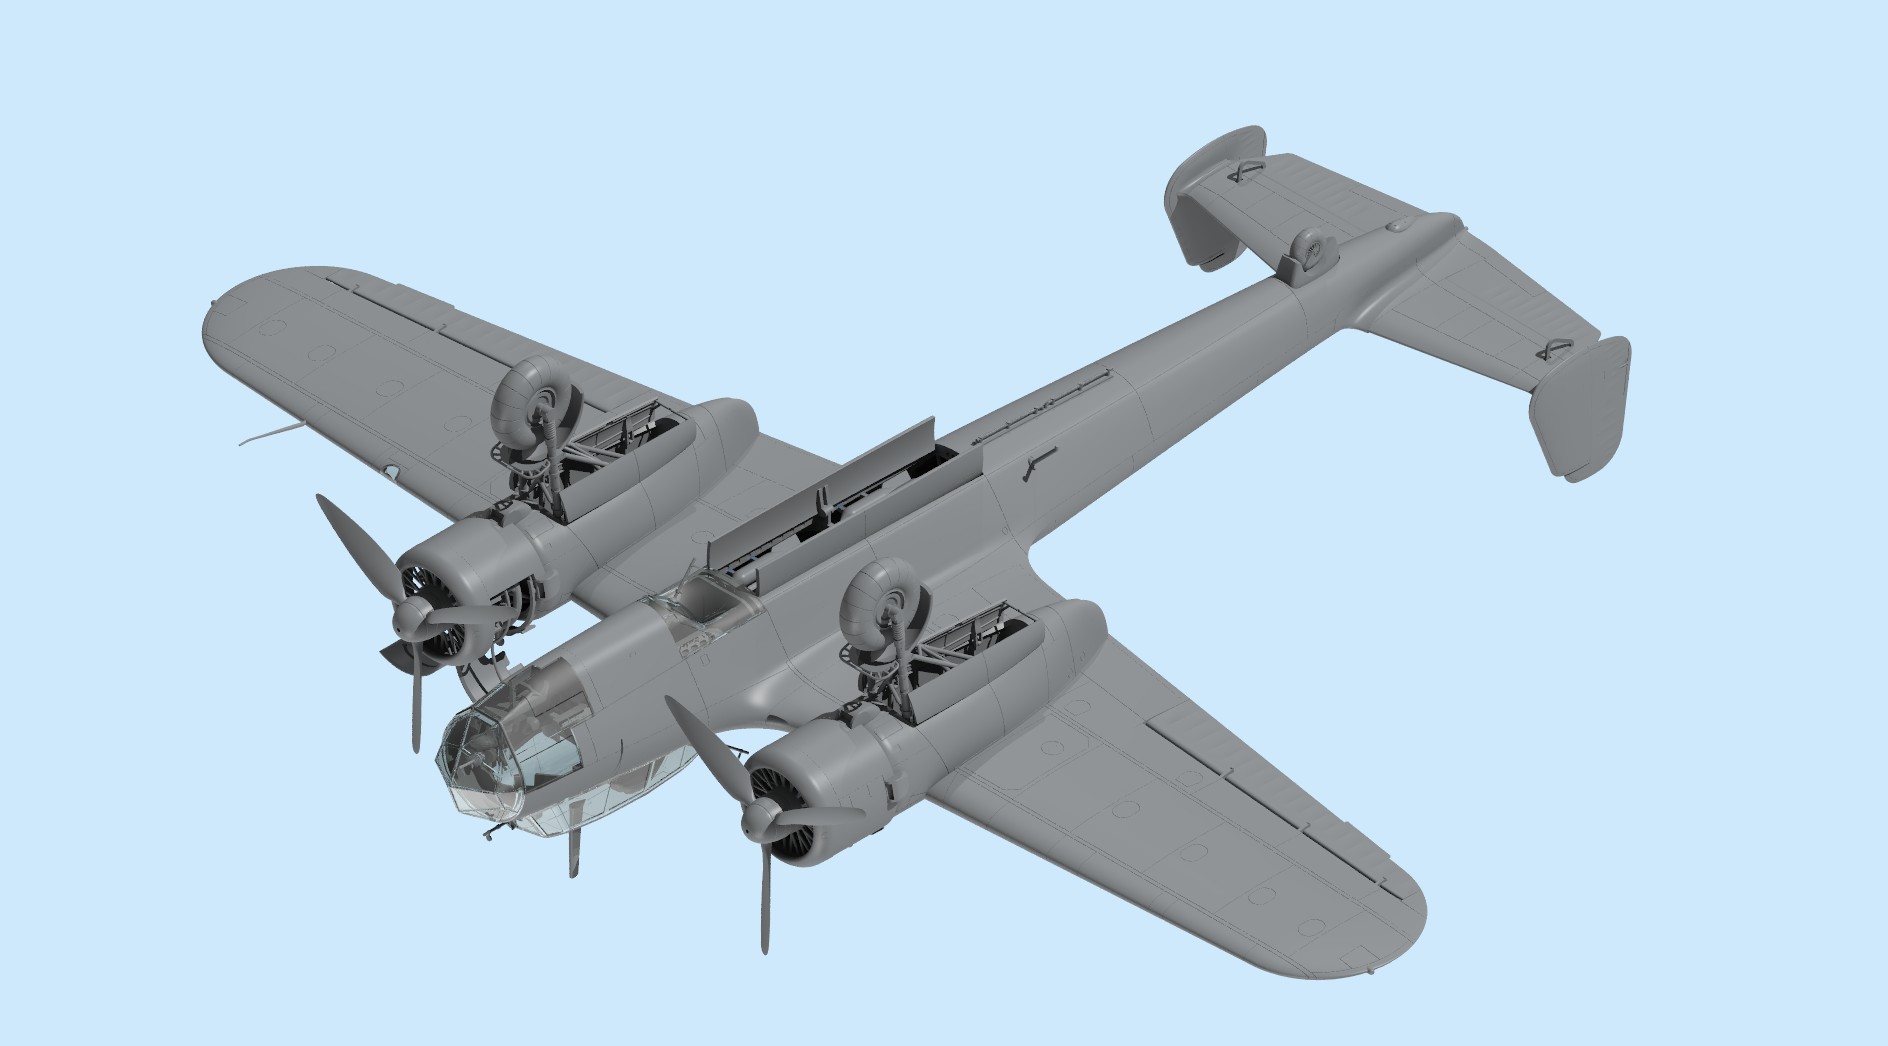

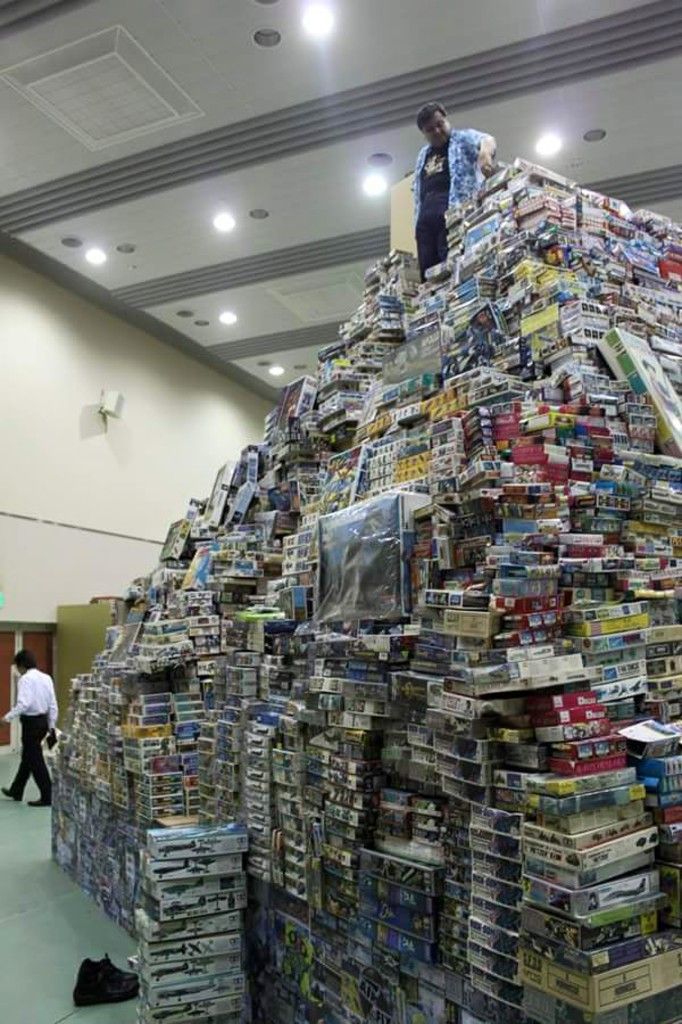
However this YouTube video, although the music might be somewhat overwhelming, what you will see is well…quite impressive.
Day 27 was a day of “reckoning”…
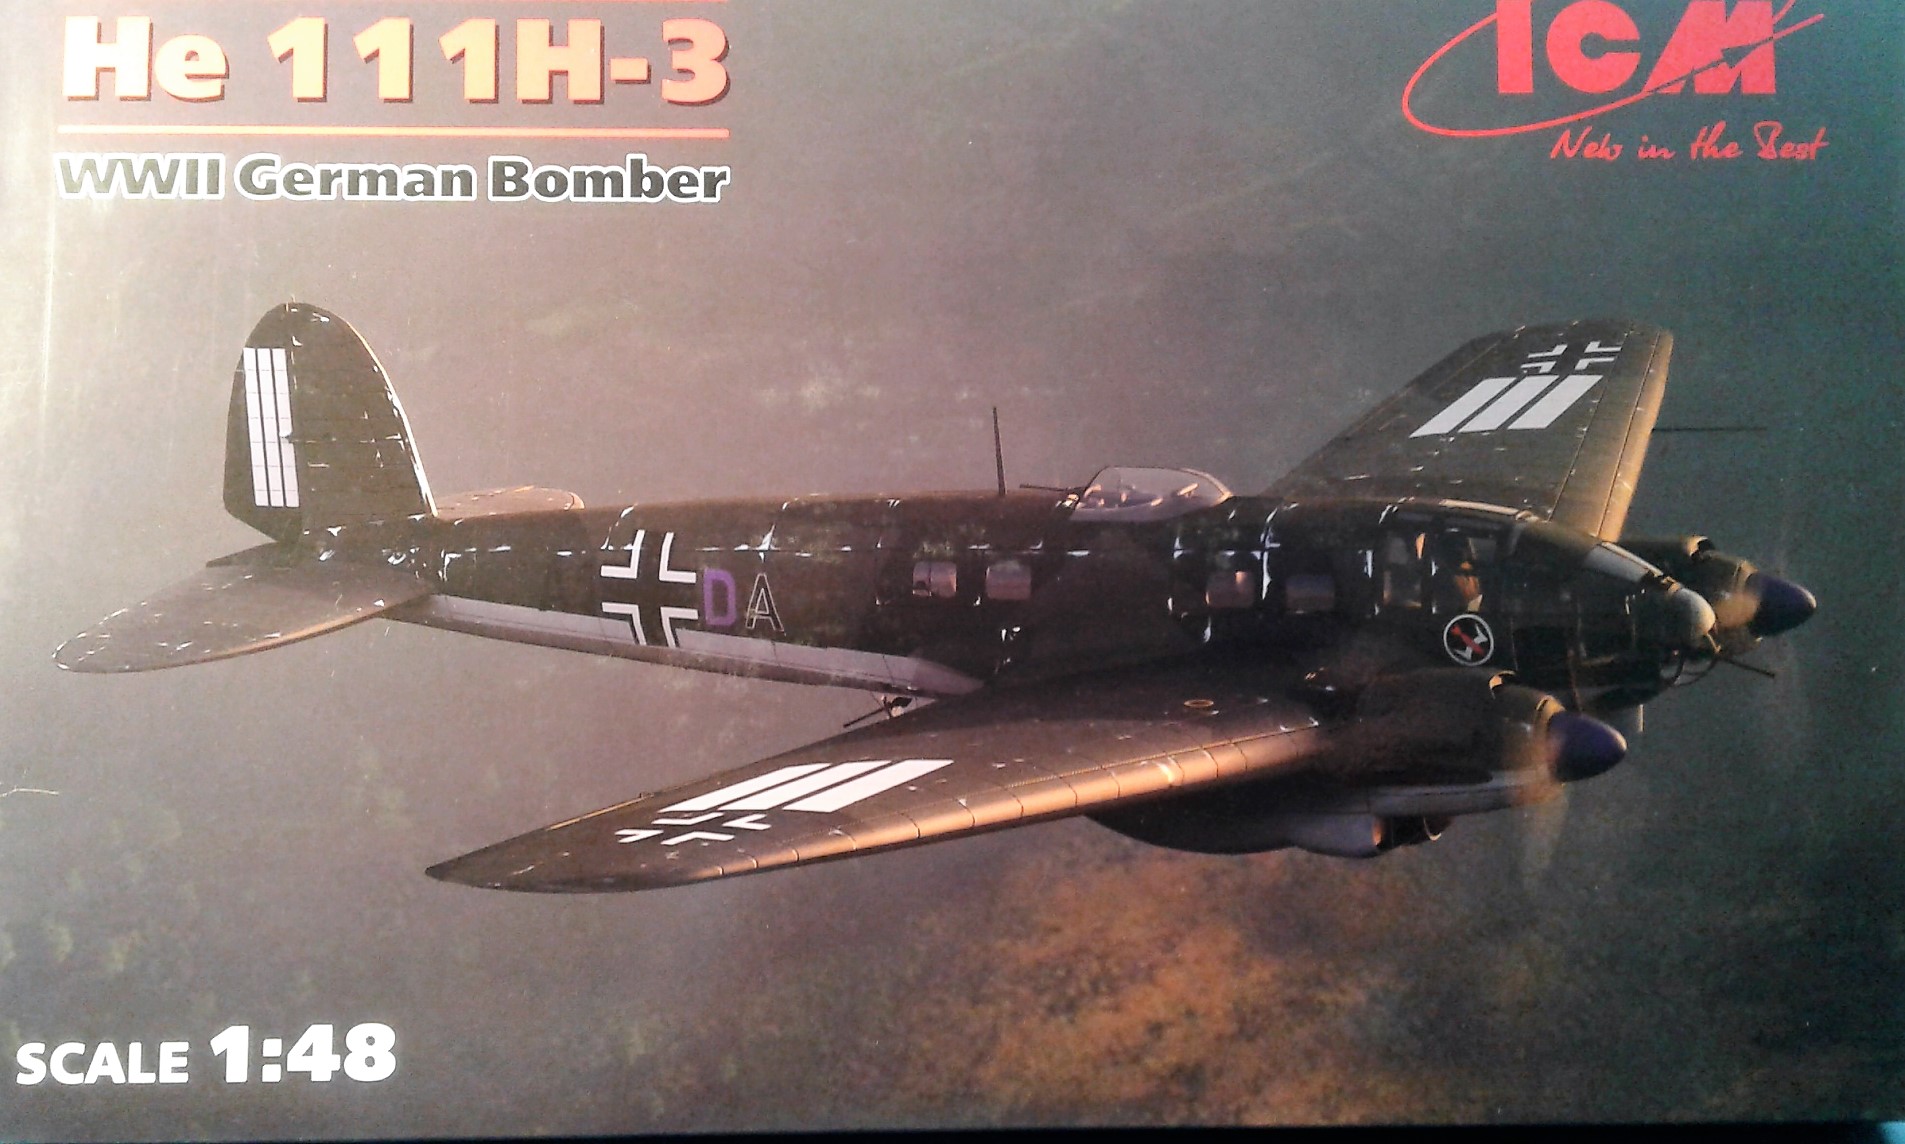
I had to check the spelling of “reckoning” first. My Forgotten Hobby III has to be perfect. For all those who have reviewed this kit on the Internet, they probably haven’t build ICM He 111H-3 because “perfect” can’t apply to this model kit.
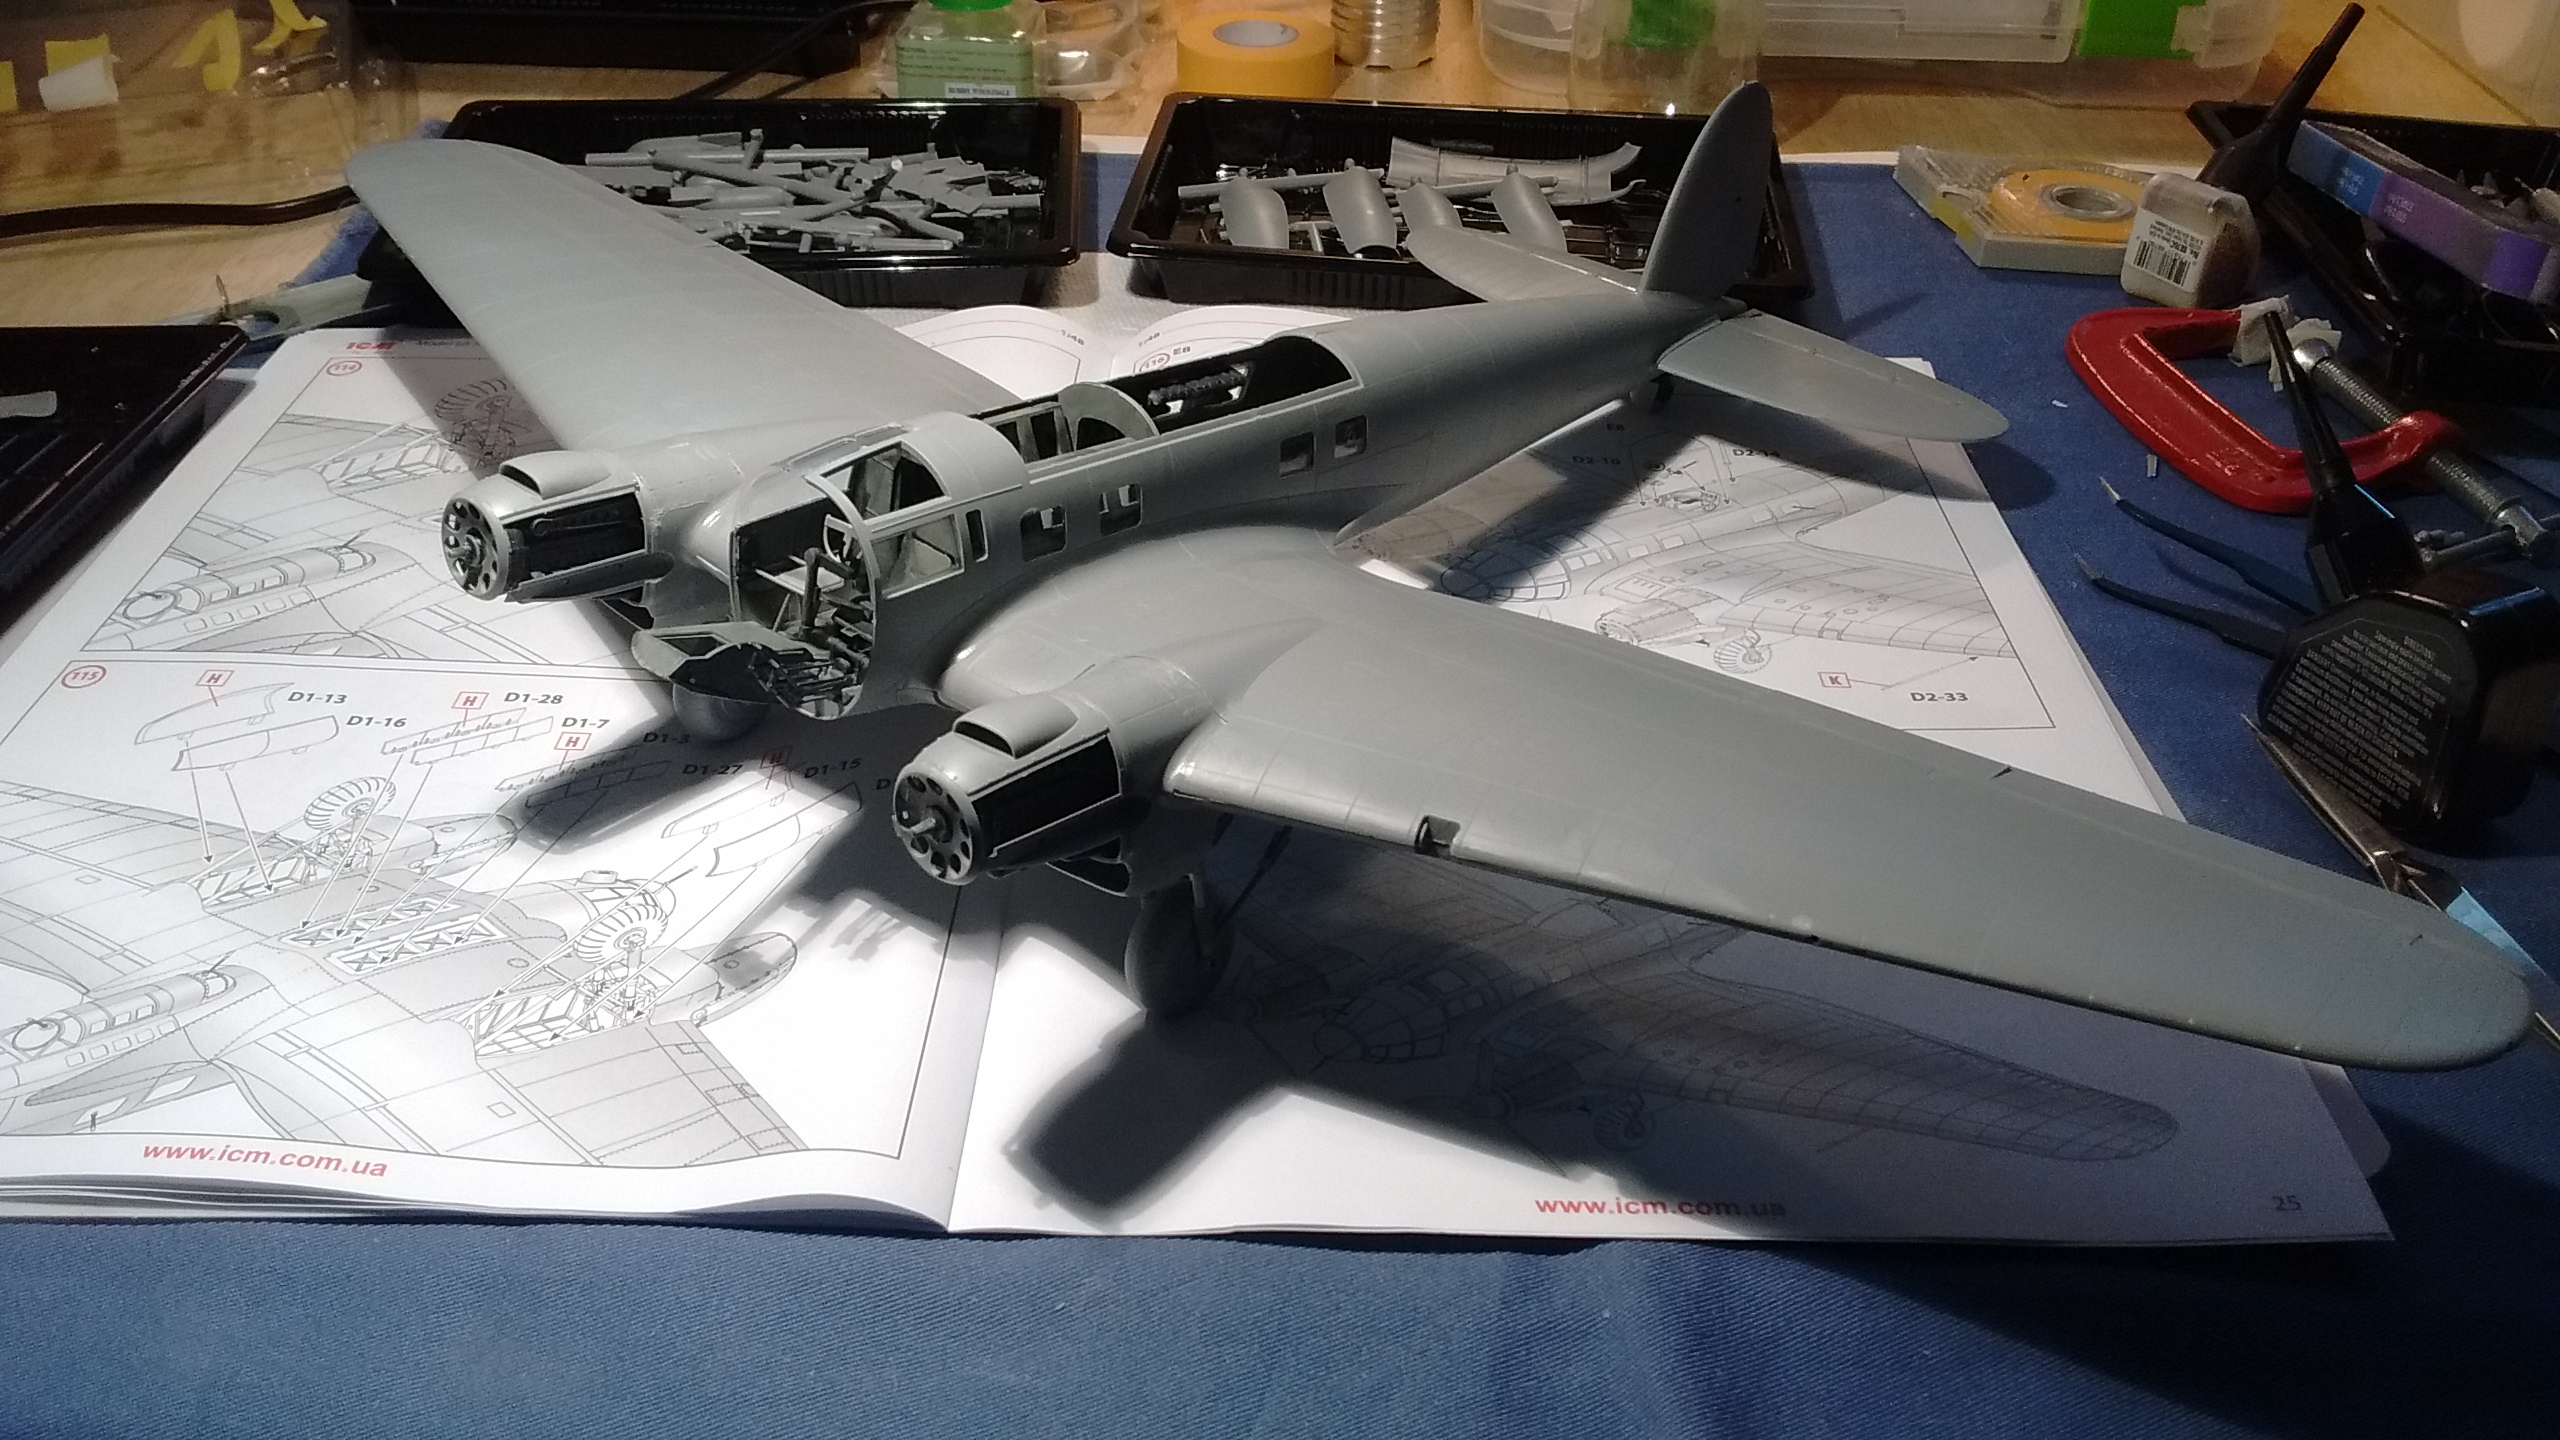
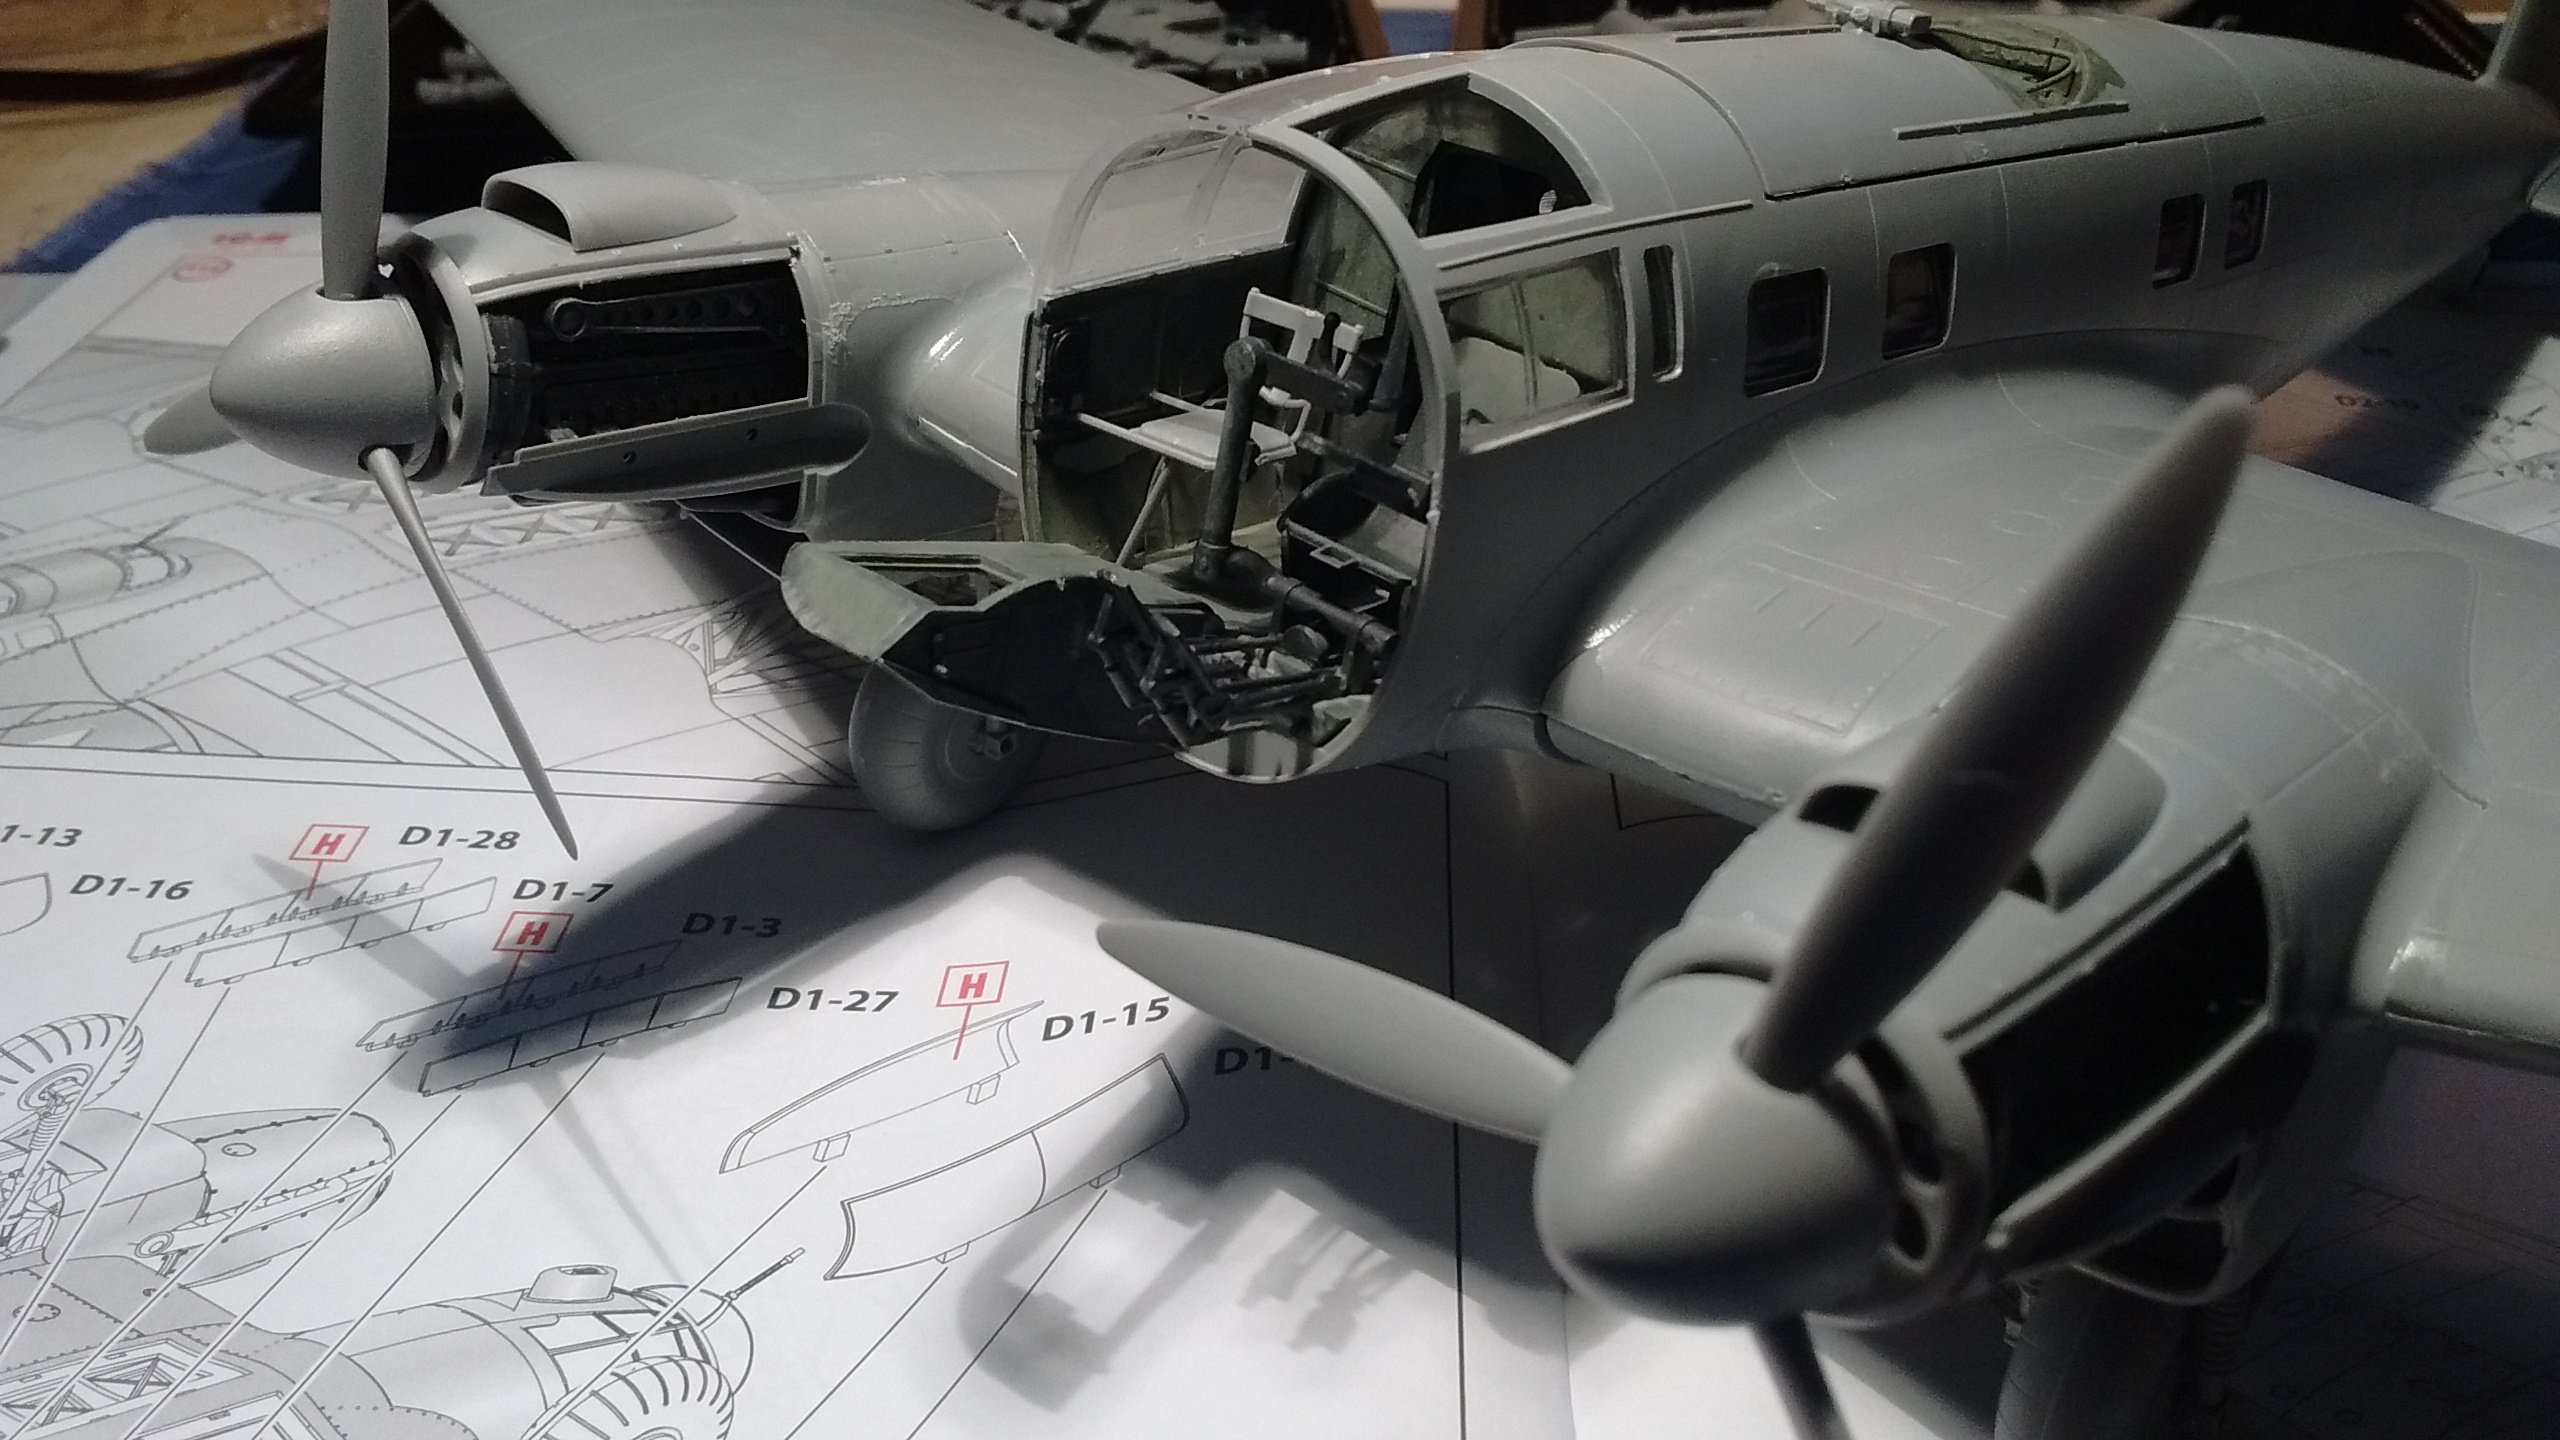
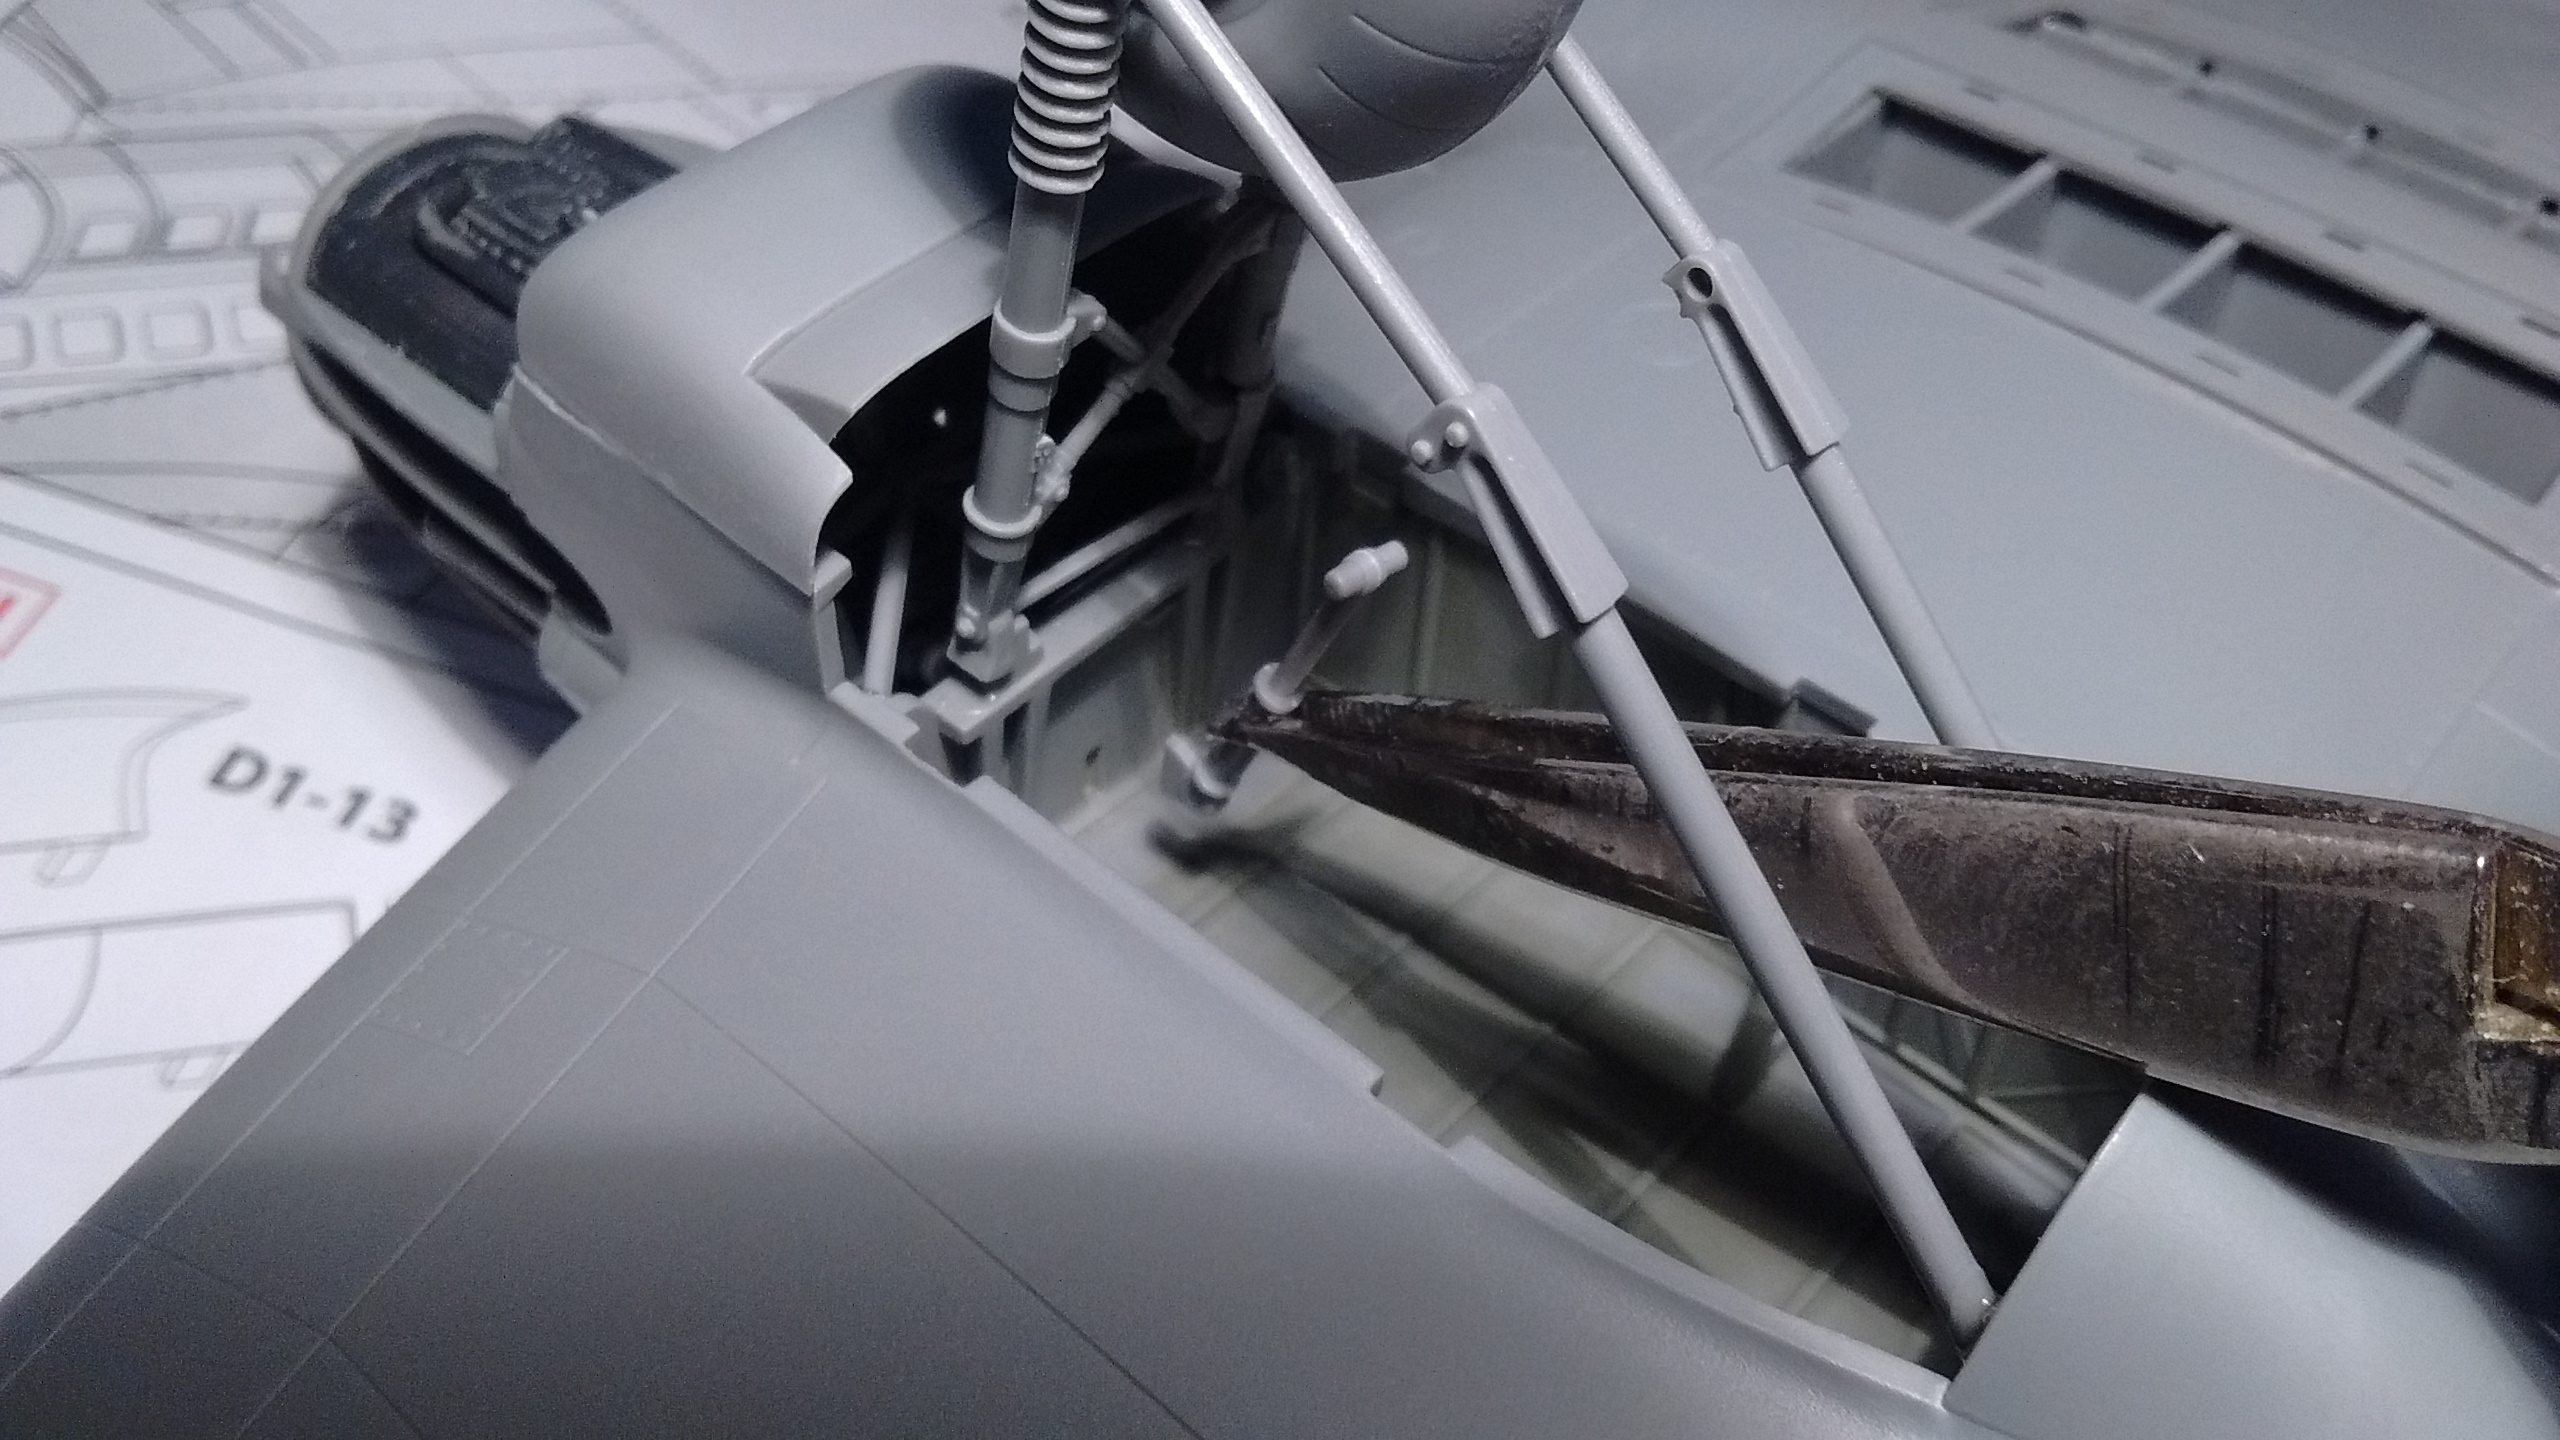
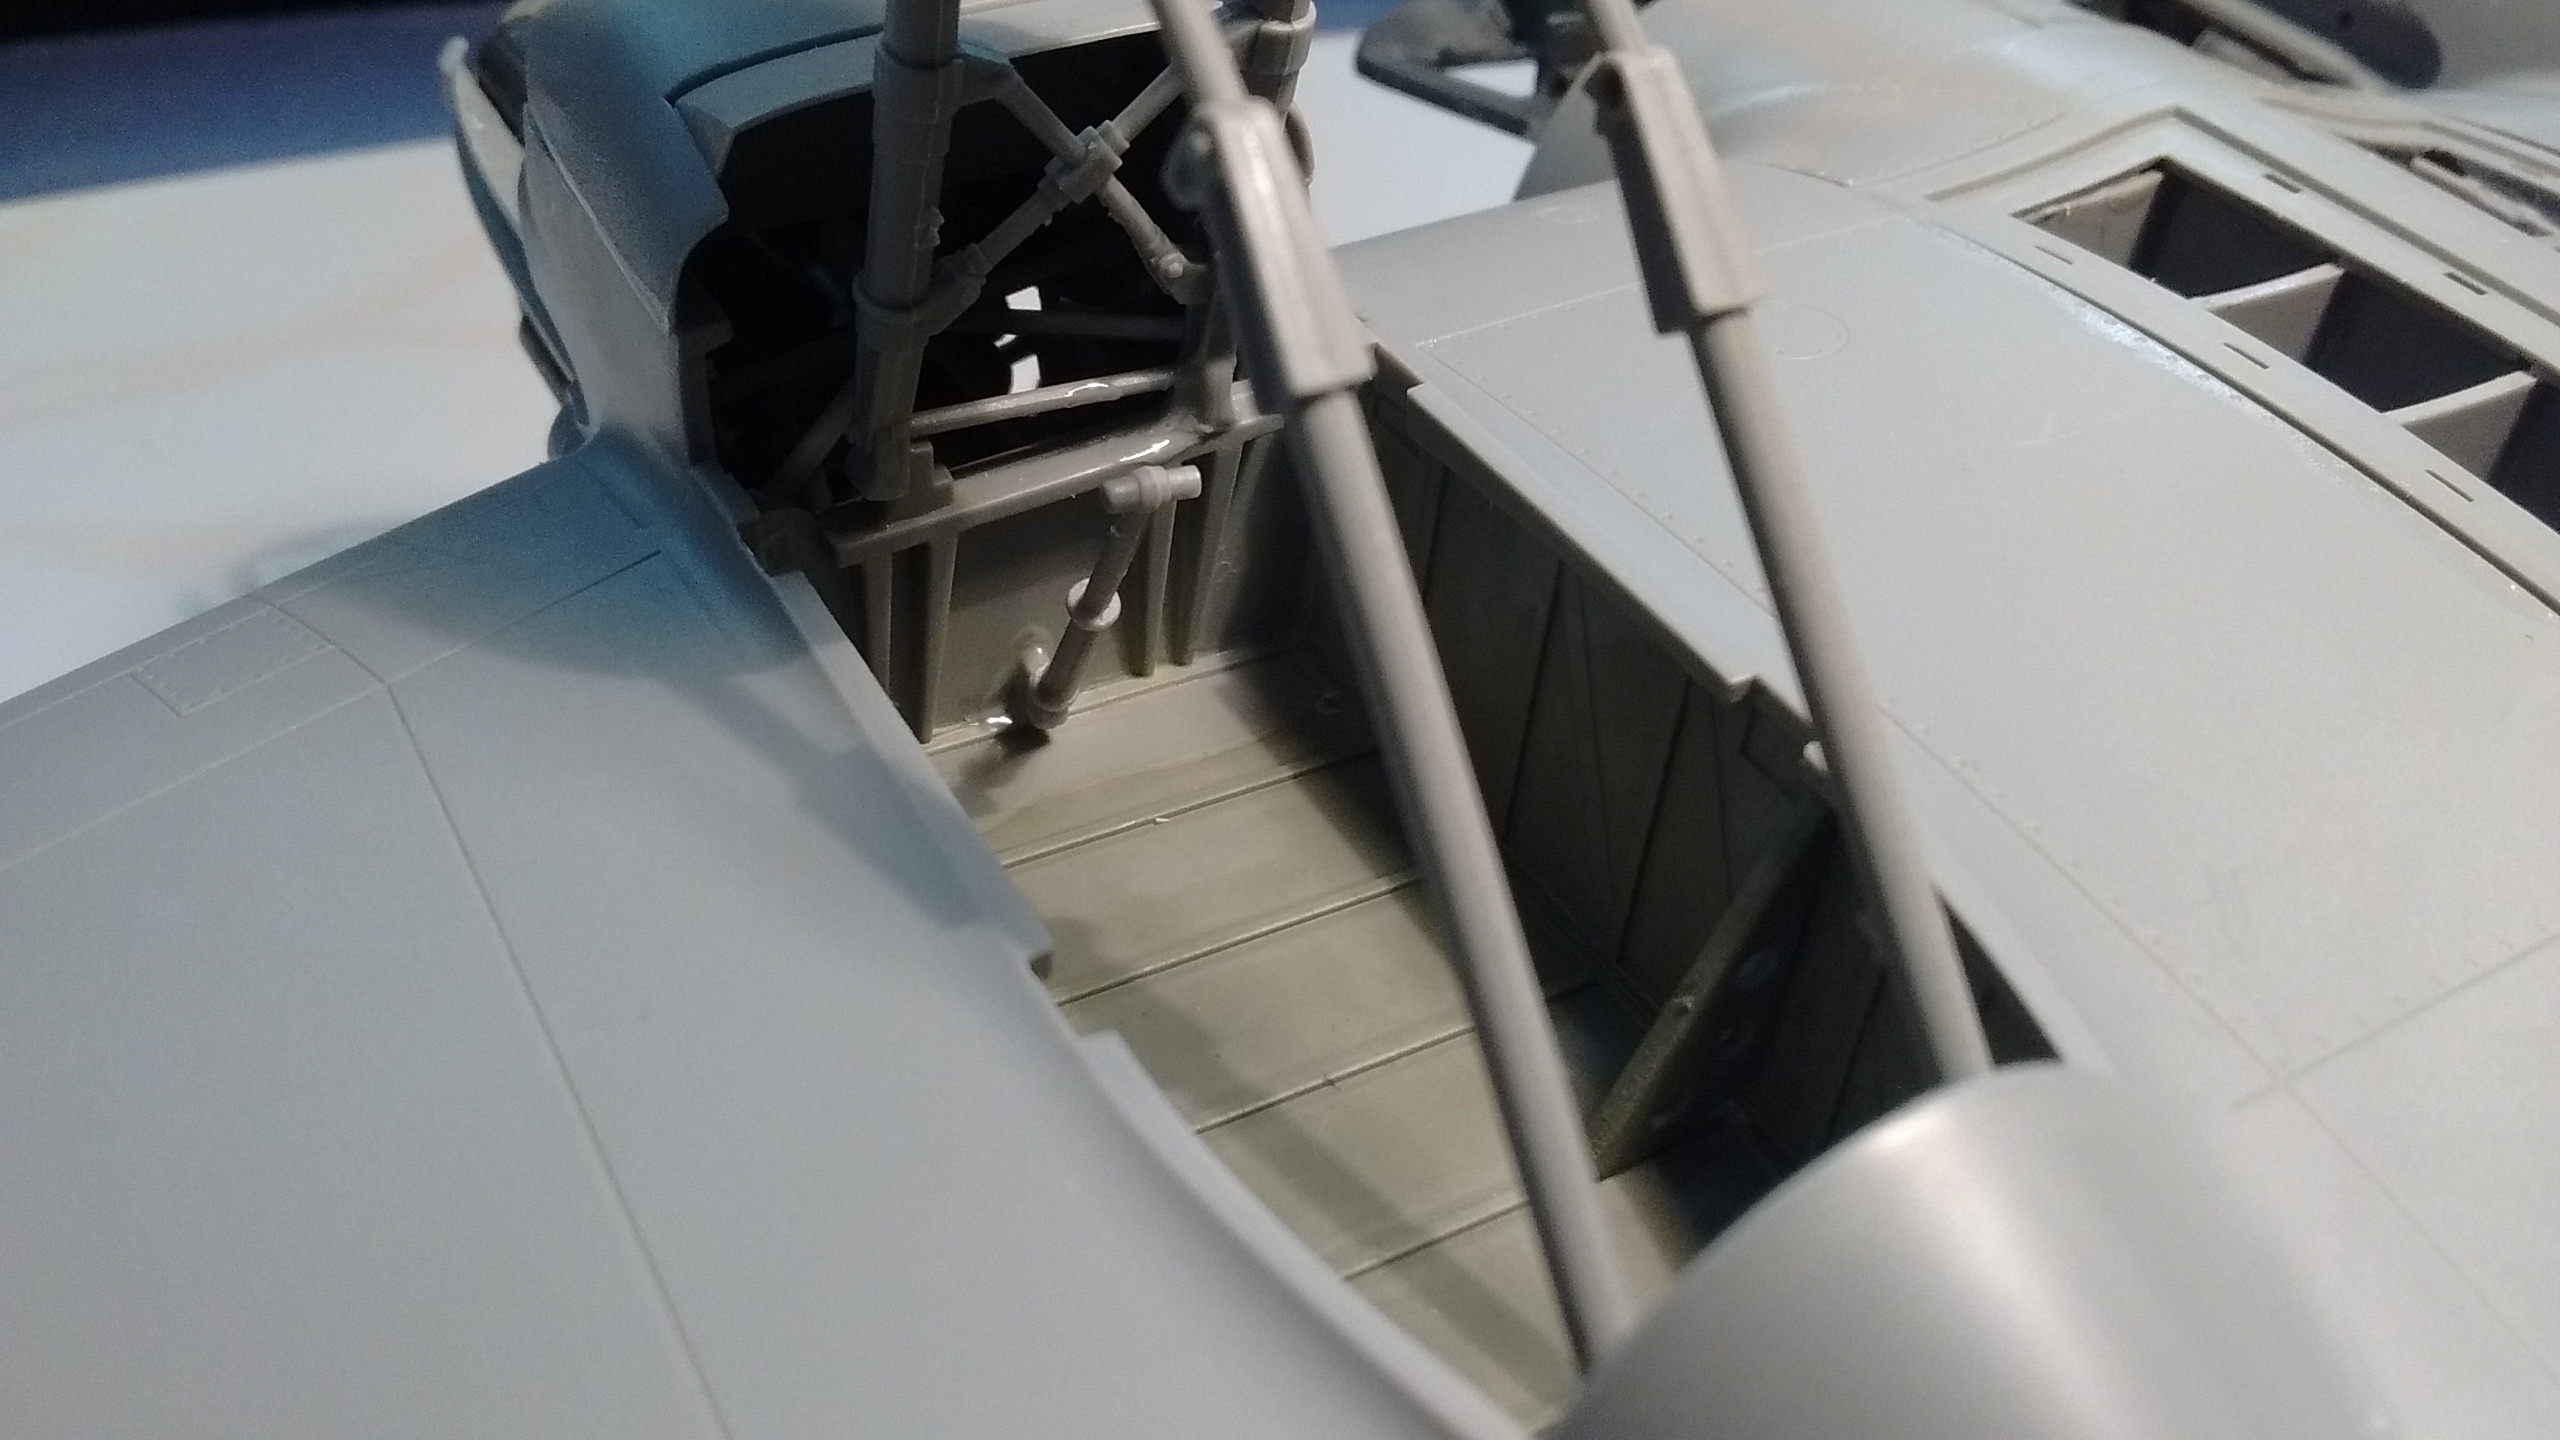
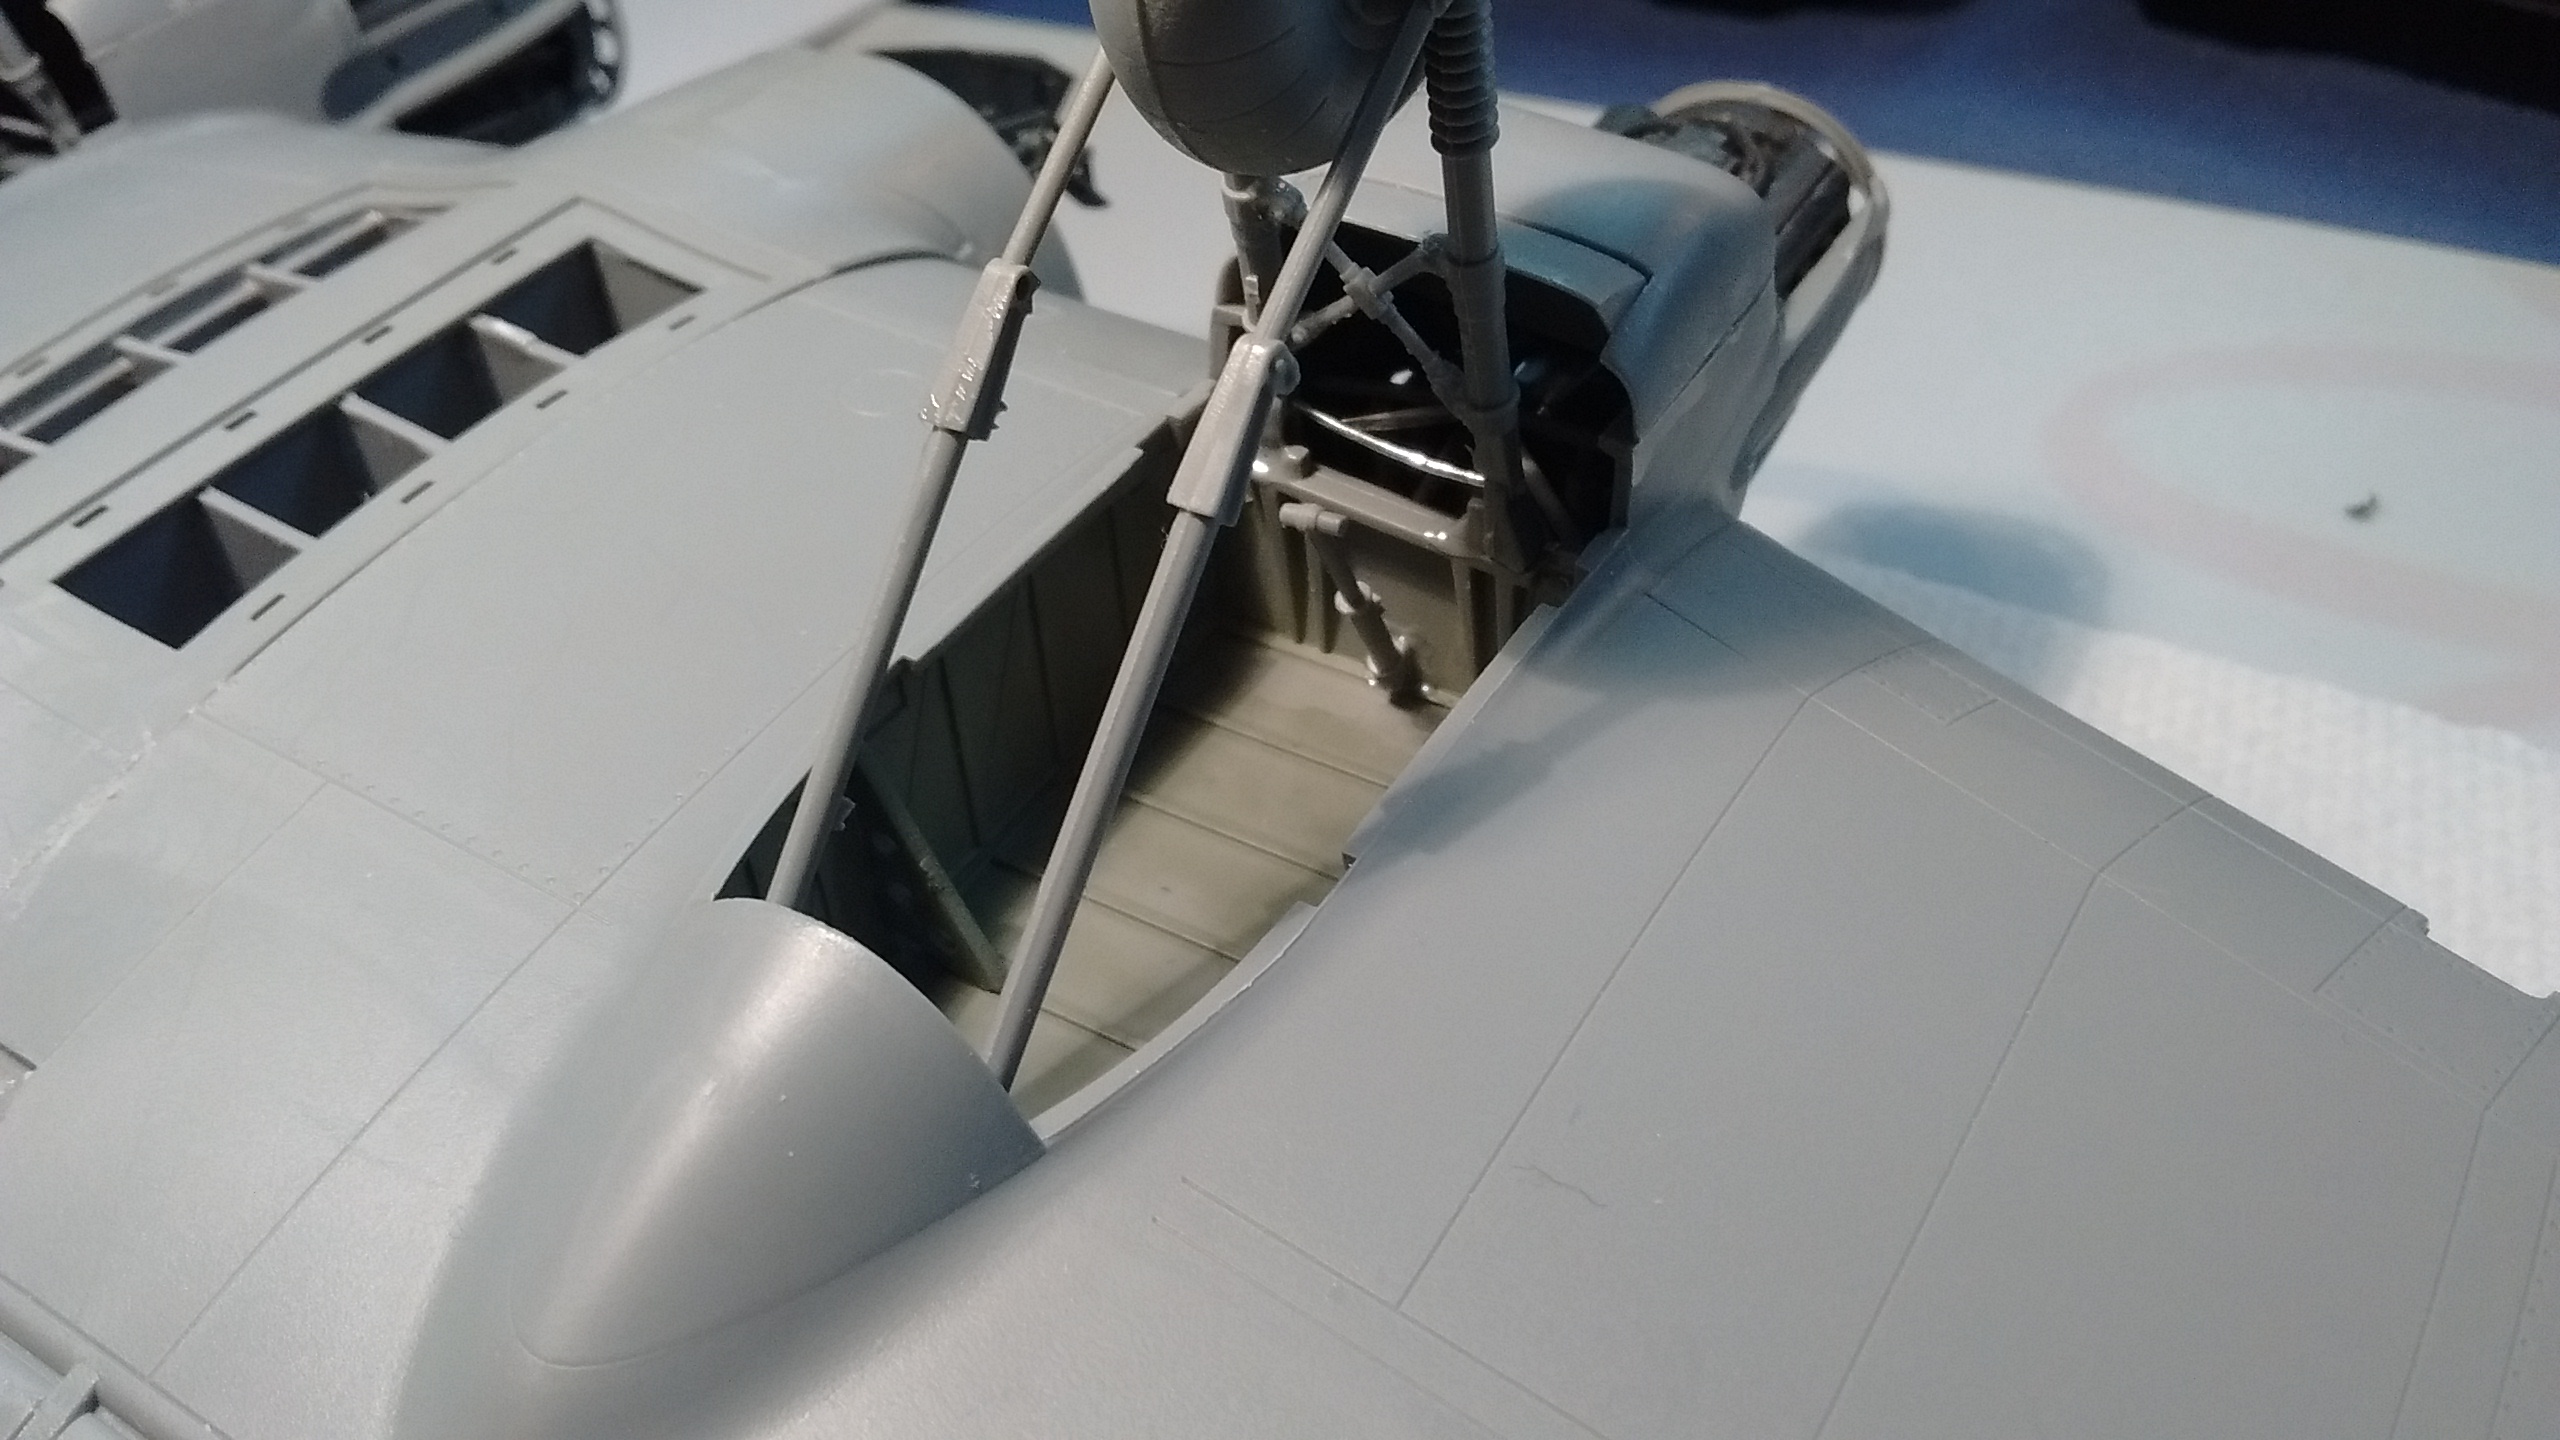
ICM He 111H-3 is quite challenging for a 71 year-old, but I will soldier on. Tomorrow I will be working on the engine nacelles and do some touch-up painting in the cockpit area, maybe even painting the engines since painting is what I like best.
We’ll see what happens.
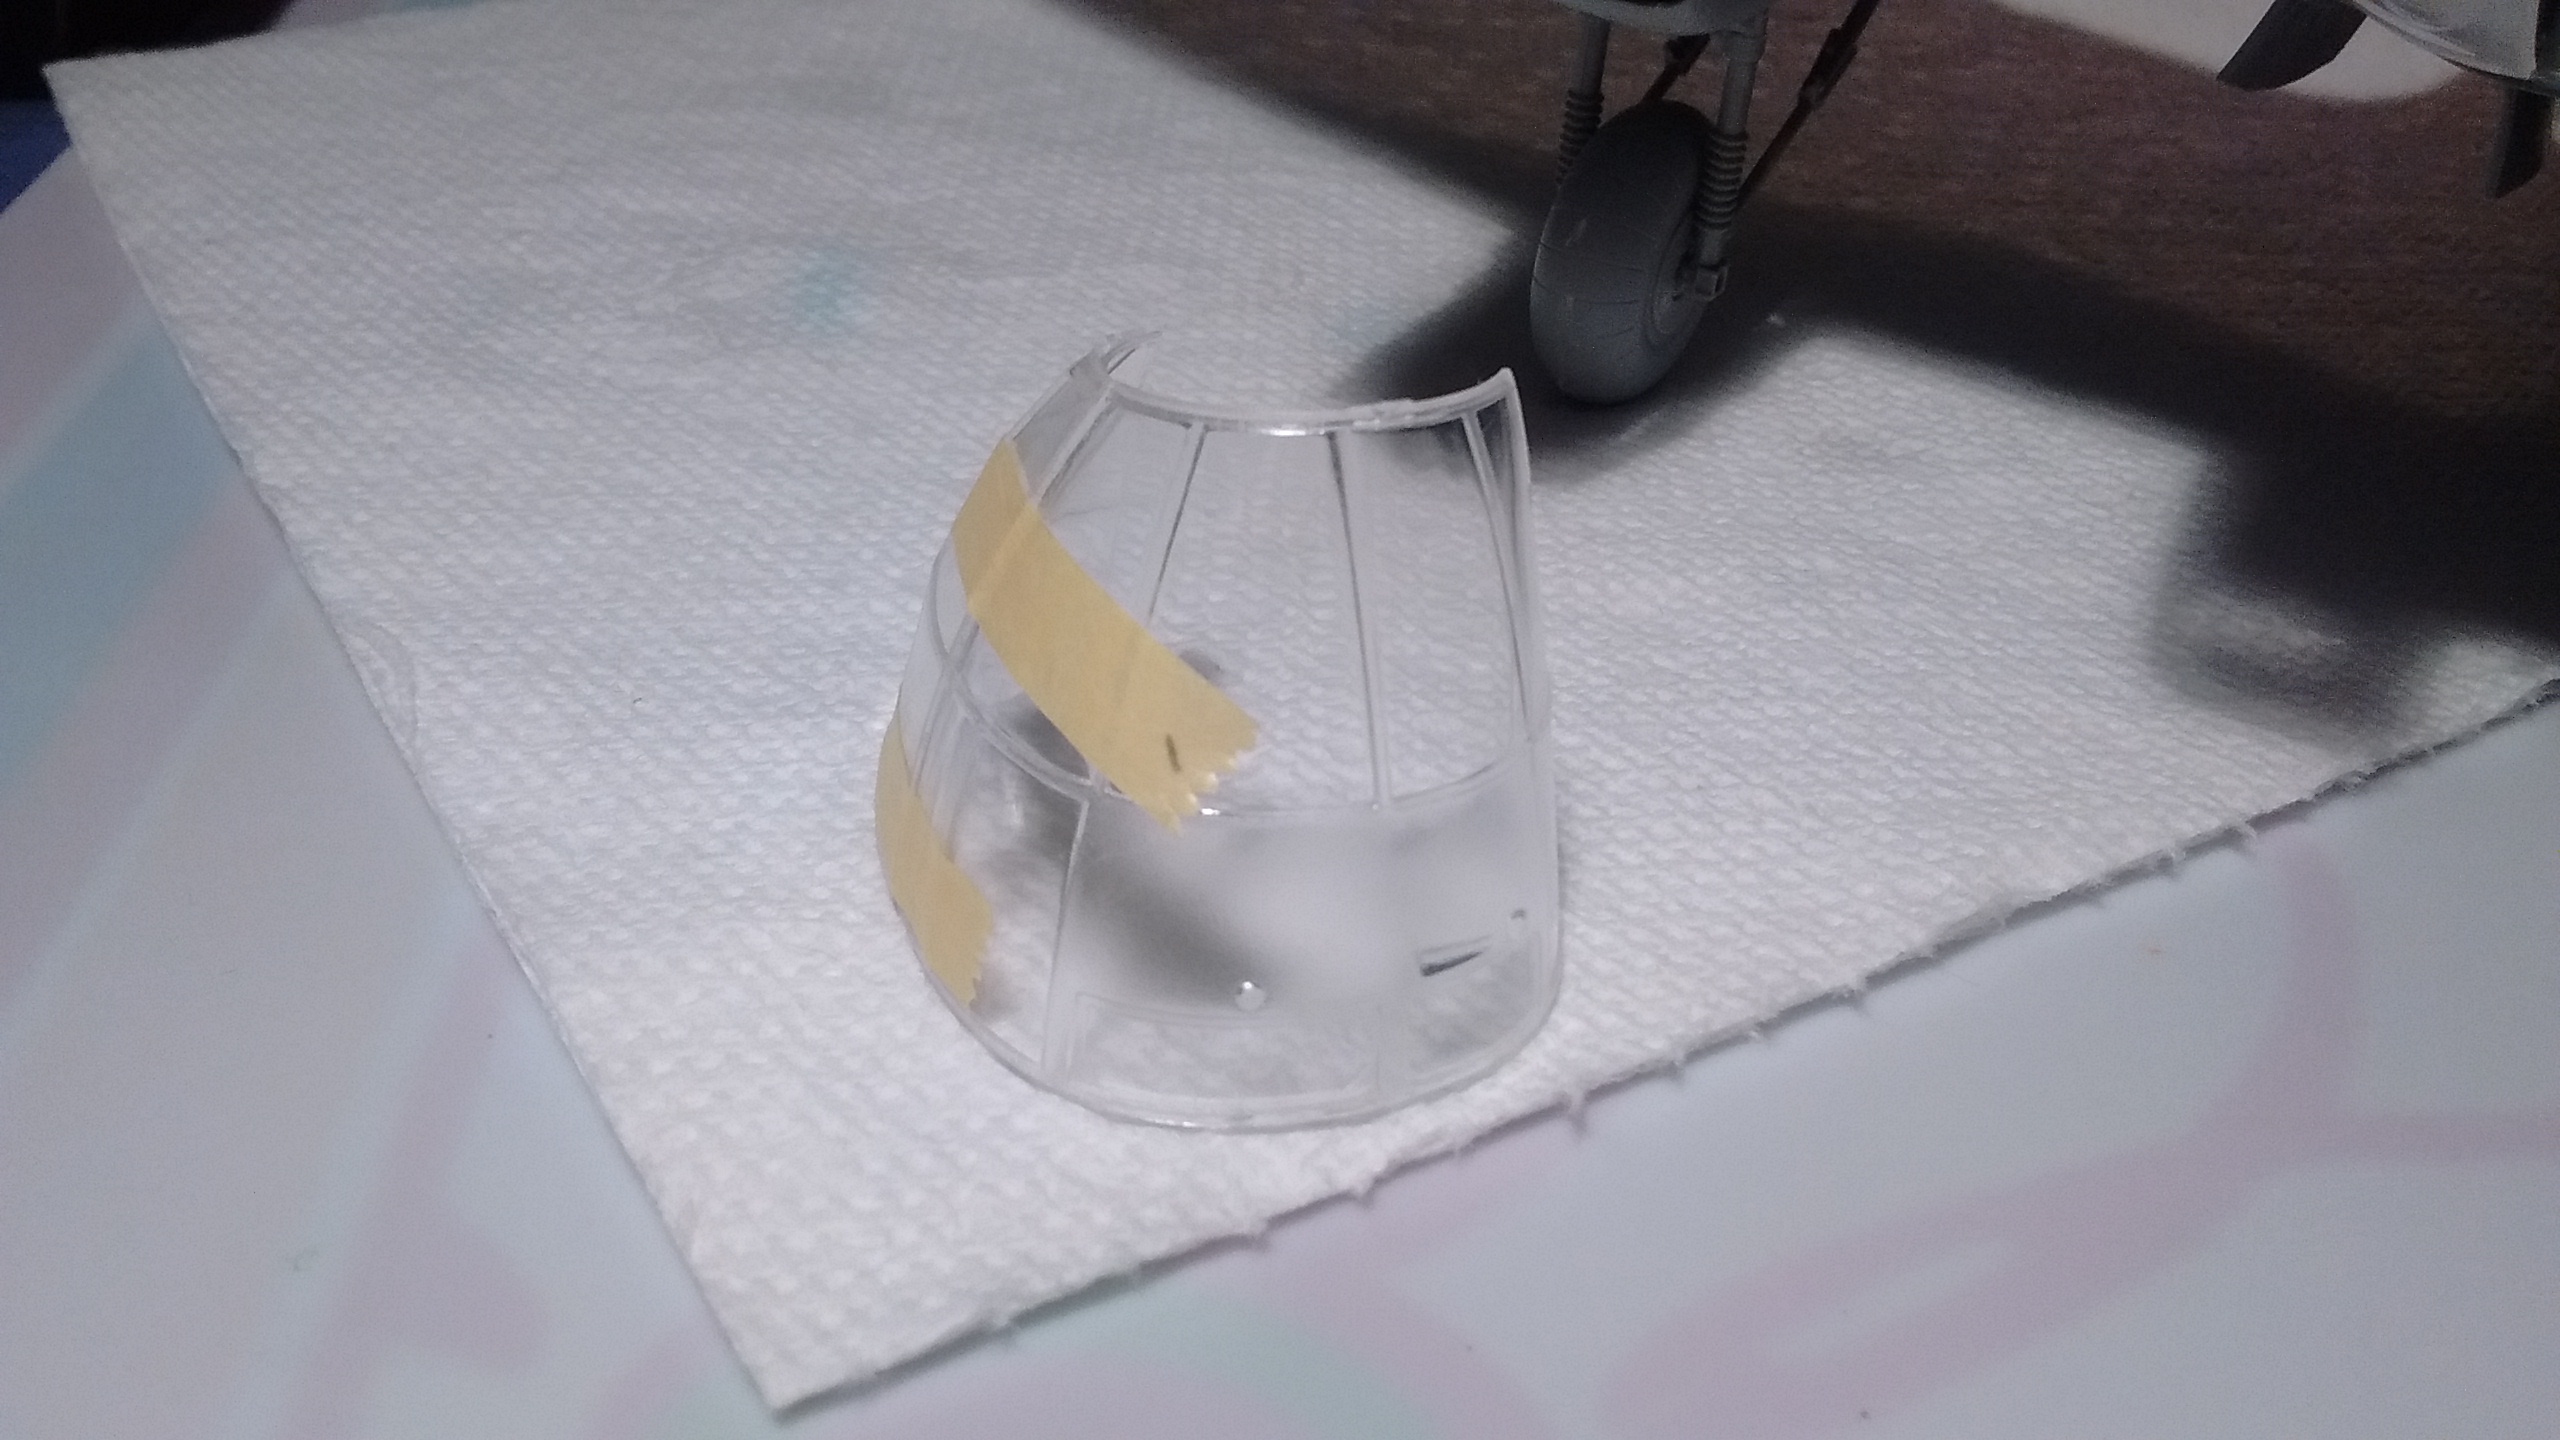
All unglued clear parts will be set aside and await masking which is probably the way to go with all the windows on that plane.
I know now what was wrong with the fit here and I am sure I can work around that problem later.
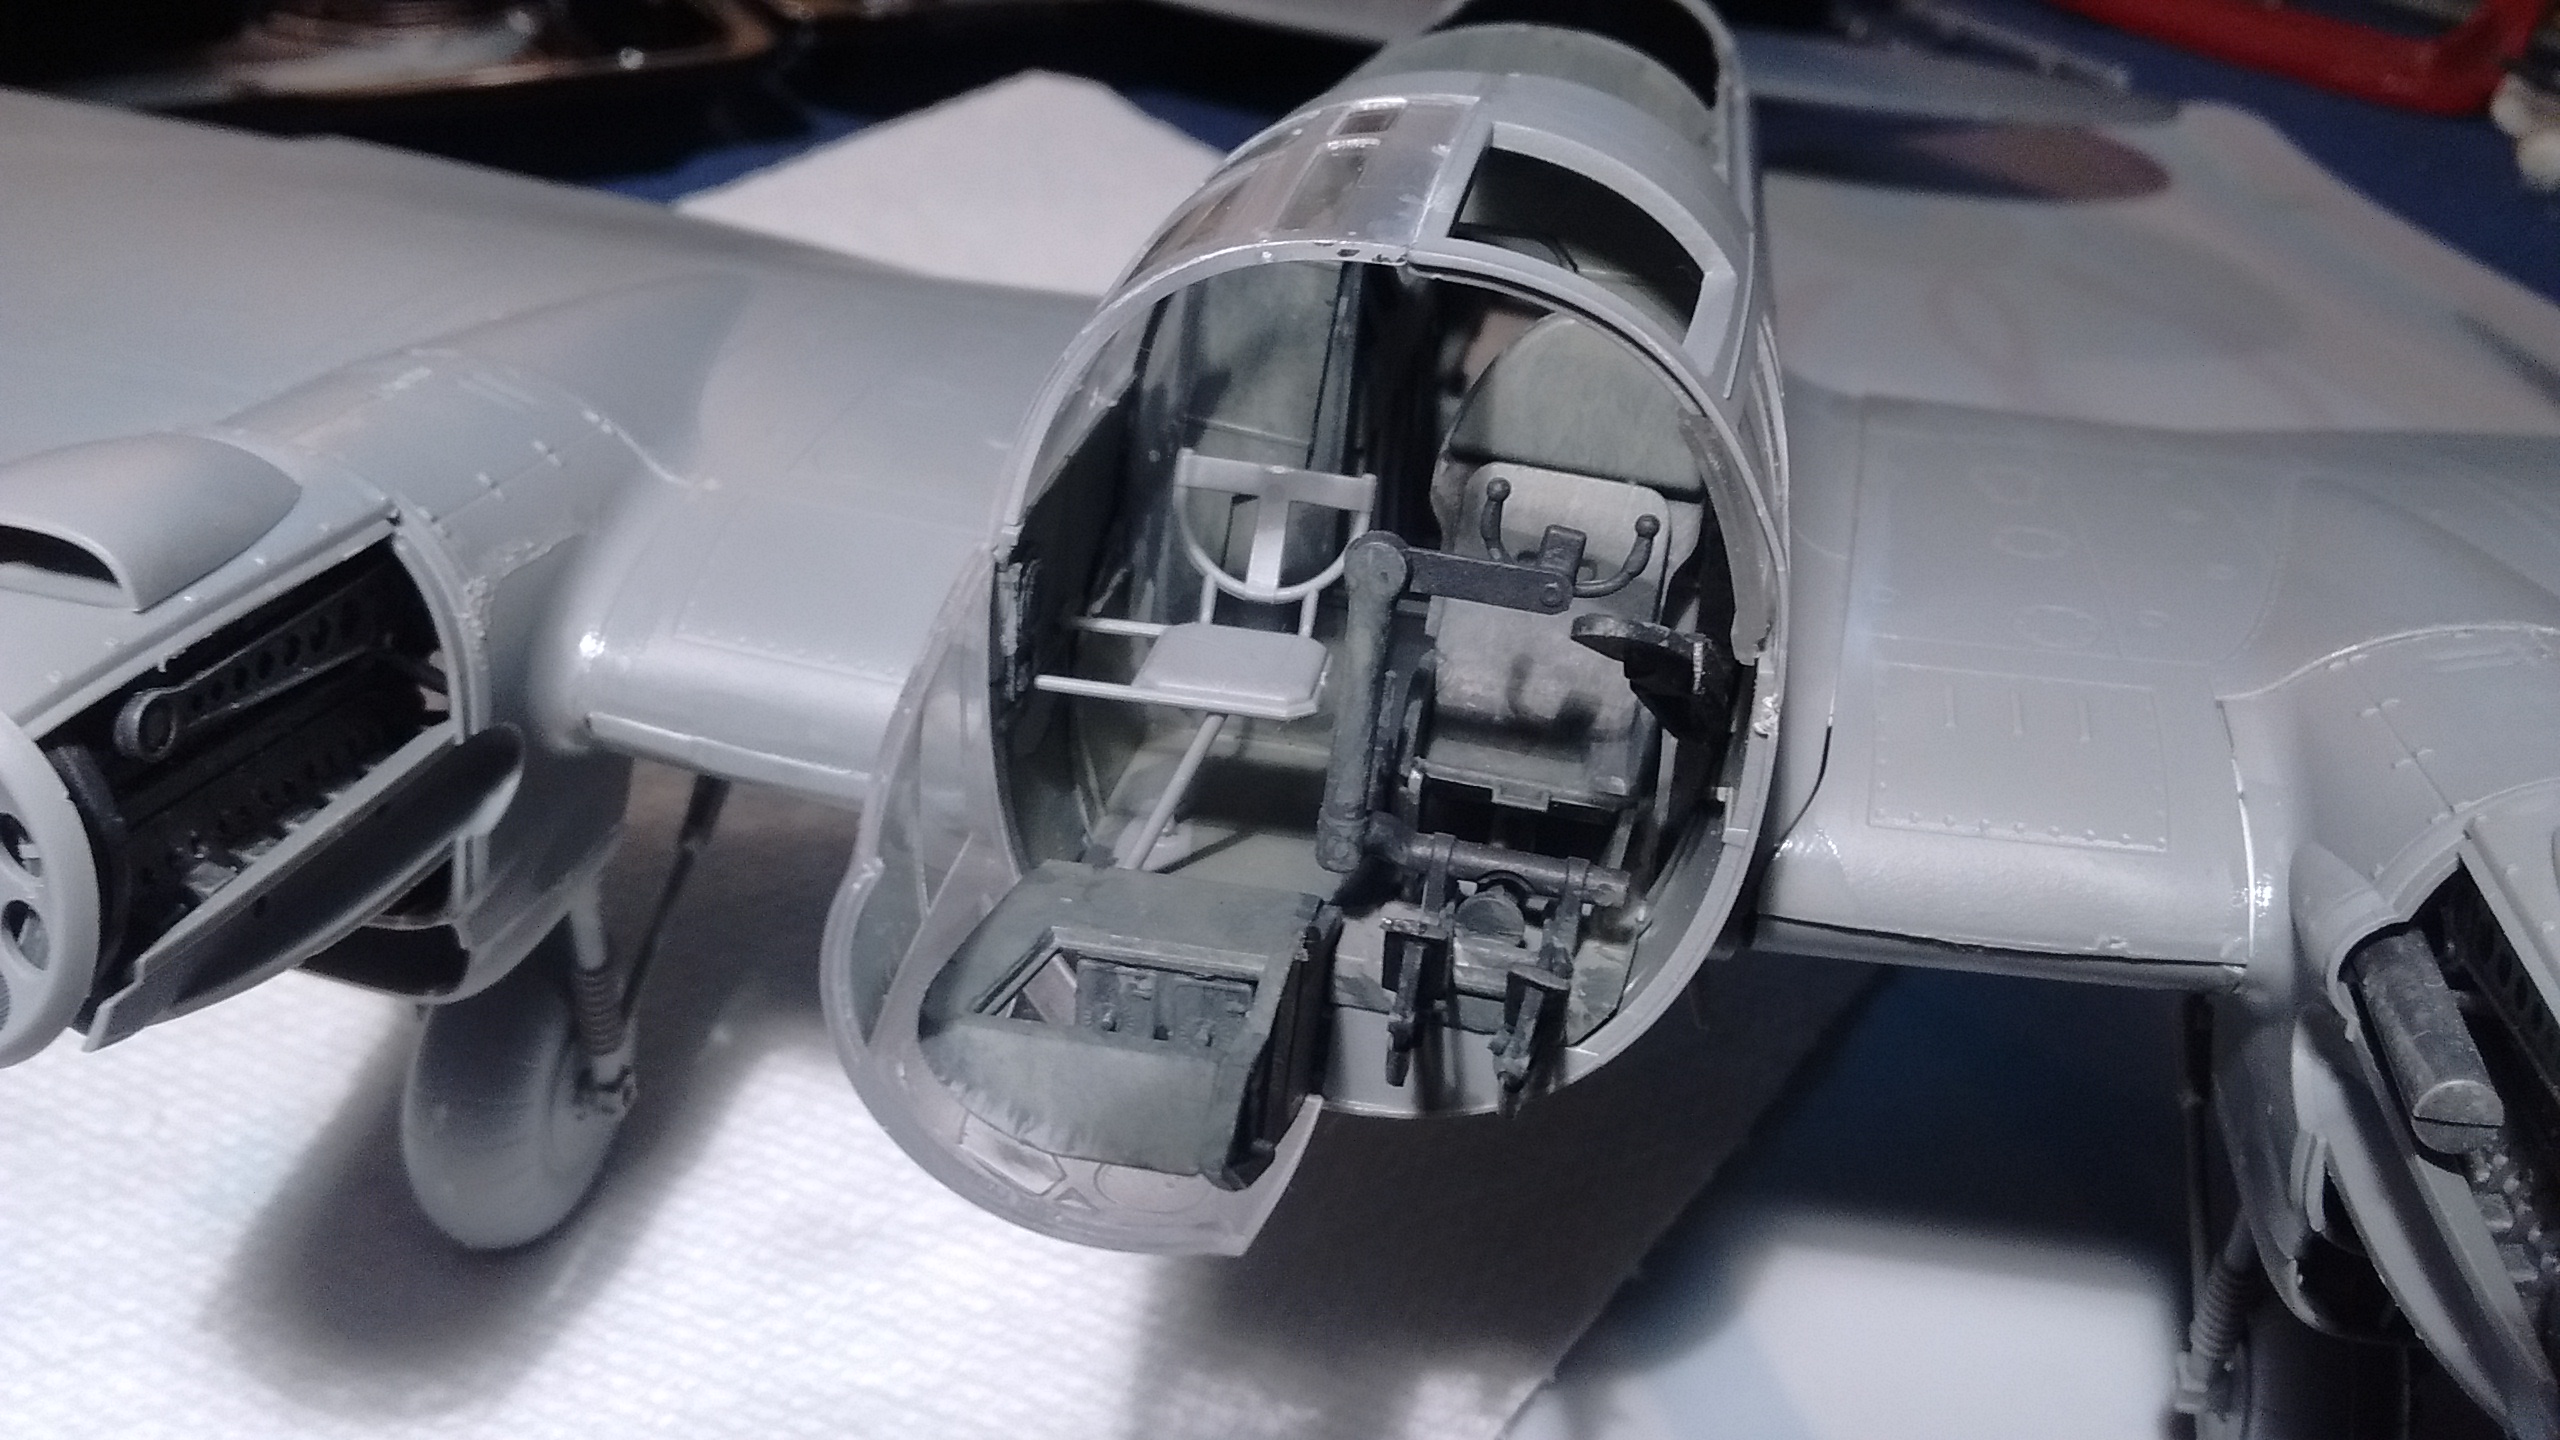
The starboard side of the He 111H-3 seems solidly attached and I will leave there.

These two other parts that were joined with masking tape were glued then set aside.

I will be checking tomorrow morning if they are still joined solid.
So much anticipation isn’t?
Tomorrow will proove prove to be just another day on My Forgotten Hobby III.
This is how I have tried to work around the problem with the instructions.

The starboard side had been glued the day before.
Then came the port side which did not fit perfectly but I glued it anyway.
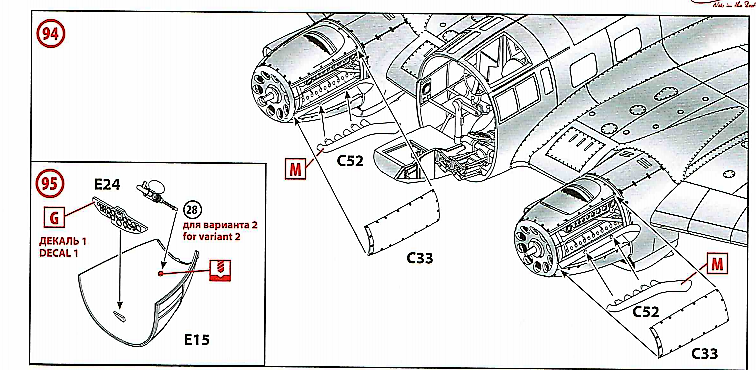
In my haste I forgot to paint the seat on the starboard side and add part E24 with the decal.
Later in the day I checked on how the glue was holding up and I was expecting the worst.
I was right!
The next steps seemed challenging enough to dry fit the parts first.
That’s where I saw problems aligning each part and gluing everything. After careful consideration I glued just one part making sure it was aligned perfectly to the front of the plane.
It was time to call it a day…


 Still unsure how to proceed I had decided again to call it a day since there is always a tomorrow on My Forgotten Hobby III. So until tomorrow here are some more pictures I took yesterday…