Month: April 2020
Albion AM463
That fuel truck has so much character!
Its time once again for a look at the scintillating world of airport service vehicles.

Let’s take a look at an early-War fuel truck that served a critical need at a desperate time.
View original post 317 more words
Trumpeter Vickers Wellington Mk X – Progress report – Step 13?
Step 13

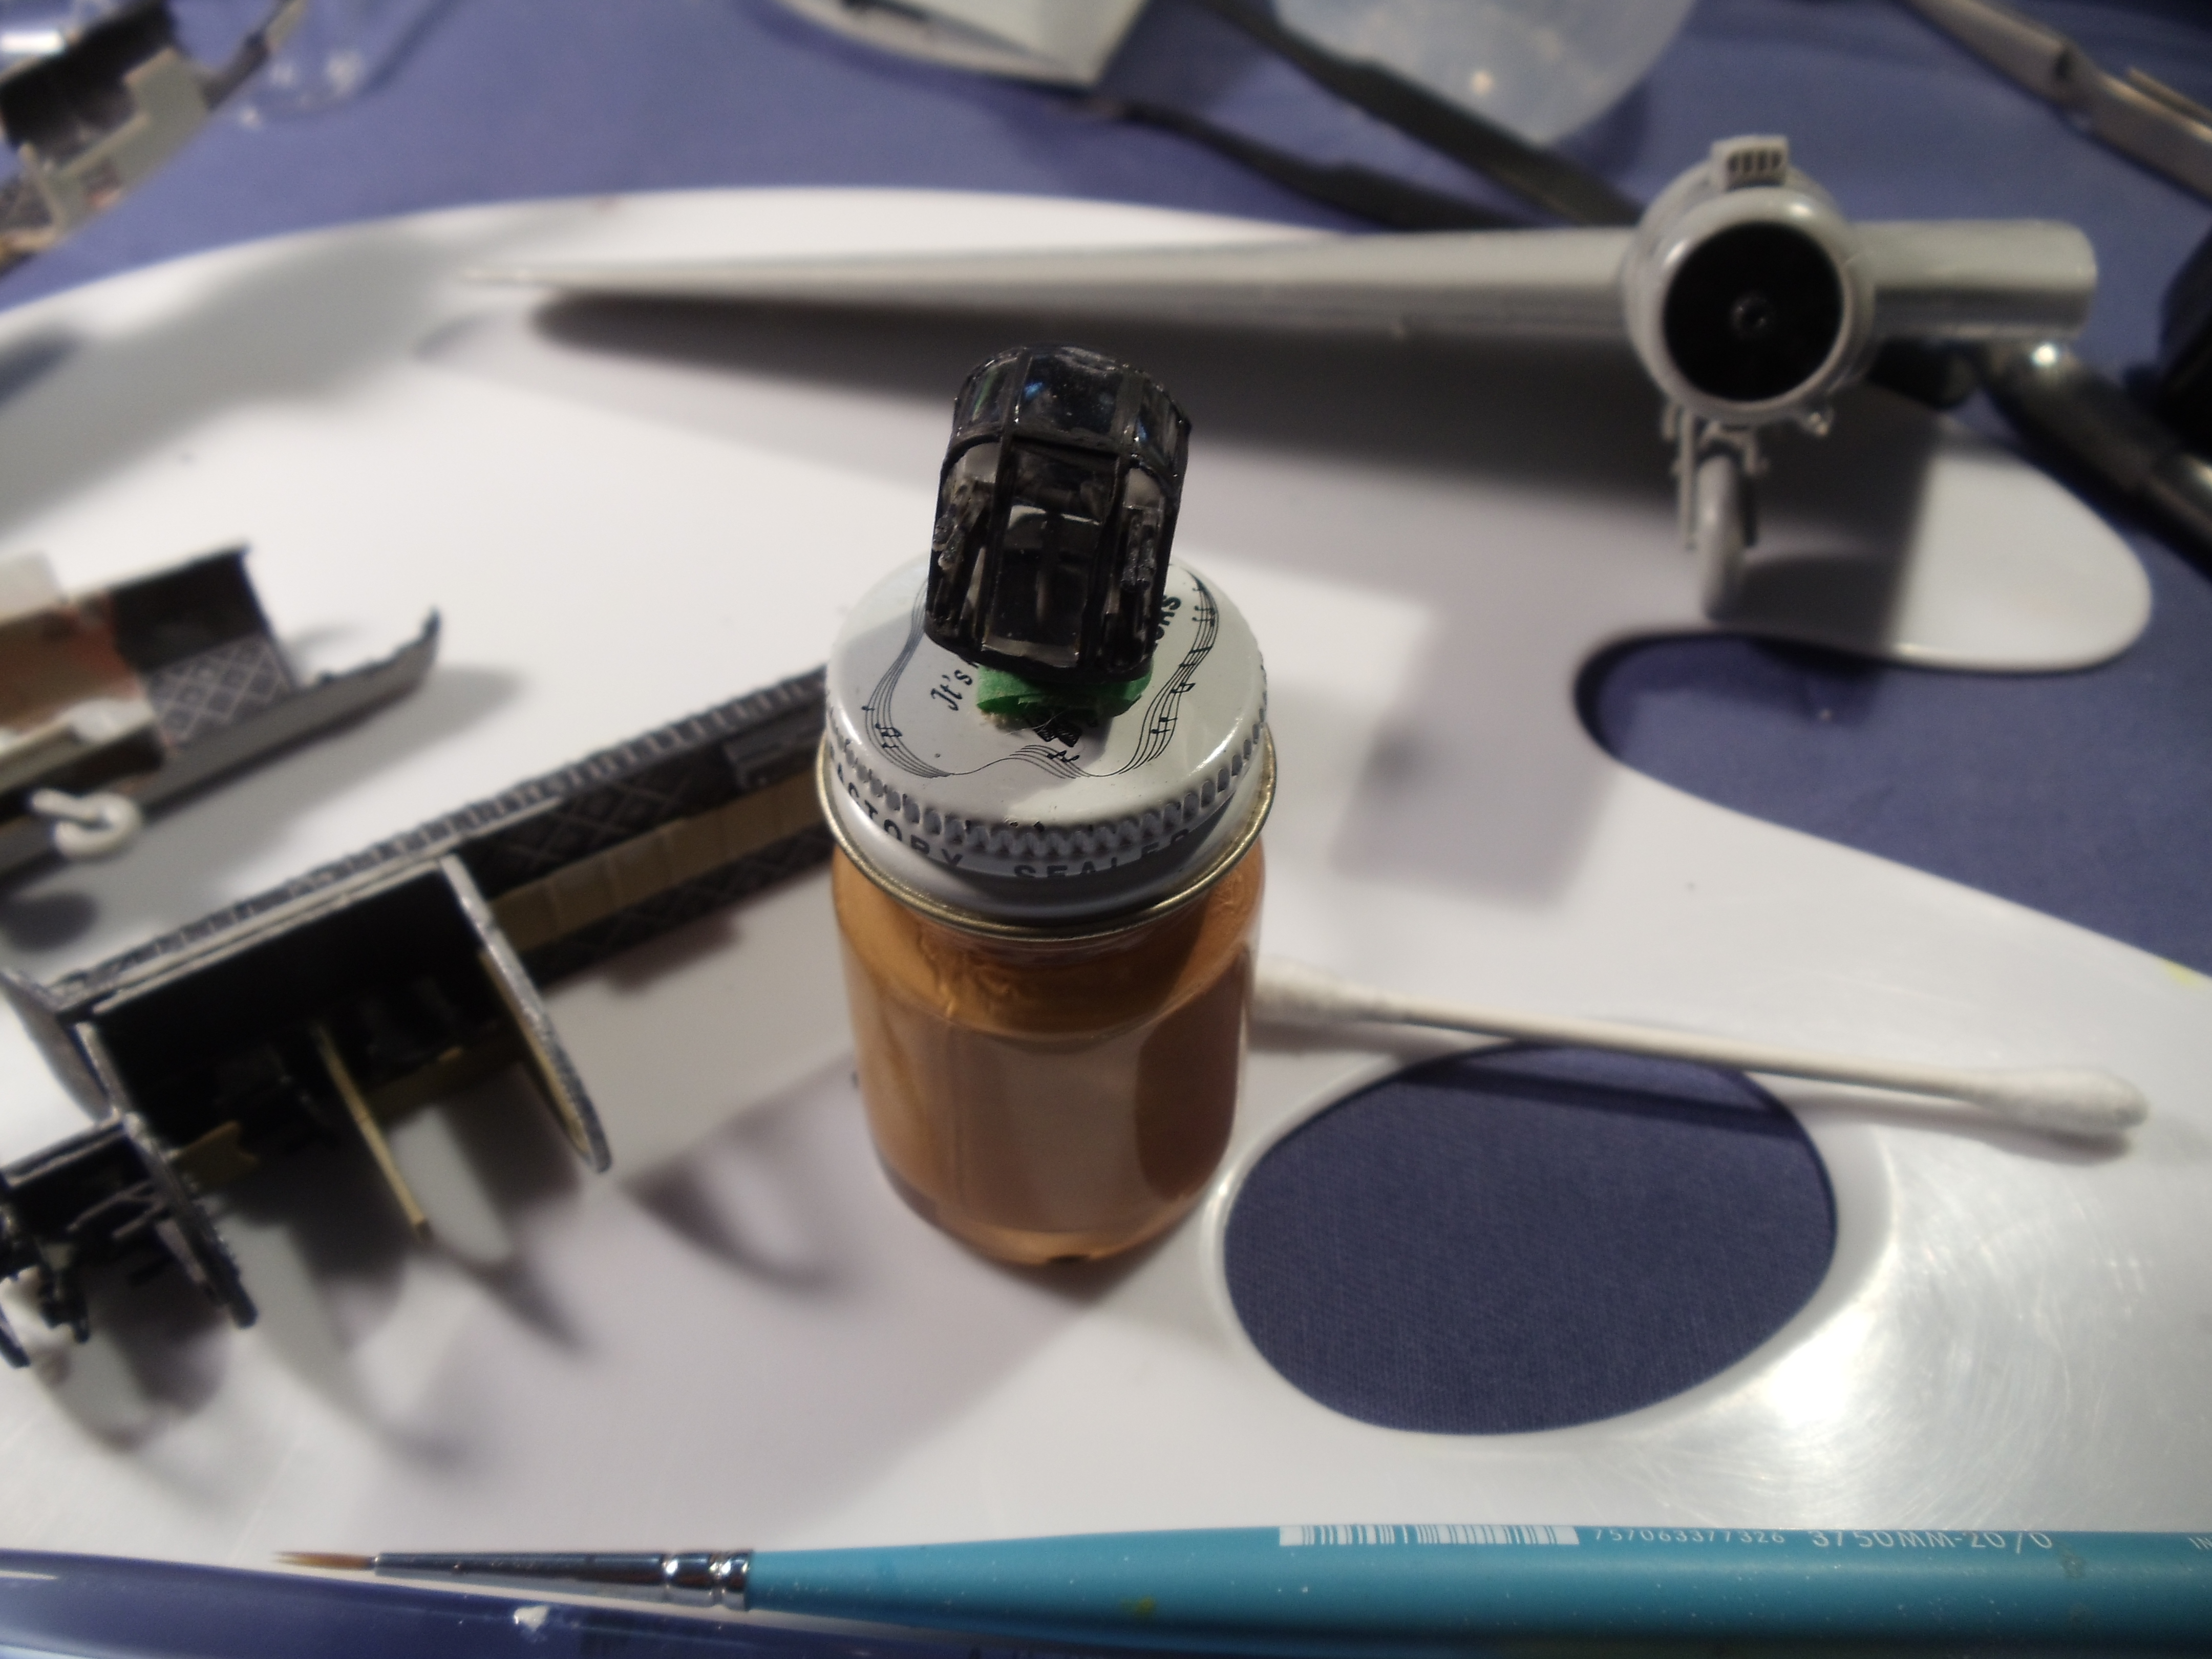
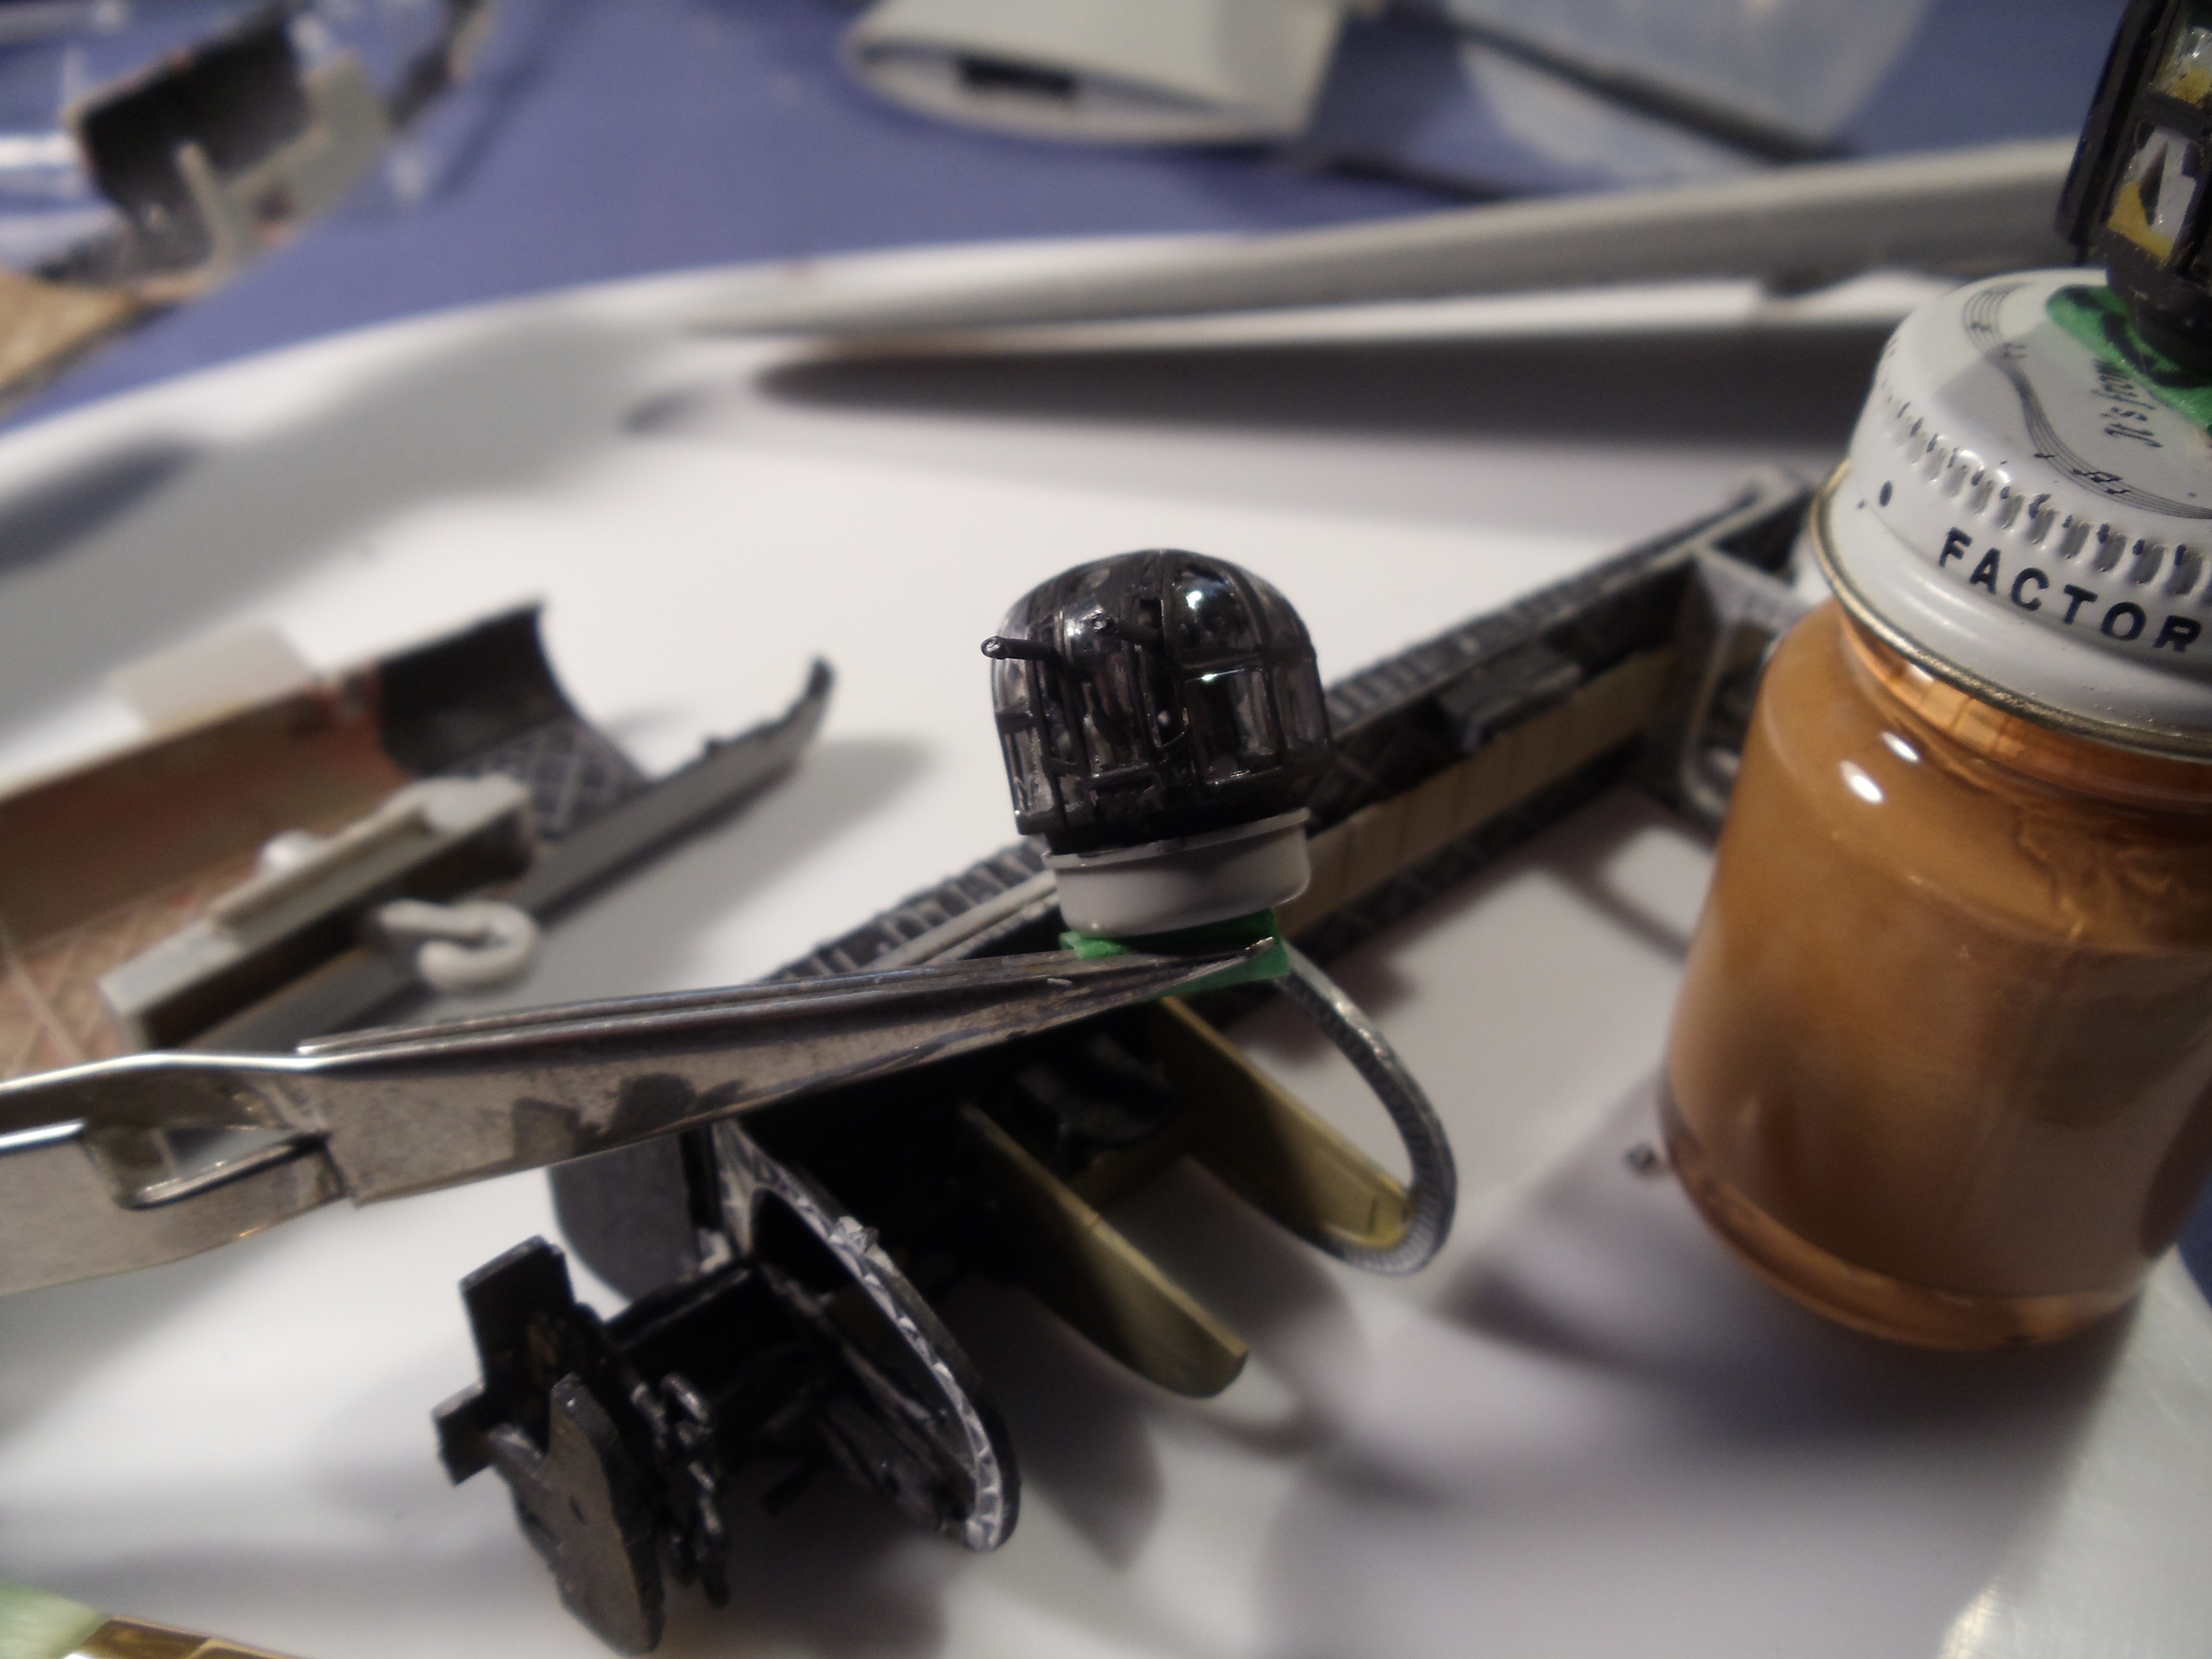
Not quite since I had to paint the frames on the gun turrets and was in need of some inspiration…

I then proceeded using the paint and scape with a cocktail toothpick later


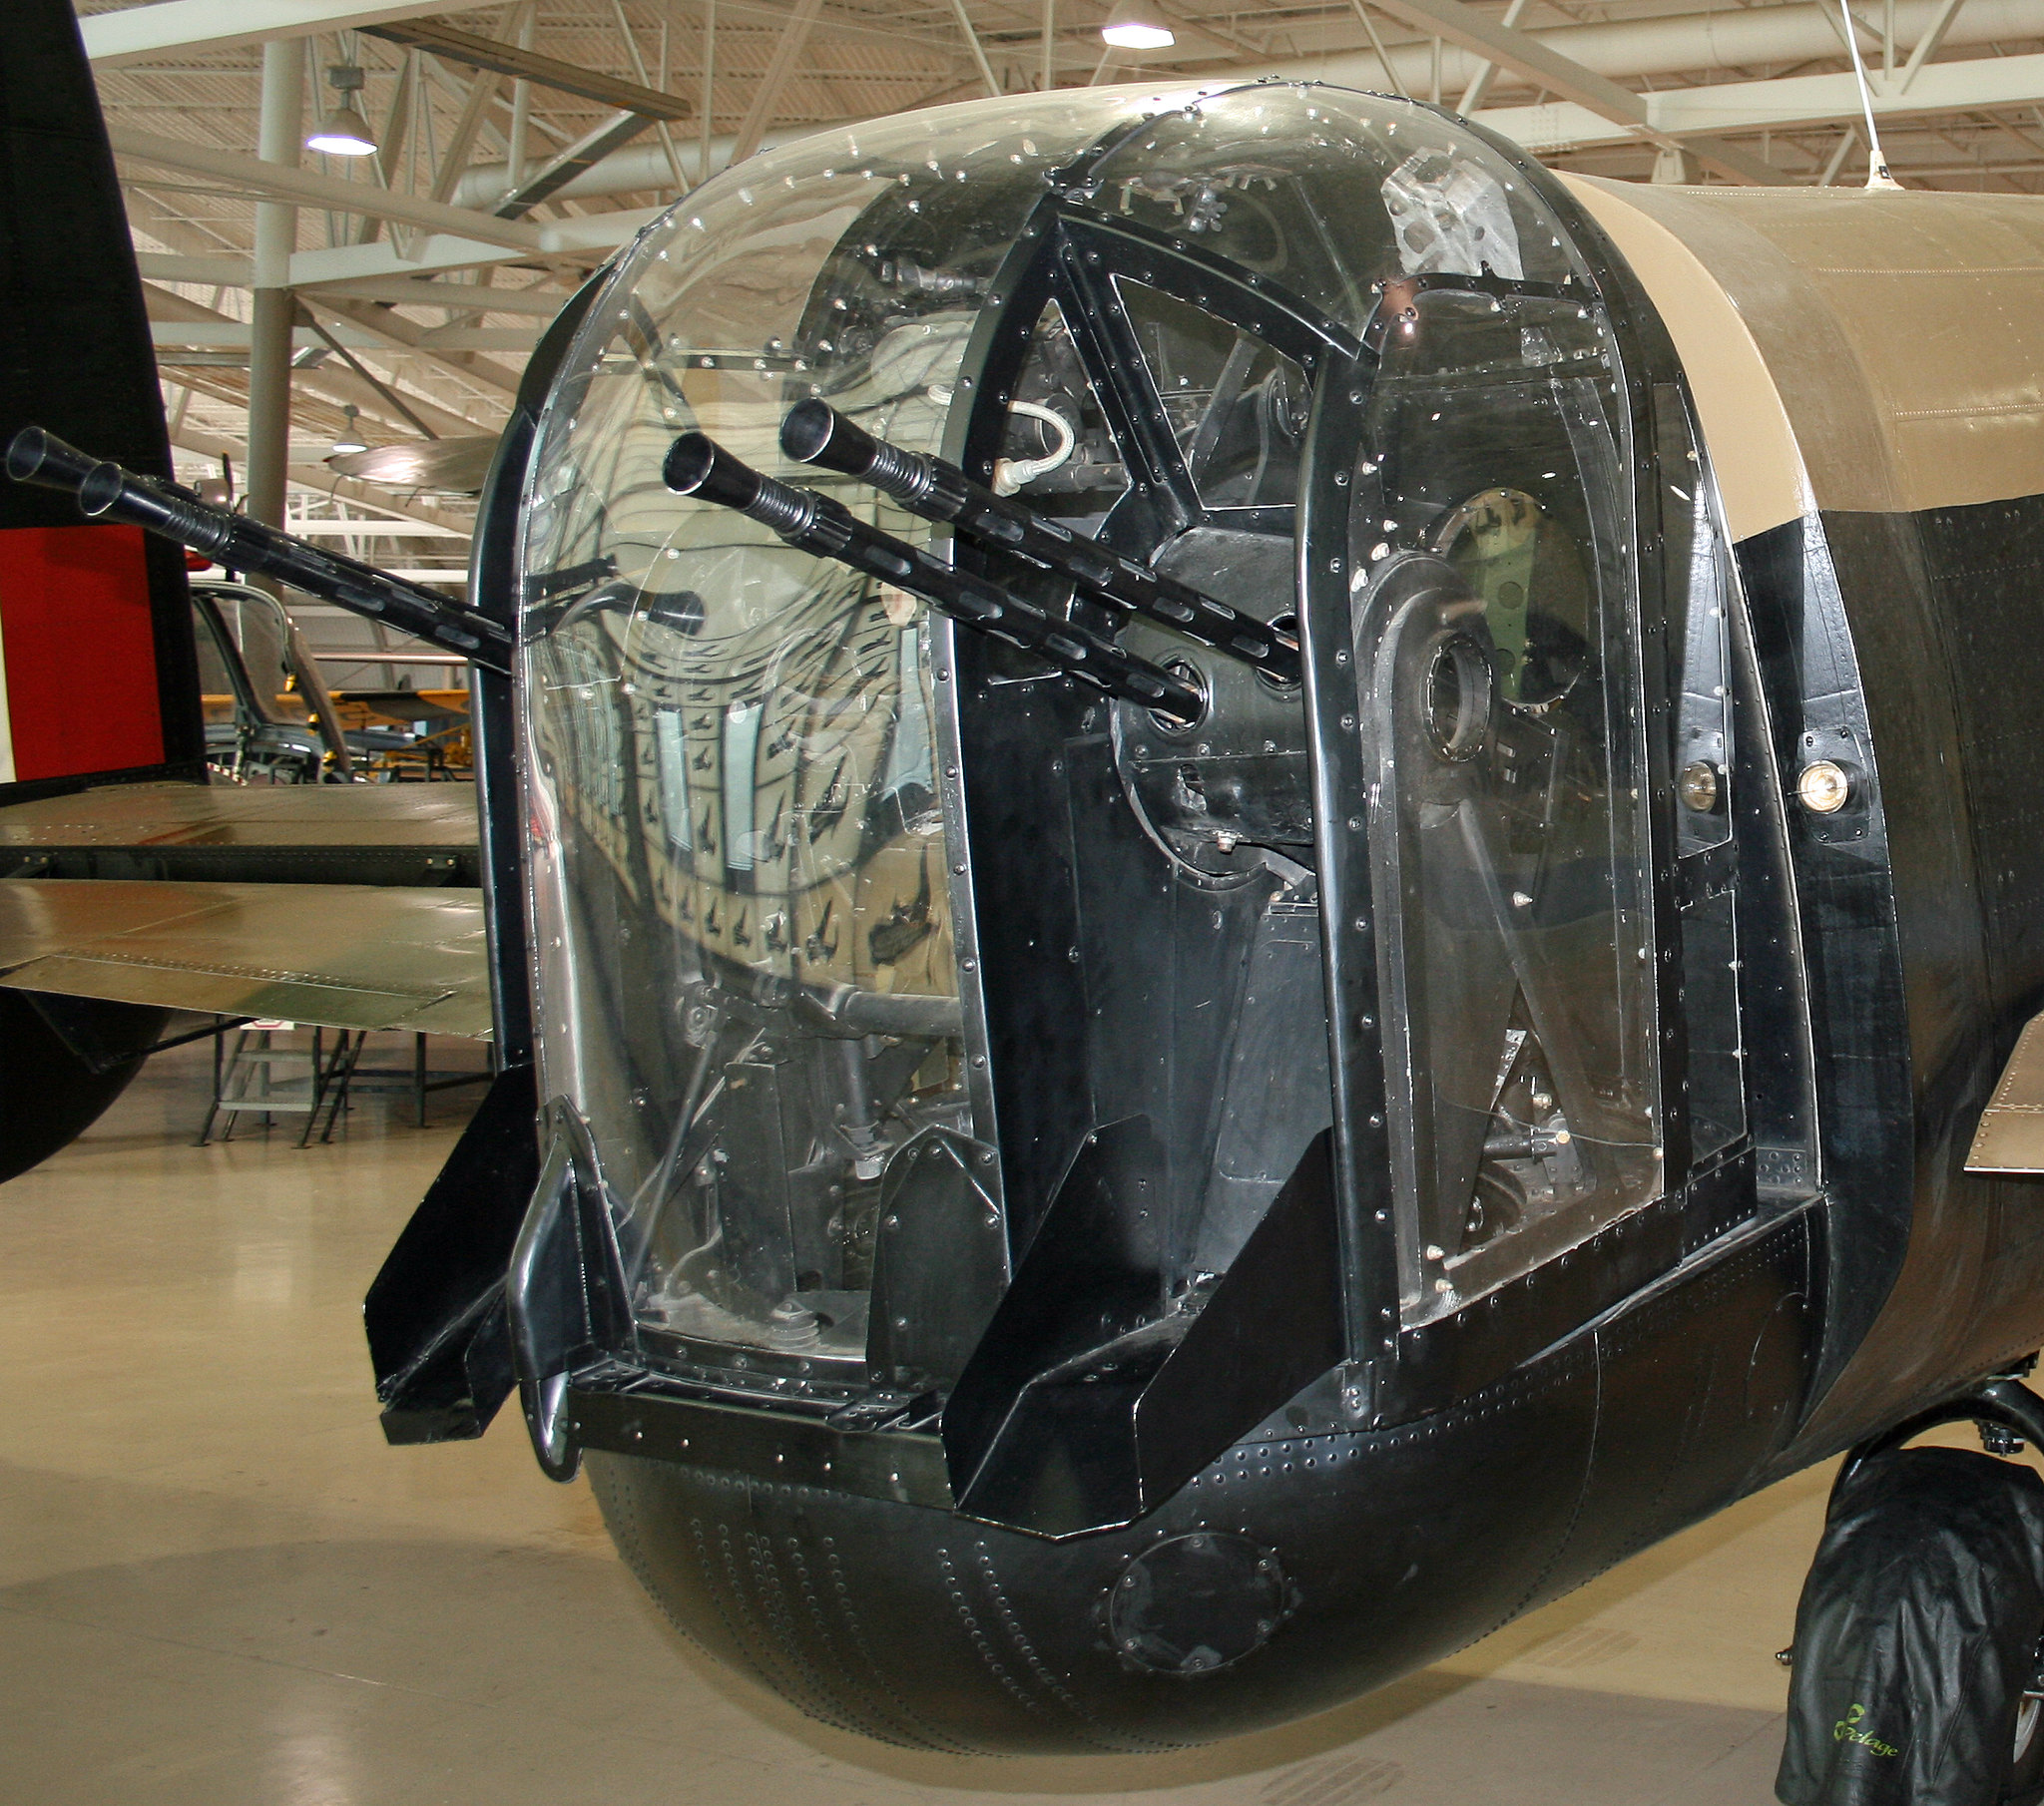
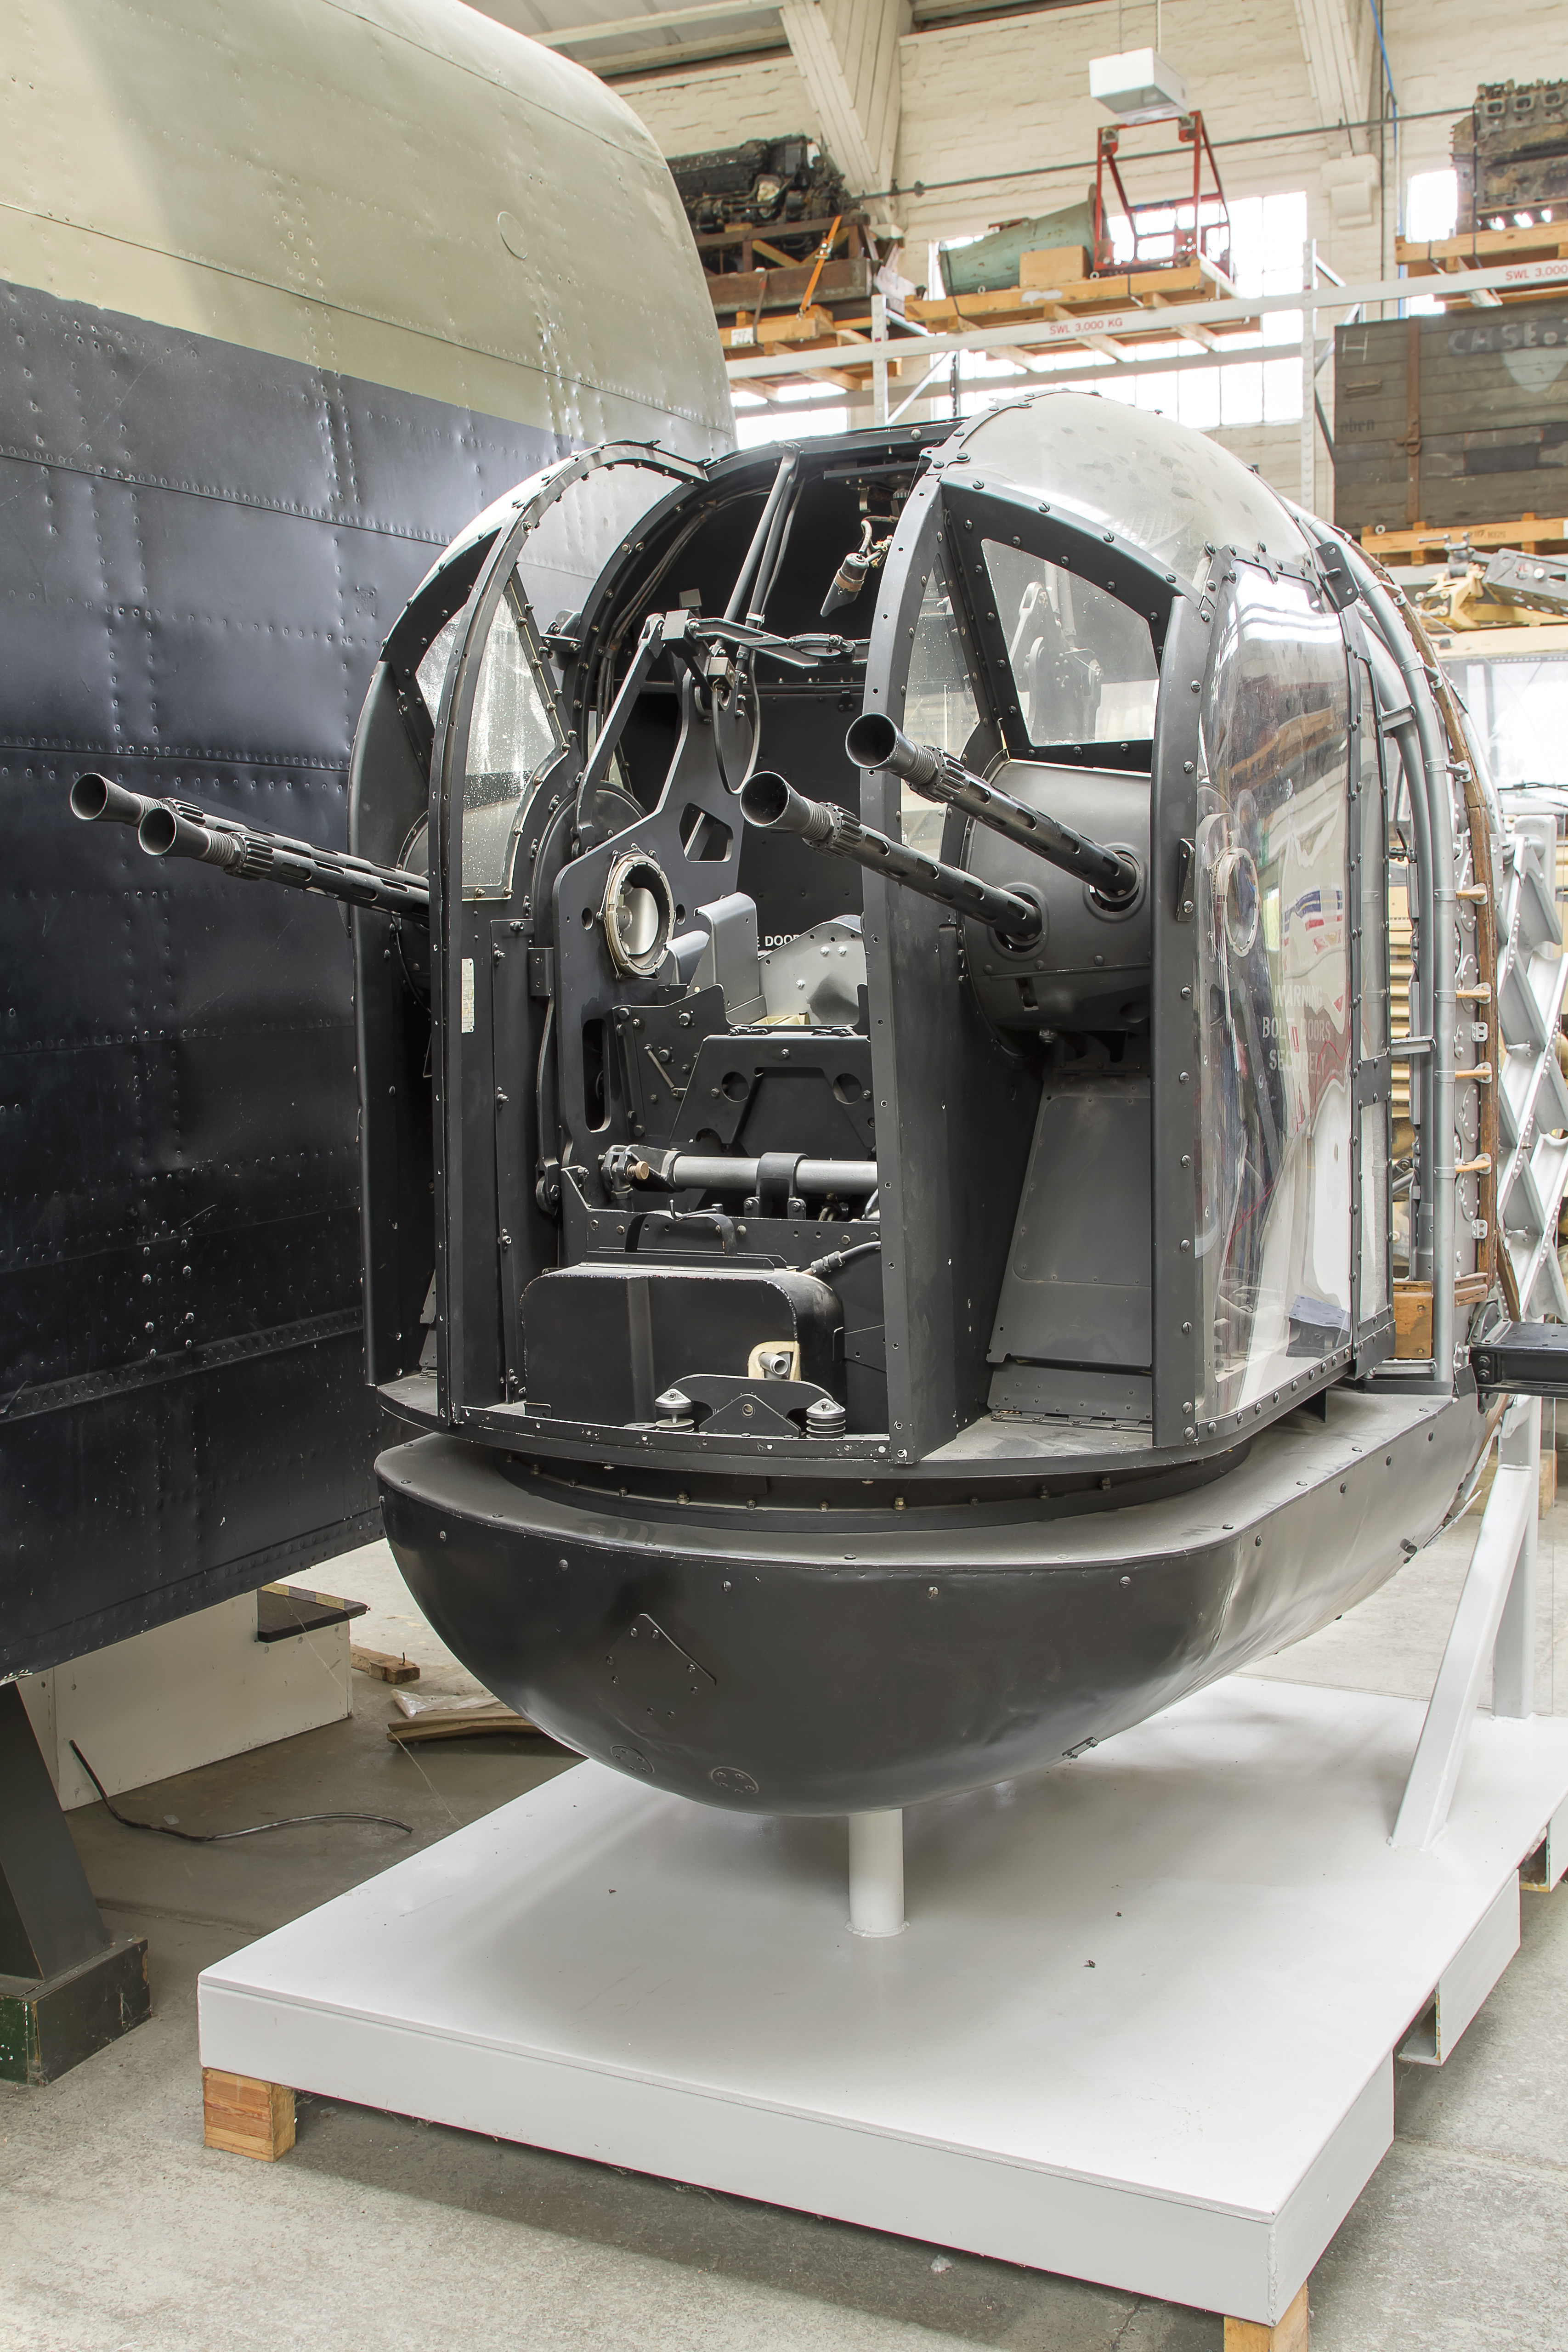
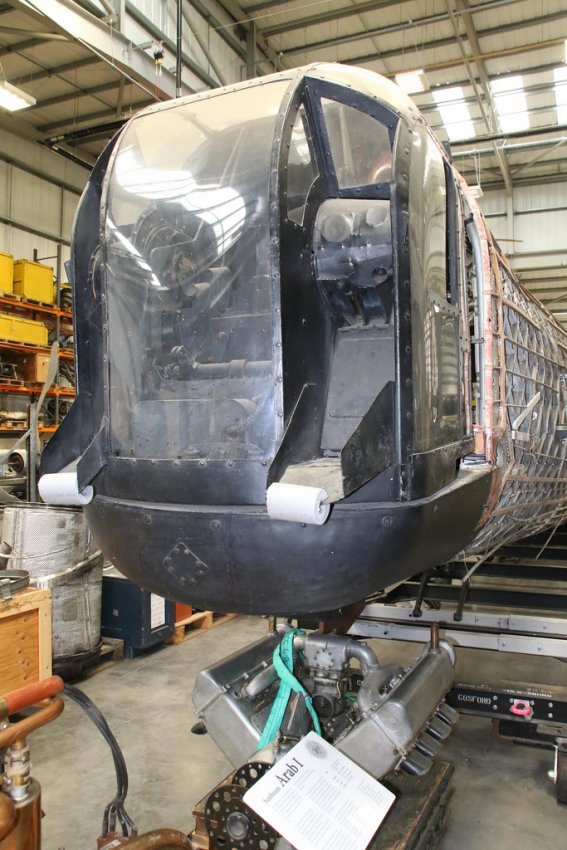
Intermission – RAF gun turret drill
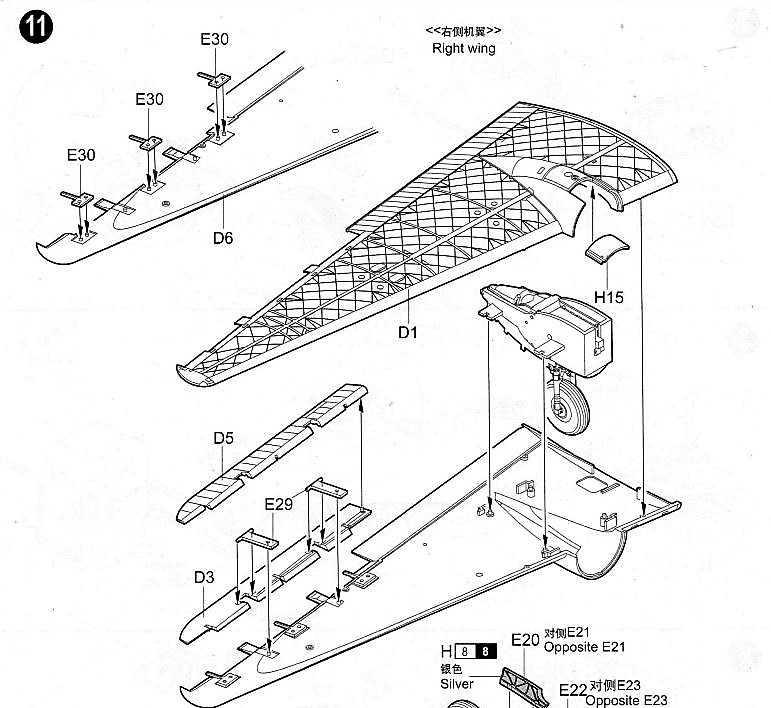
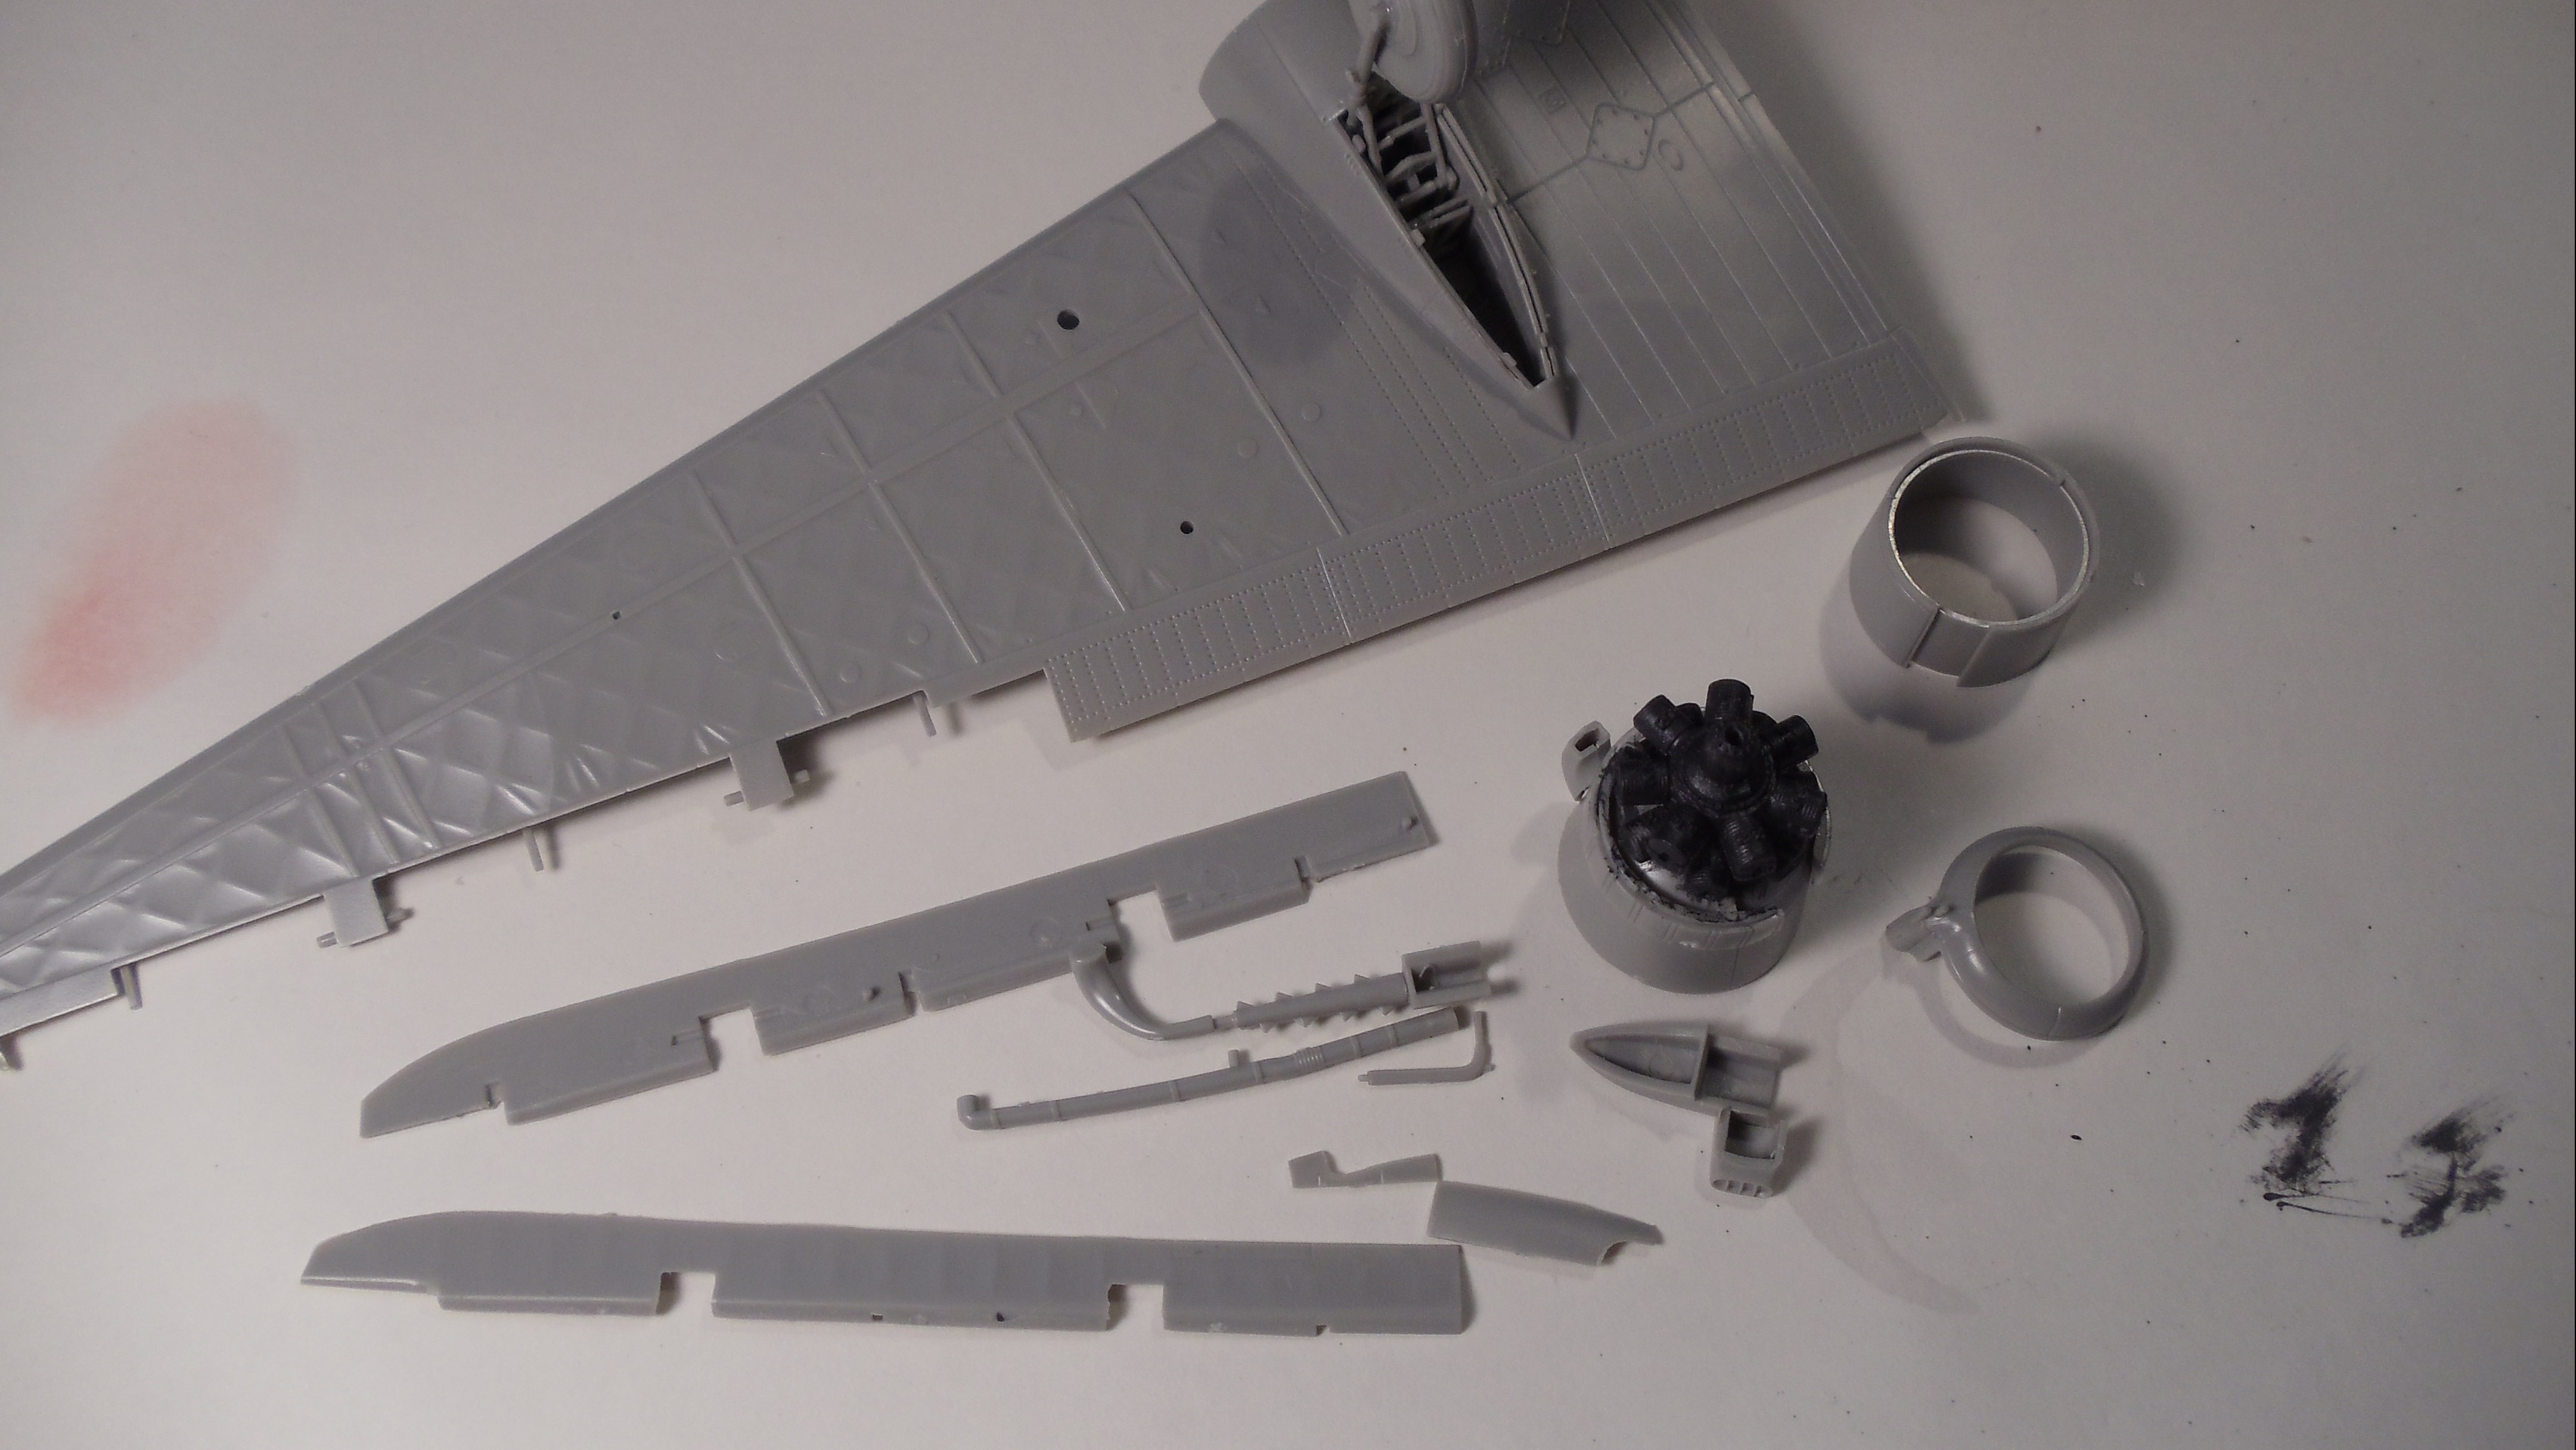
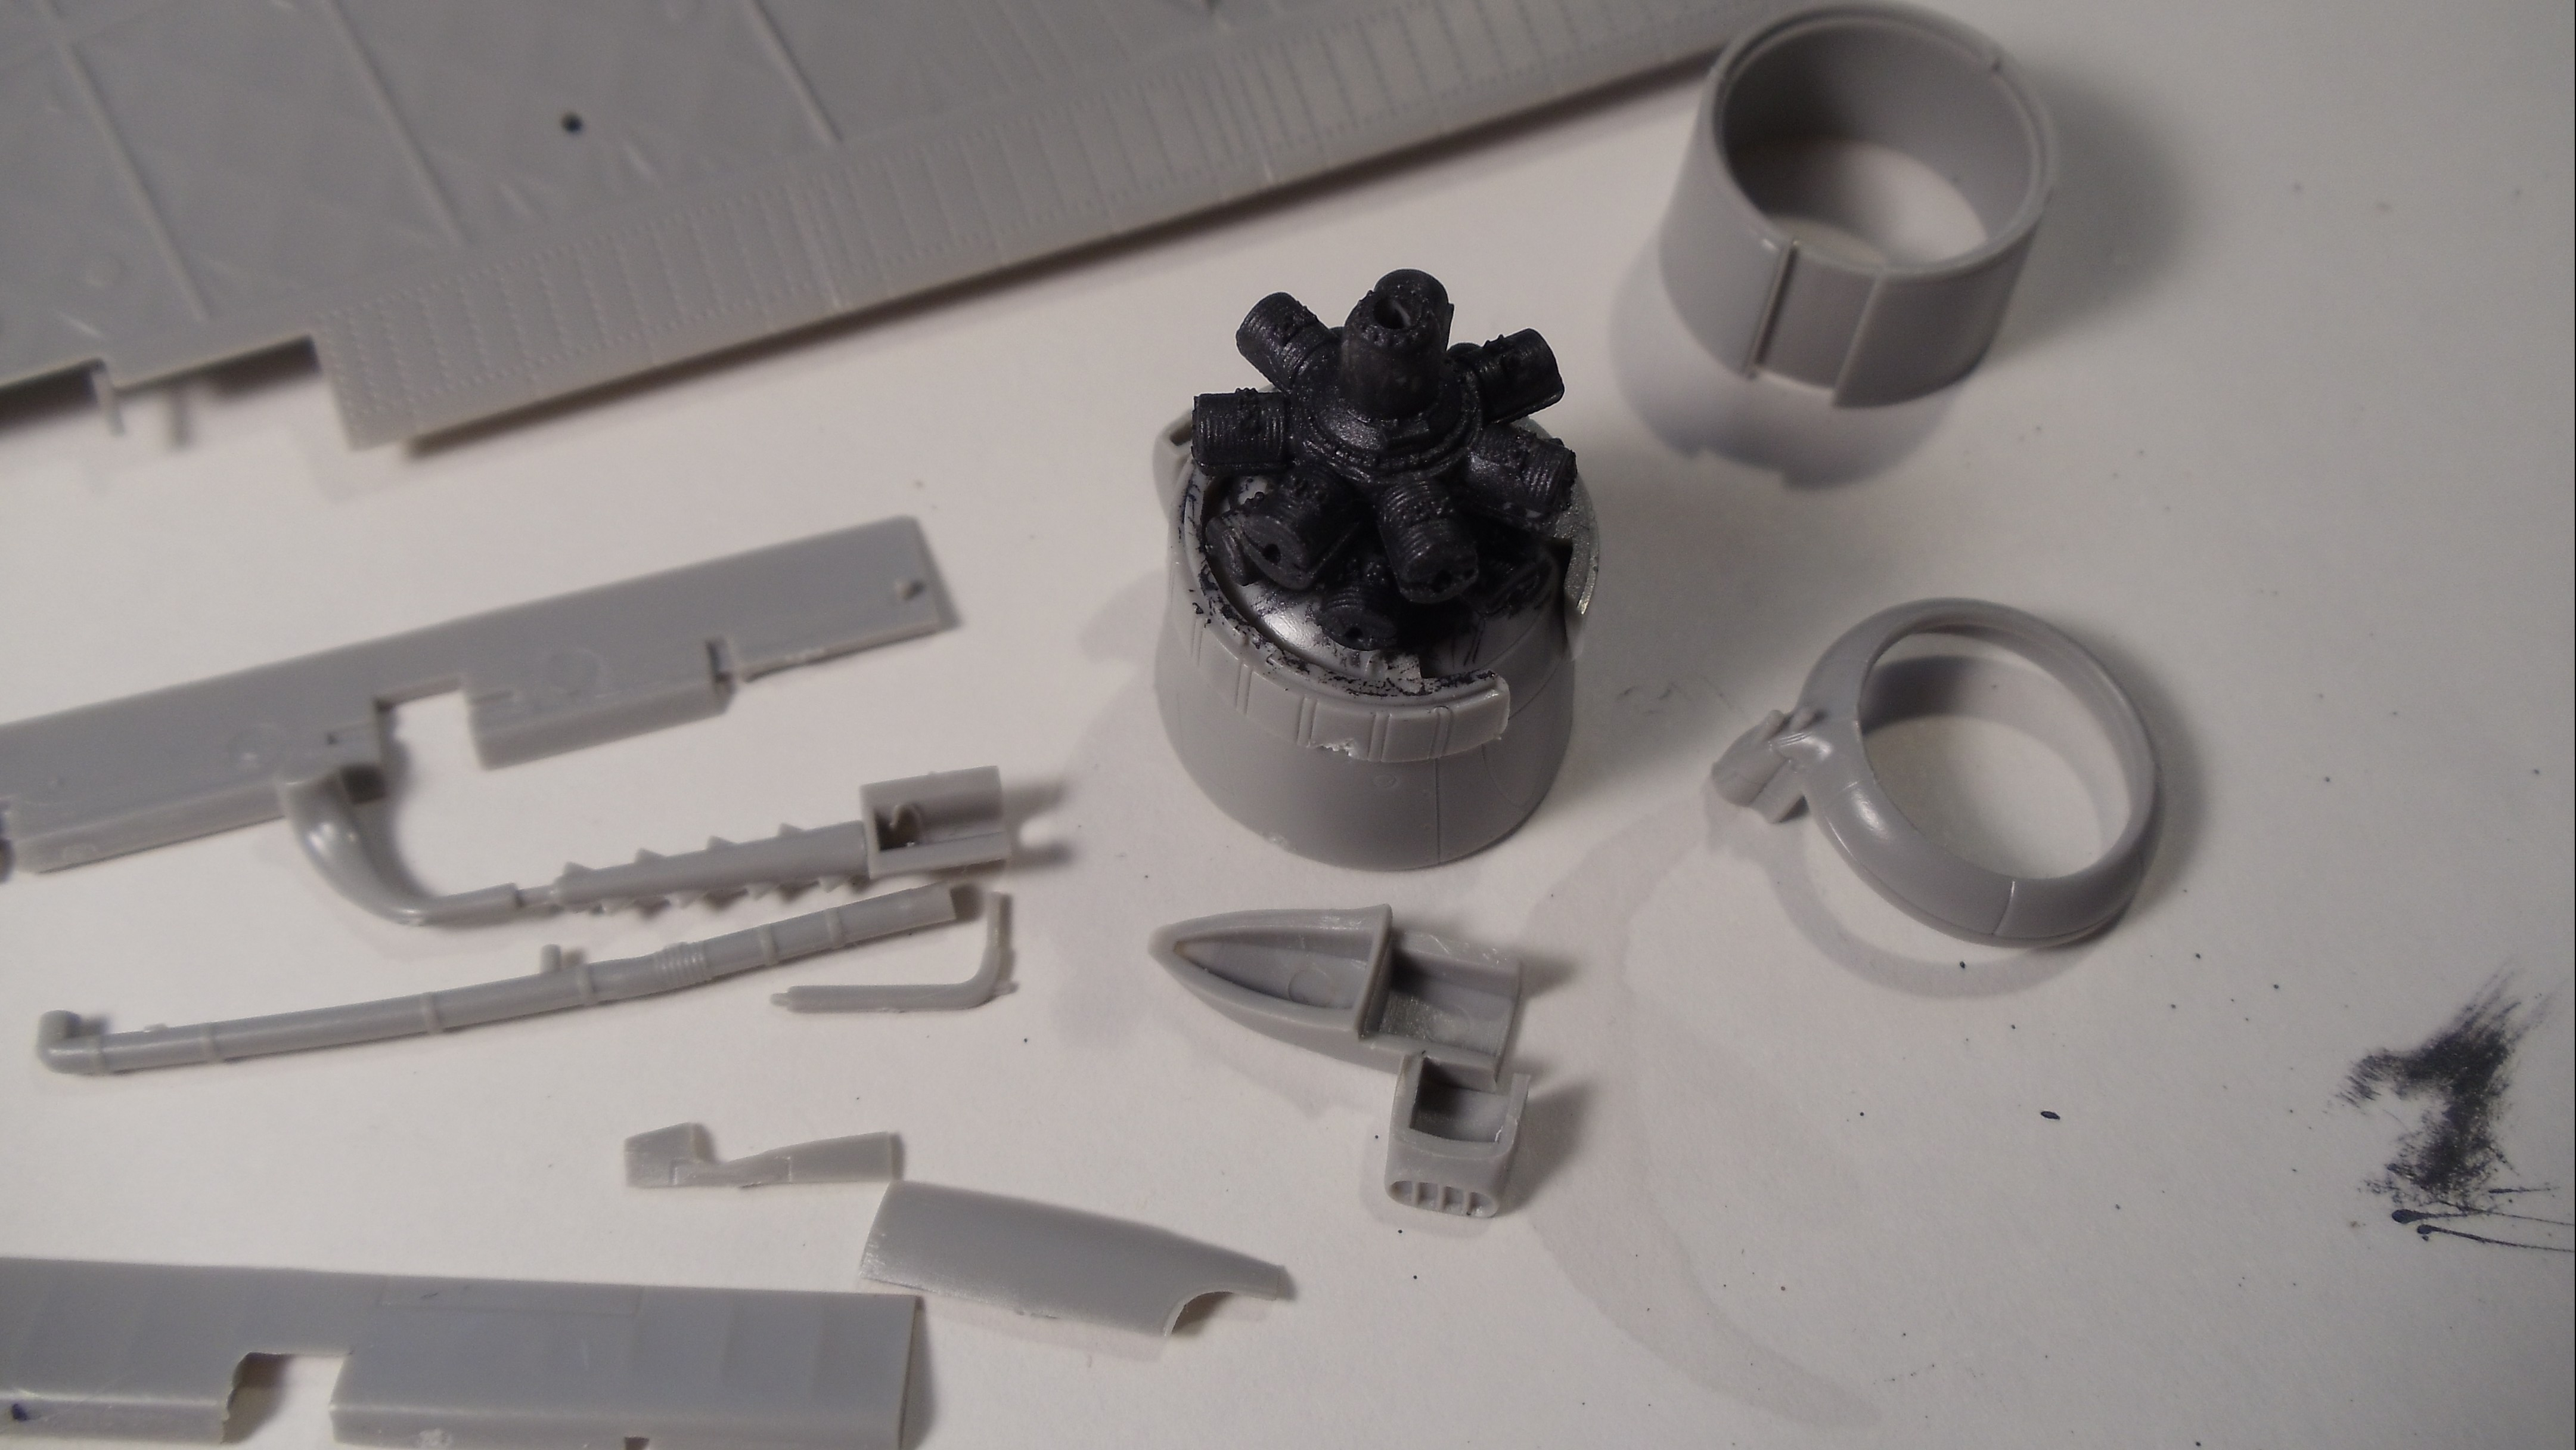
Trumpeter Vickers Wellington Mk X – Progress report – Step 12
Step 12
Déjà vu…


a
Nothing major to report except part K4 was broken and I had to find the broken piece.
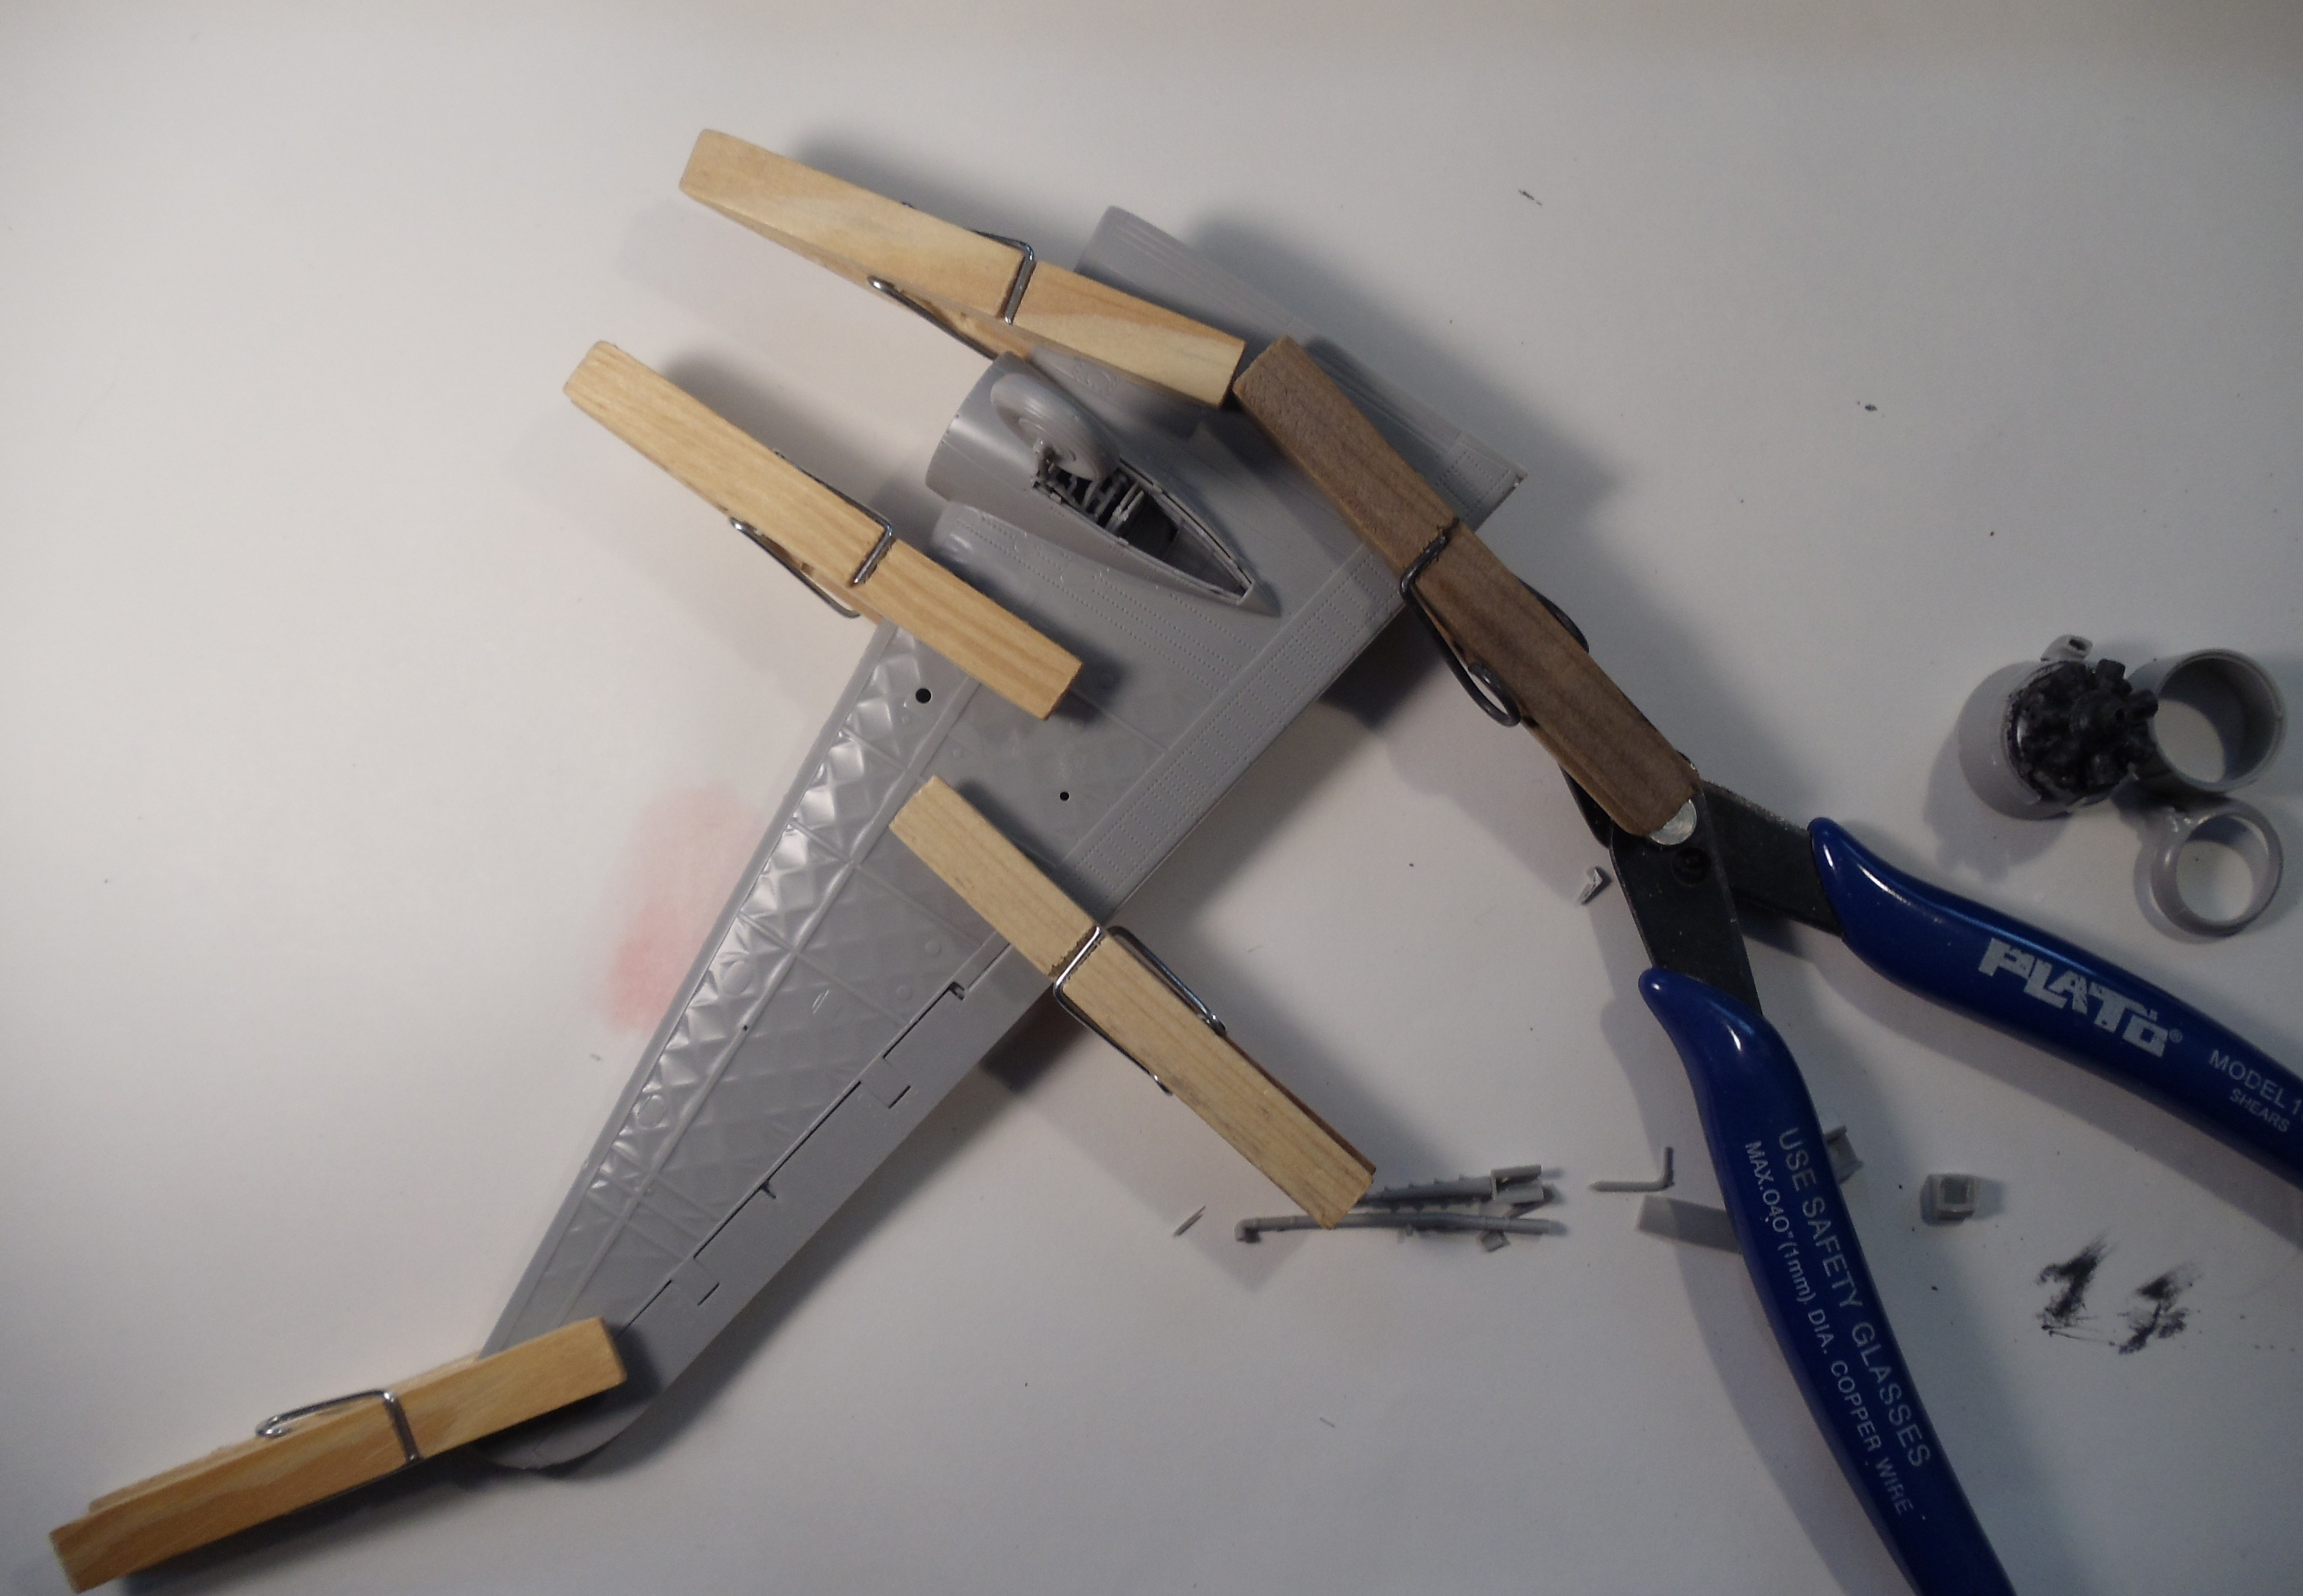
The two wings have now been completed.
I did some touch-ups on the interior even if it won’t show. At least I will know I did.

Next time, going back to steps 7 and 8 with the gun turrets and trying to fix step 8.


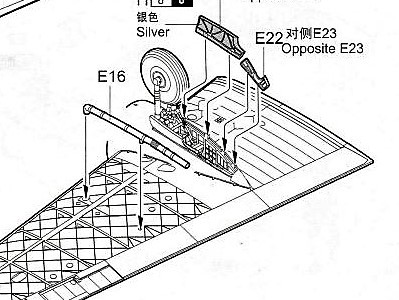
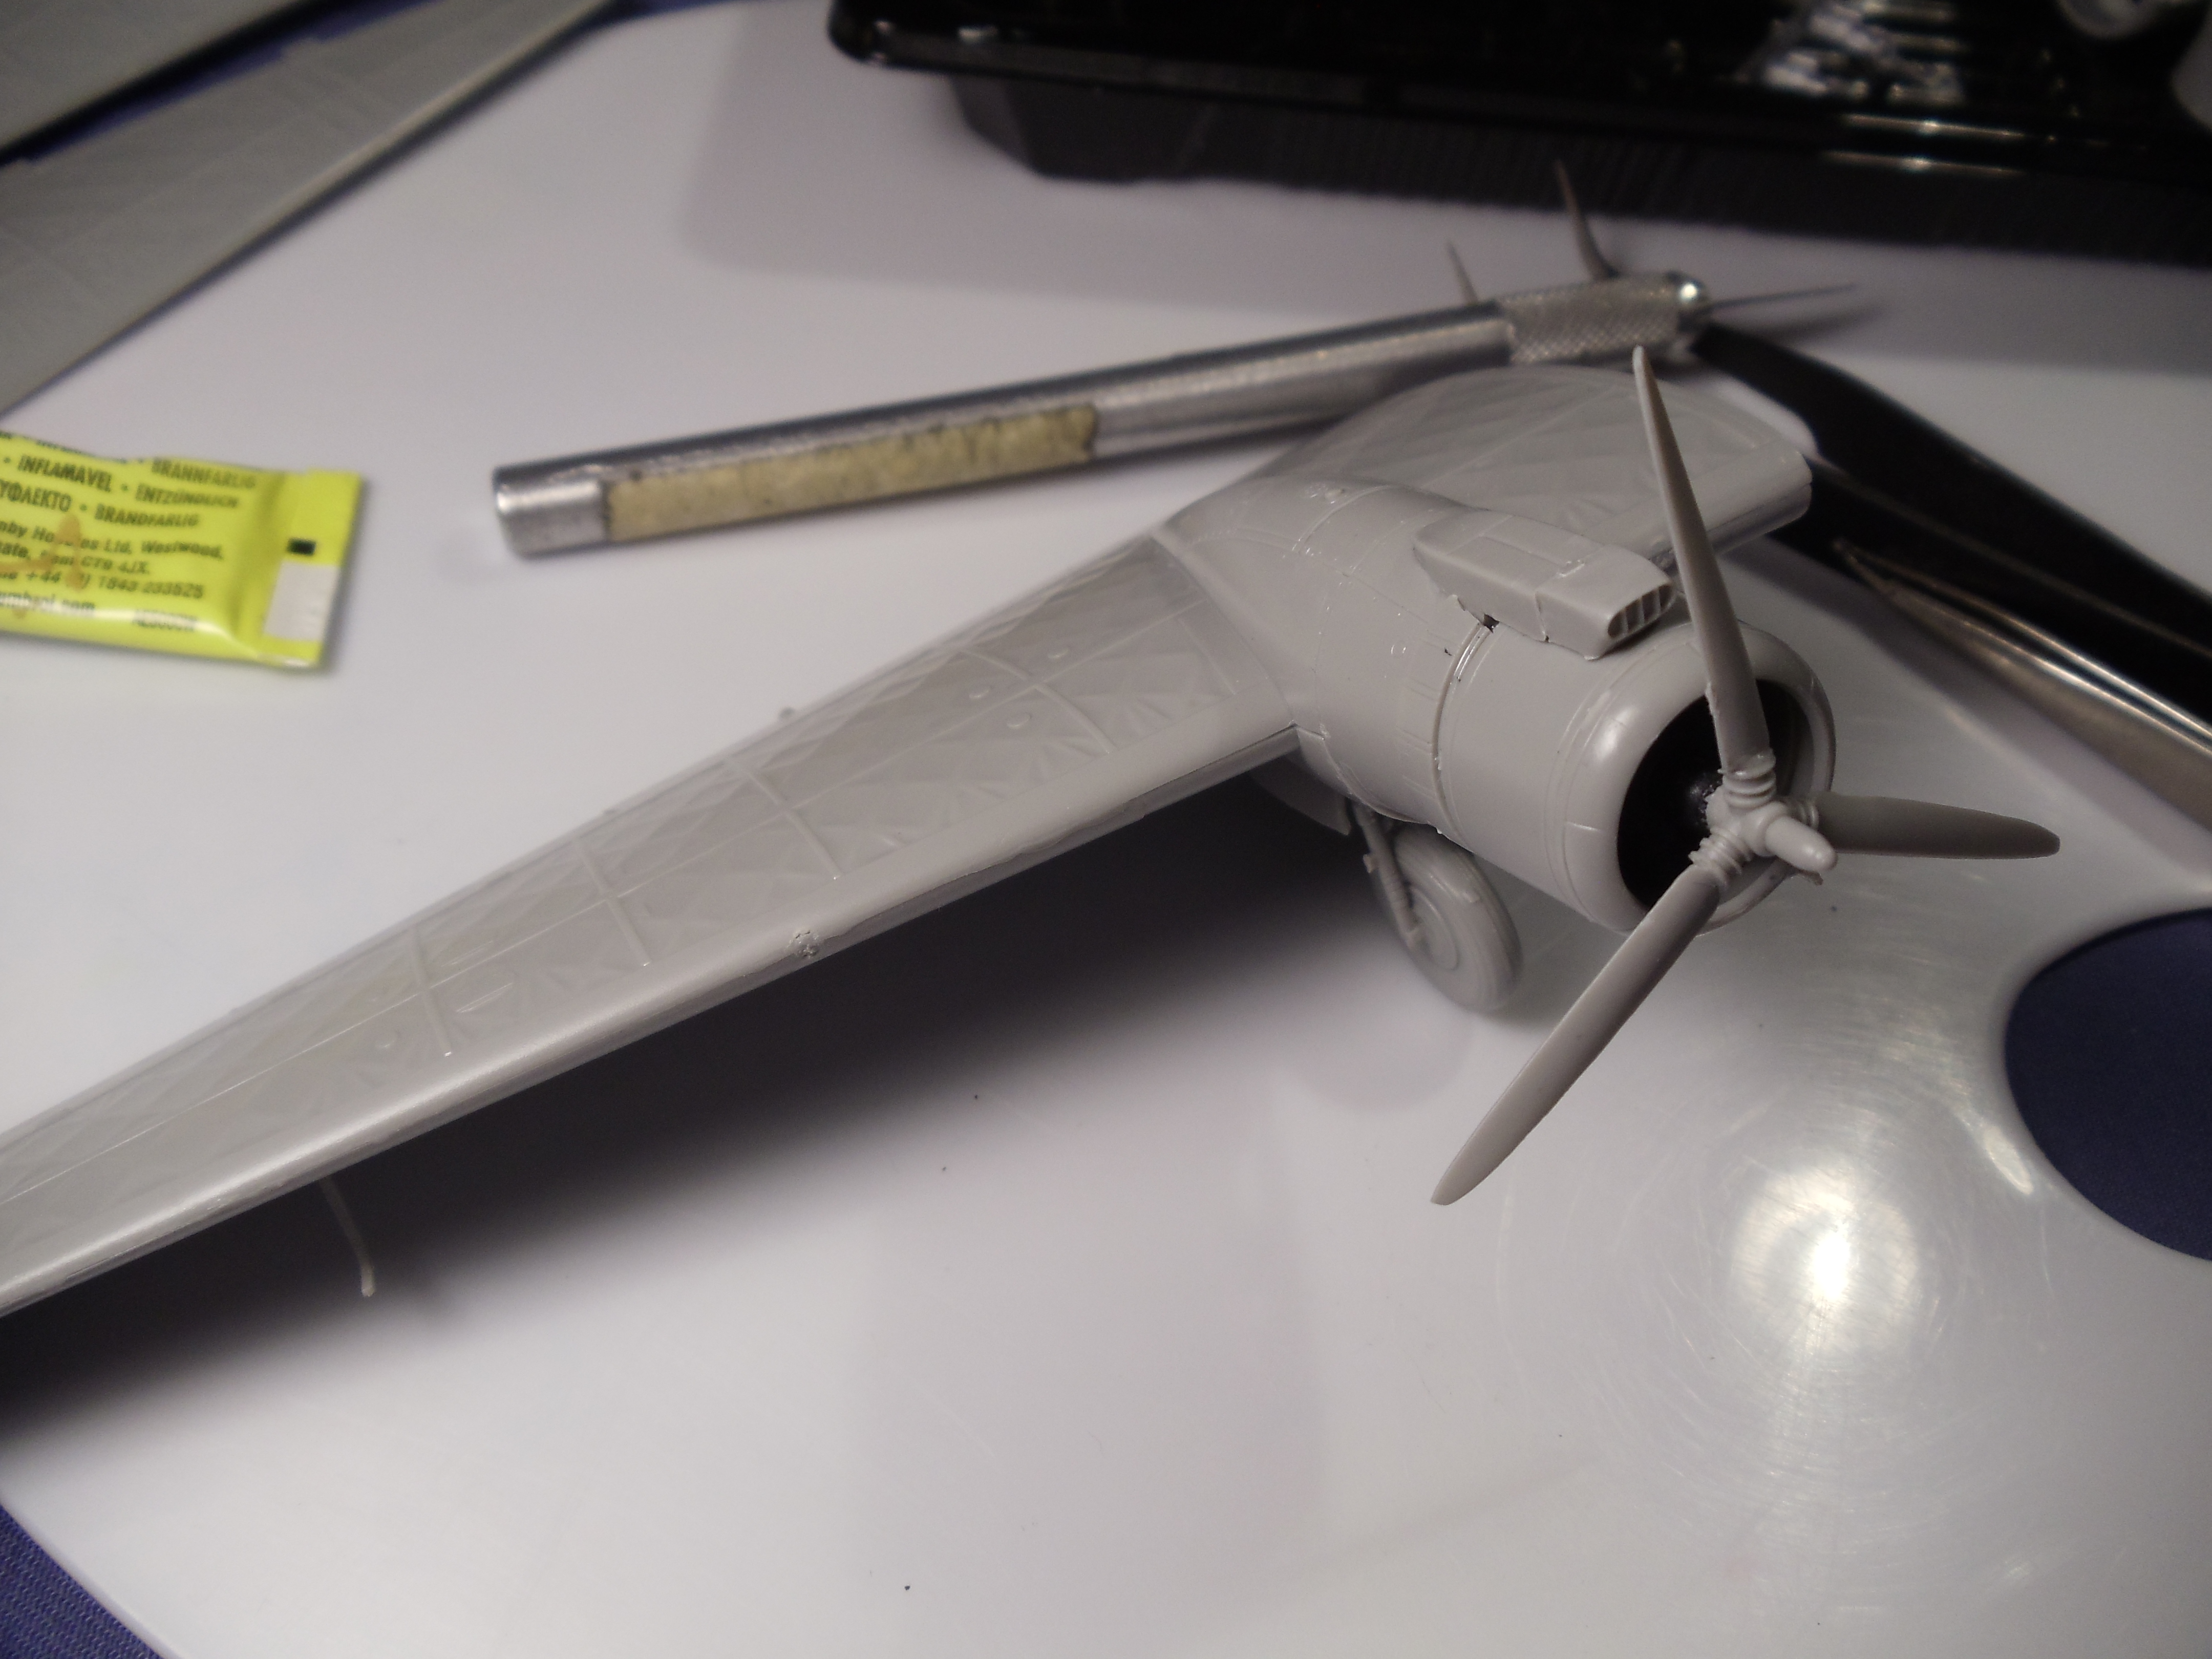
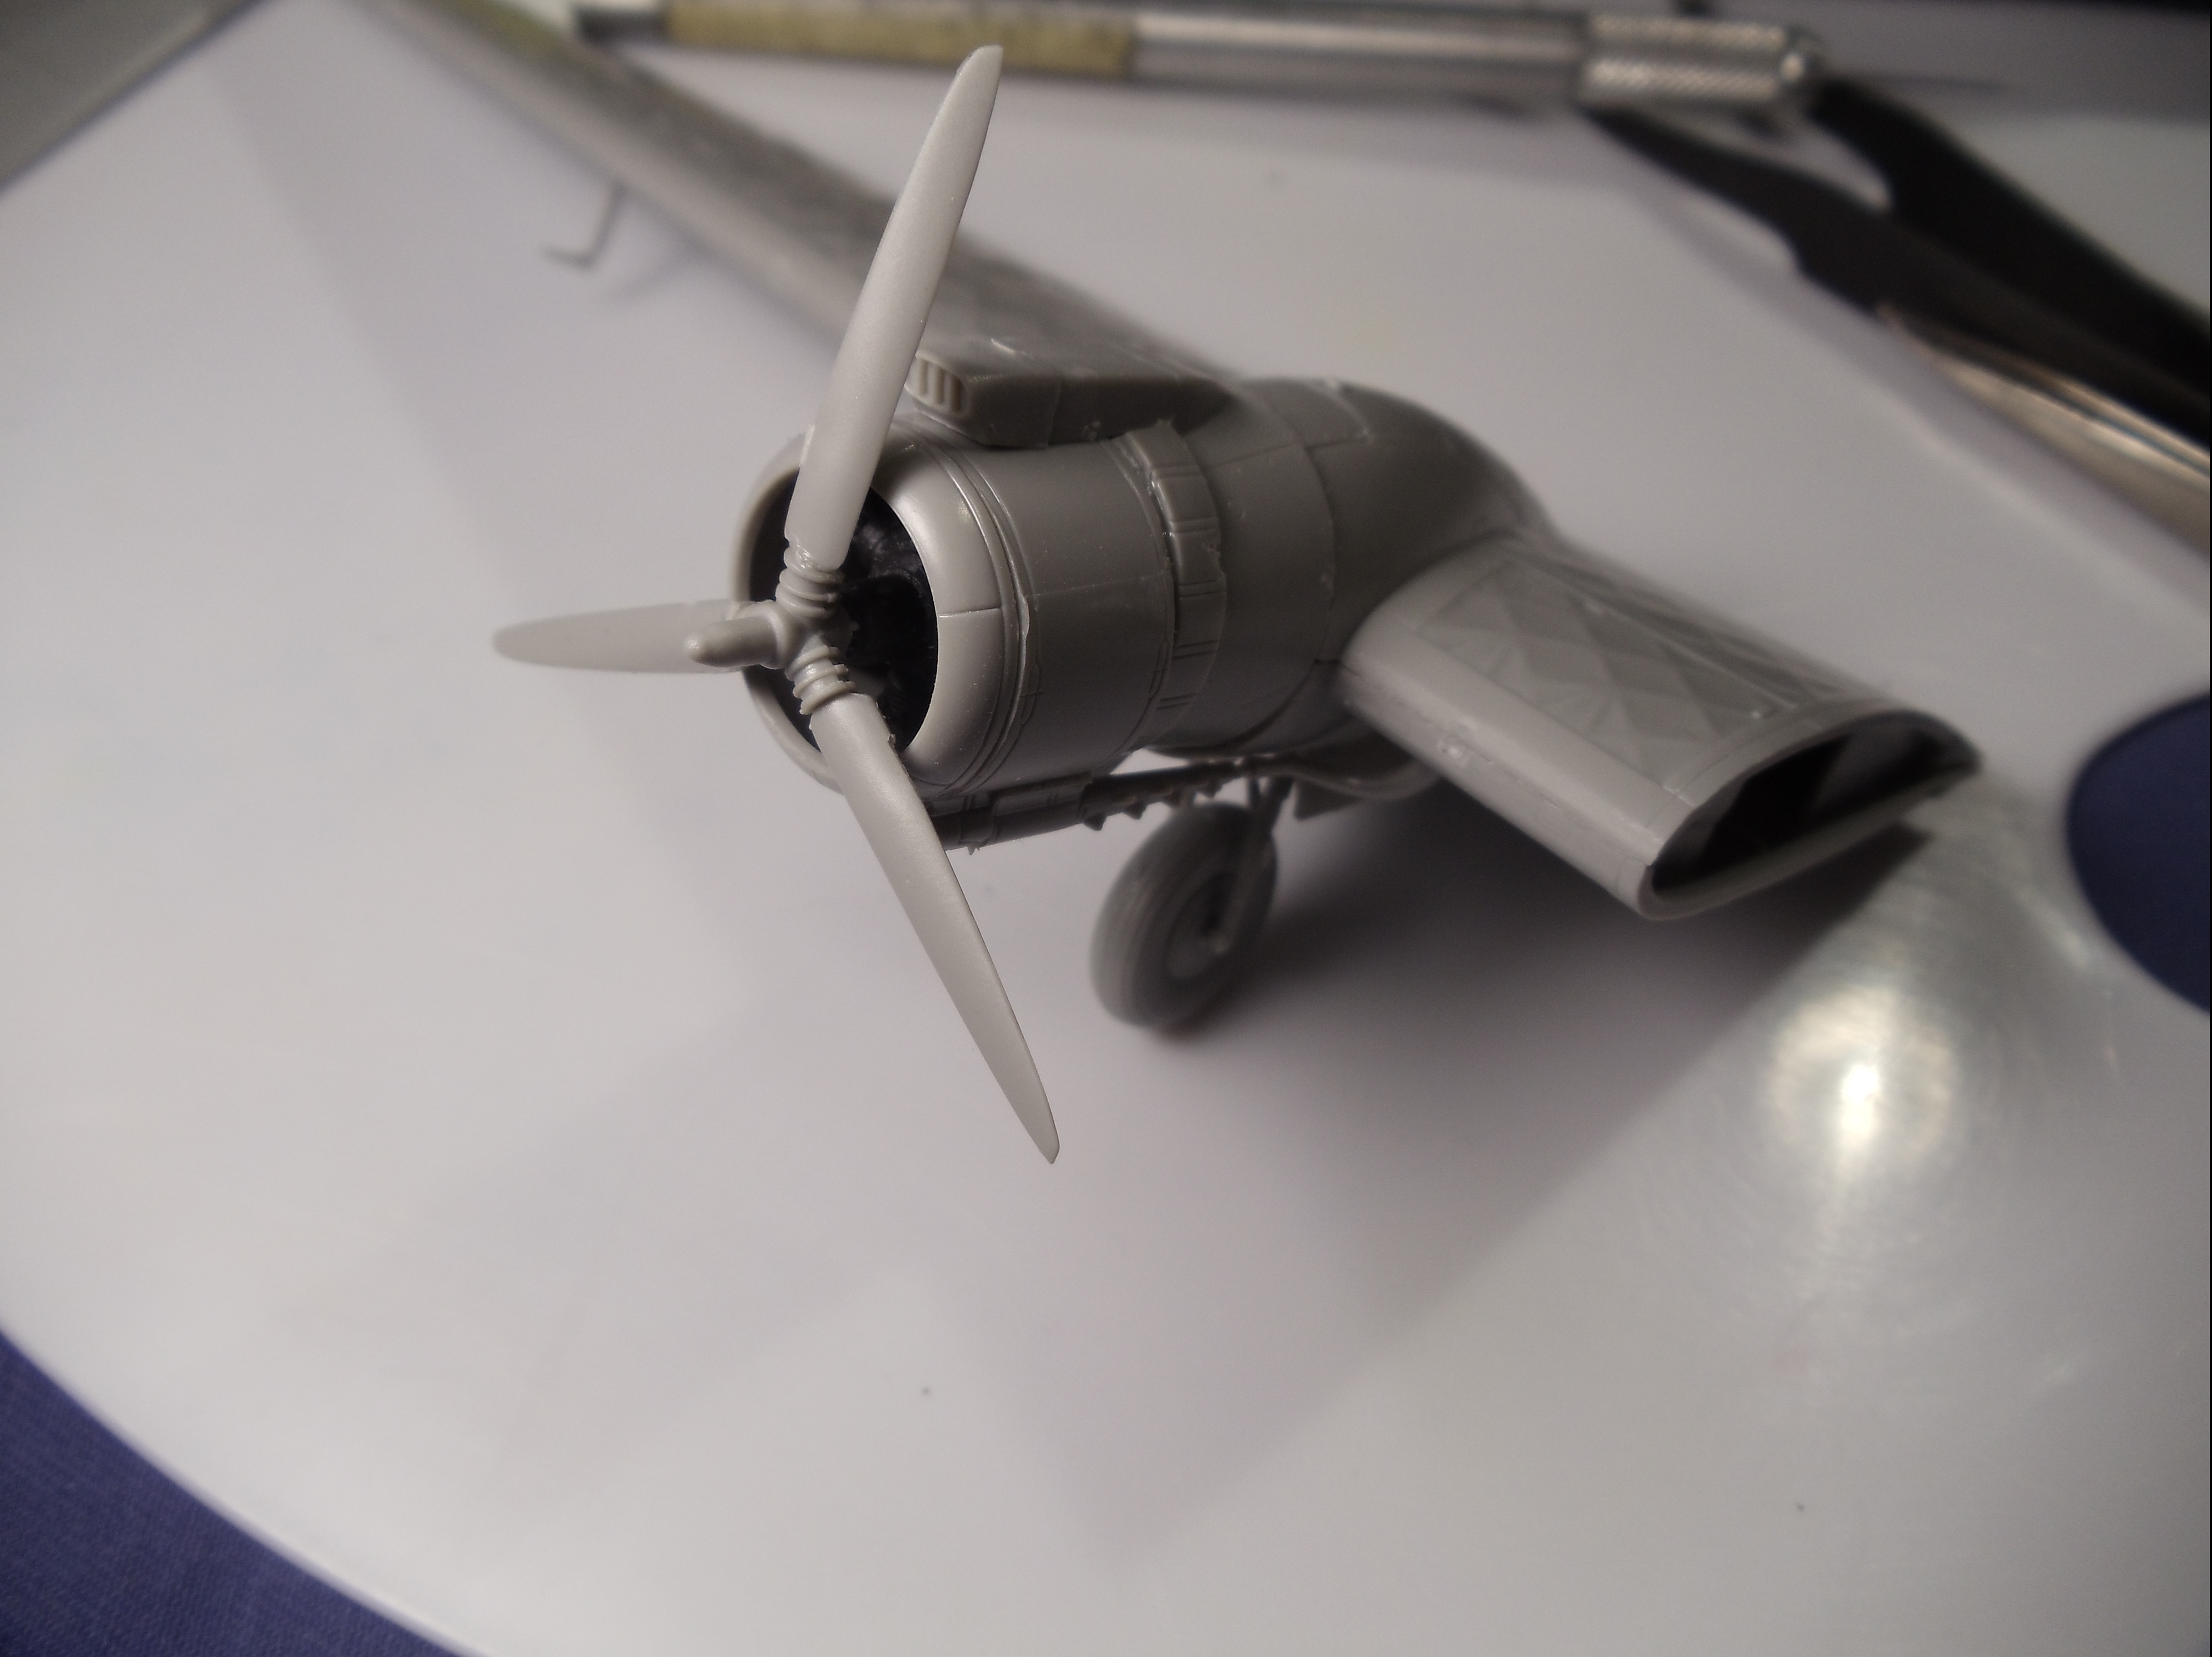
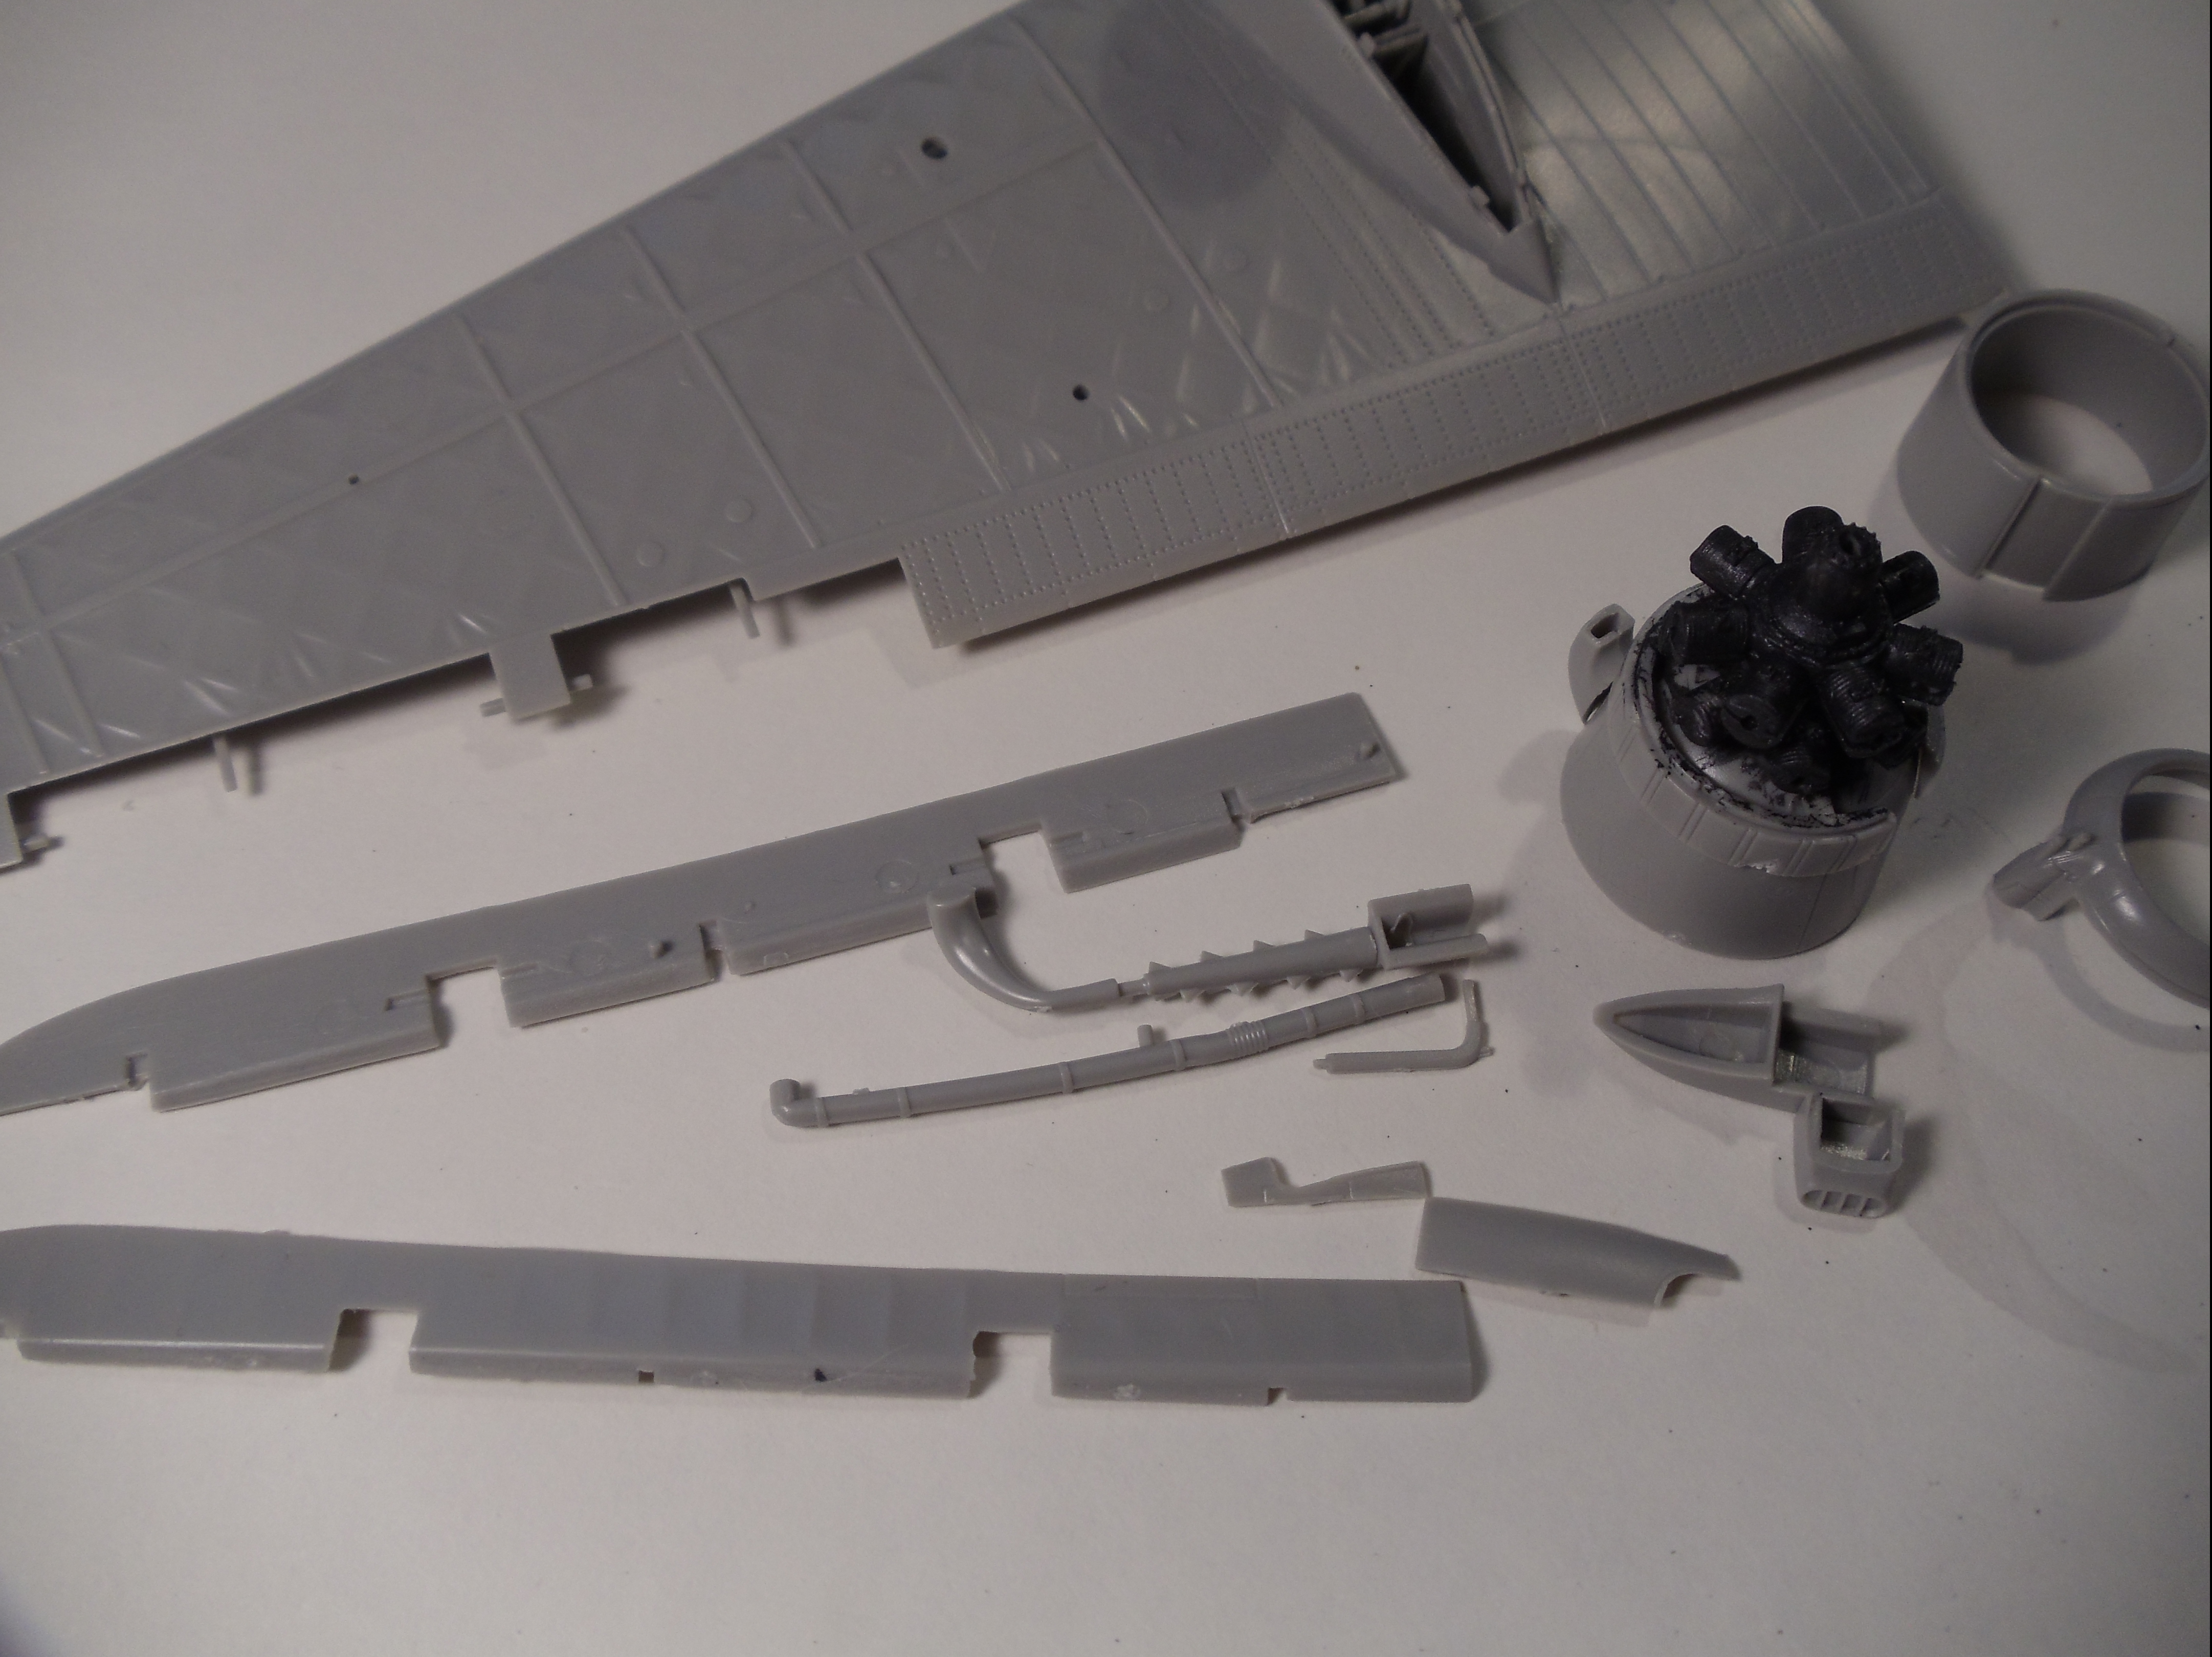
Trumpeter Vickers Wellington Mk X – Progress report – Step 11
Moving along with step 11 and keeping my expectations to a minimum after fumbling step 8, and strictly following the instructions to the letter whenever possible.
Step 11

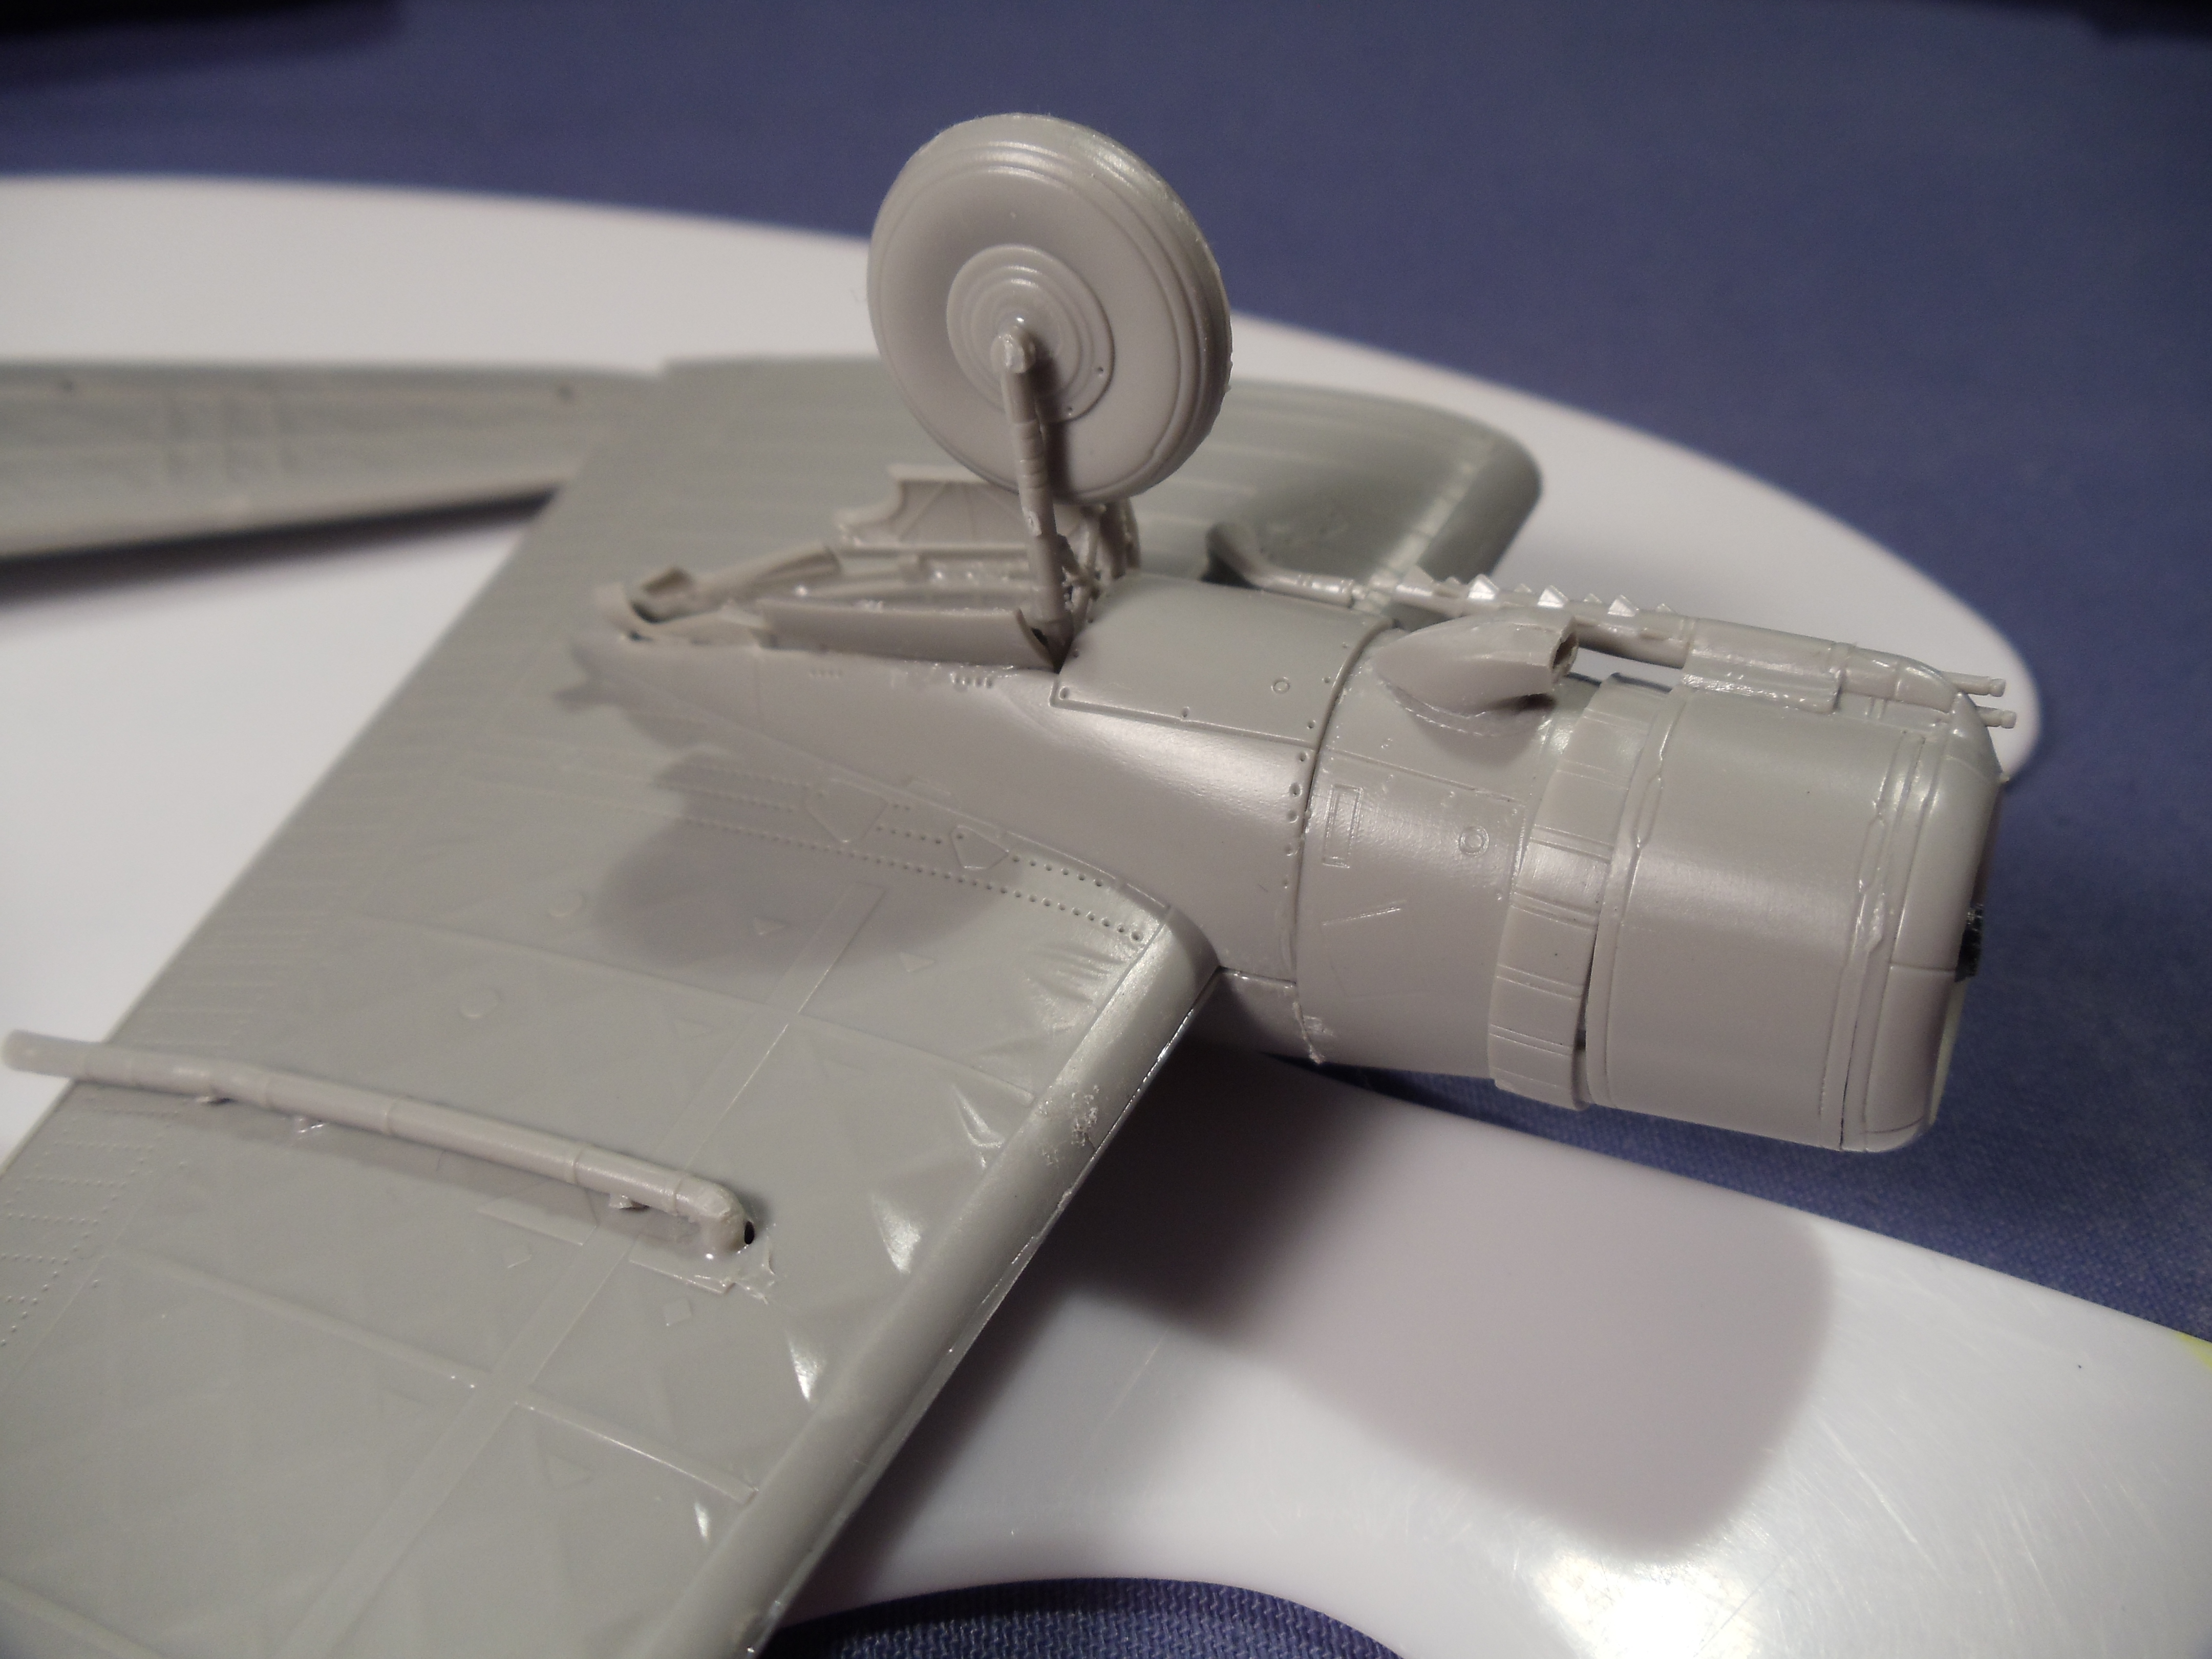
I took some photos to show you where I am at right now after glueing the starboard wing…
The pitot tube, which I will eventually break and lose, was added. The fuel jettison pipe was glued after.
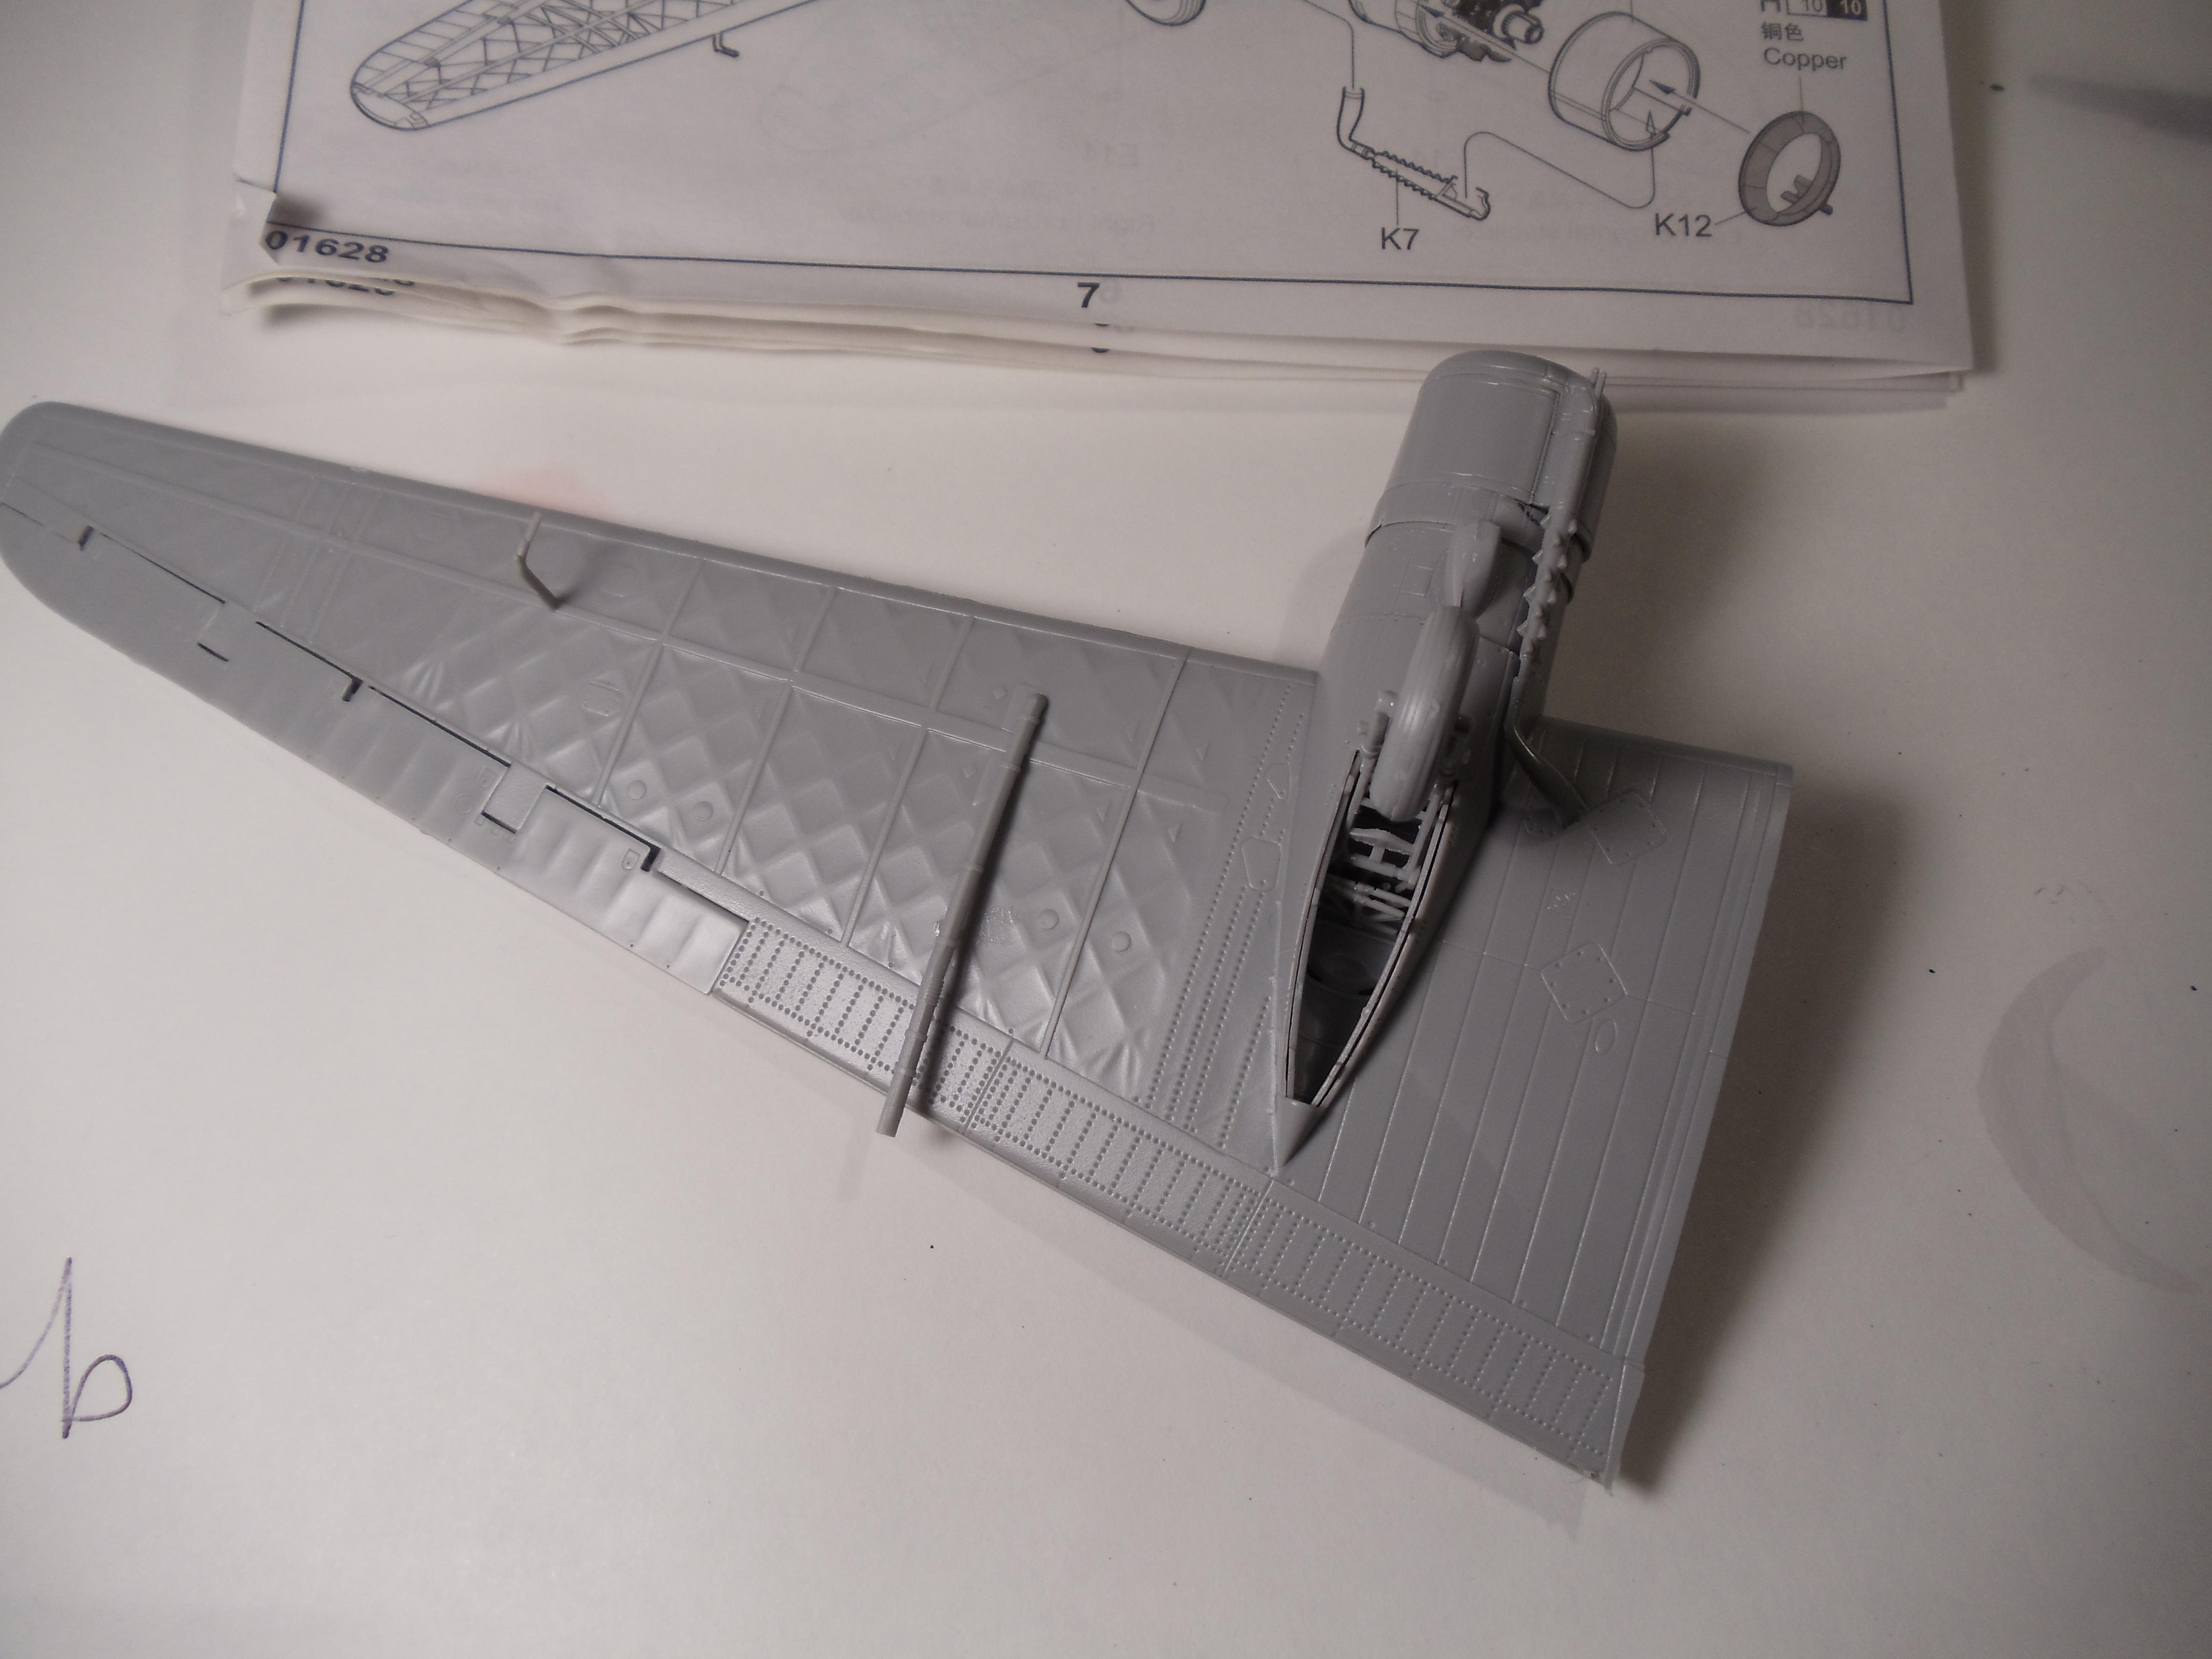
The only problem I had encountered was the location of the exhaust pipe.
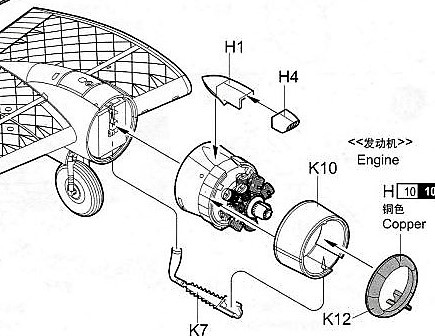
I should have looked for photos on the Internet first.
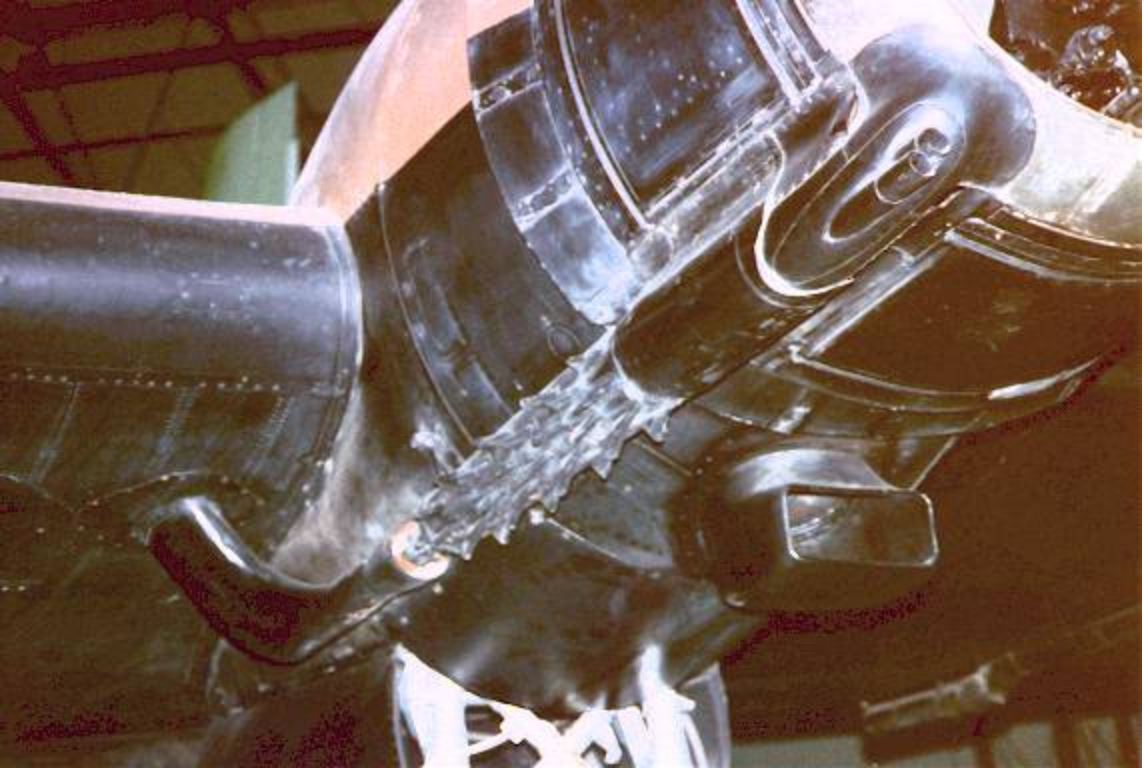
https://www.ipmsstockholm.se/home/vickers-wellington-mk-x-in-detail/
But in the end I was lucky…just a few millimeters off.
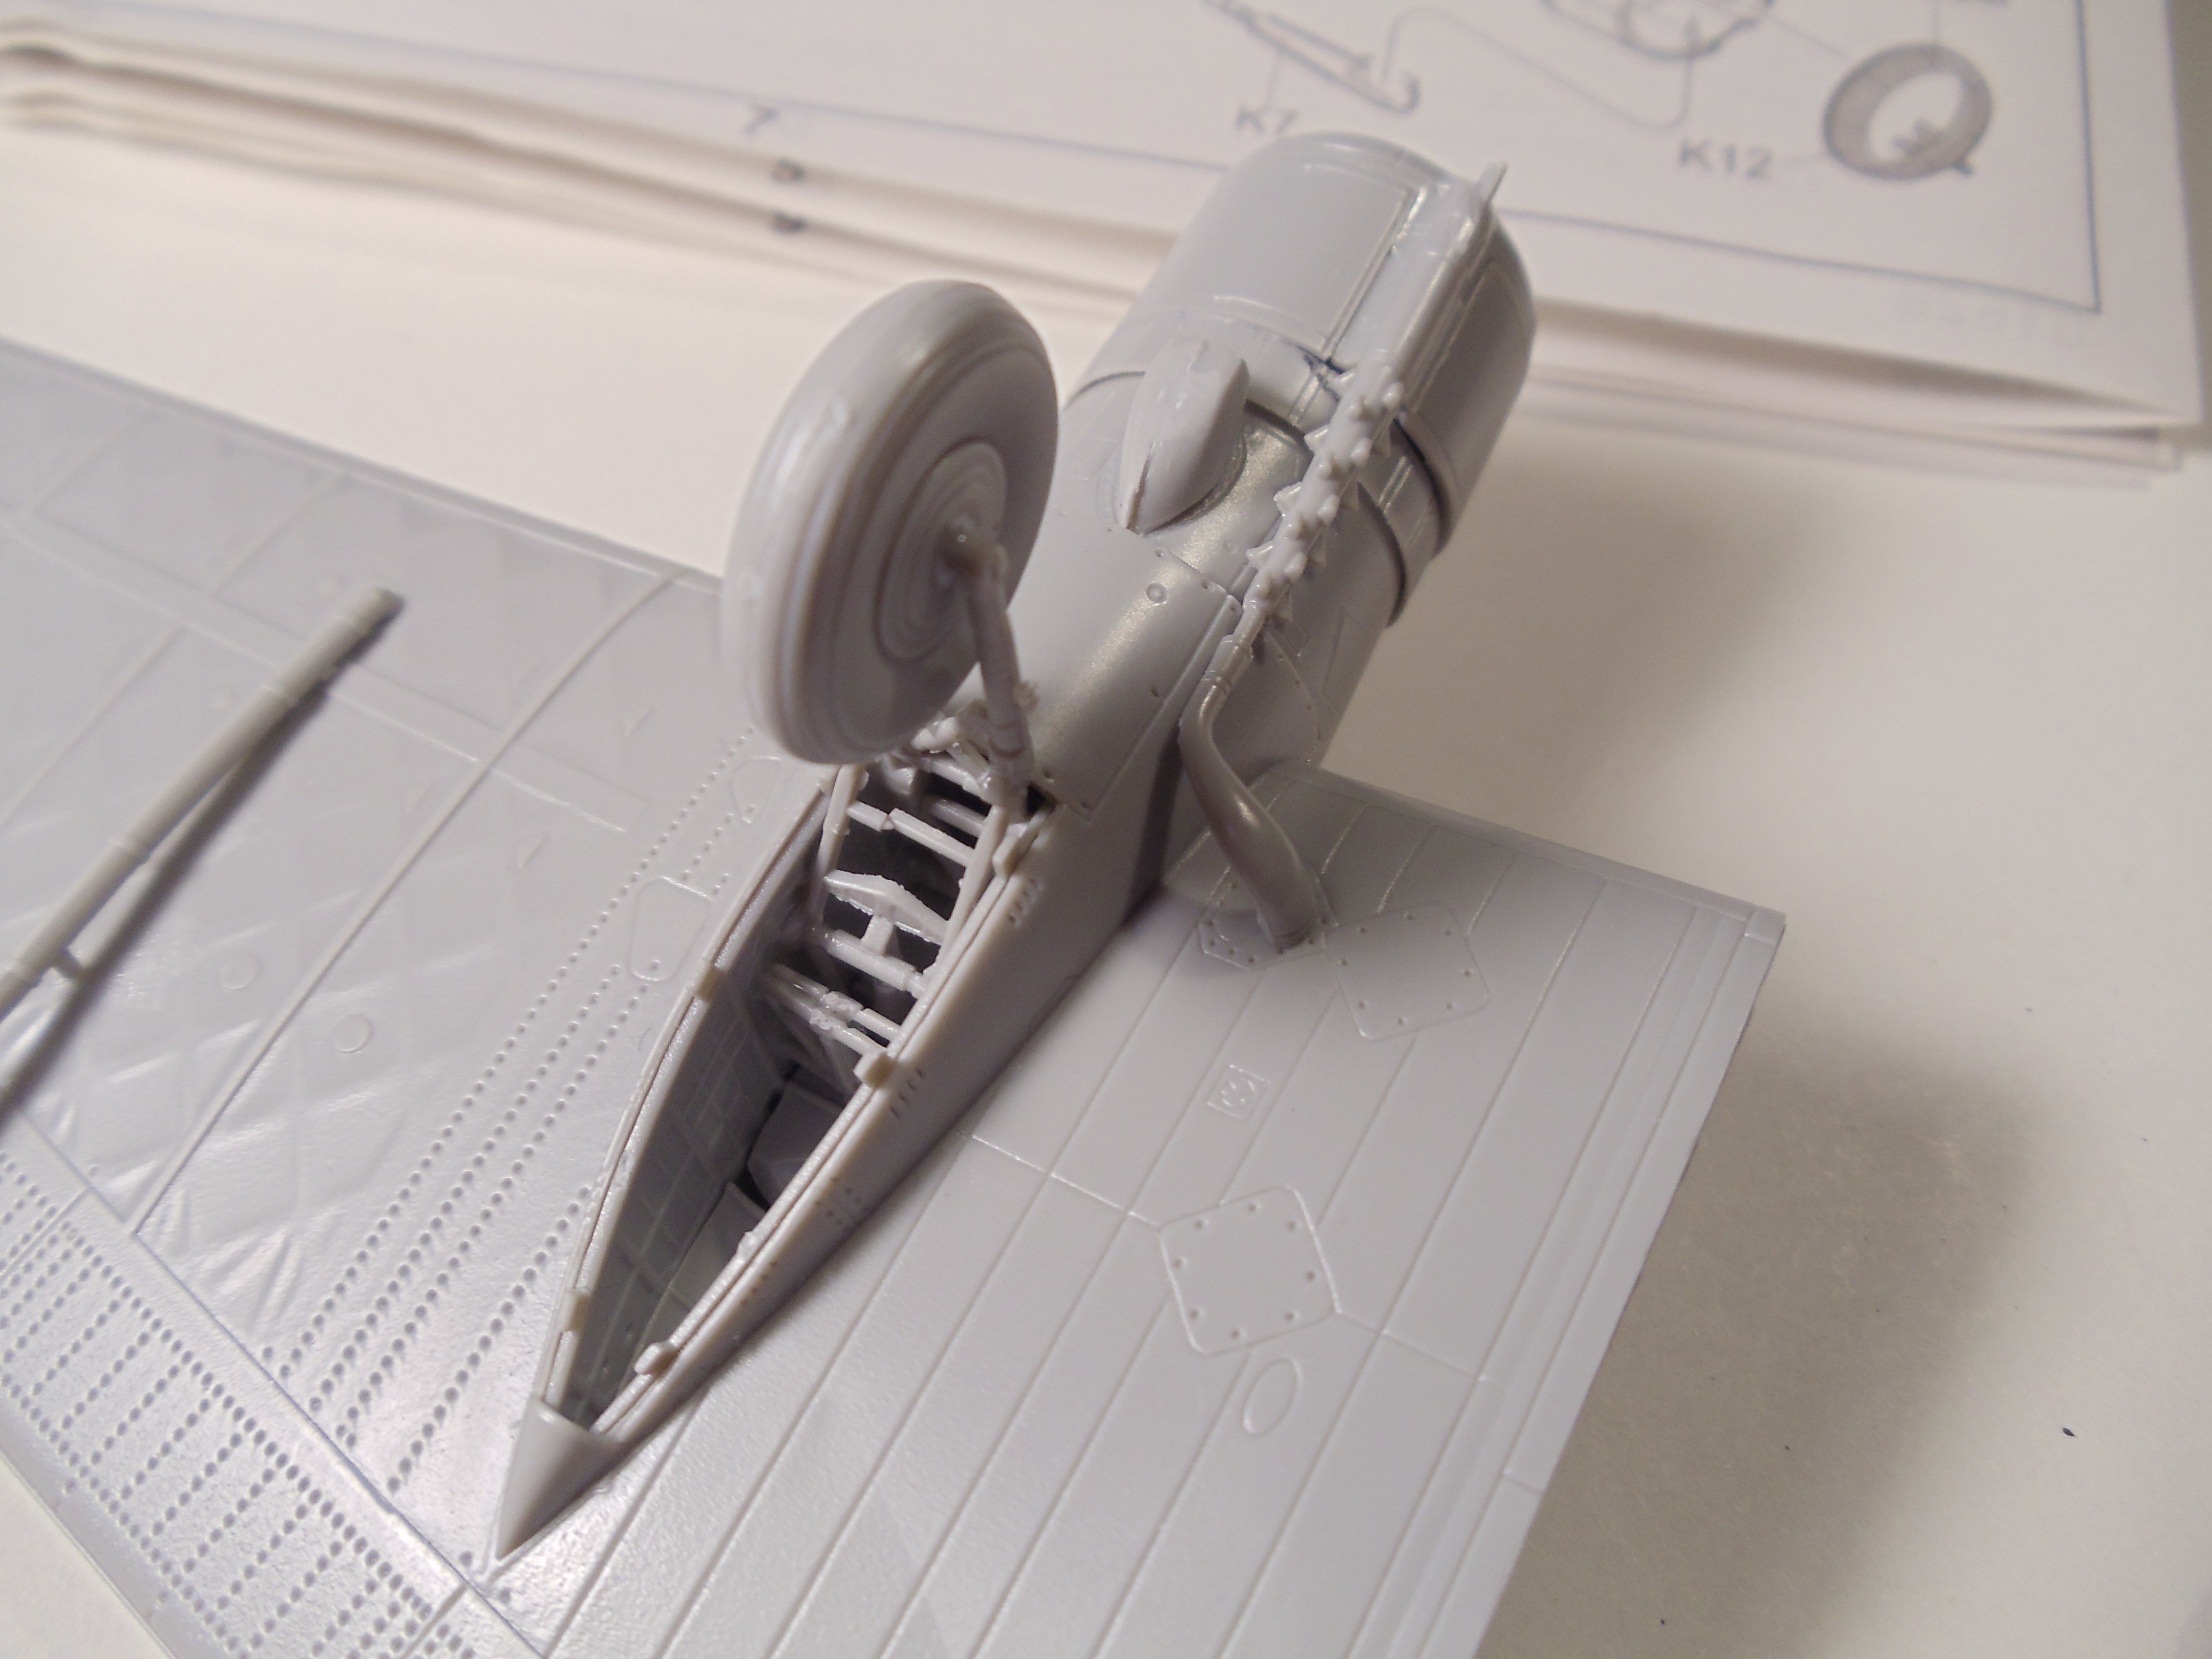
I have added the landing gear doors and the air filter to complete the starboard wing.

Final result
Next time step 12 and I should not be expecting any unforseeable problems.
Intermission – Plane Dave’s Grumman F6F-3 Hellcat

Perhaps the aircraft most associated with the changing tide of the Pacific War, The F6F Hellcat was the key Naval fighter of the last part of the War. Let’s take a look at a complete game changer.
Intermission – Building a Scale Model Aircraft – Part 1: Choosing a kit. — Mediocre Models

Welcome to the first part of my ‘Building a Scale Model Aircraft’ series, where I’m going to try and help you, the novice builder, through your first steps into the hobby of scale modelling – so wish us both luck! It sounds stupid to say, but one of the first things you’ll need if you […]
via Building a Scale Model Aircraft – Part 1: Choosing a kit. — Mediocre Models
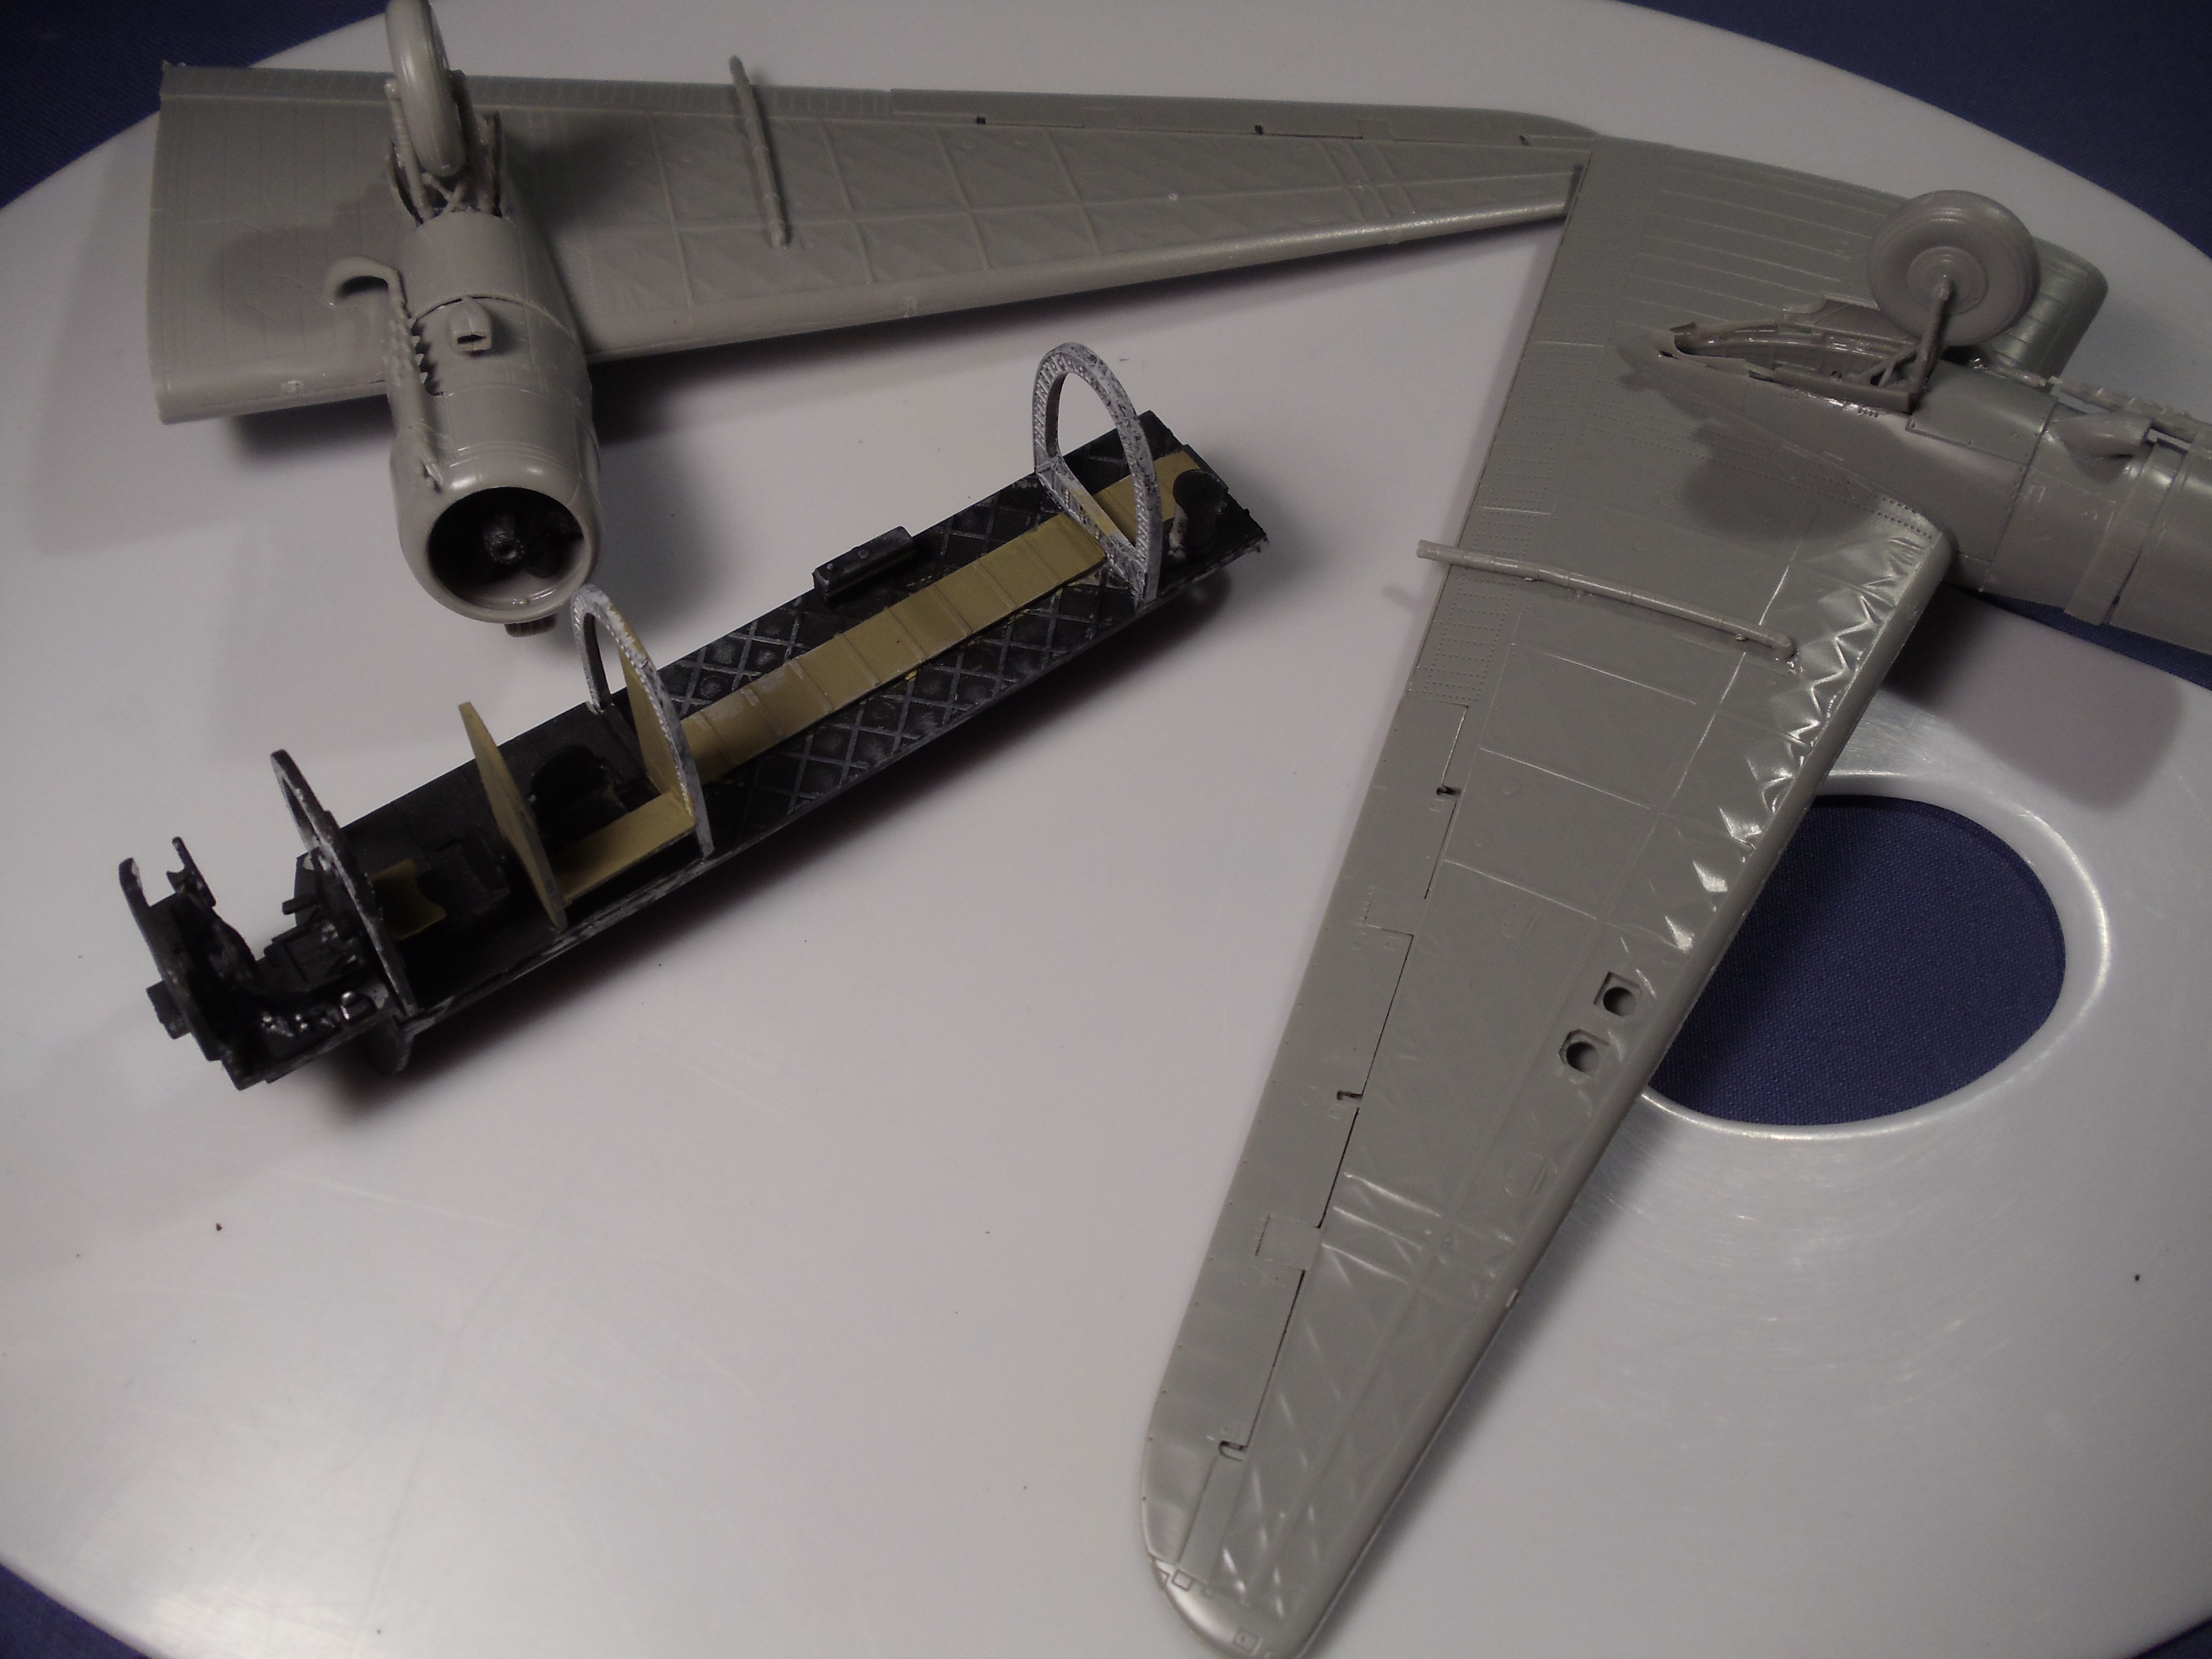
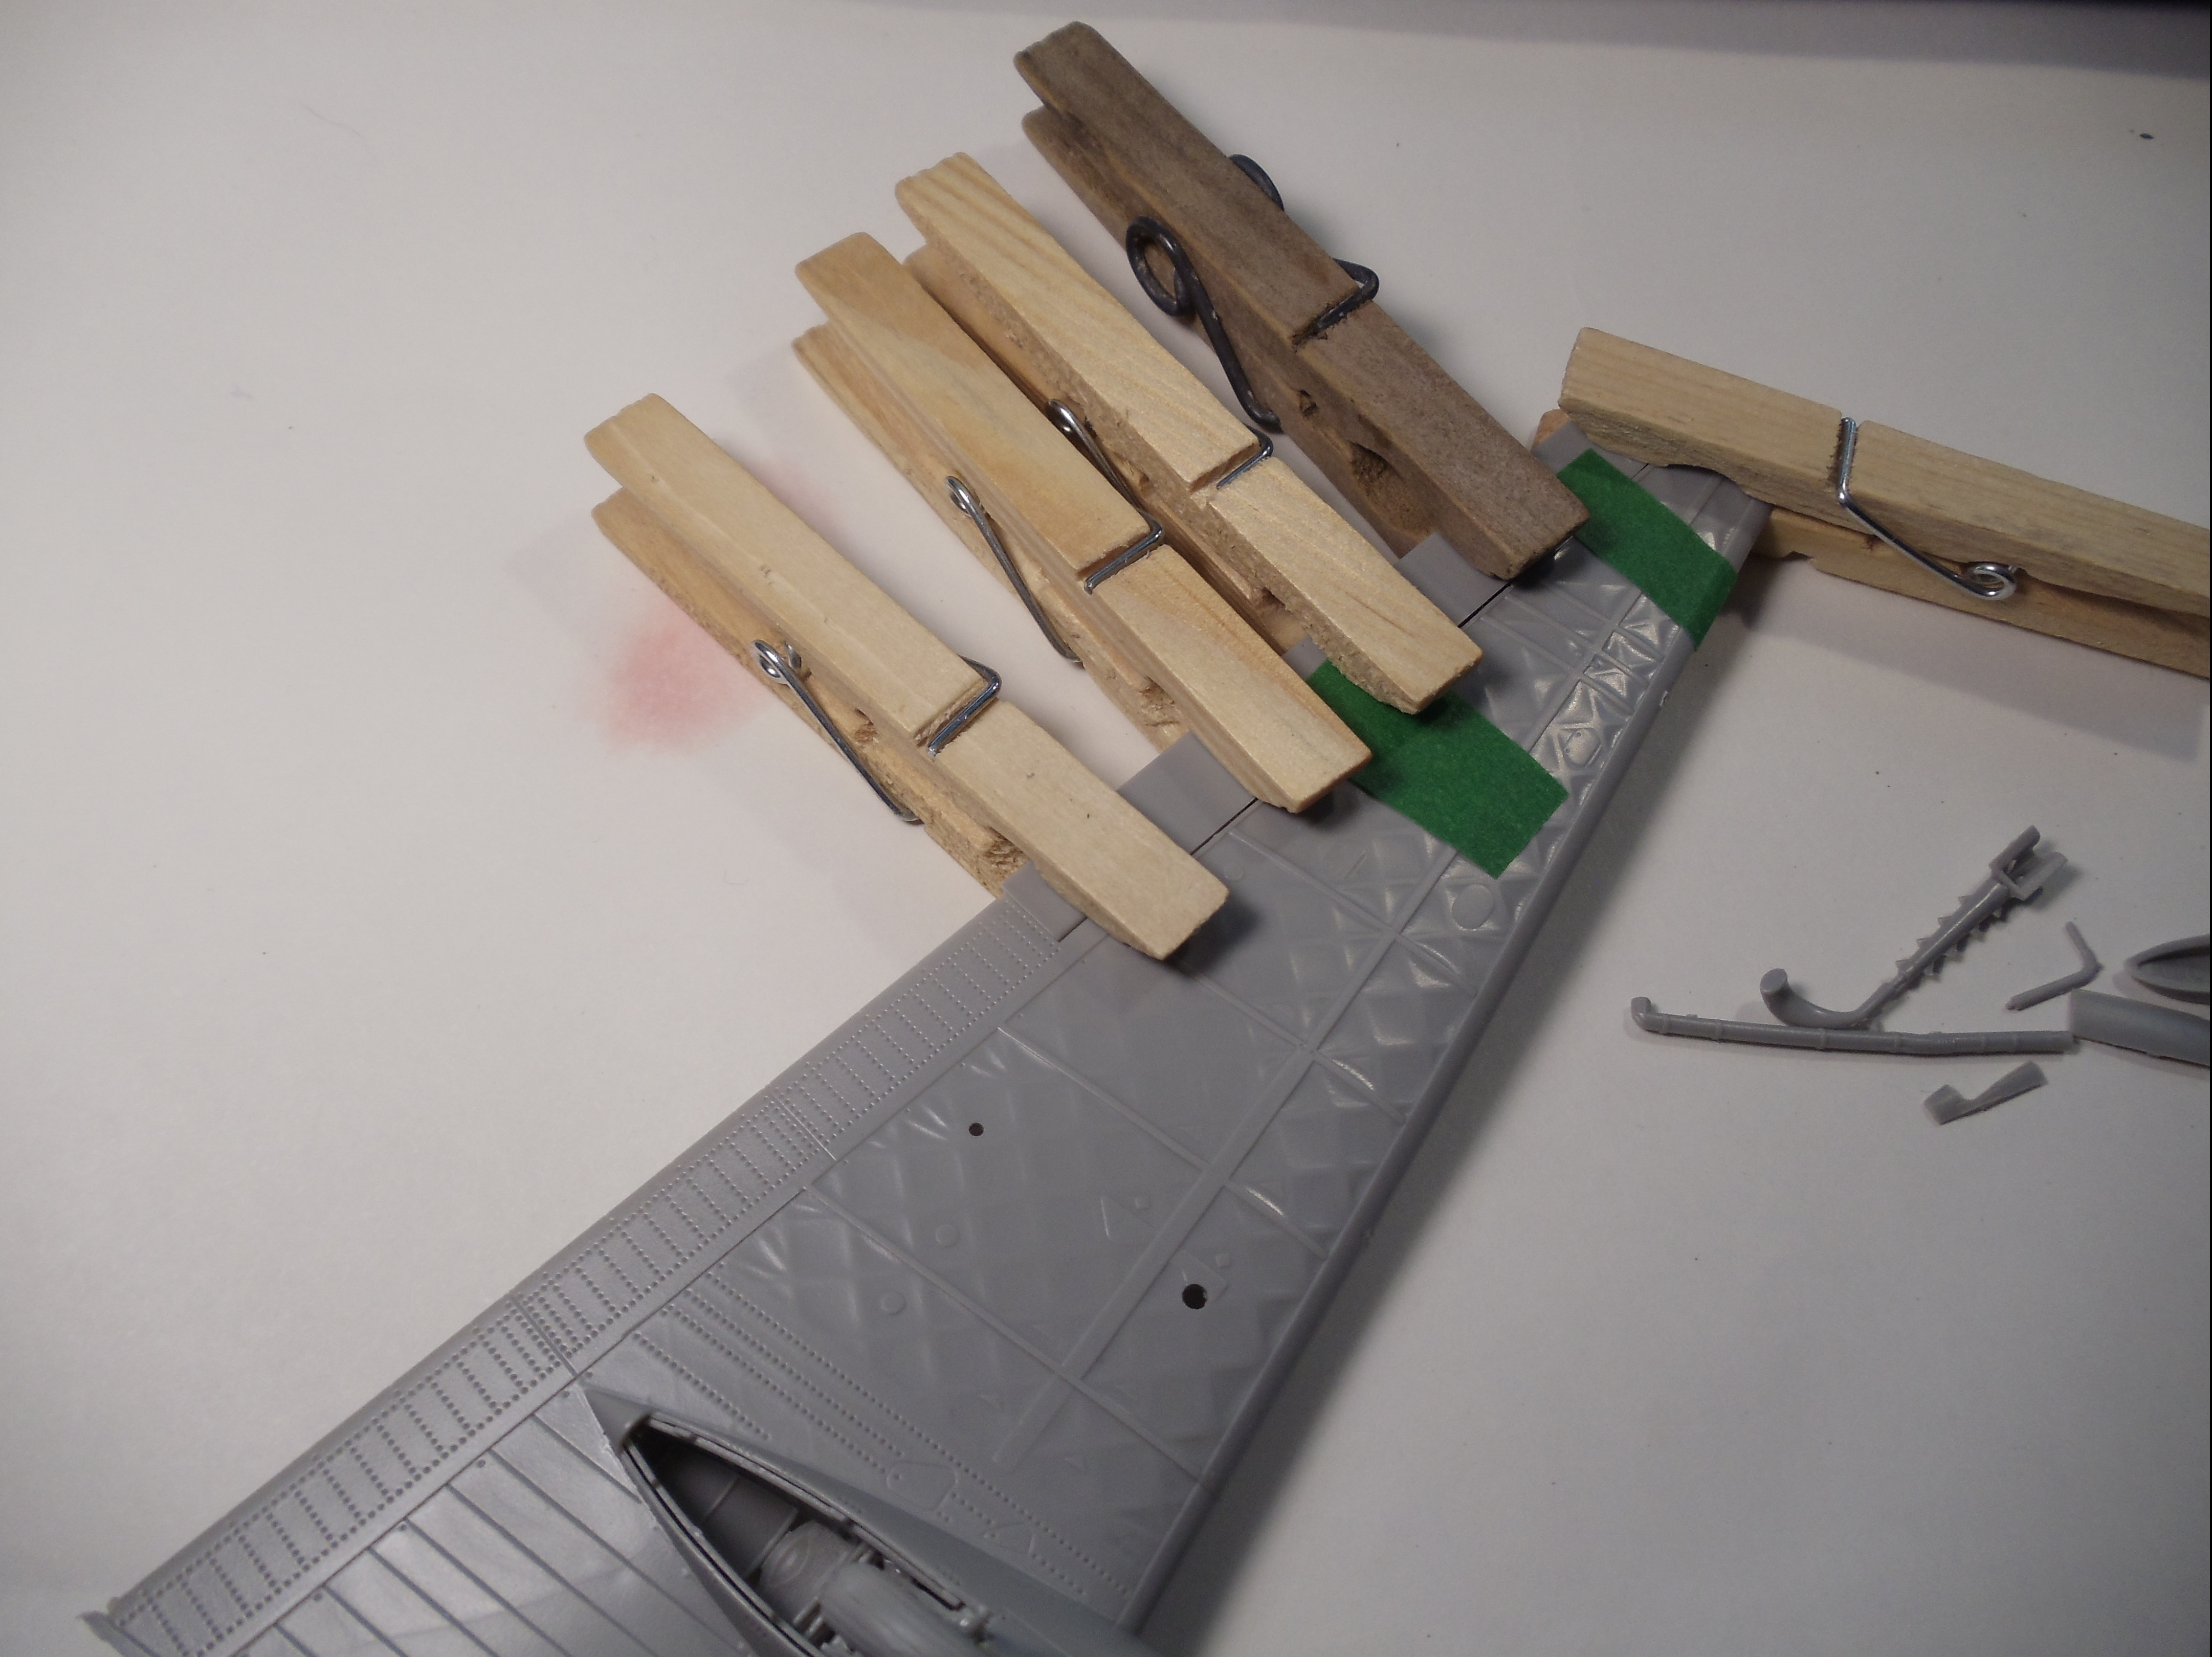
Trumpeter Vickers Wellington Mk X – Steps 11 and 12
Steps 11 ans 12 are quite similar but I am following the instructions.
I have started these steps leaving step 8 dormant for awhile since I won’t be needing it until step 13. I hope I will be lucky…
Some photos of the progress…

Trumpeter Vickers Wellington Mk X – Step 8!
Step 8 should have been simple but I forgot to see what I had missed in the instructions.
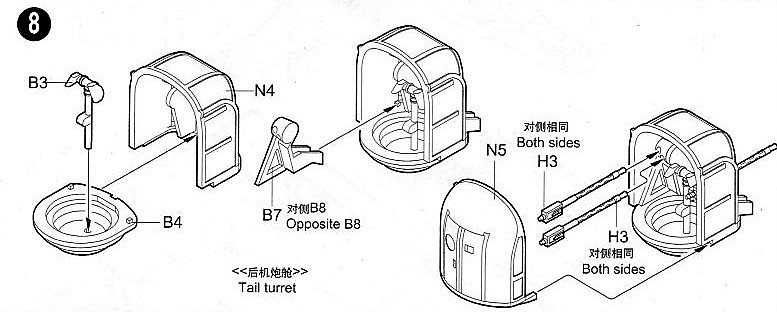
The four Browning .303 machine guns had to be inserted in four little holes which were not wide enough.
I had taken about 30 minutes to try to fit them. Having done so I proceeded with installing parts B7 and B8 which did not seem to fit. It was obvious that I had inserted the machine guns 180 degrees due to combat fatigue!
I had to become a brain surgeon to fix this. I then glued B7 and B8 which were hard to insert. It was only then that I noticed how these parts were protruding.
I should have remembered to look at this photo.
That should teach me a lesson.
