Calling it a day last November was only intended to last one or two days at the most, but then I was distracted along the way.
I can’t exactly recall how I was distracted, but I decided to build two other model kits.
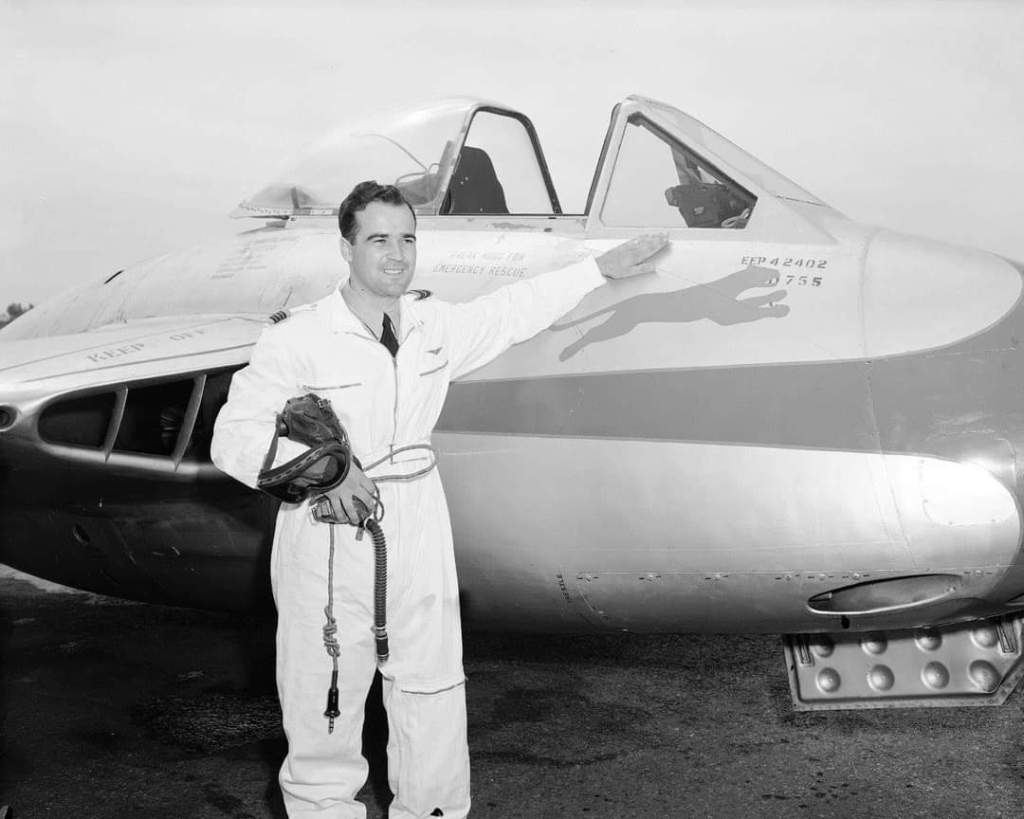
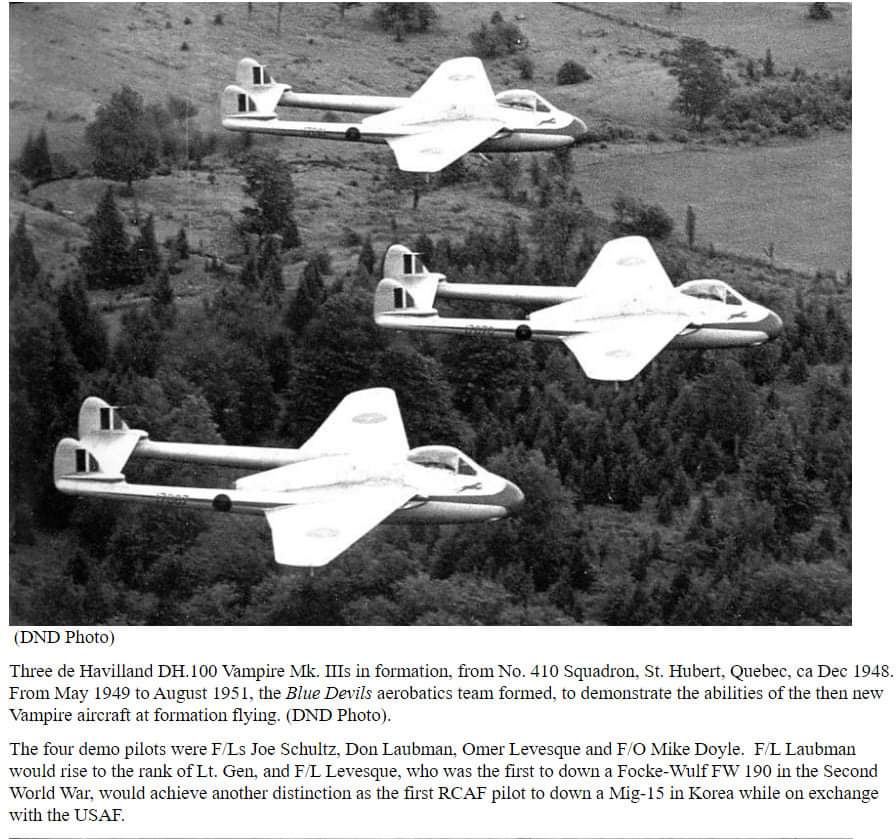
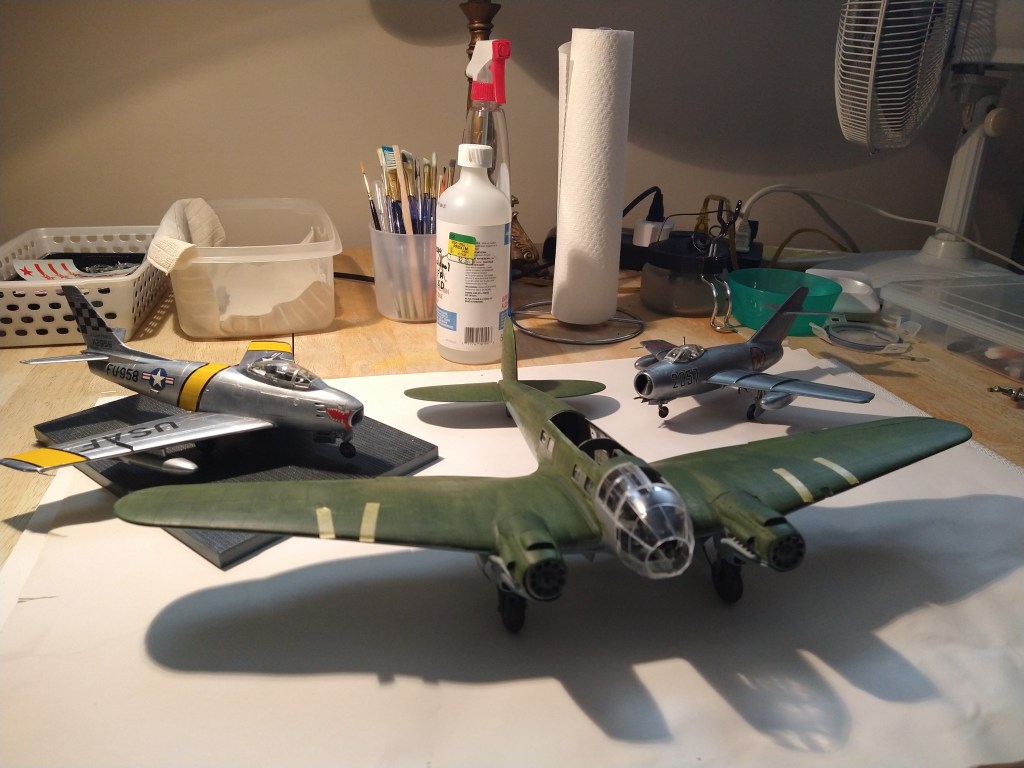
These two will be a gift to Guy Fournier whose war hero was Omer Levesque. Never heard of Omer Levesque before?
Omer Levesque is quite famous in the history of aviation. He was the first pilot to shoot down a FW 190. He was also the first pilot to shoot down a MiG 15.
I think this is a good time for a little update on My Forgotten Hobby III.
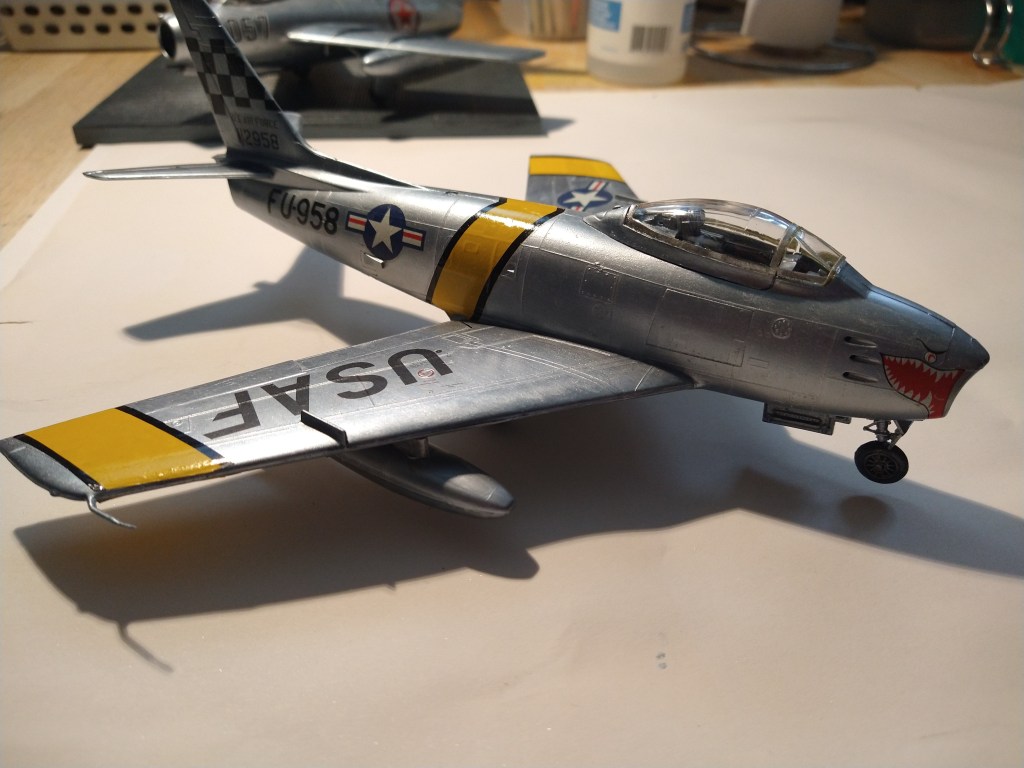
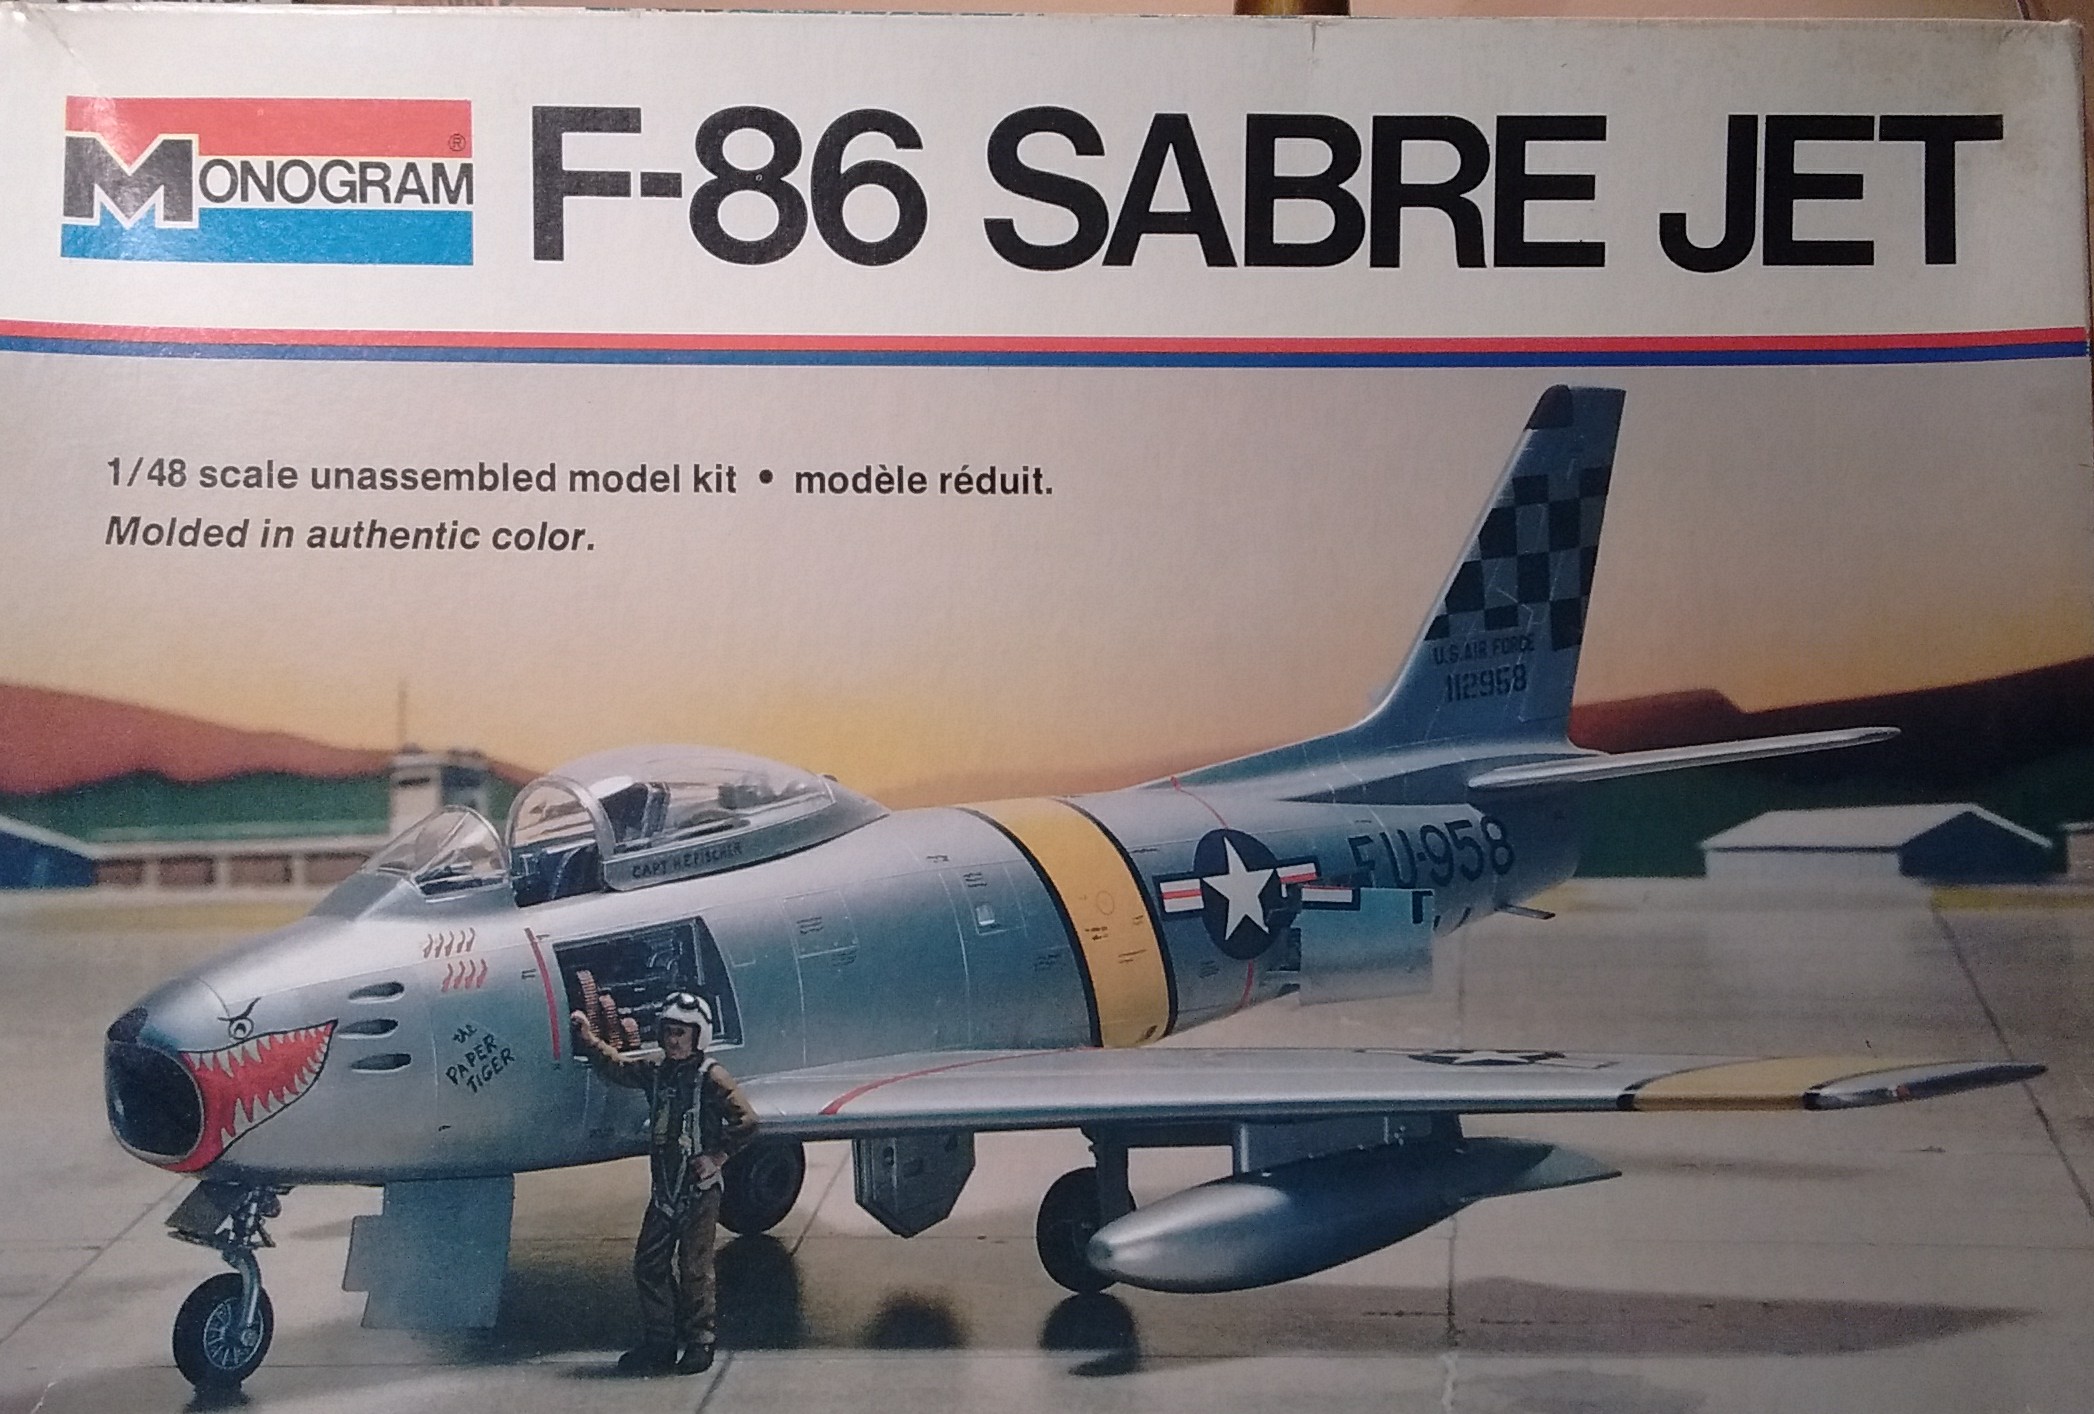
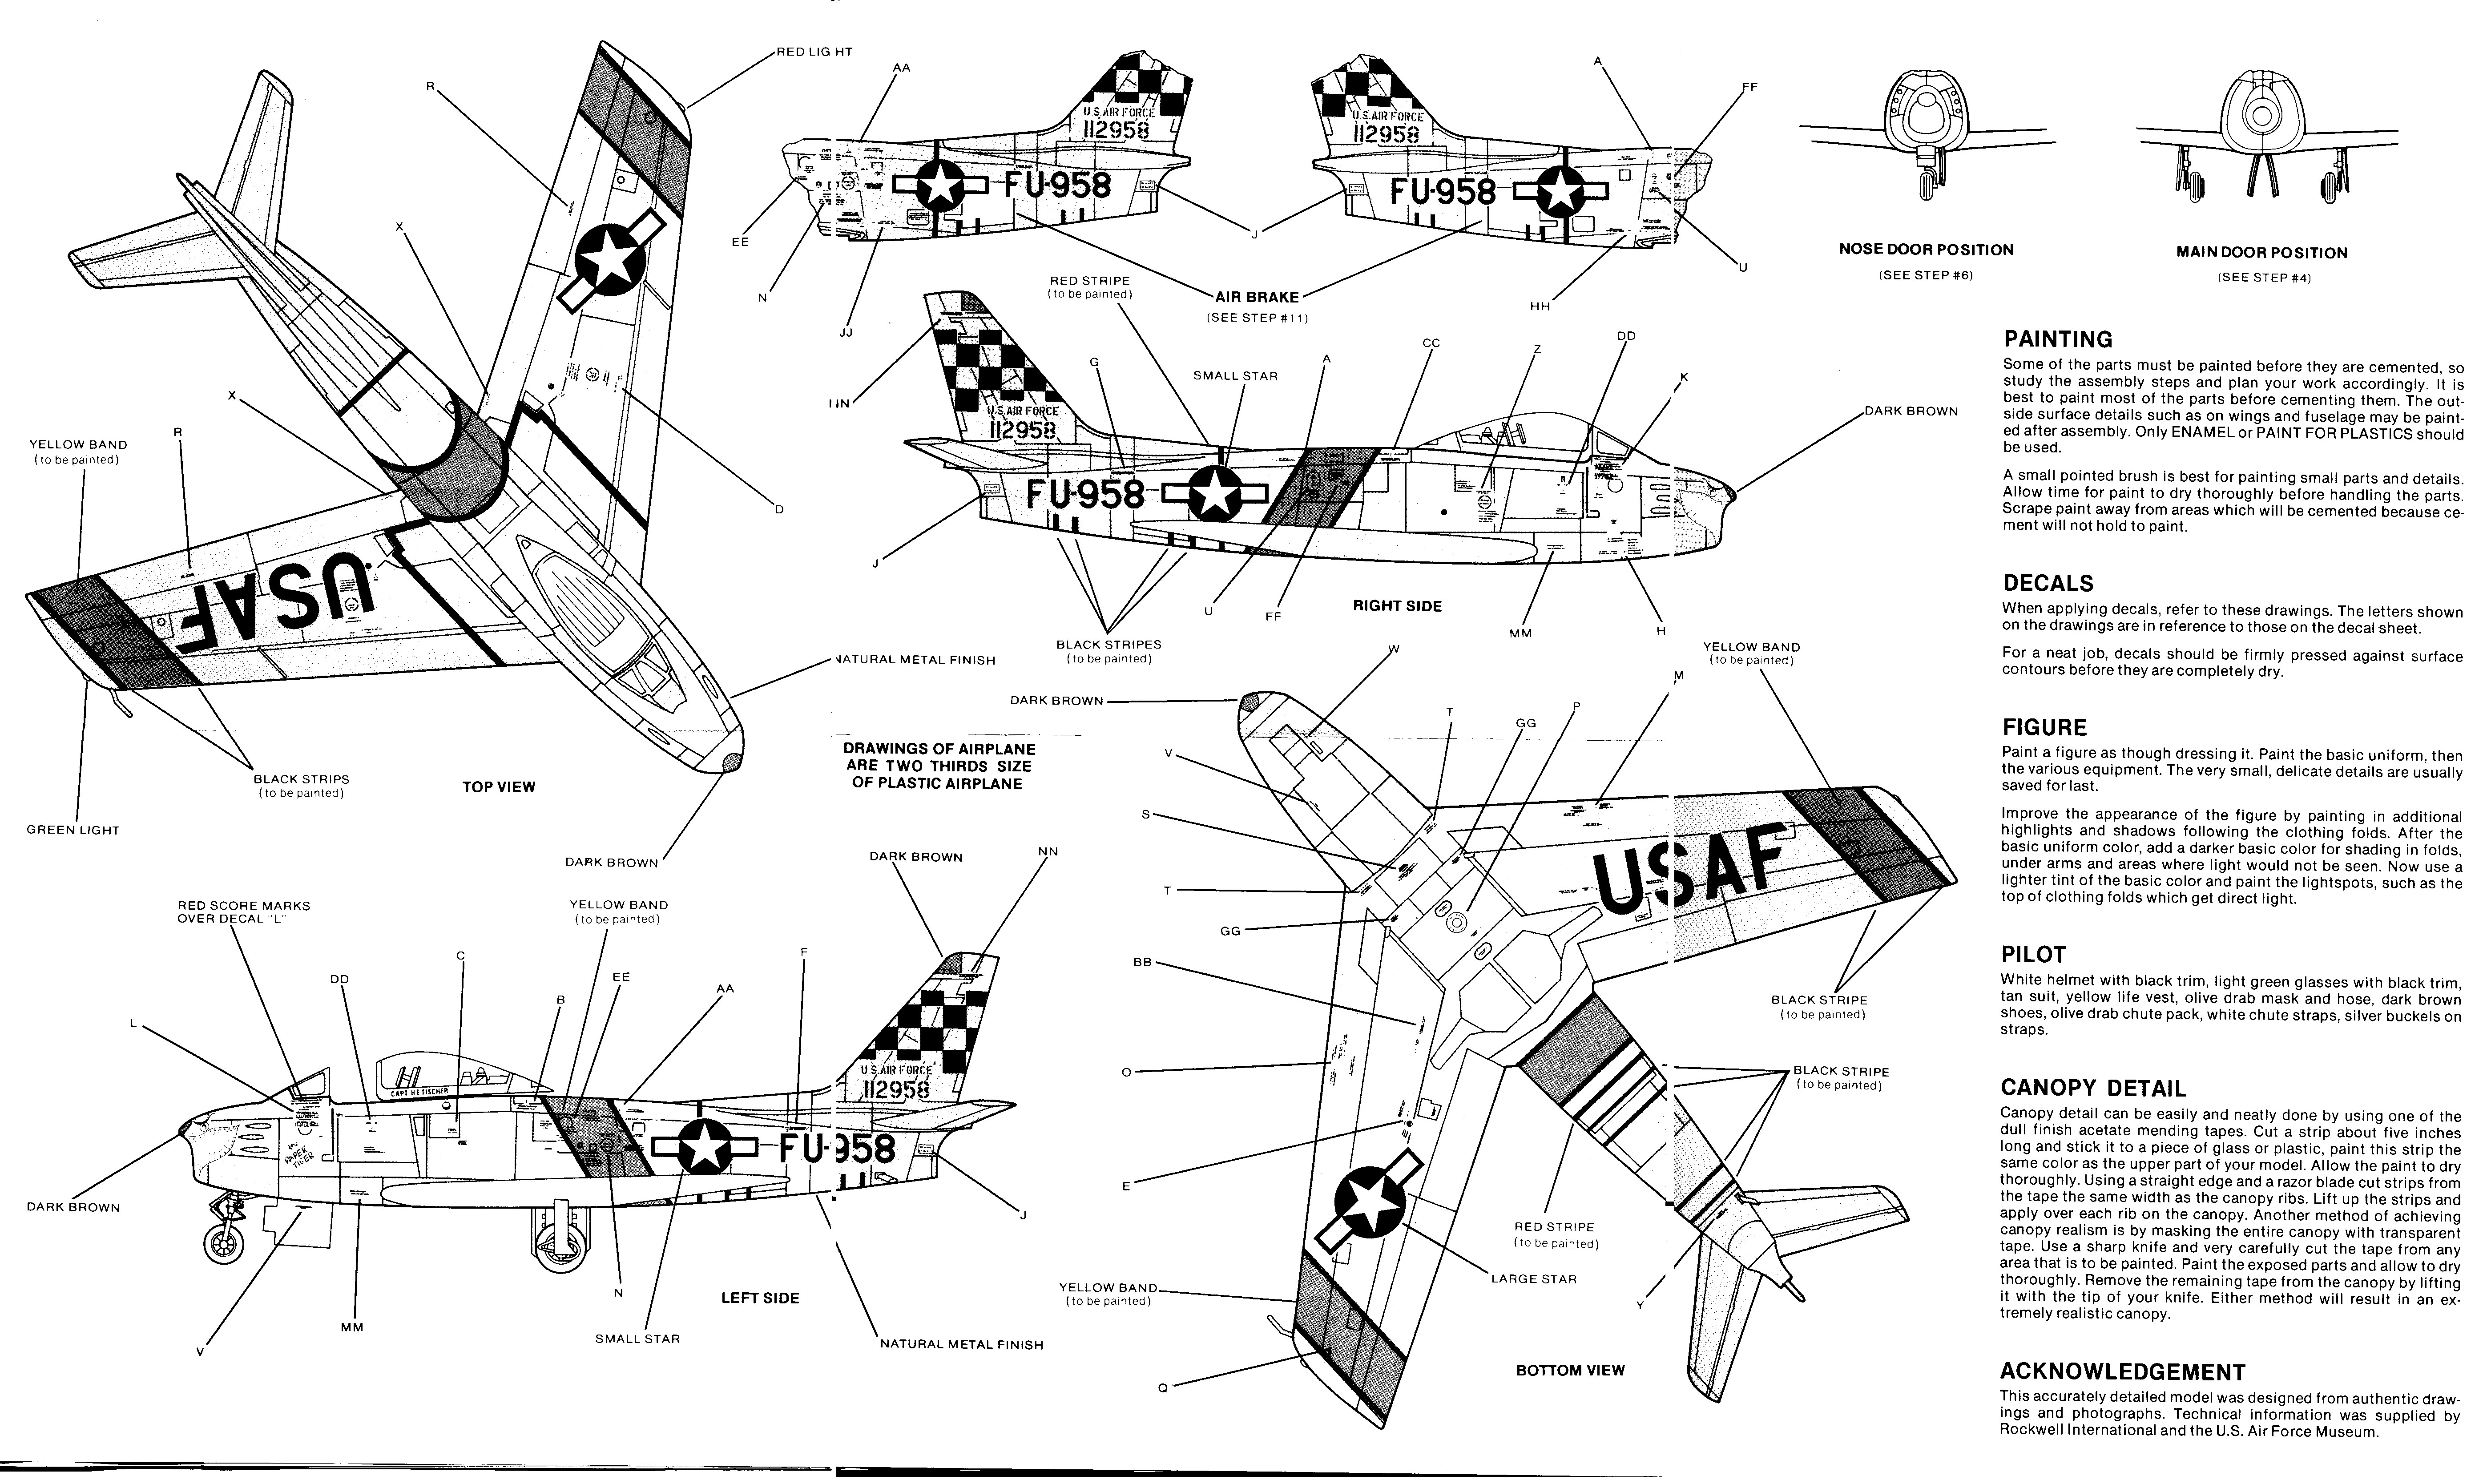
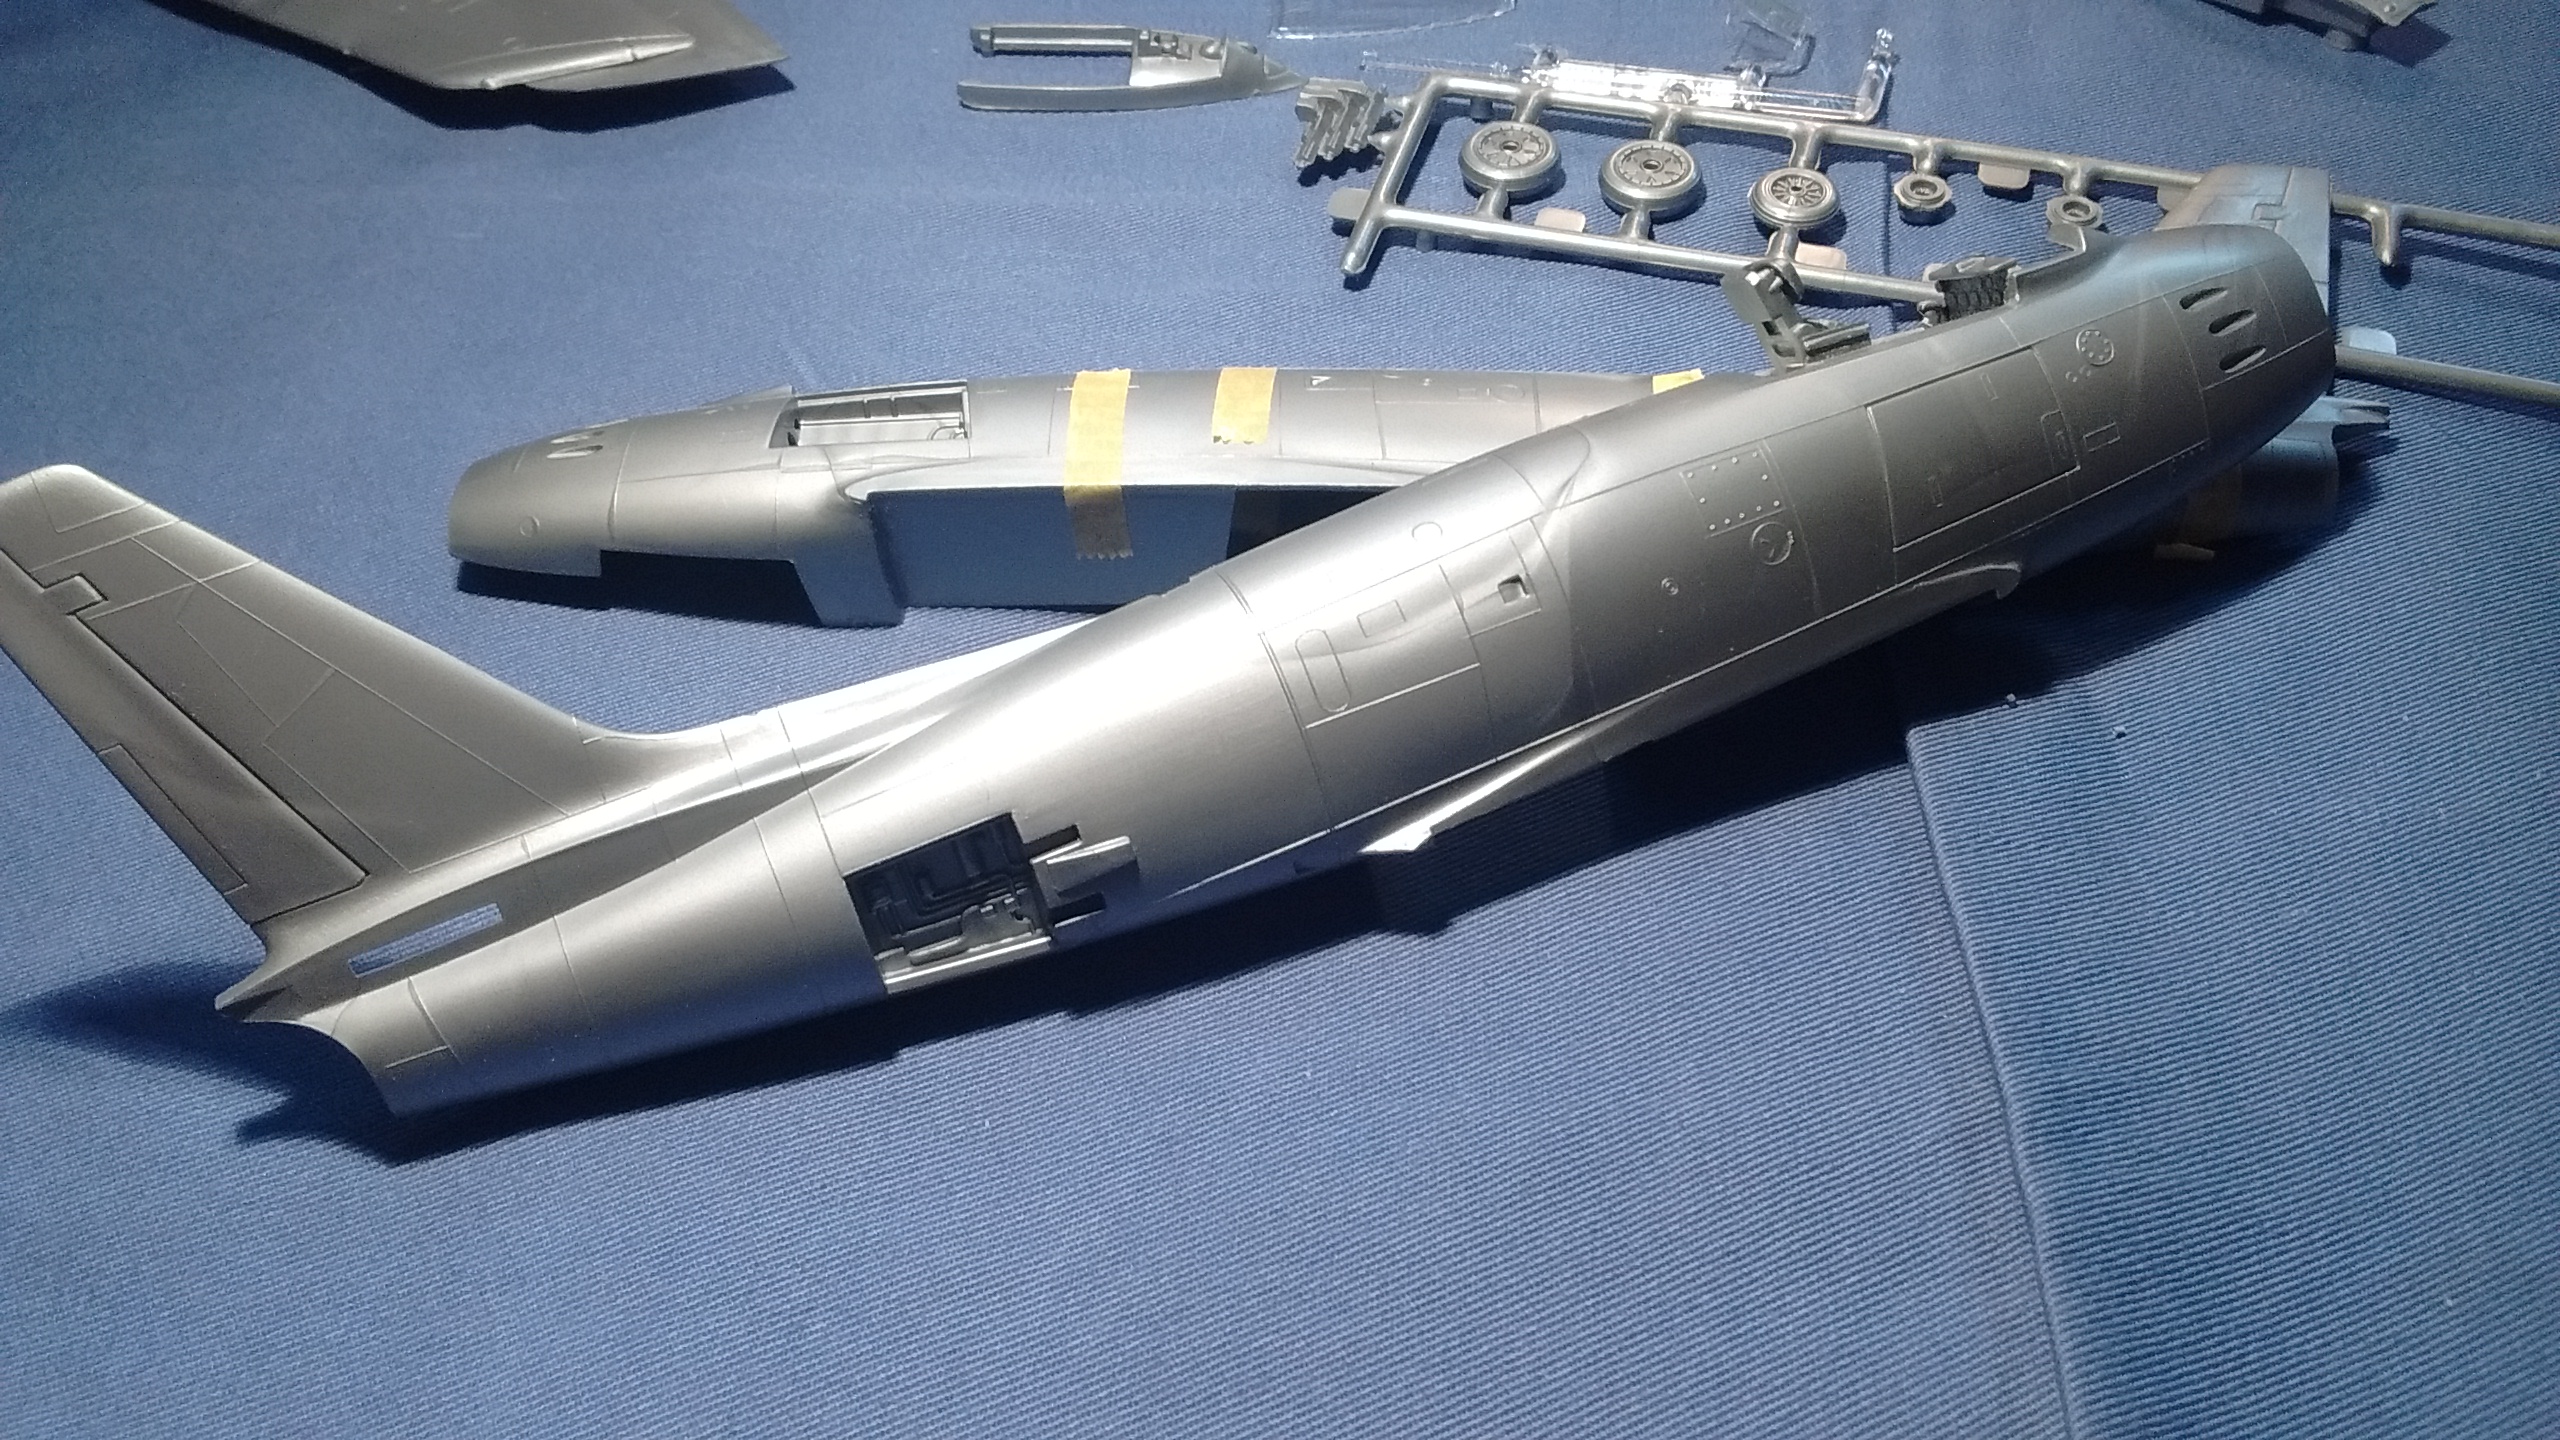
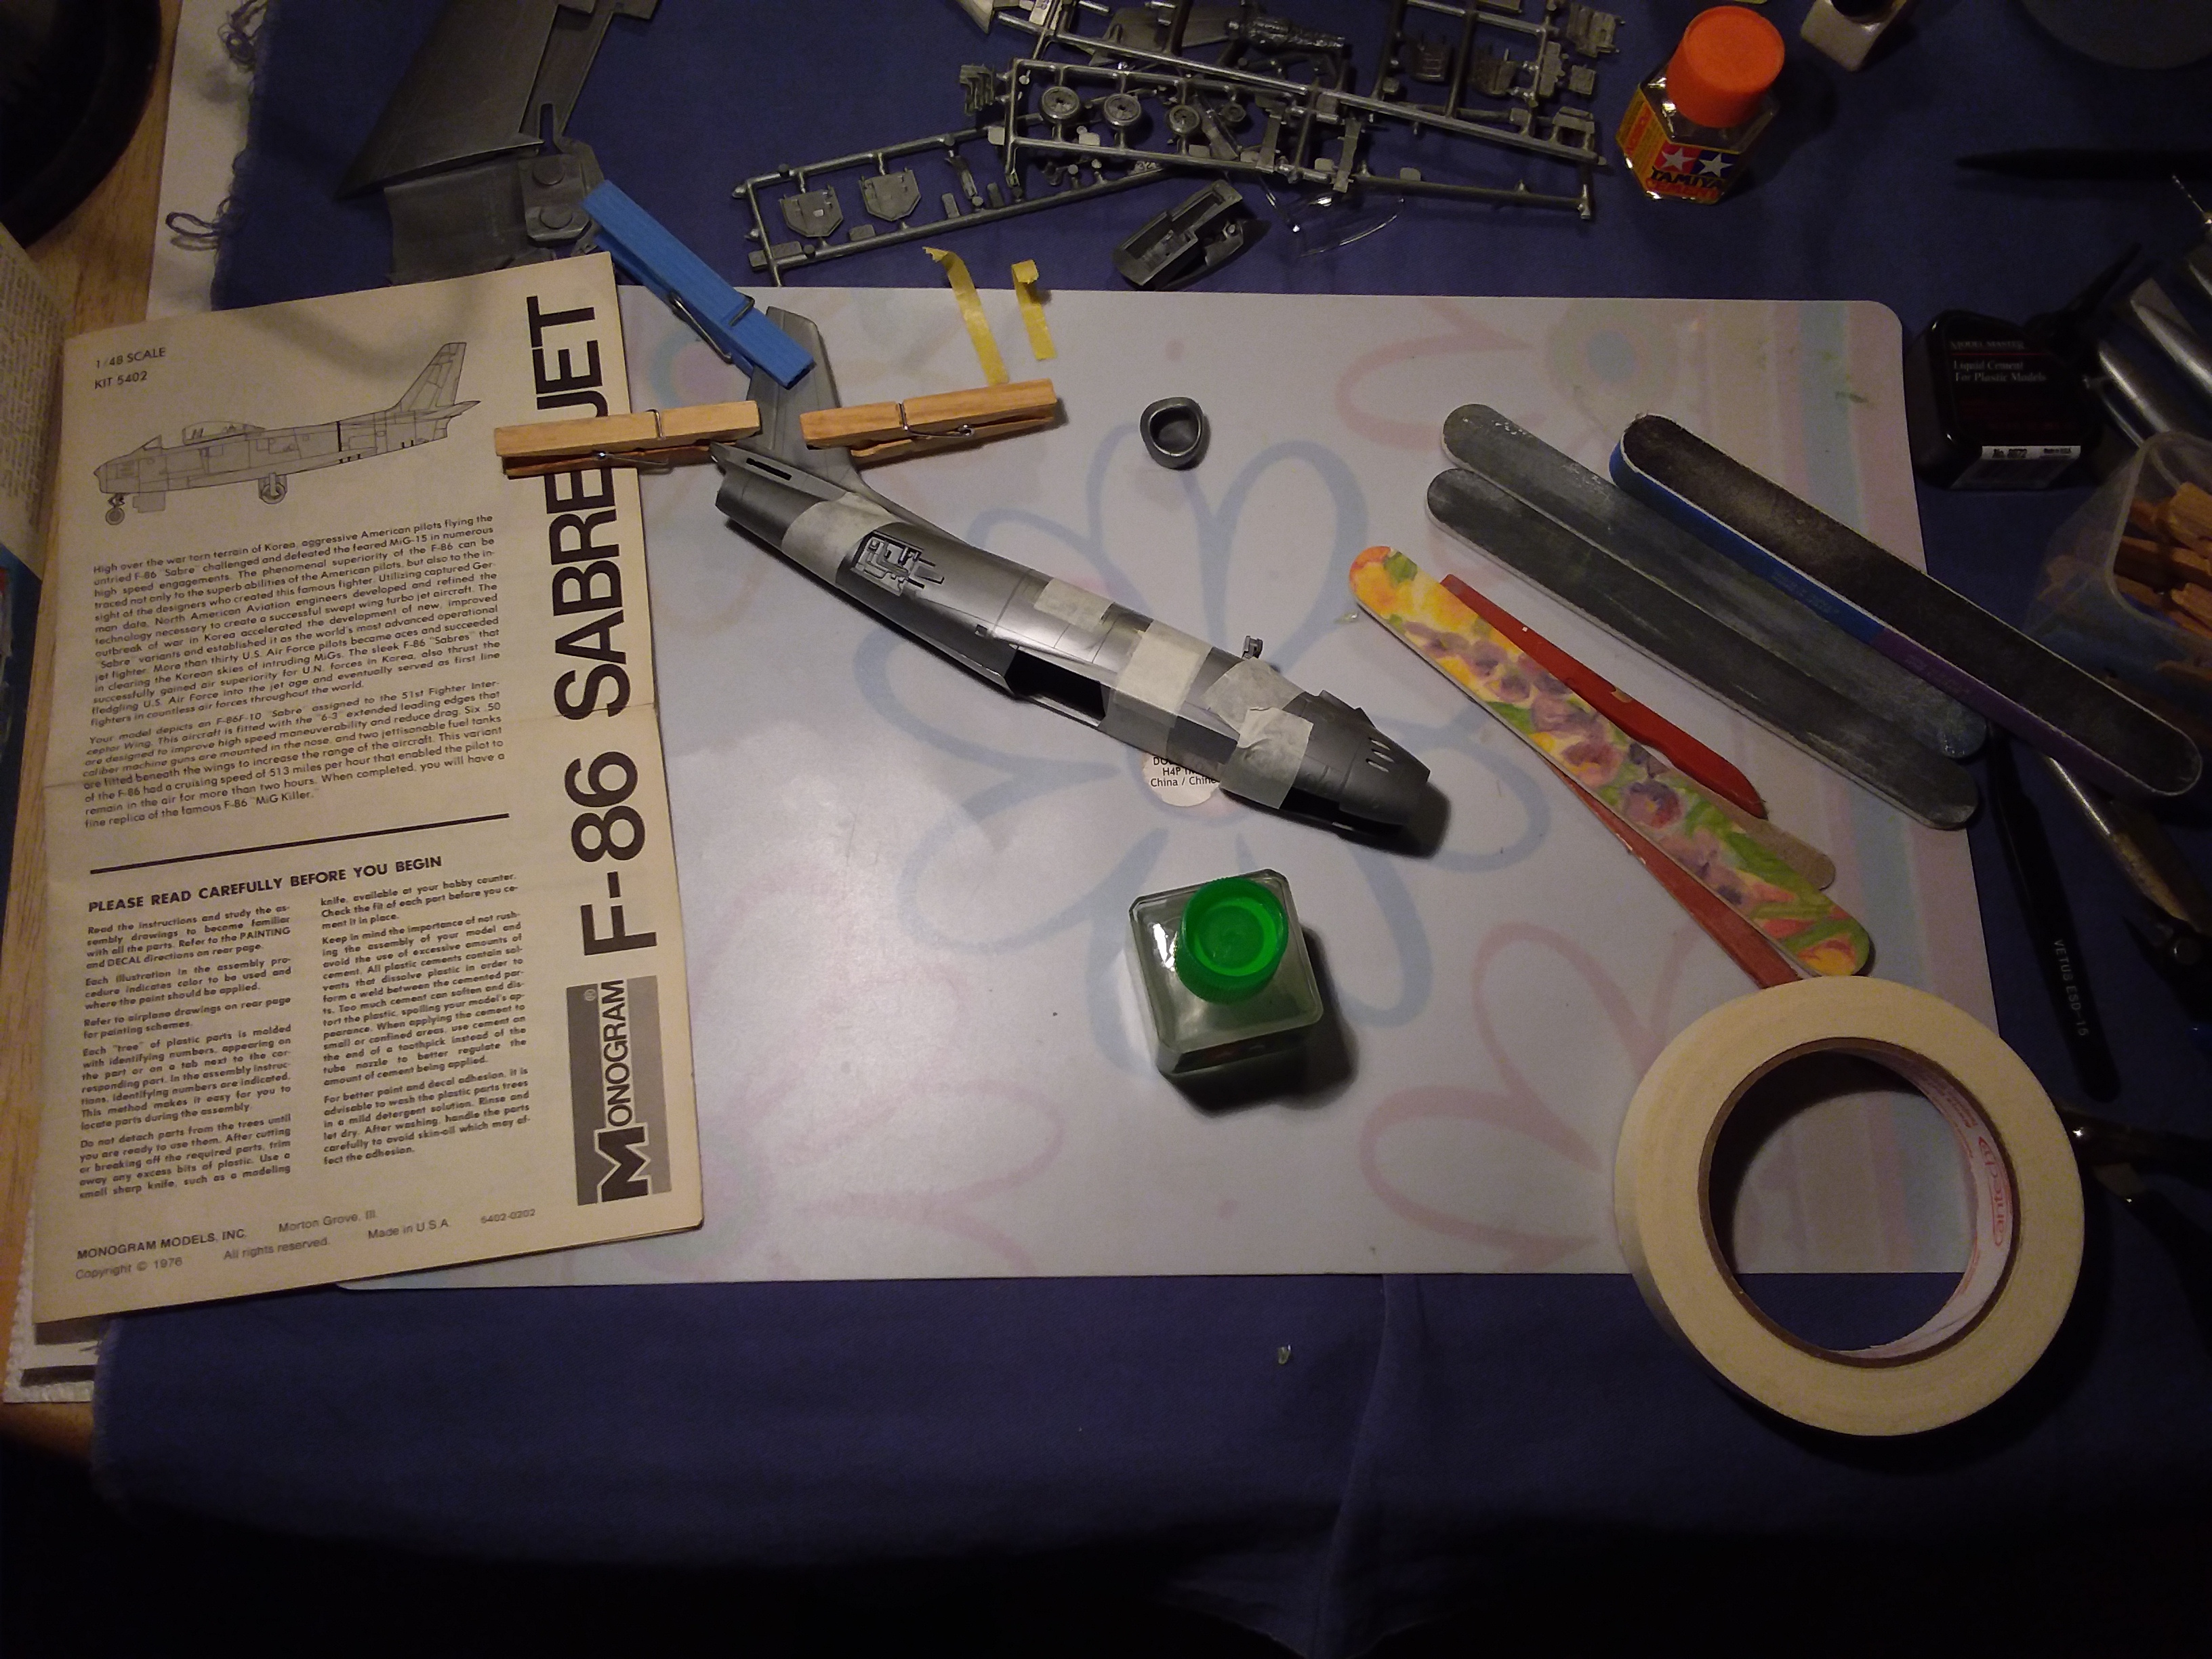
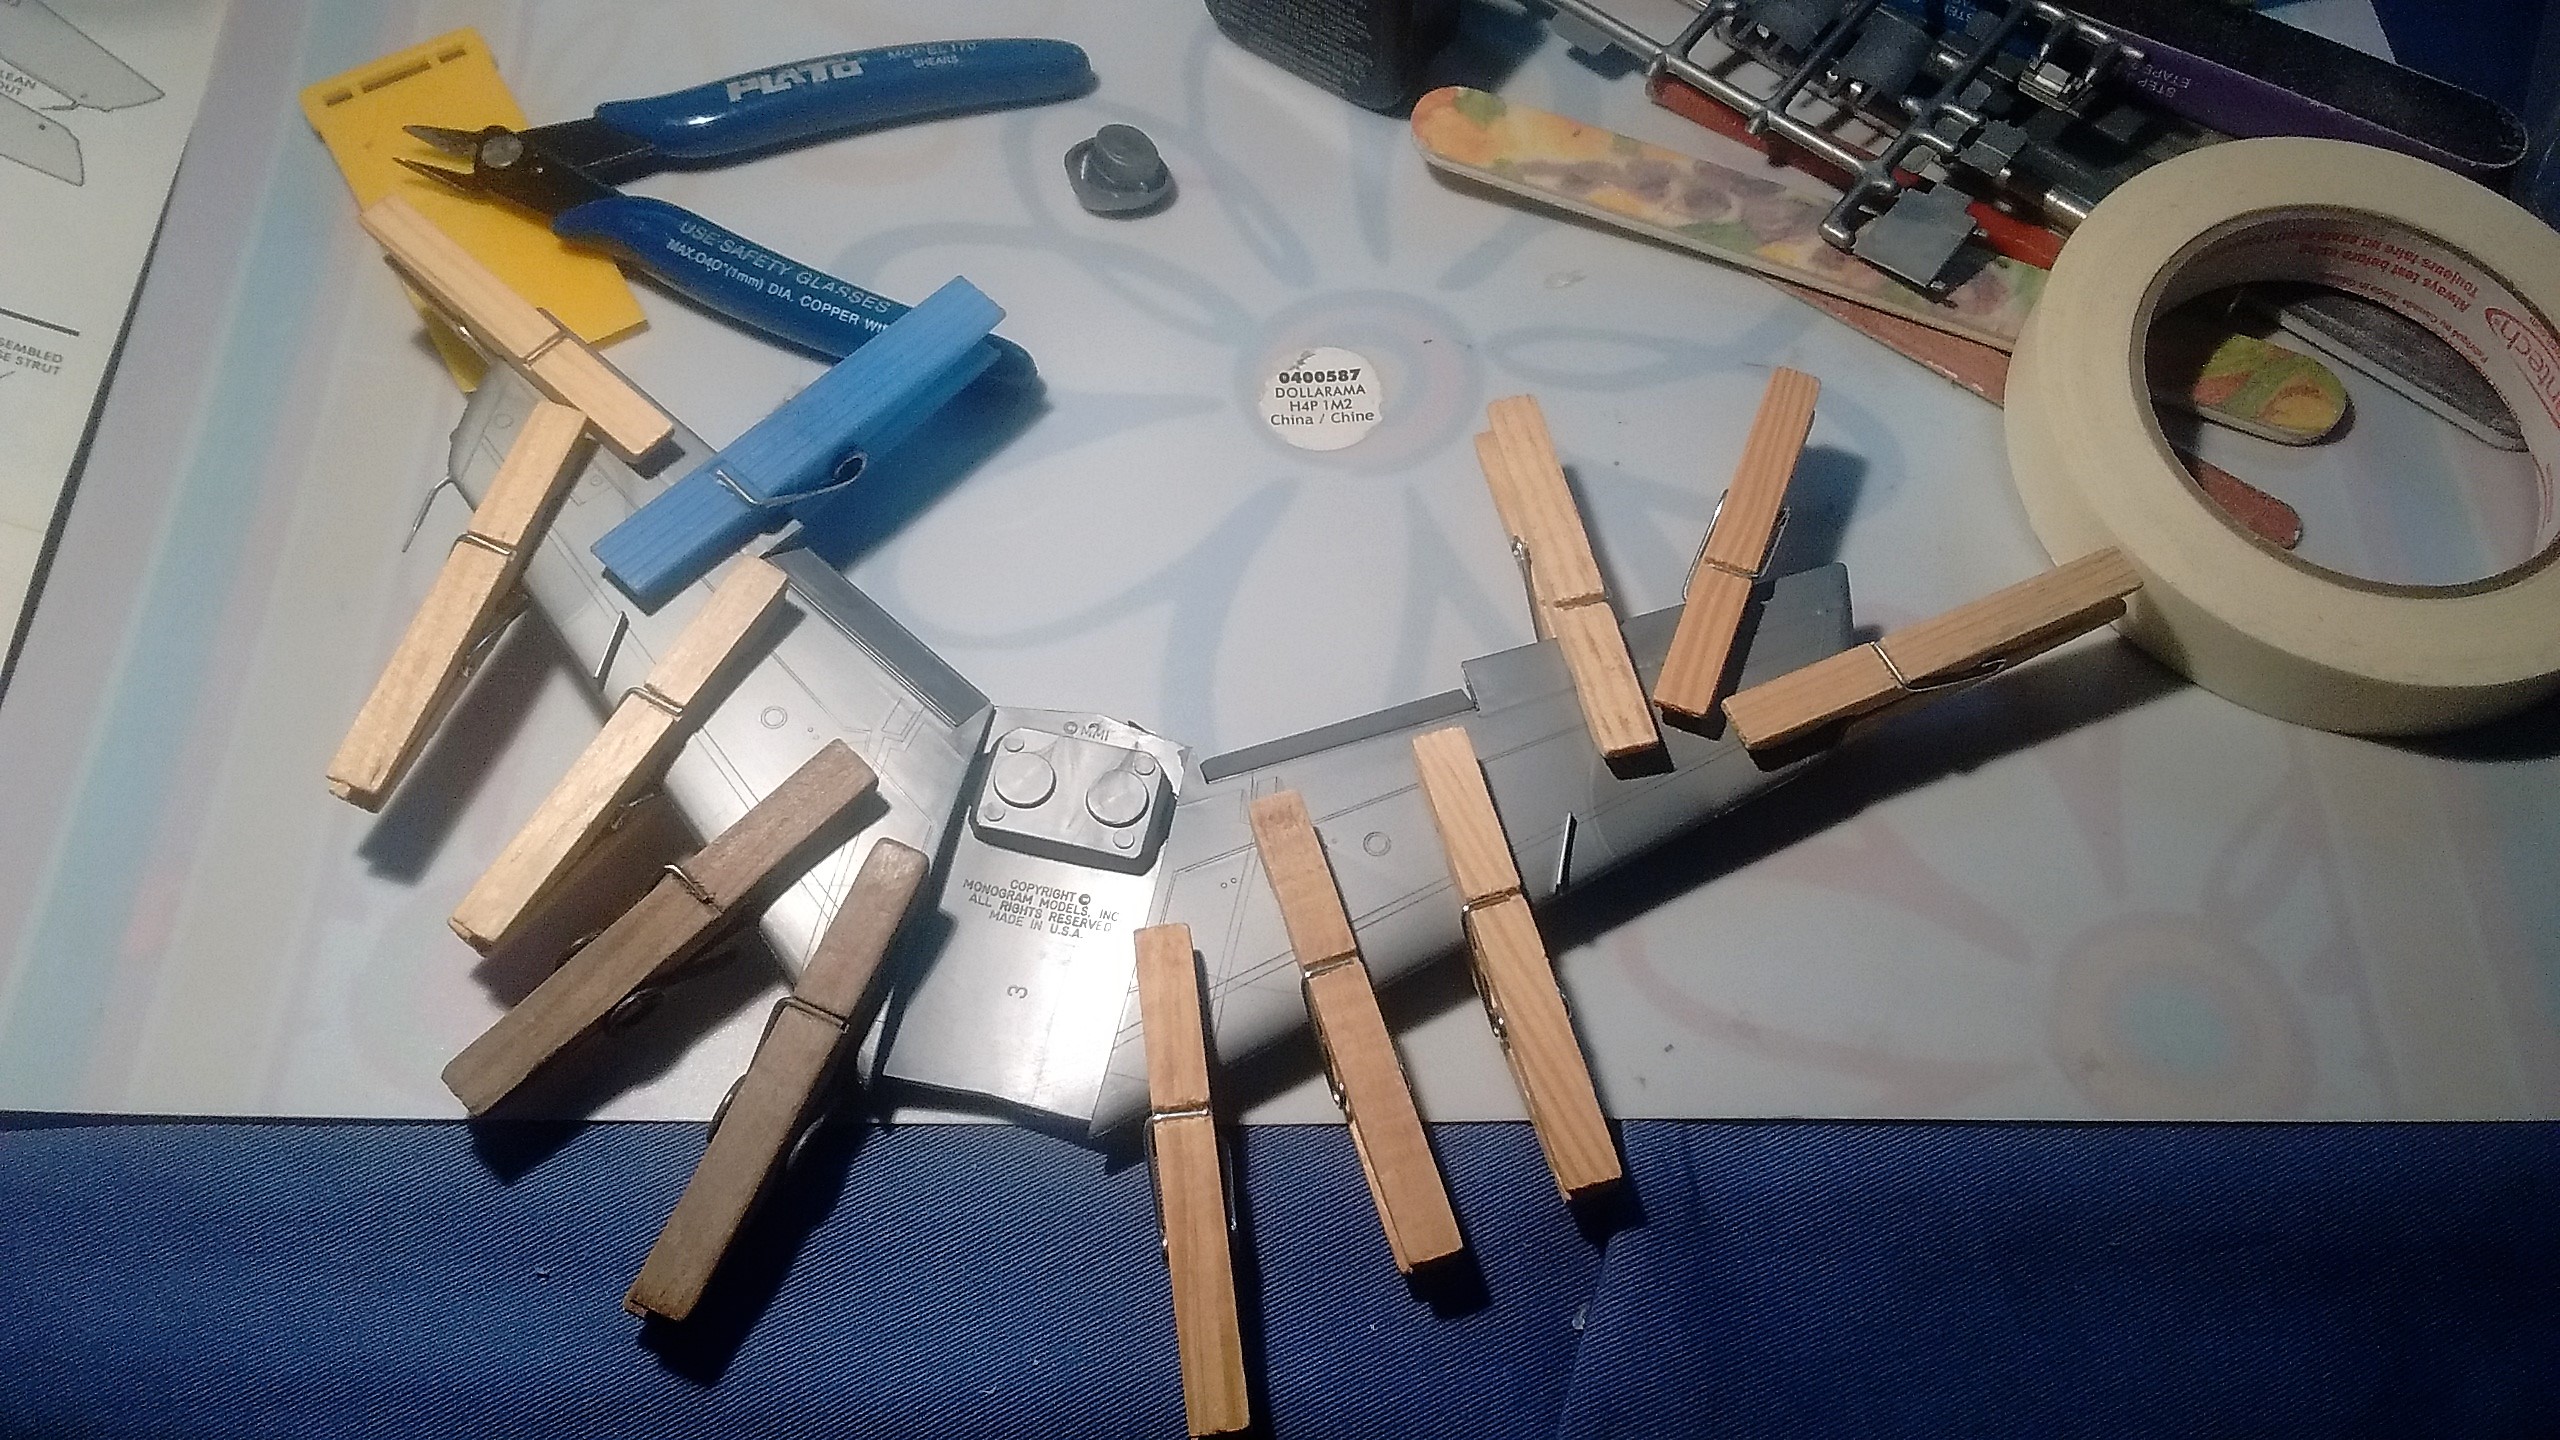
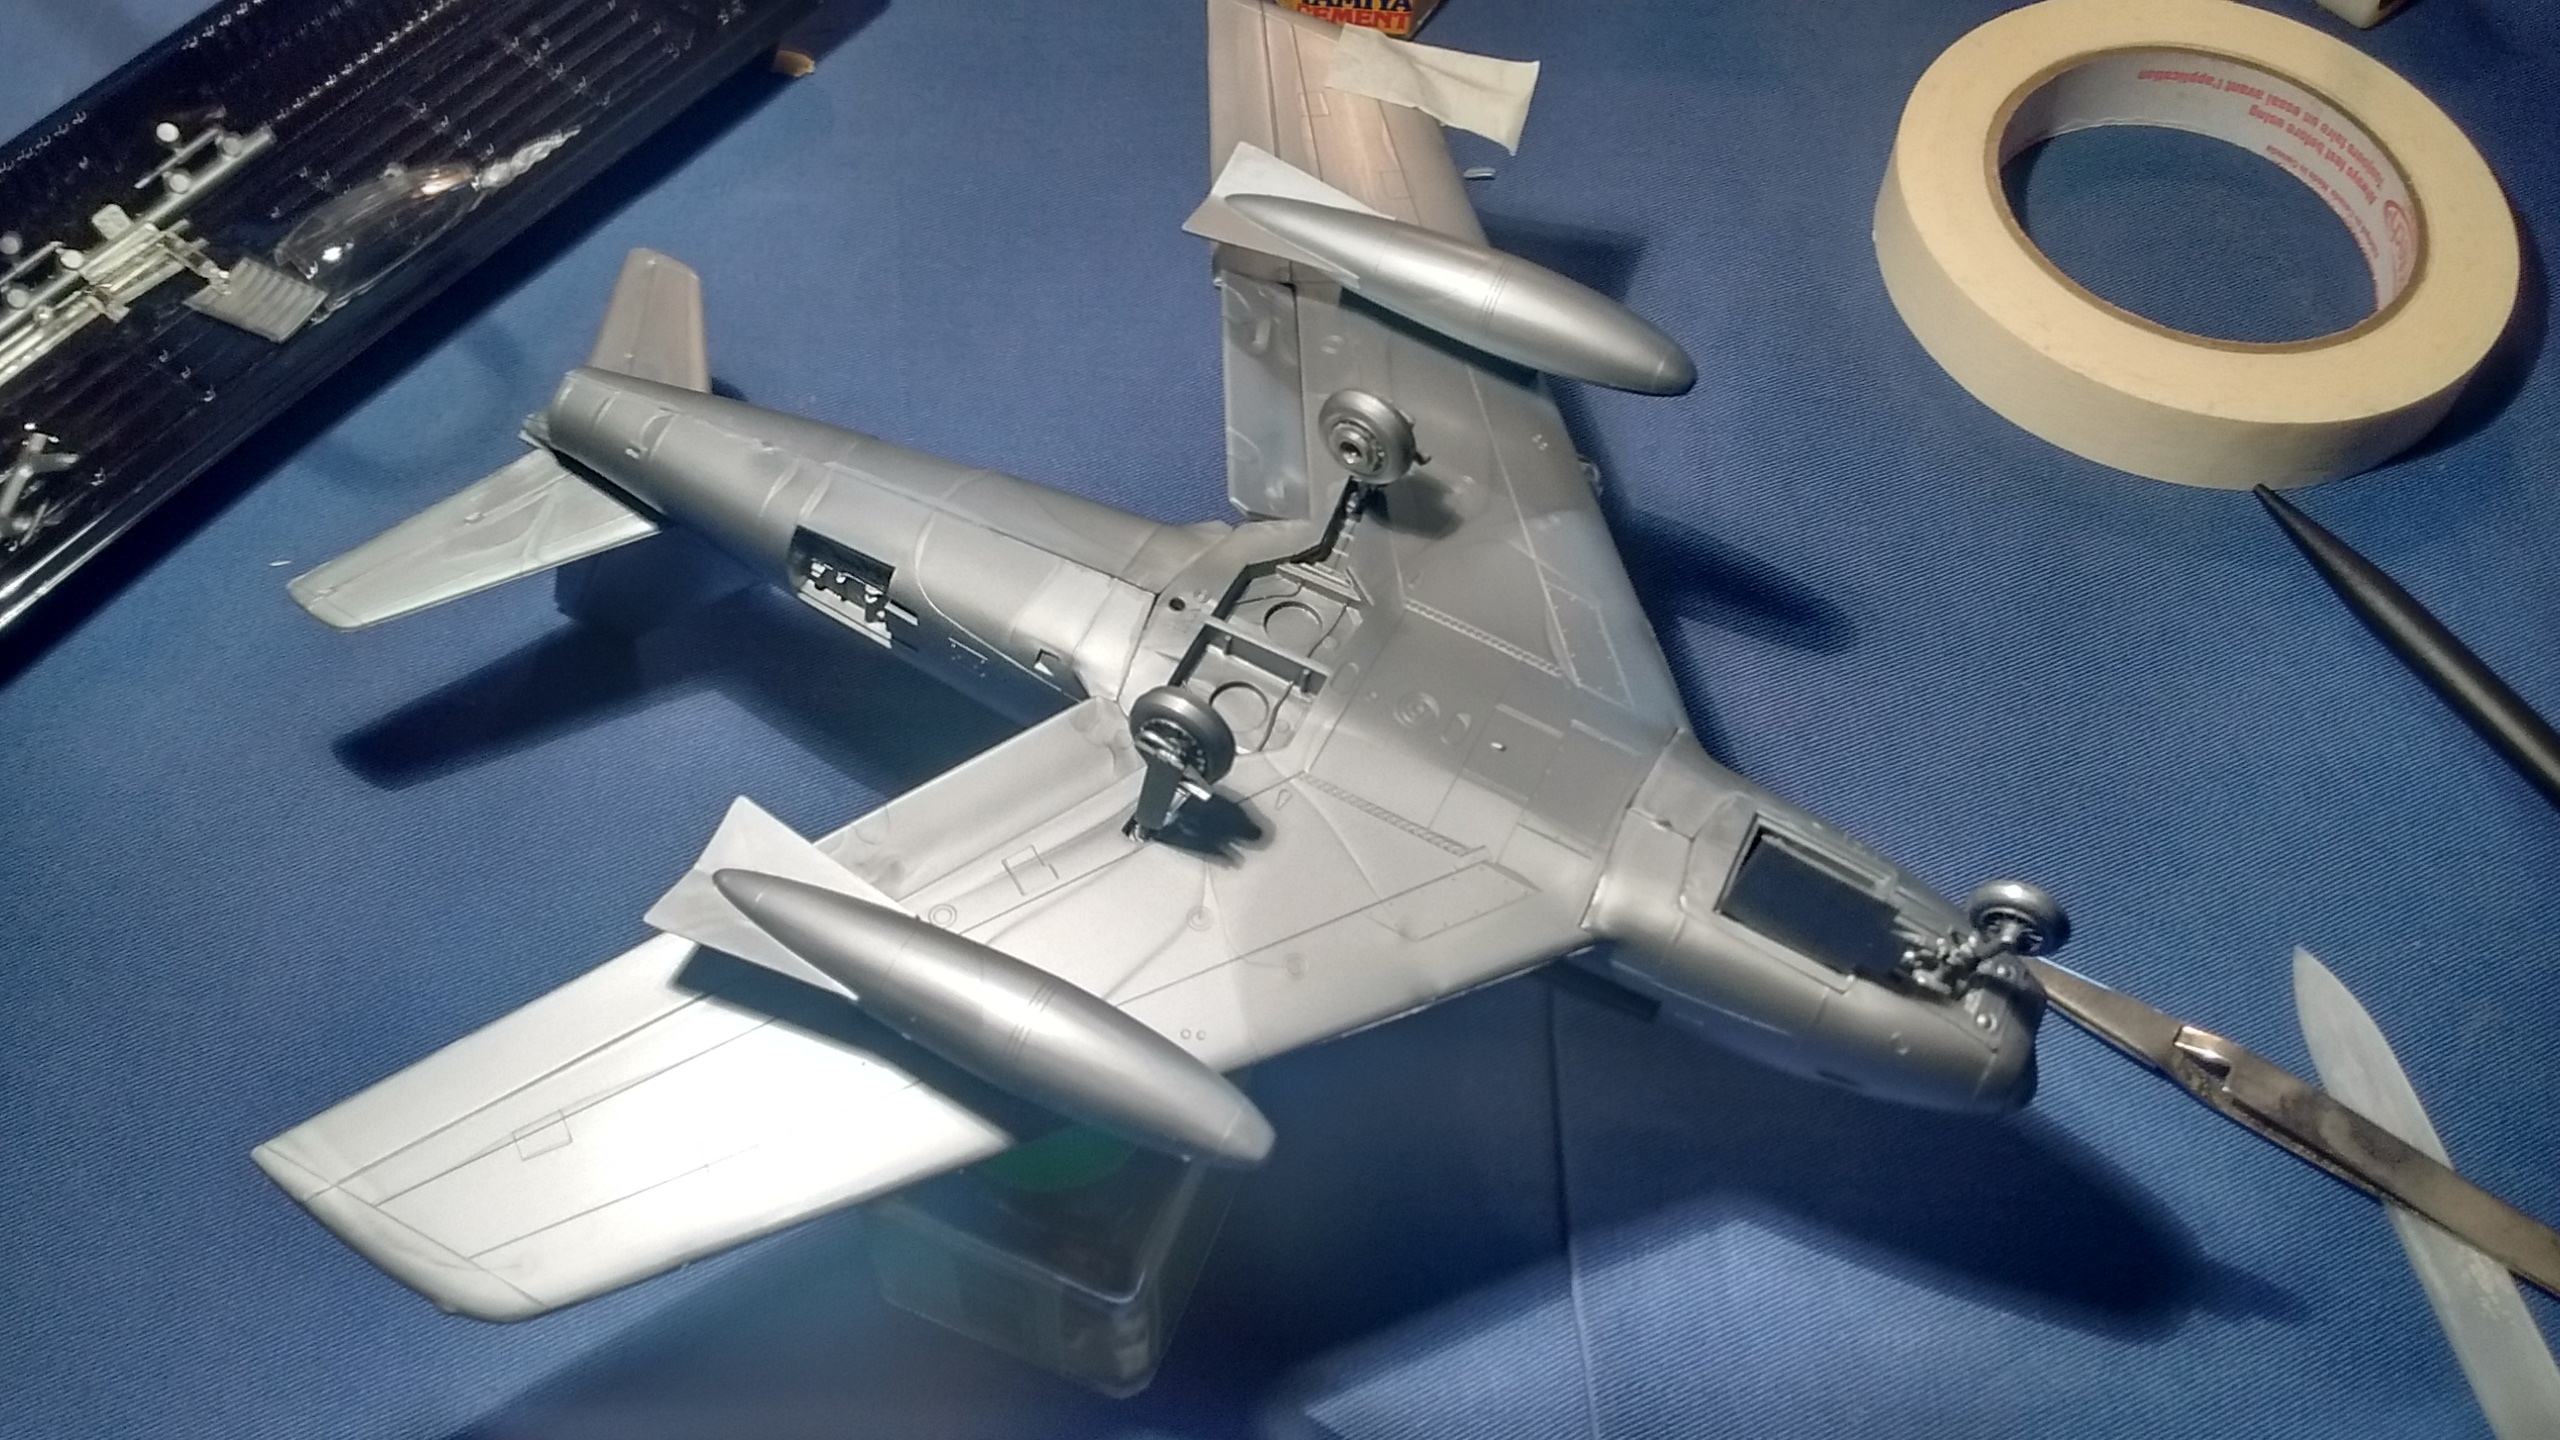
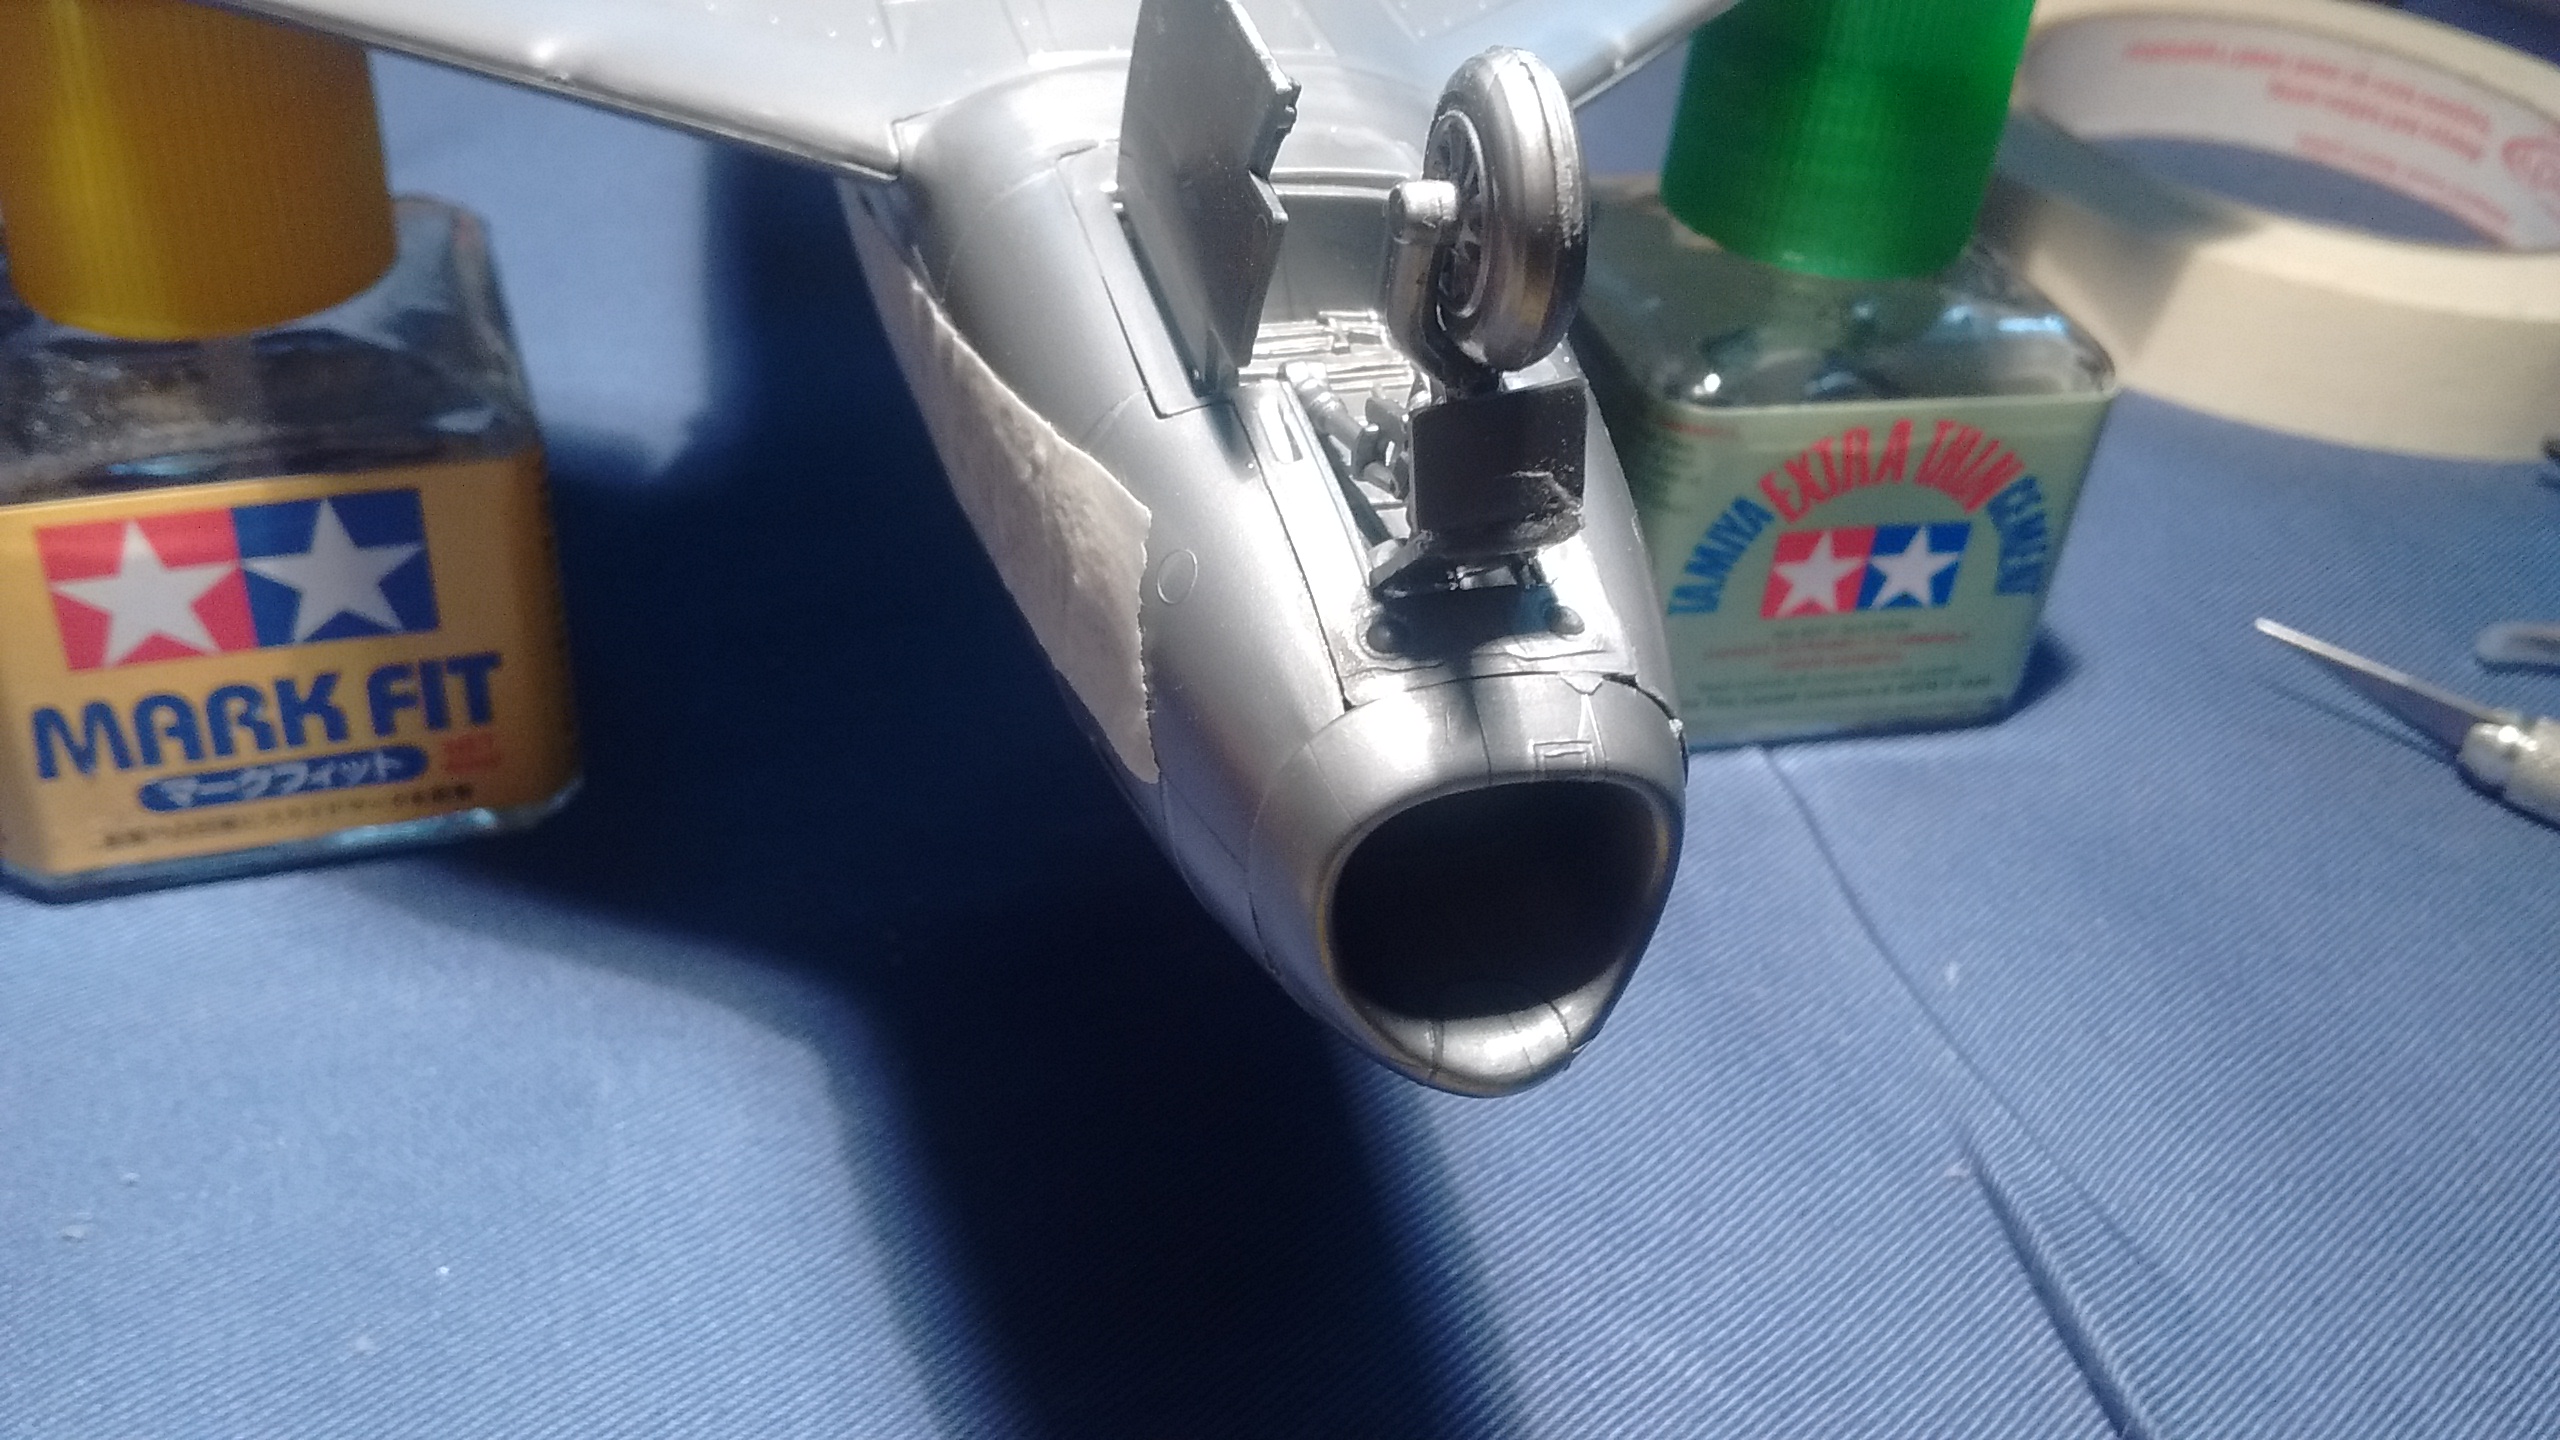
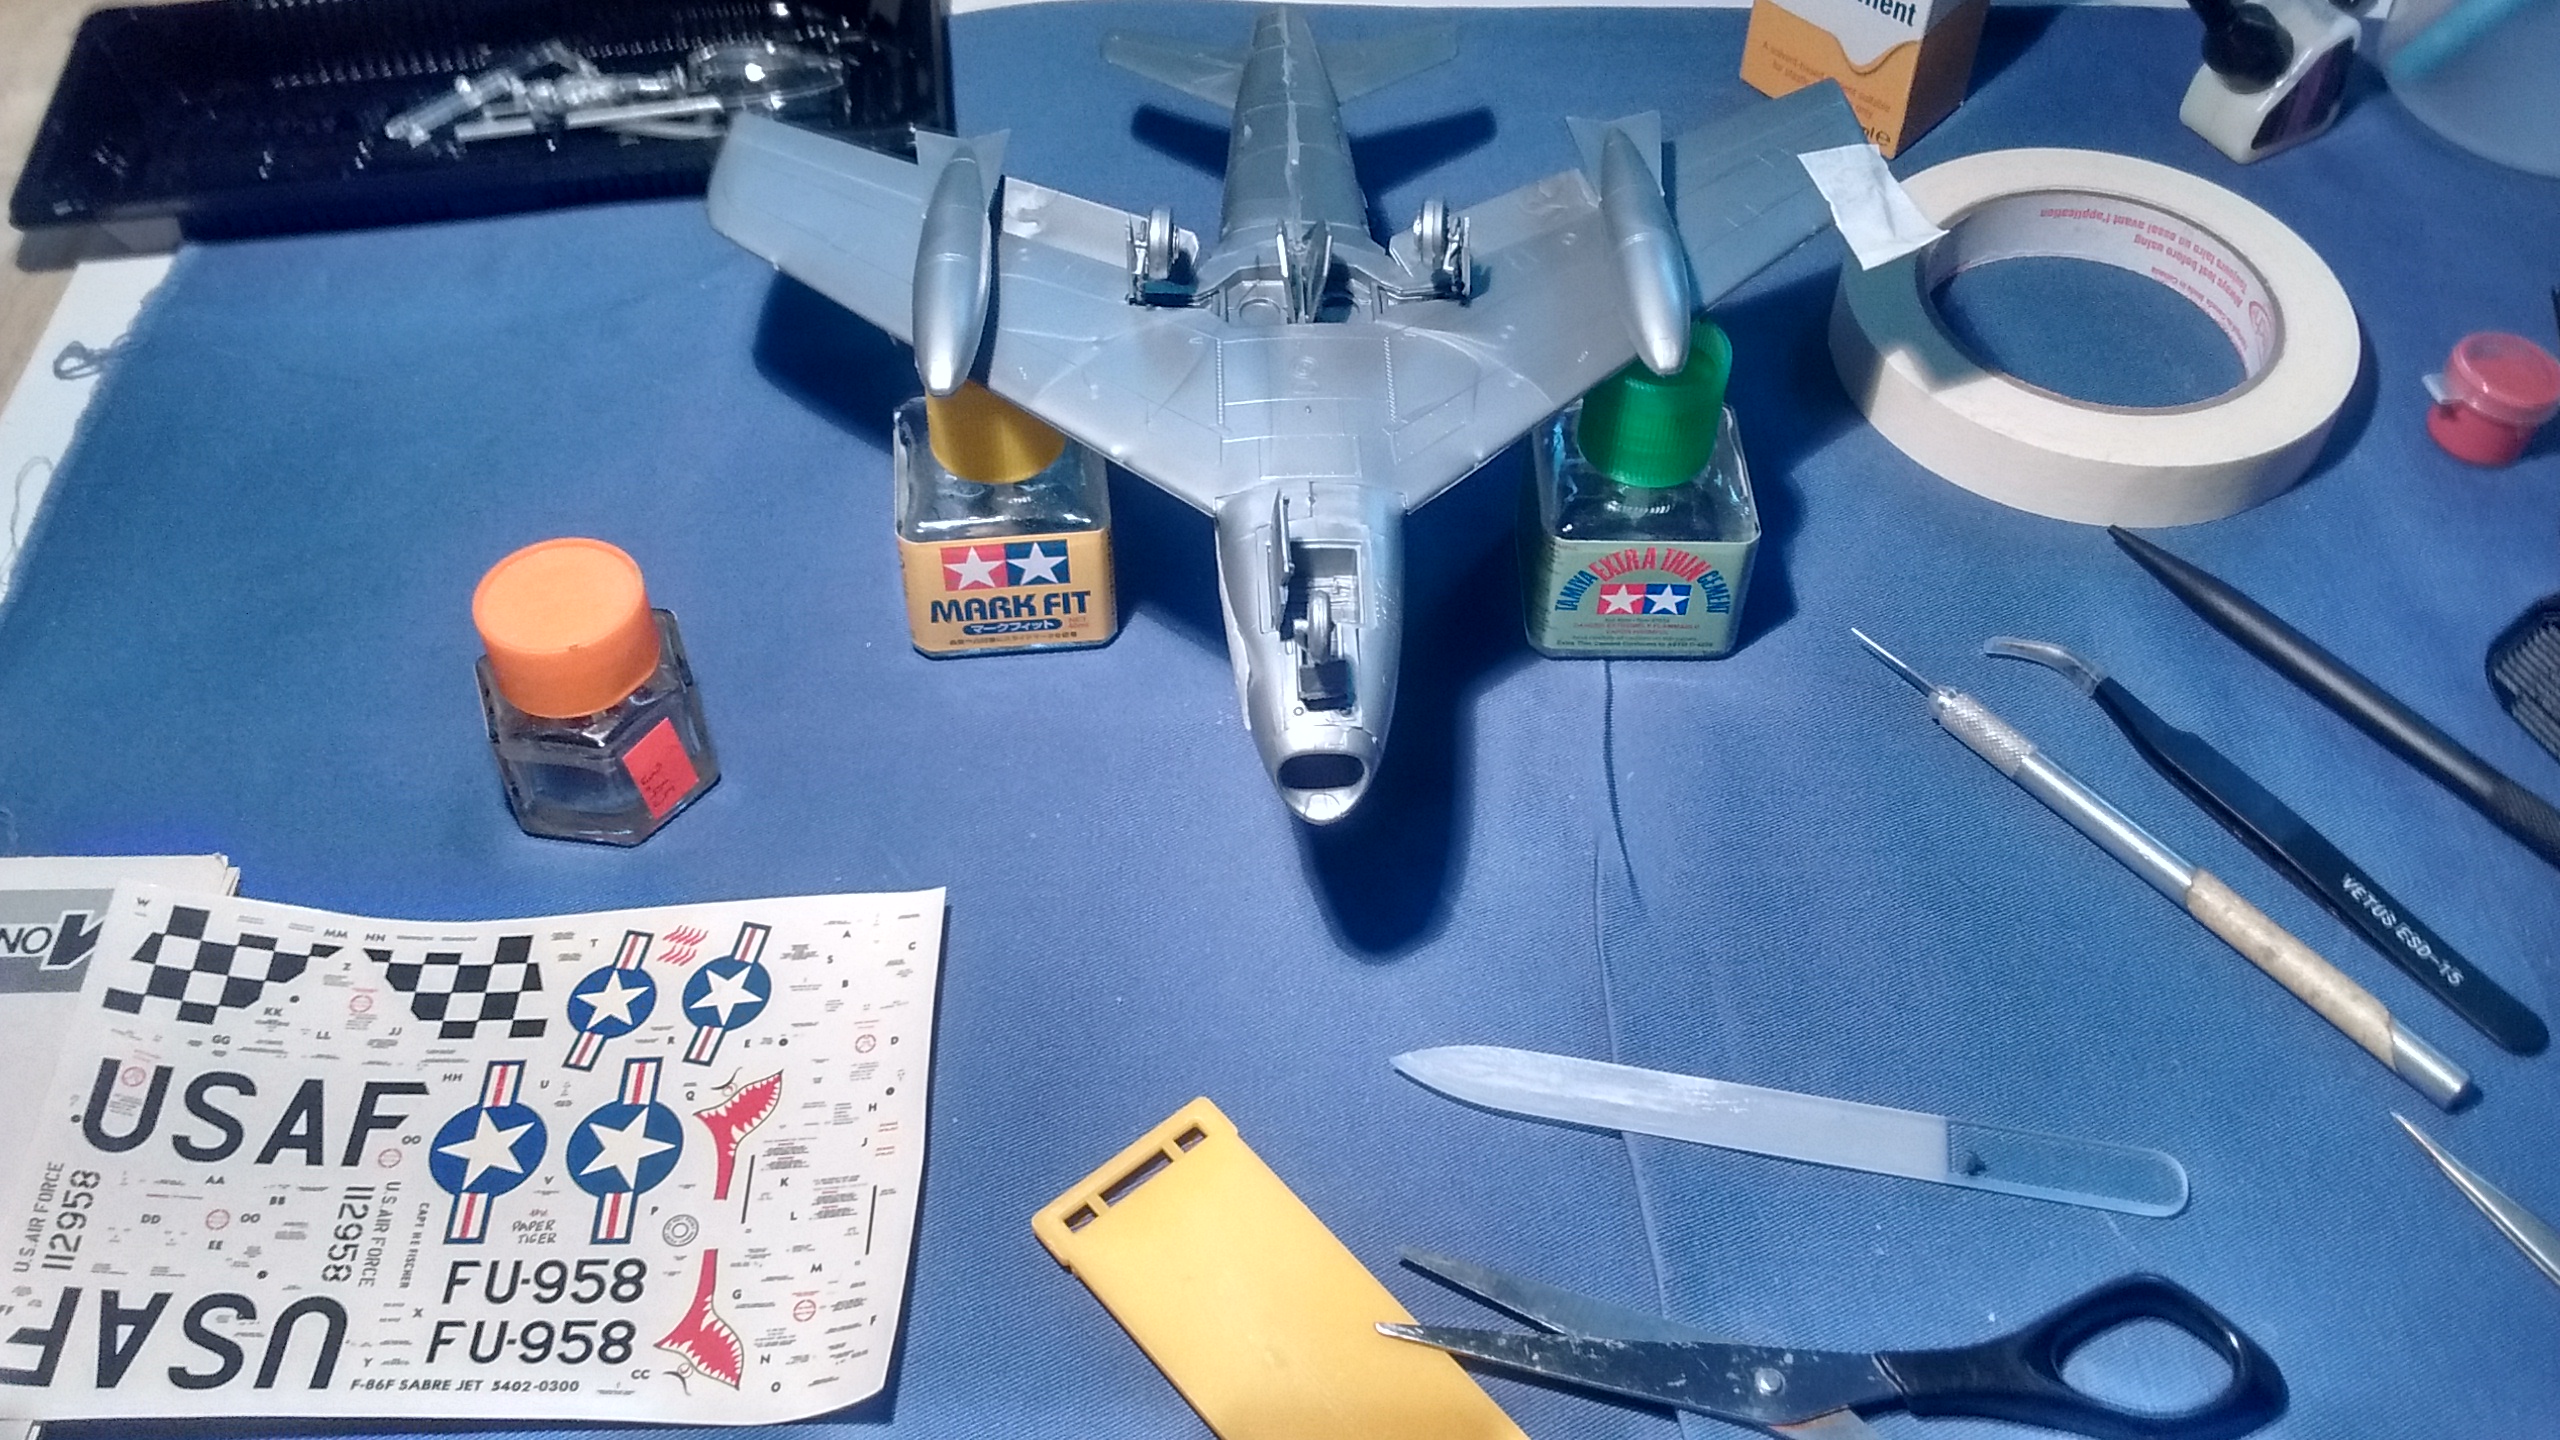
The MiG-15 finally got its decals two weeks ago. Then came the F-86.
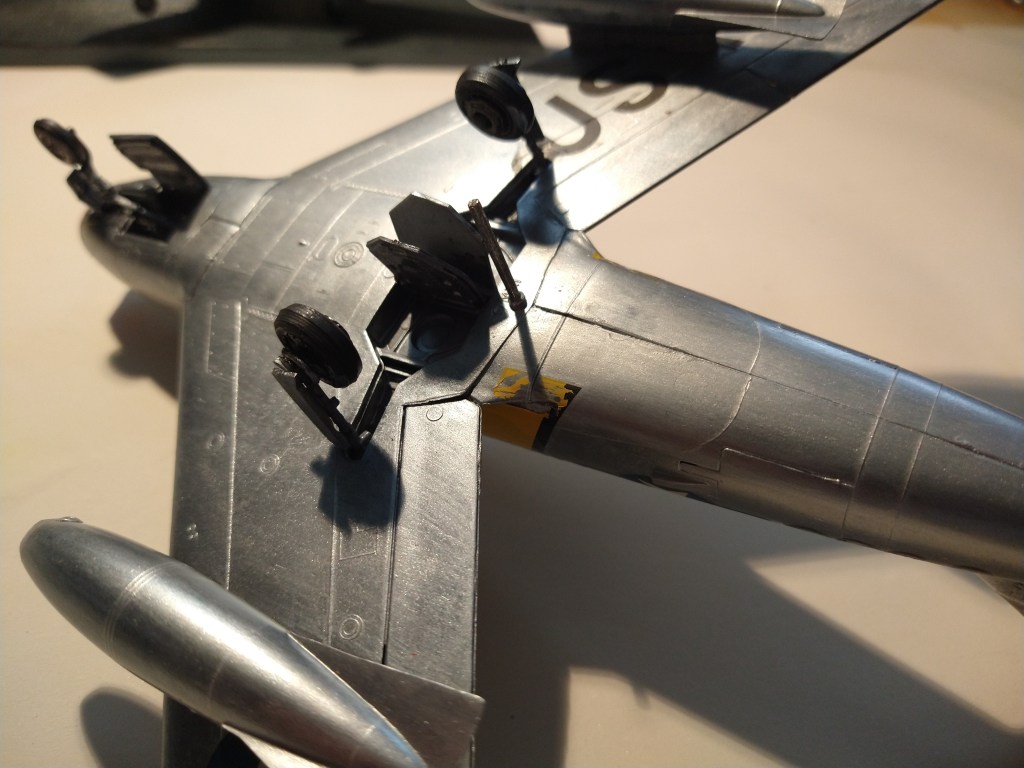
I tested the MiG decals first and they worked perfectly even if they sat in the box since the 1980s. The F-86 decals came after with the yellow decals I had received from Model Airplane Maker.
I still have to figure a way to fix this though.
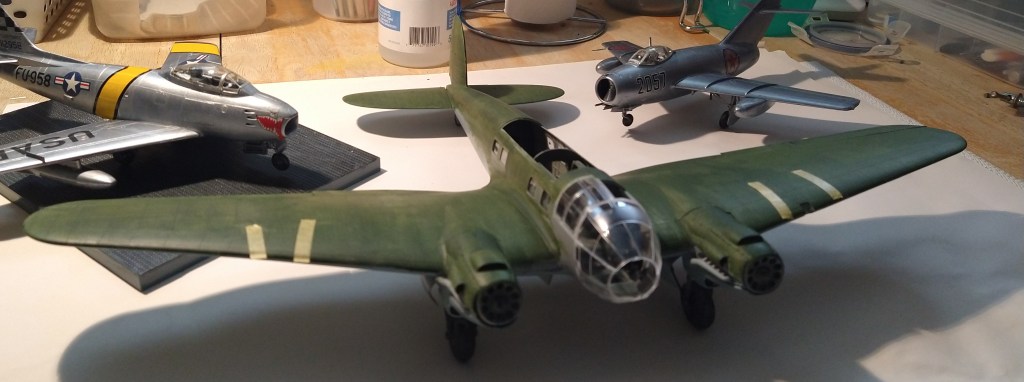
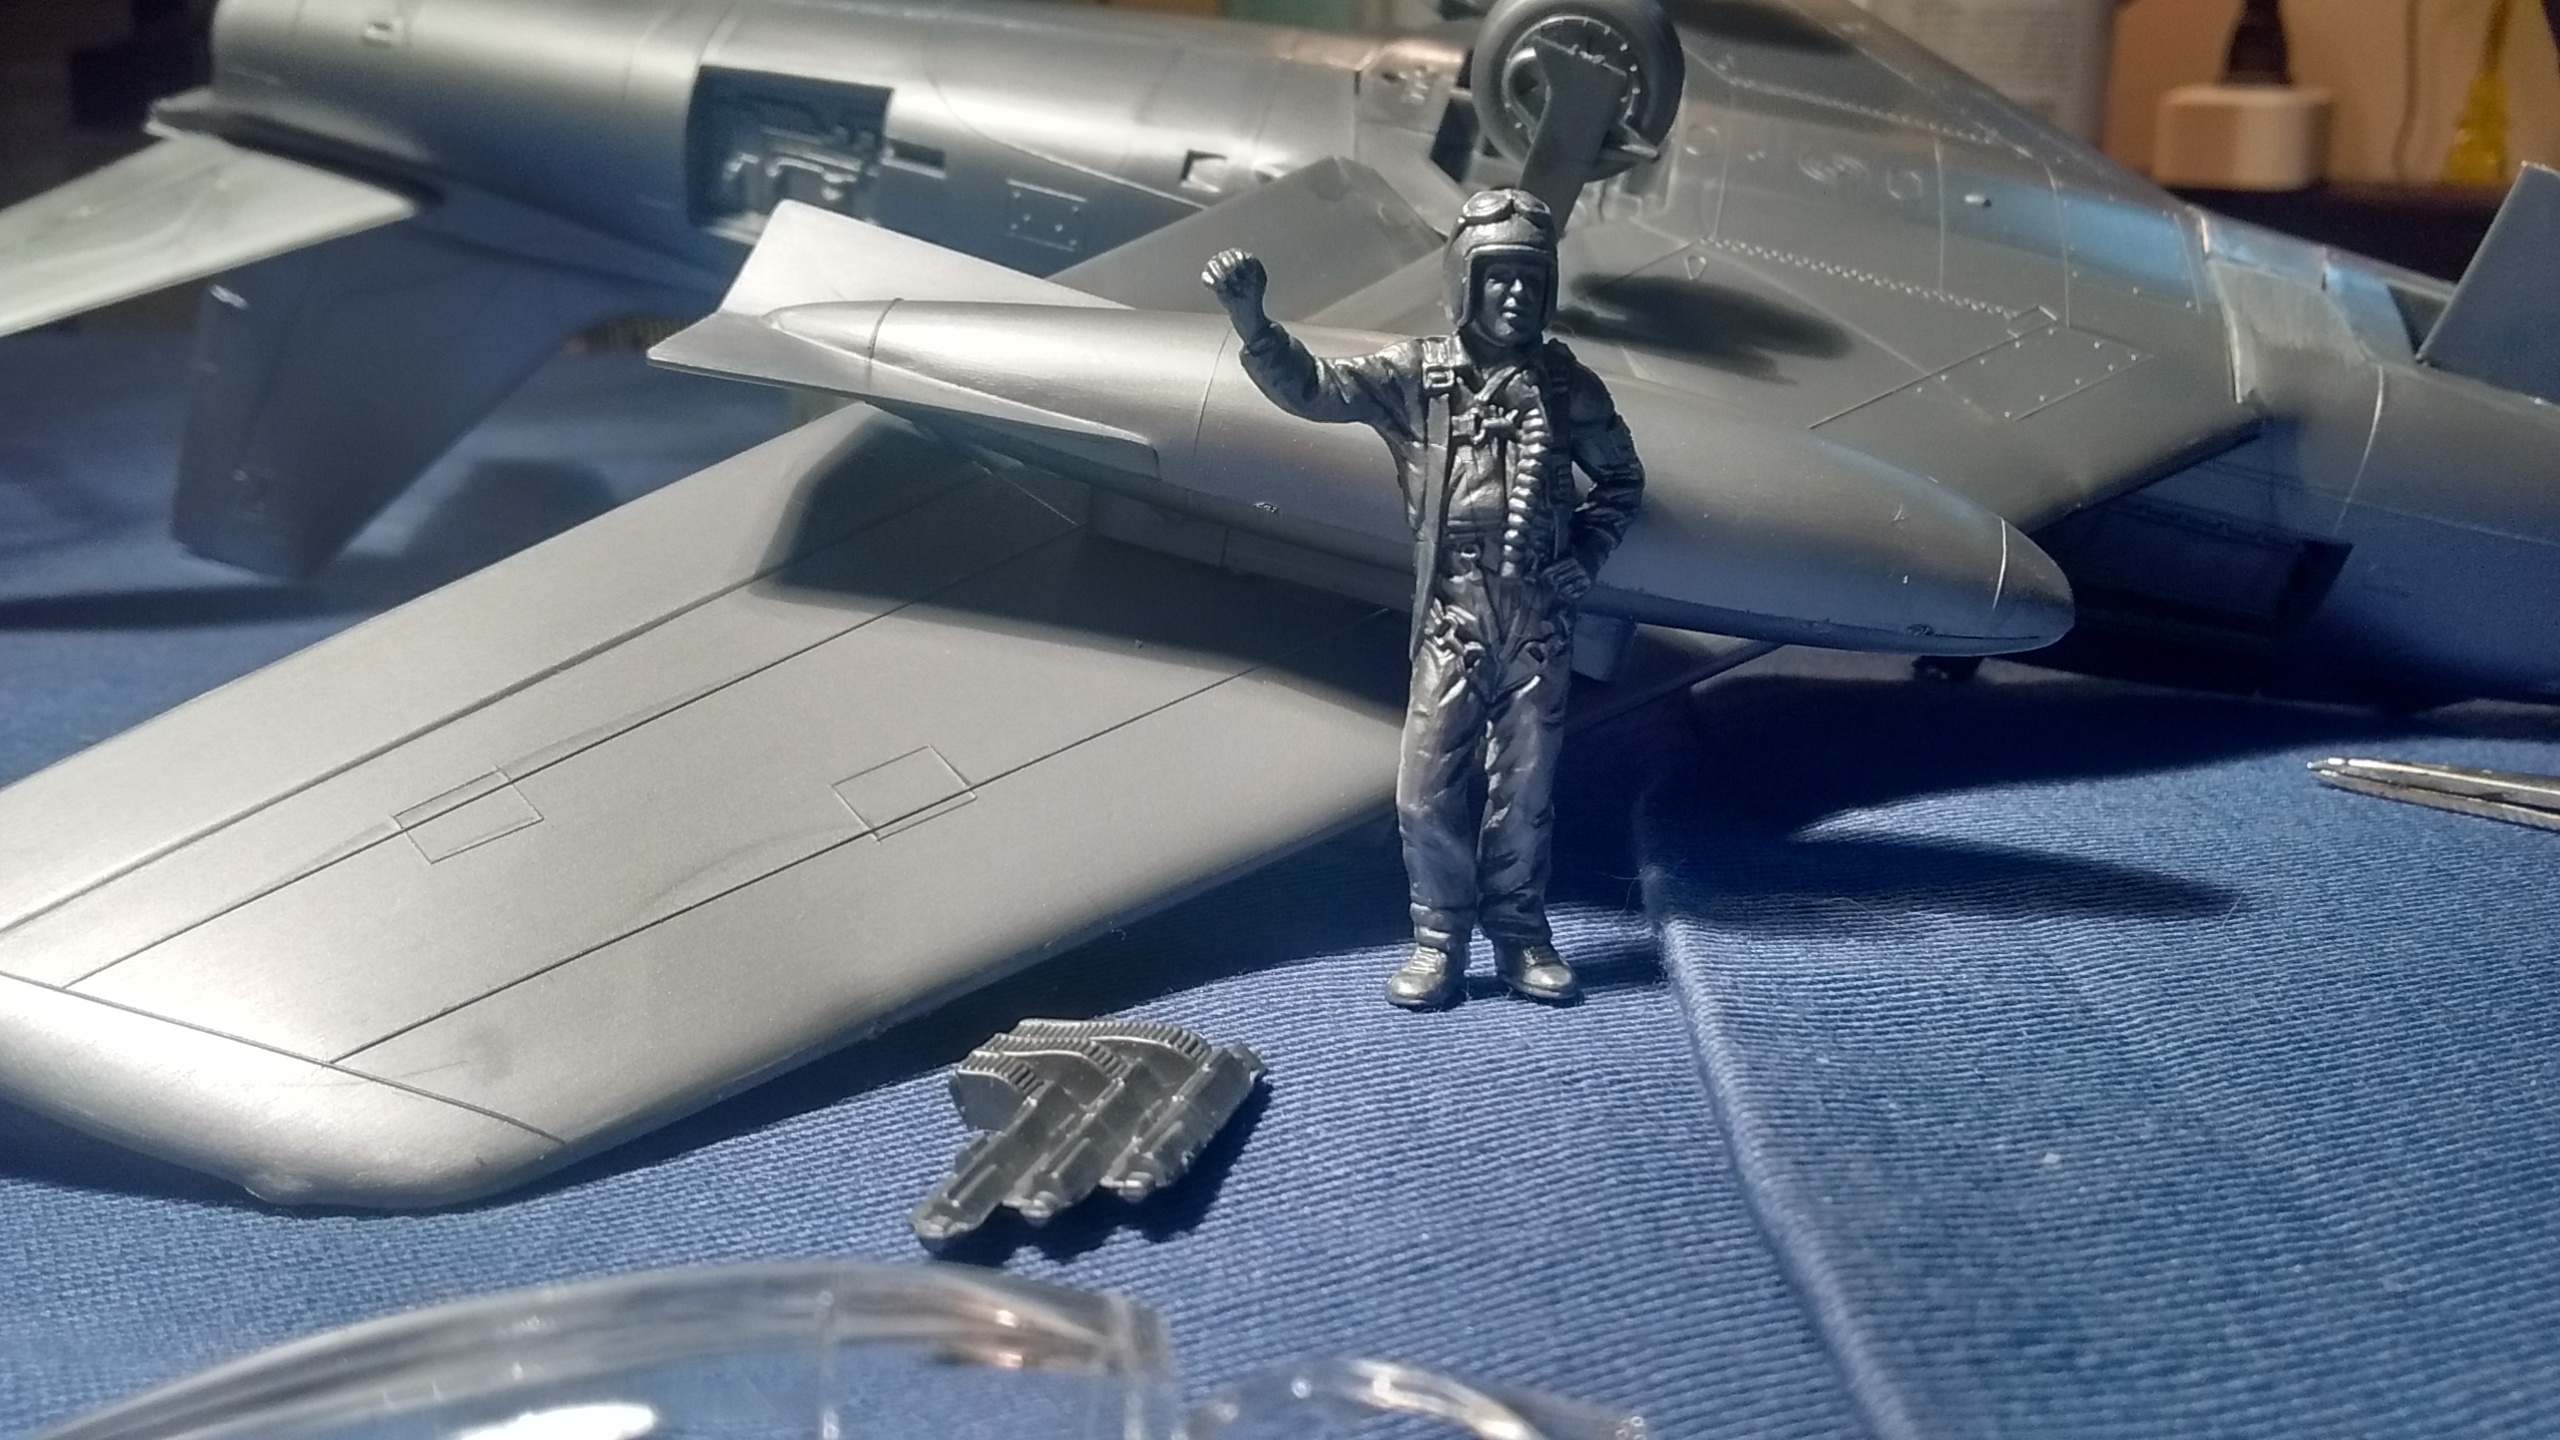
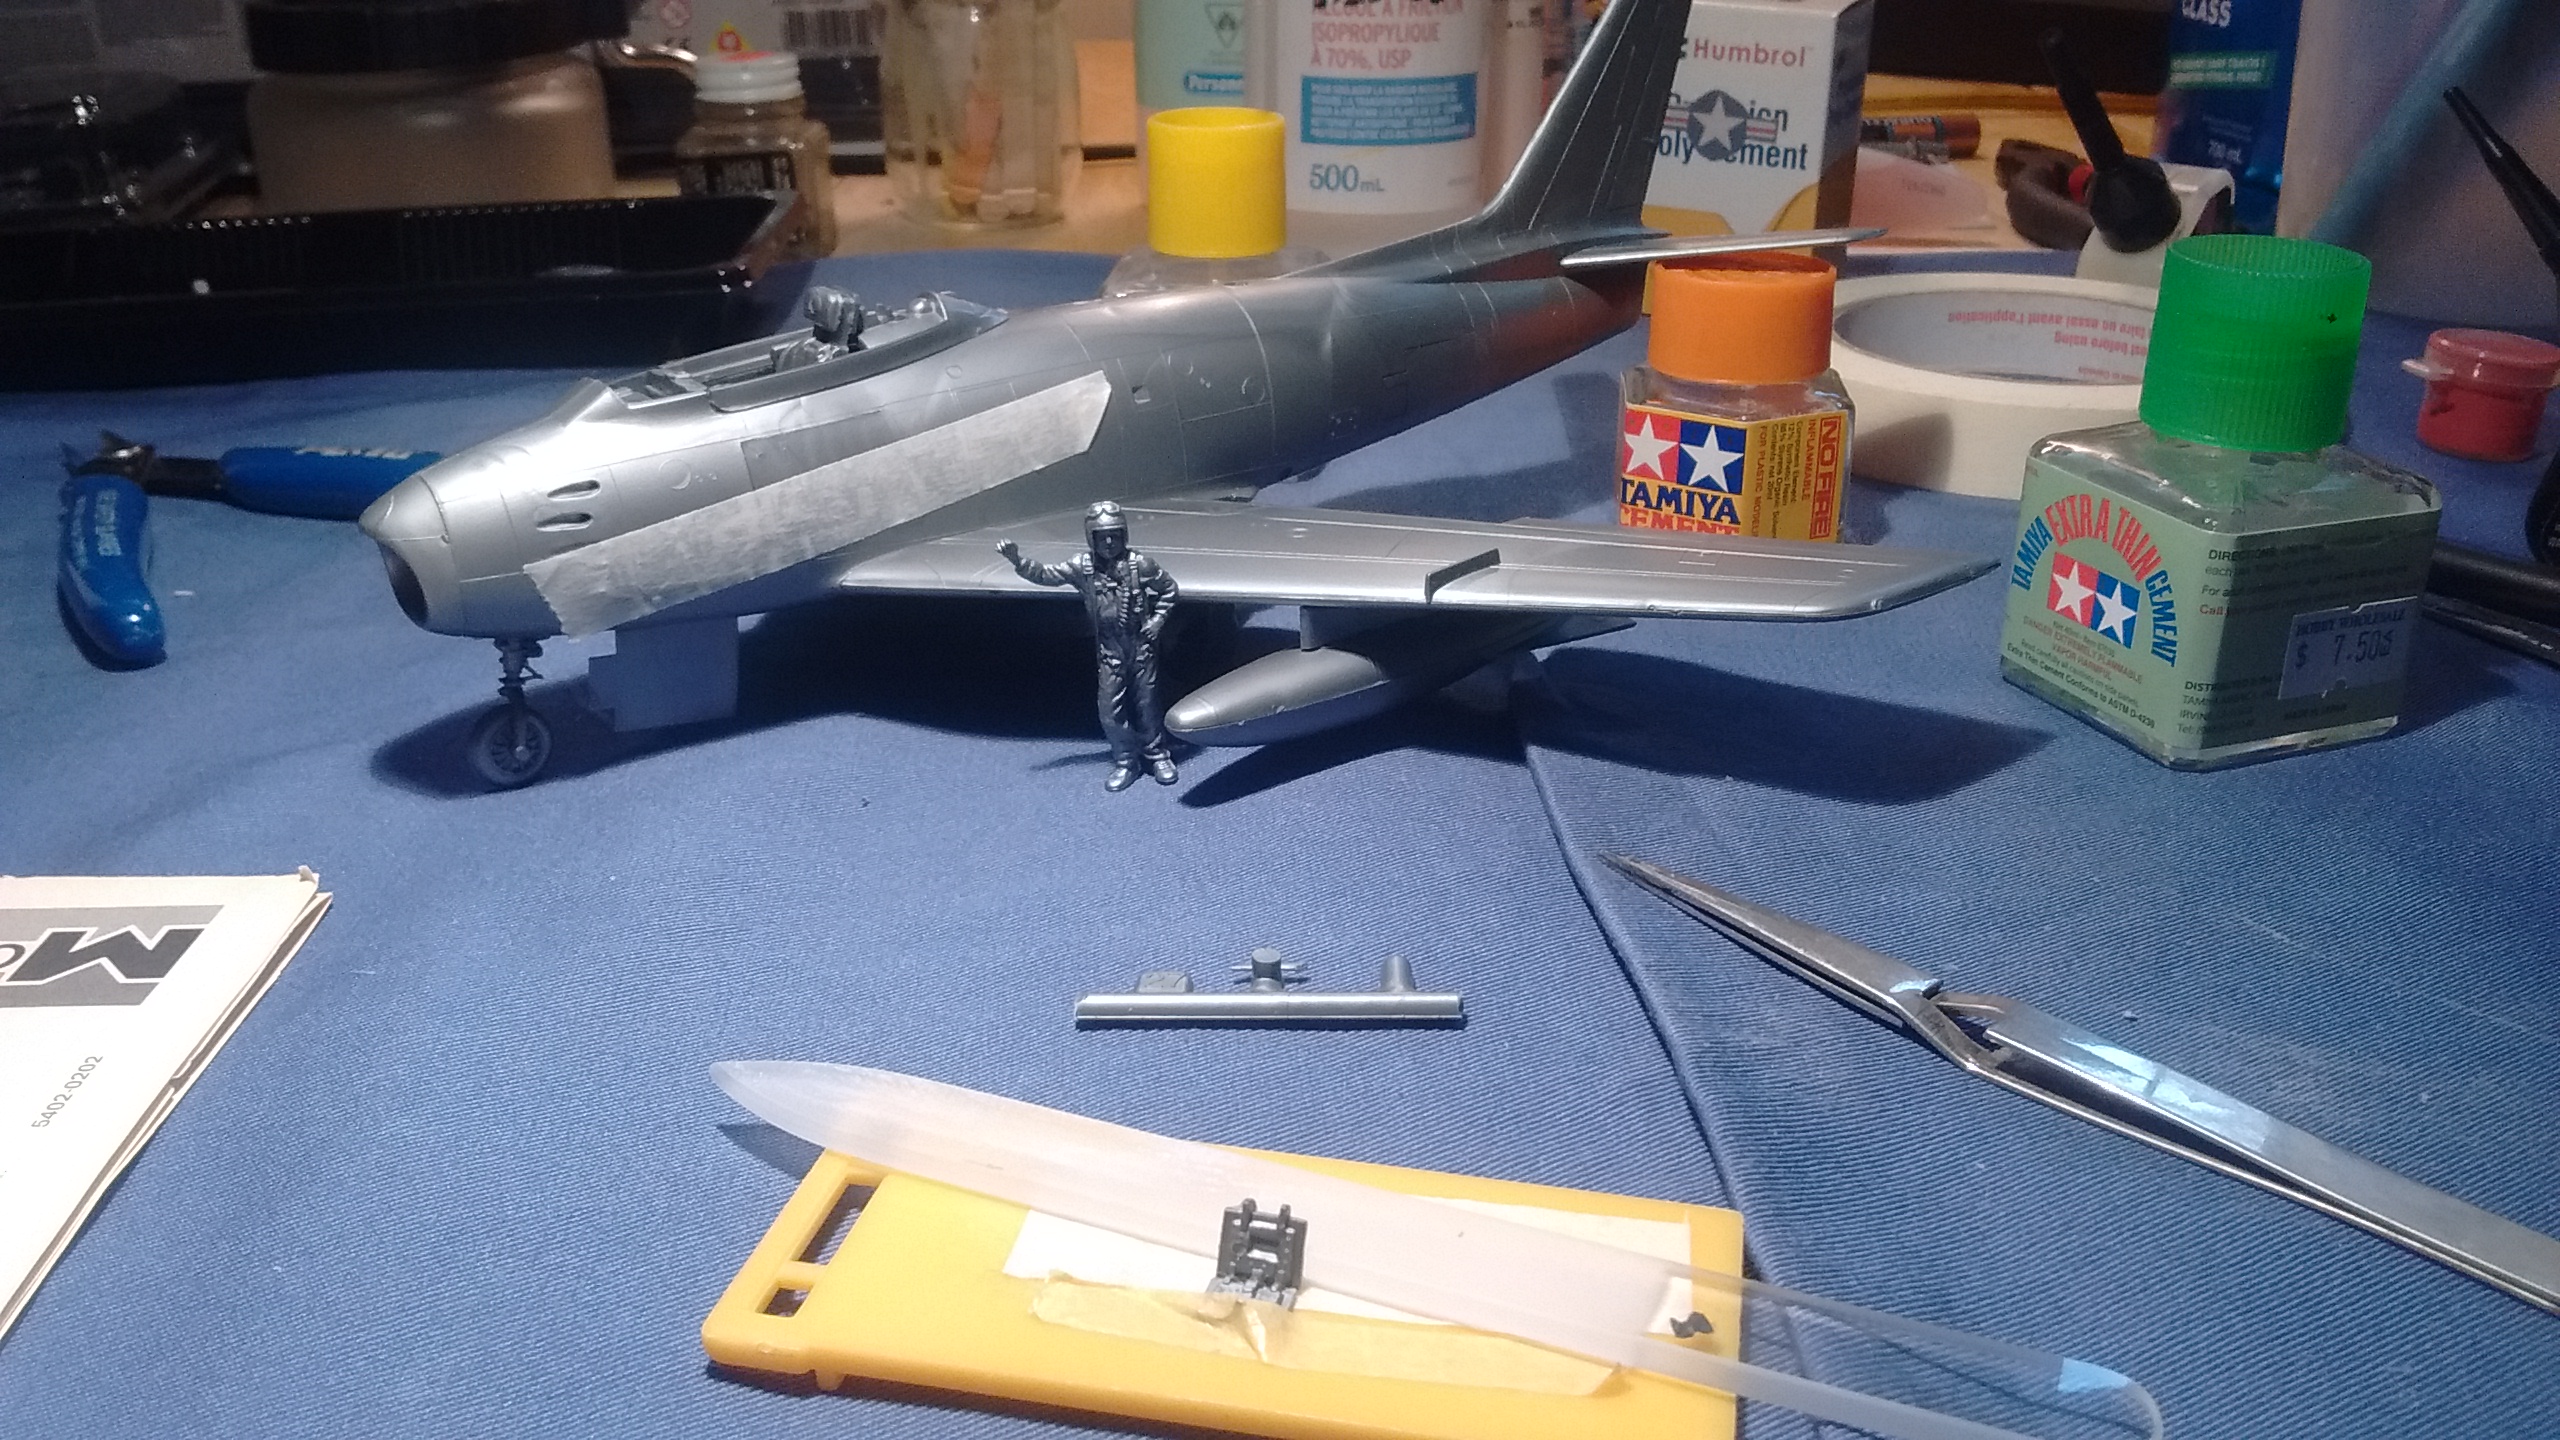
I still have a few touch-ups to do before I think how I will give them as a gift.
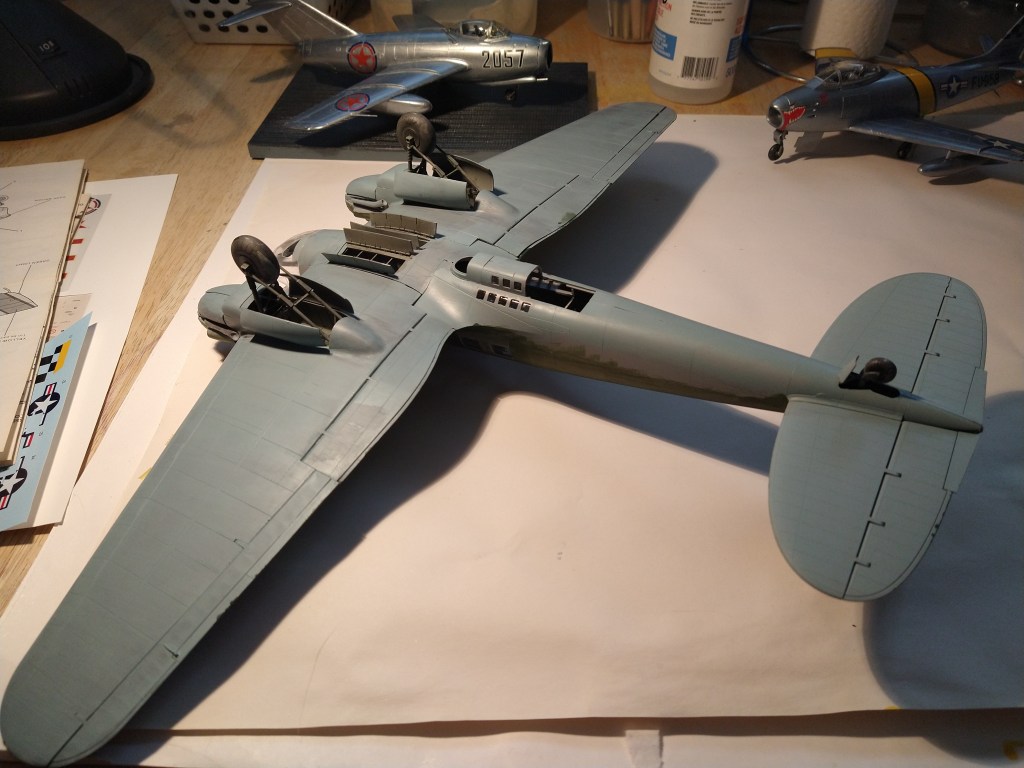
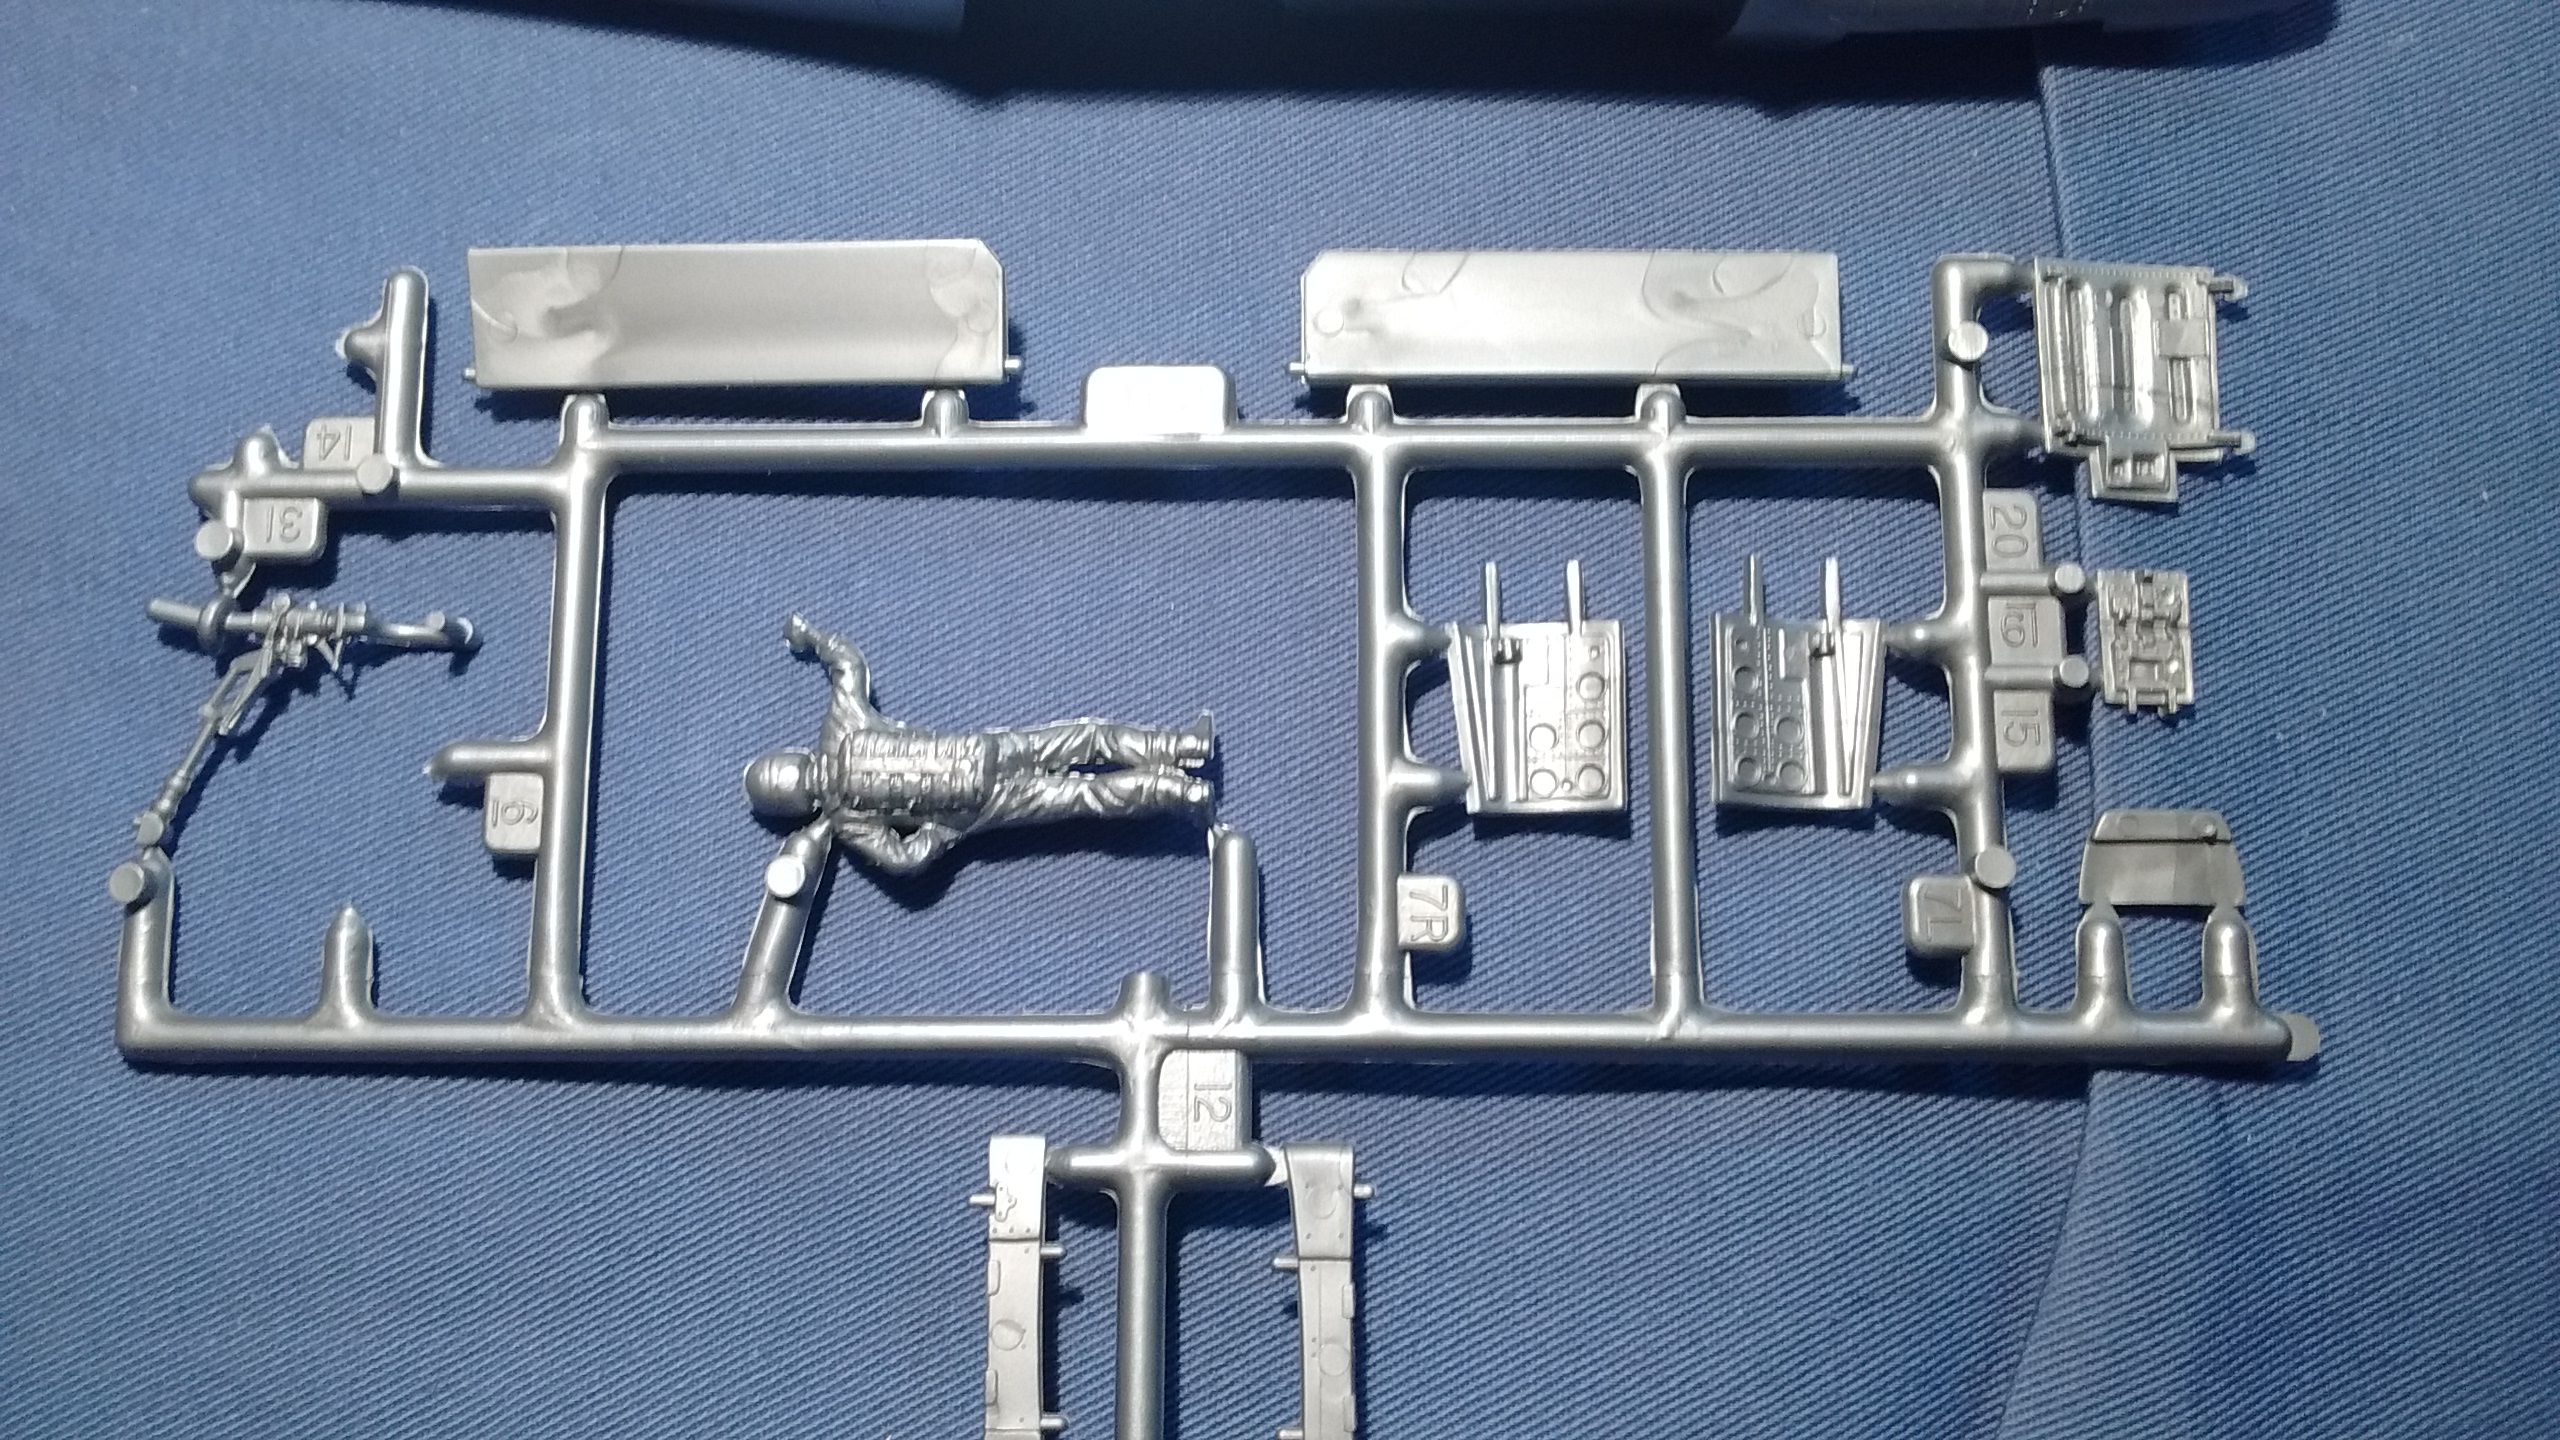
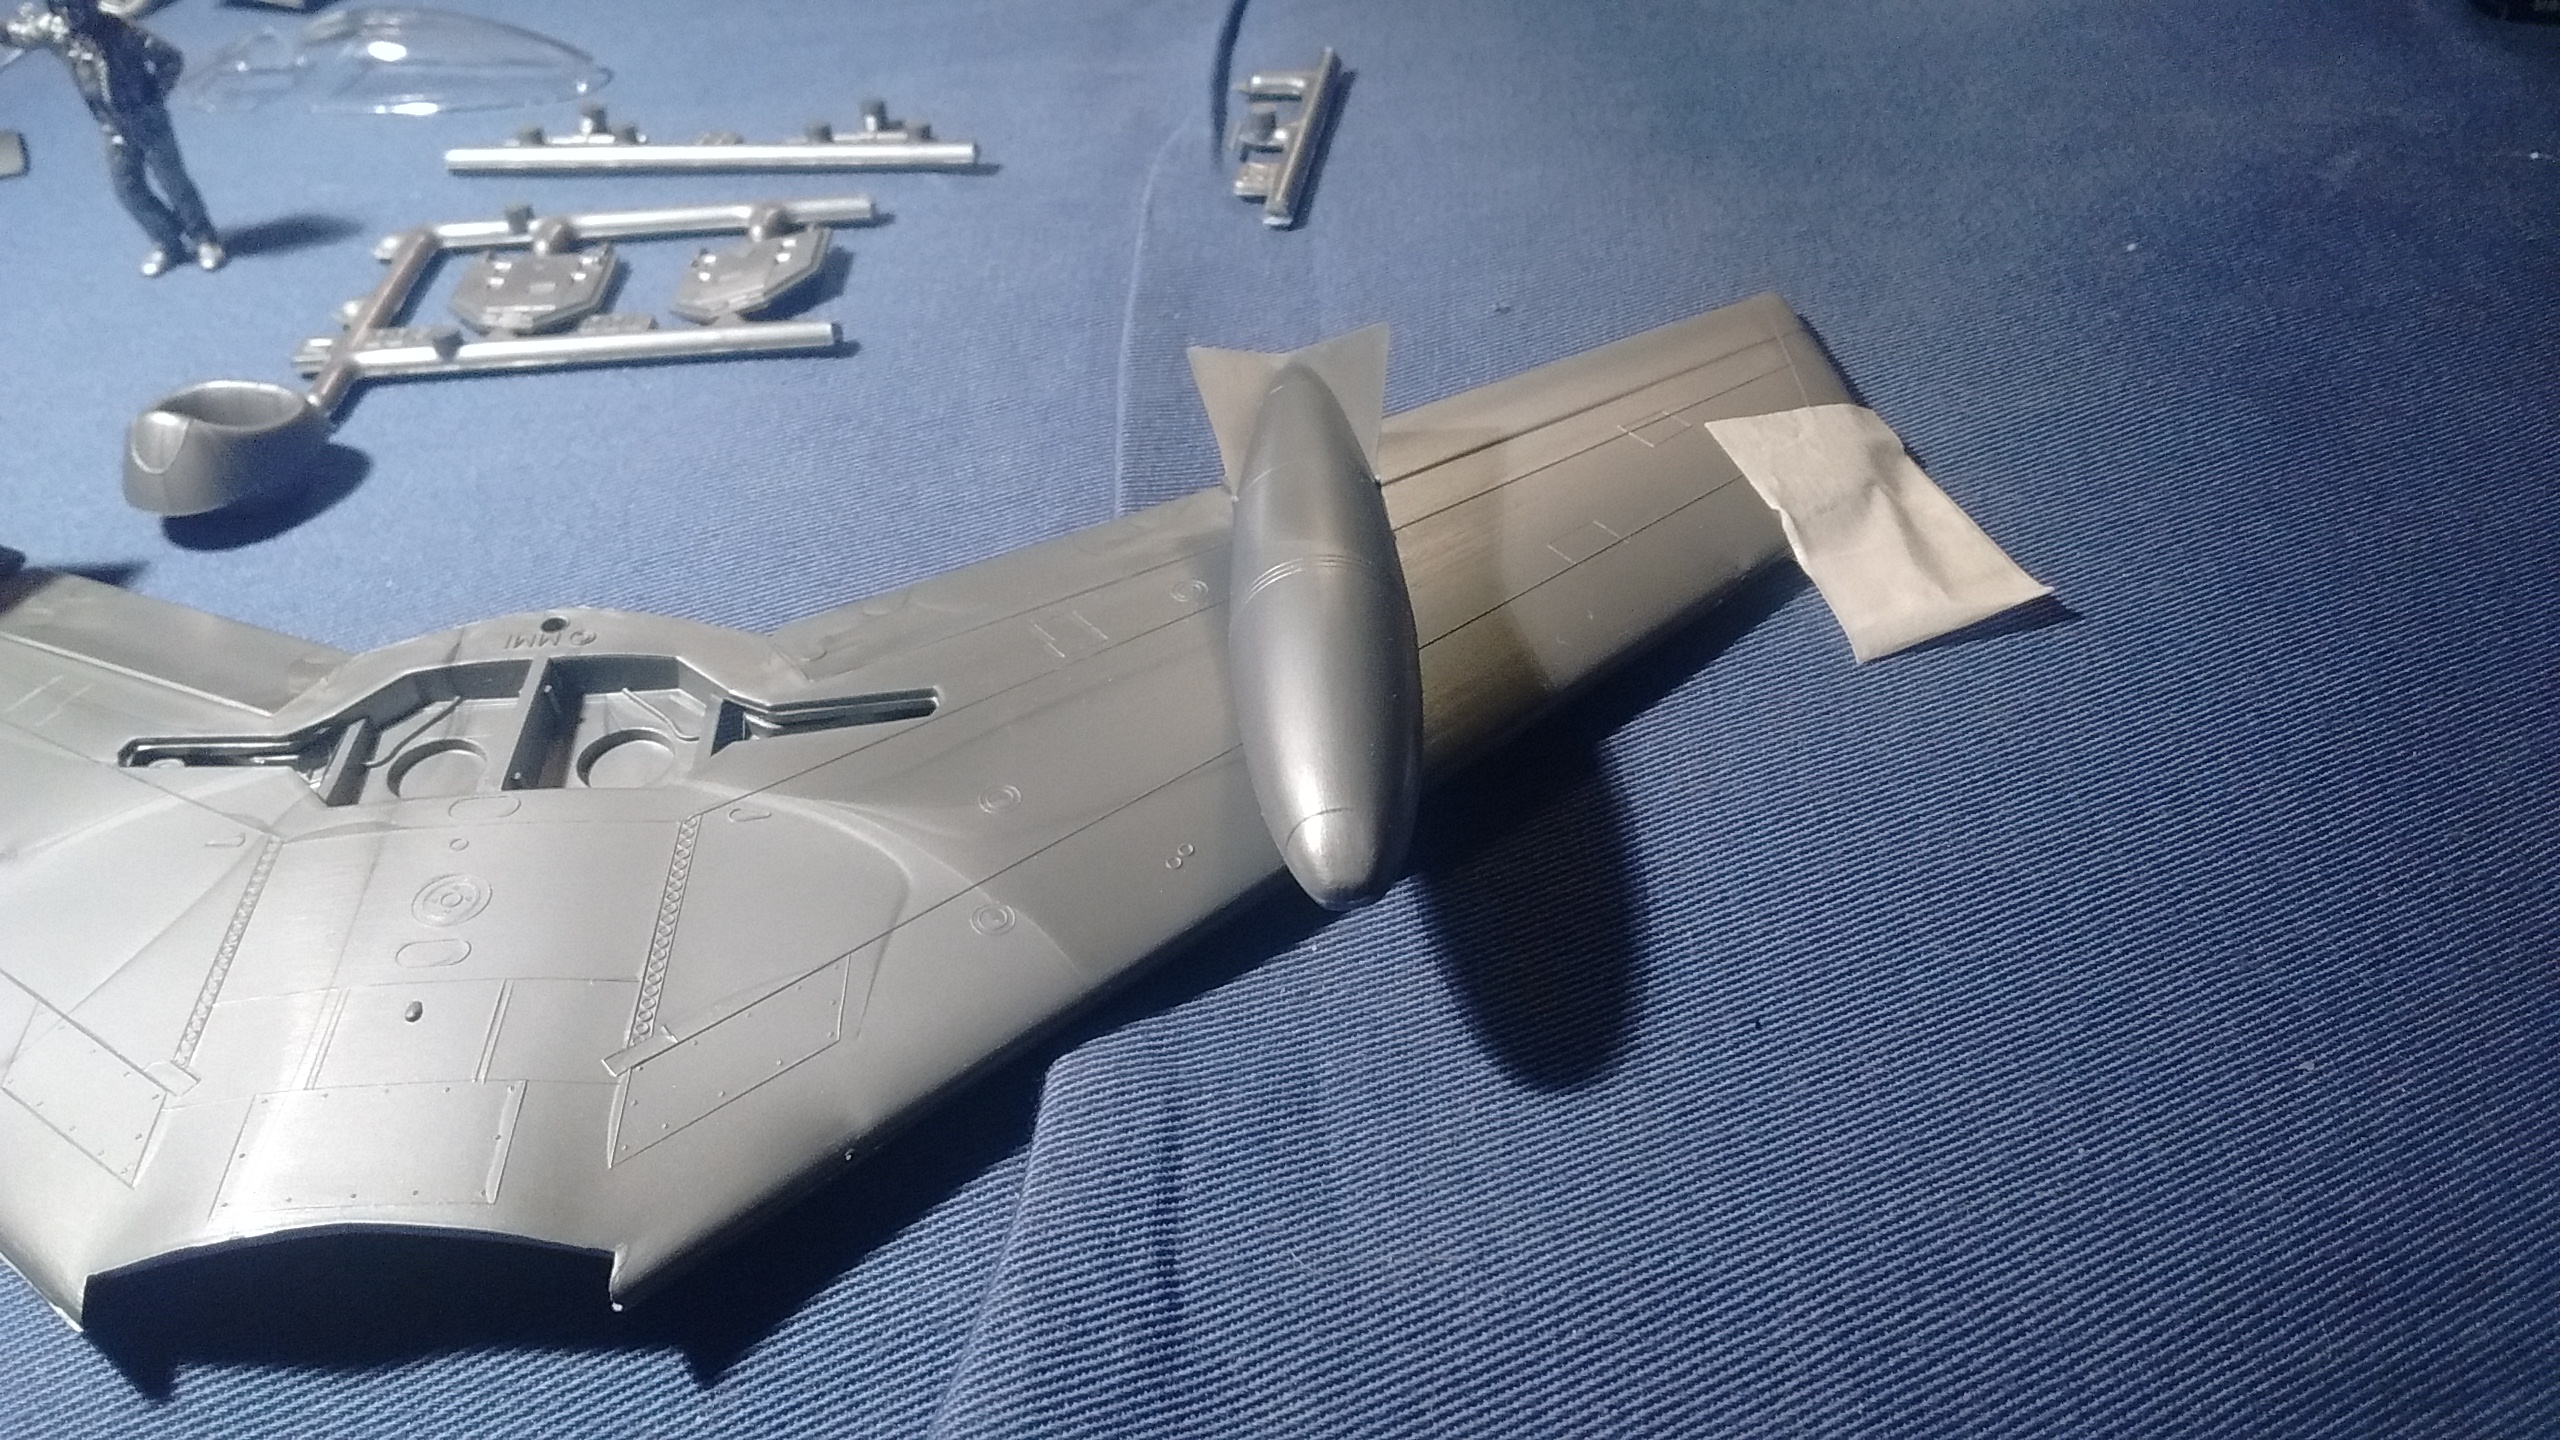
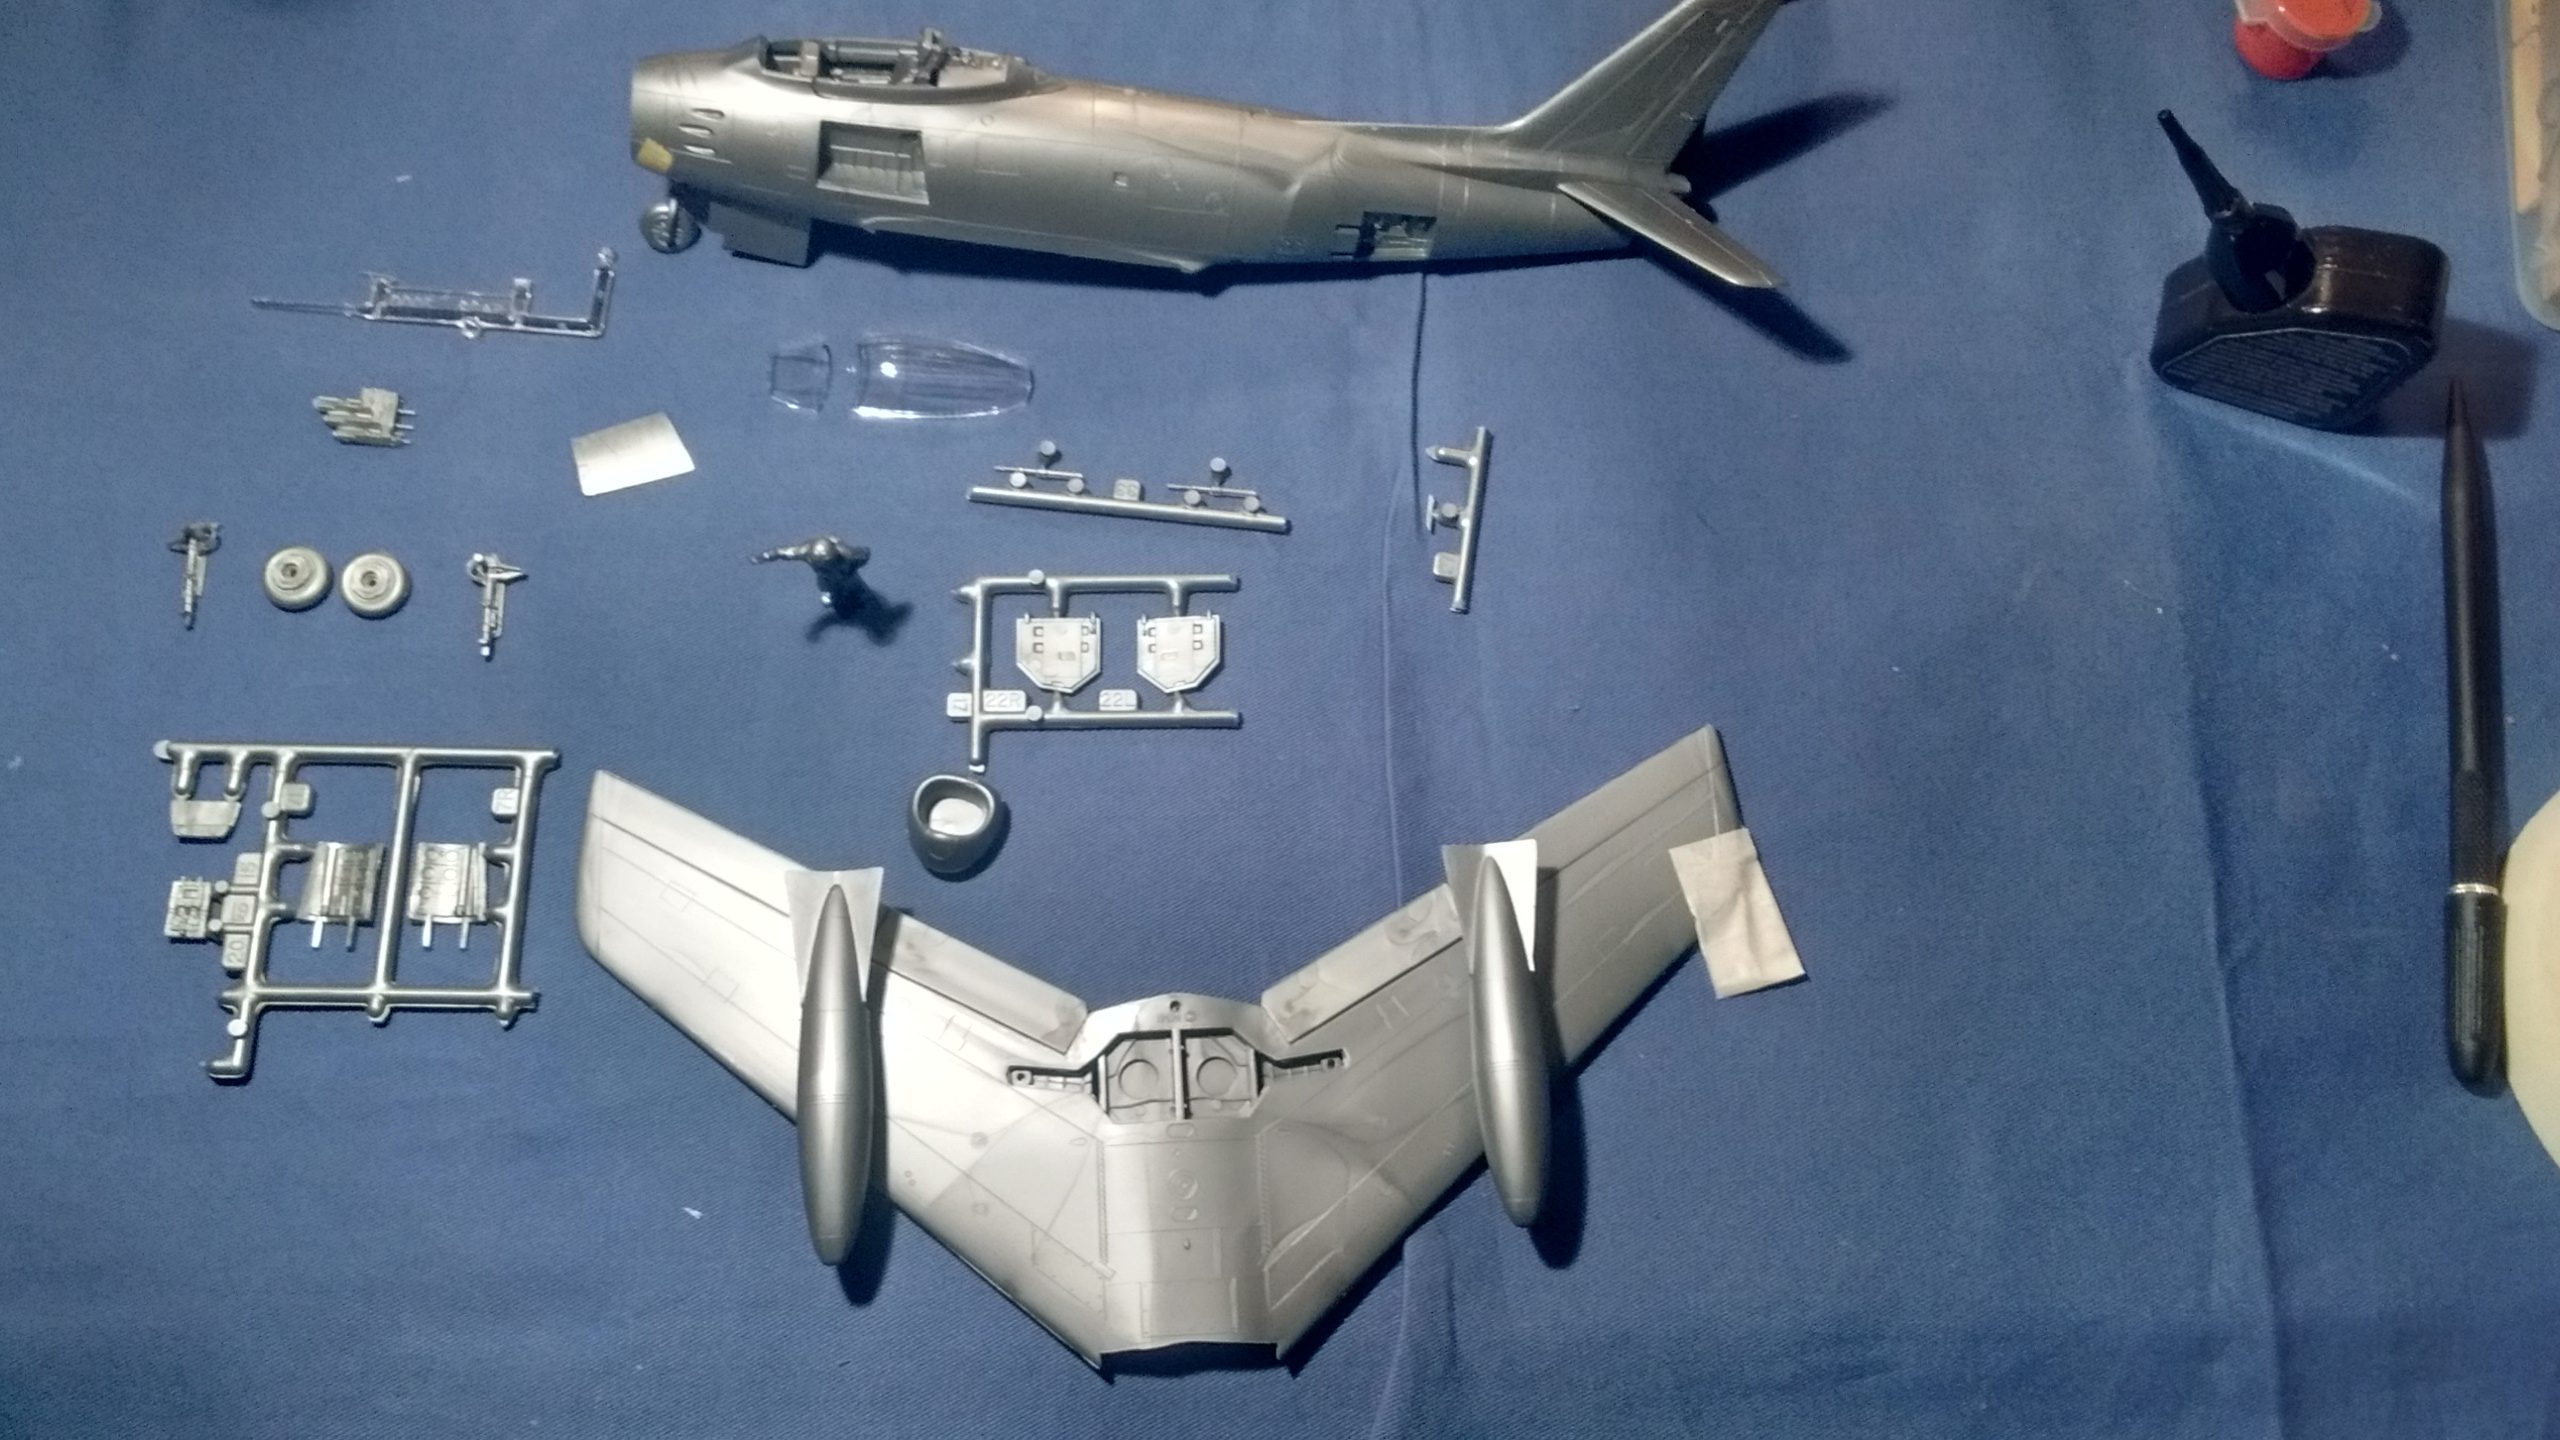
Next in line will have to be the He 111.
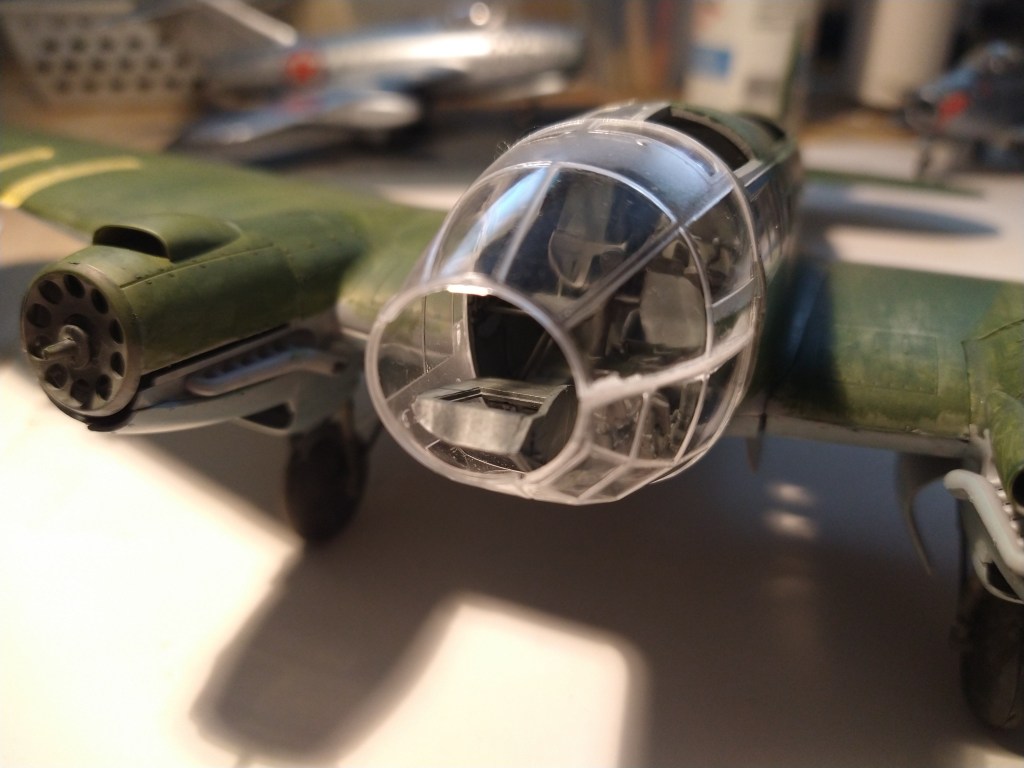
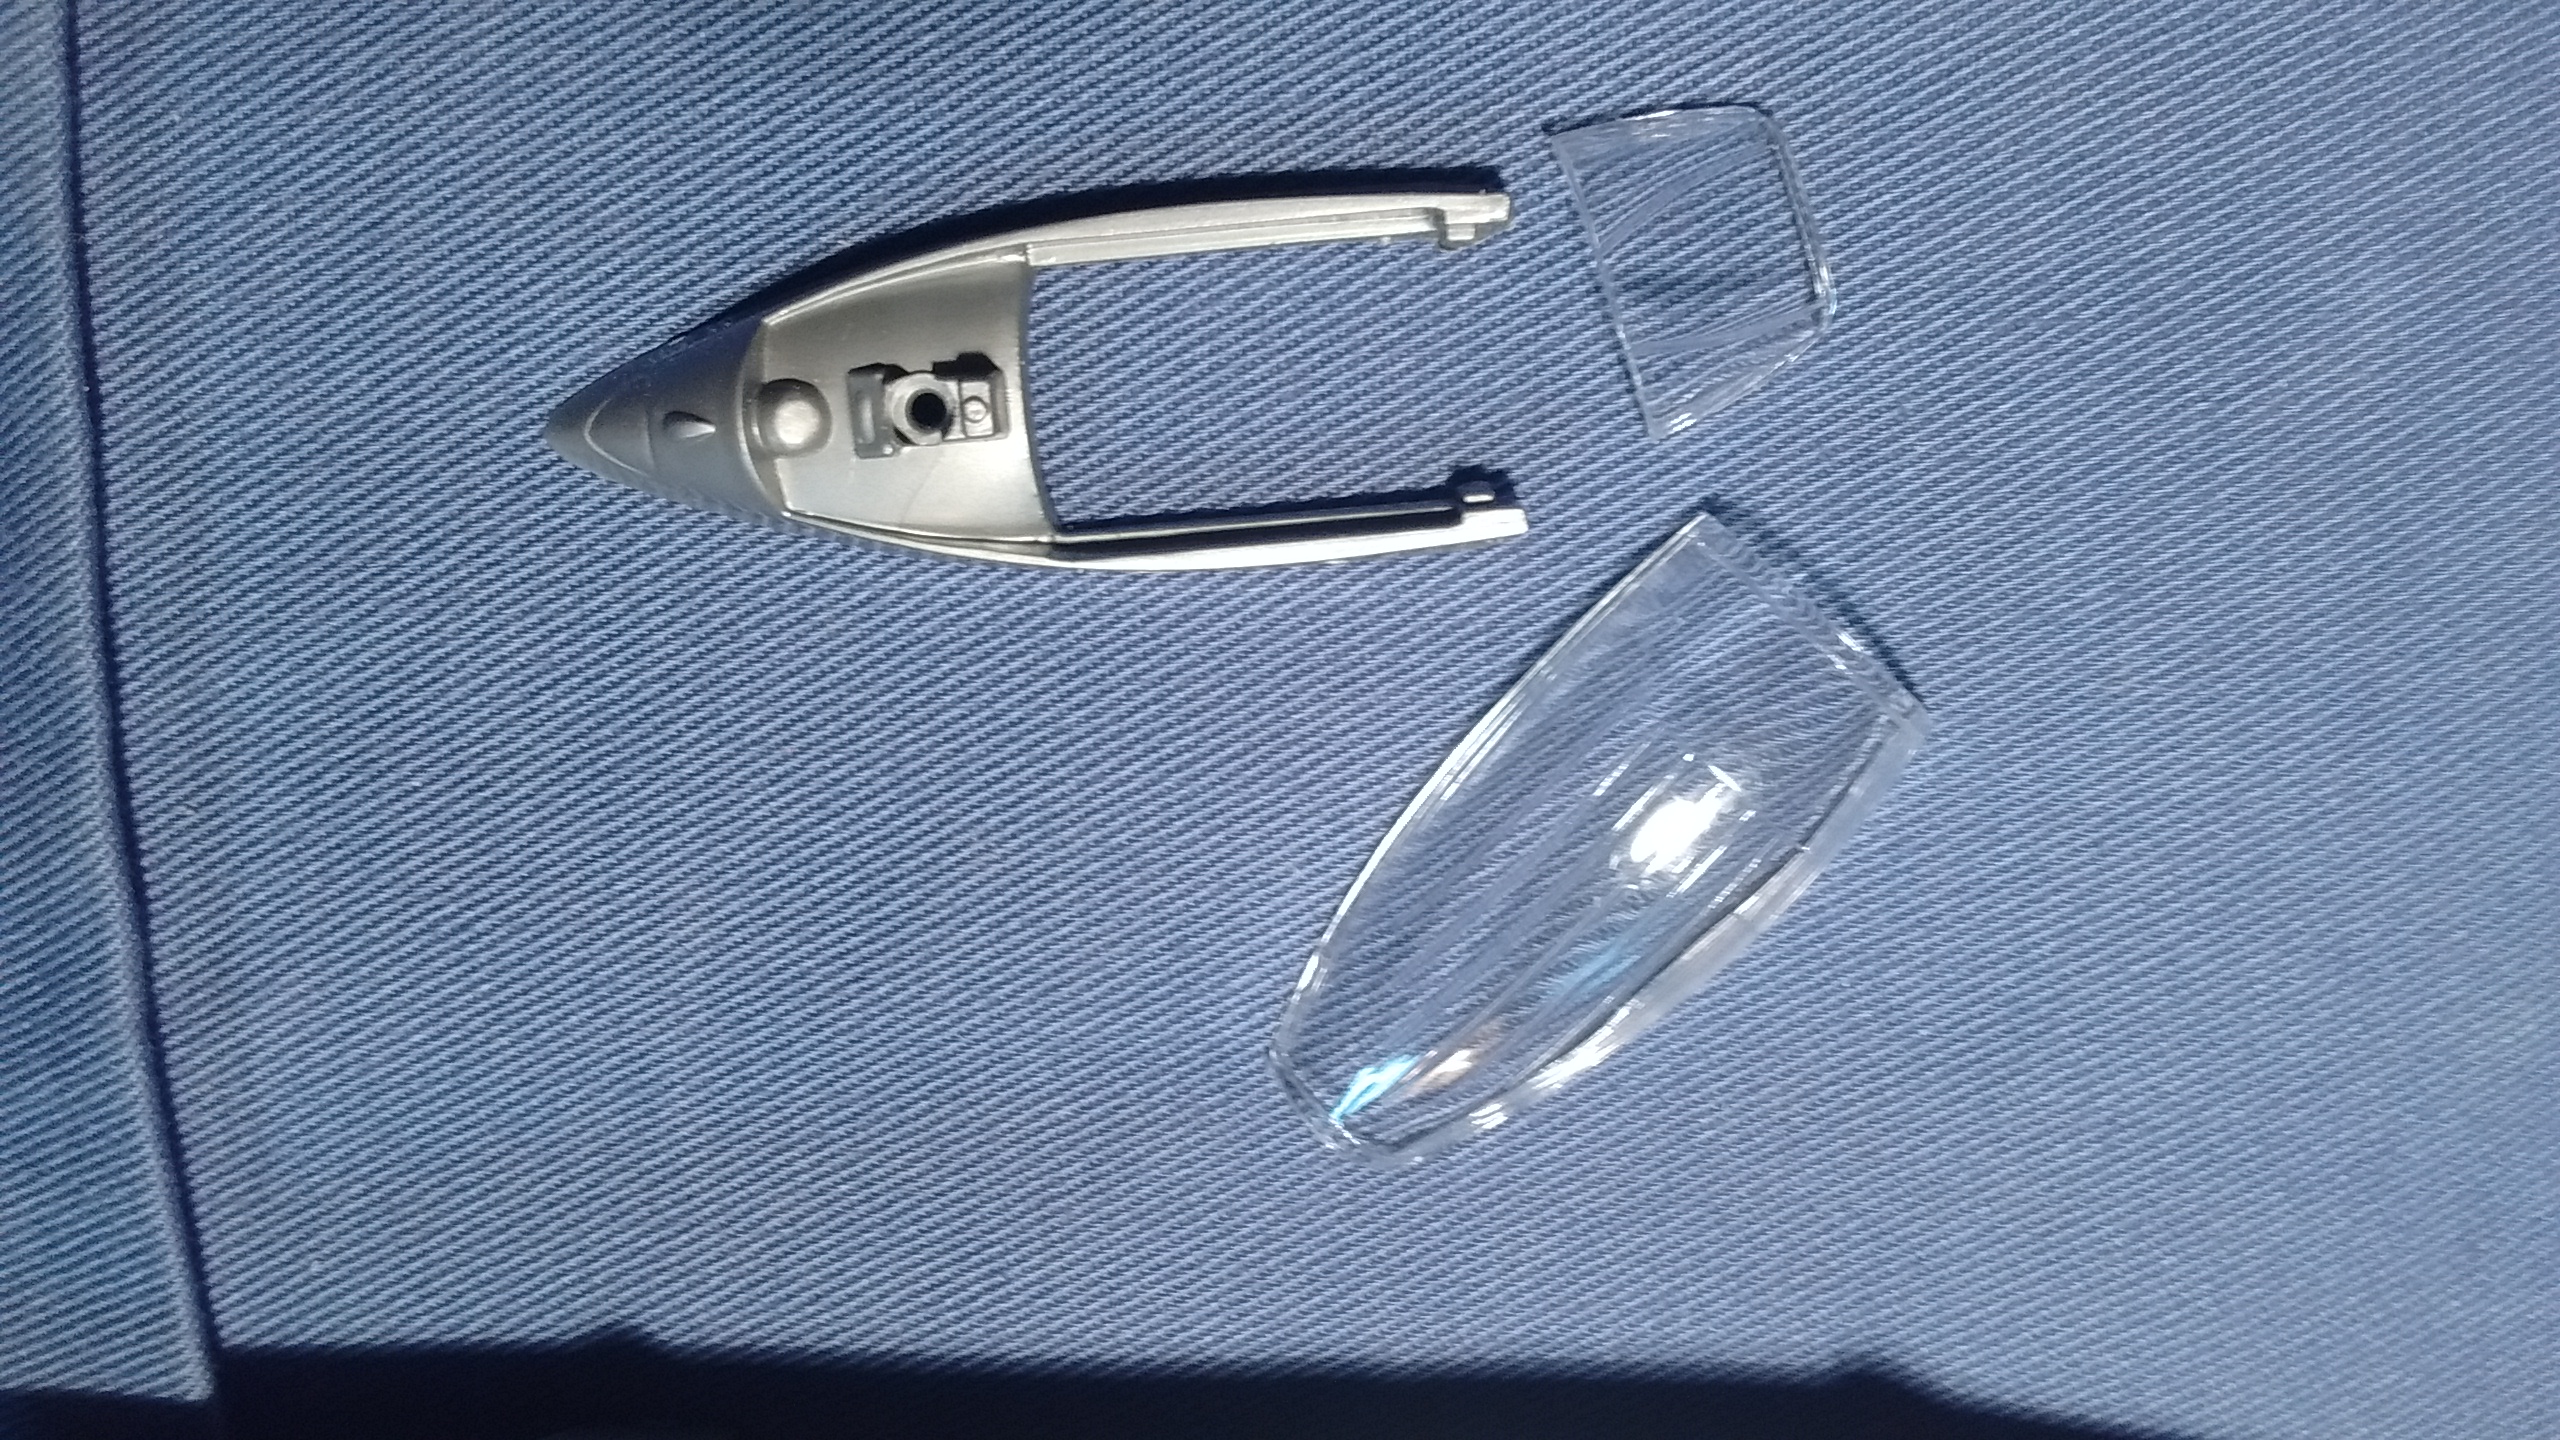
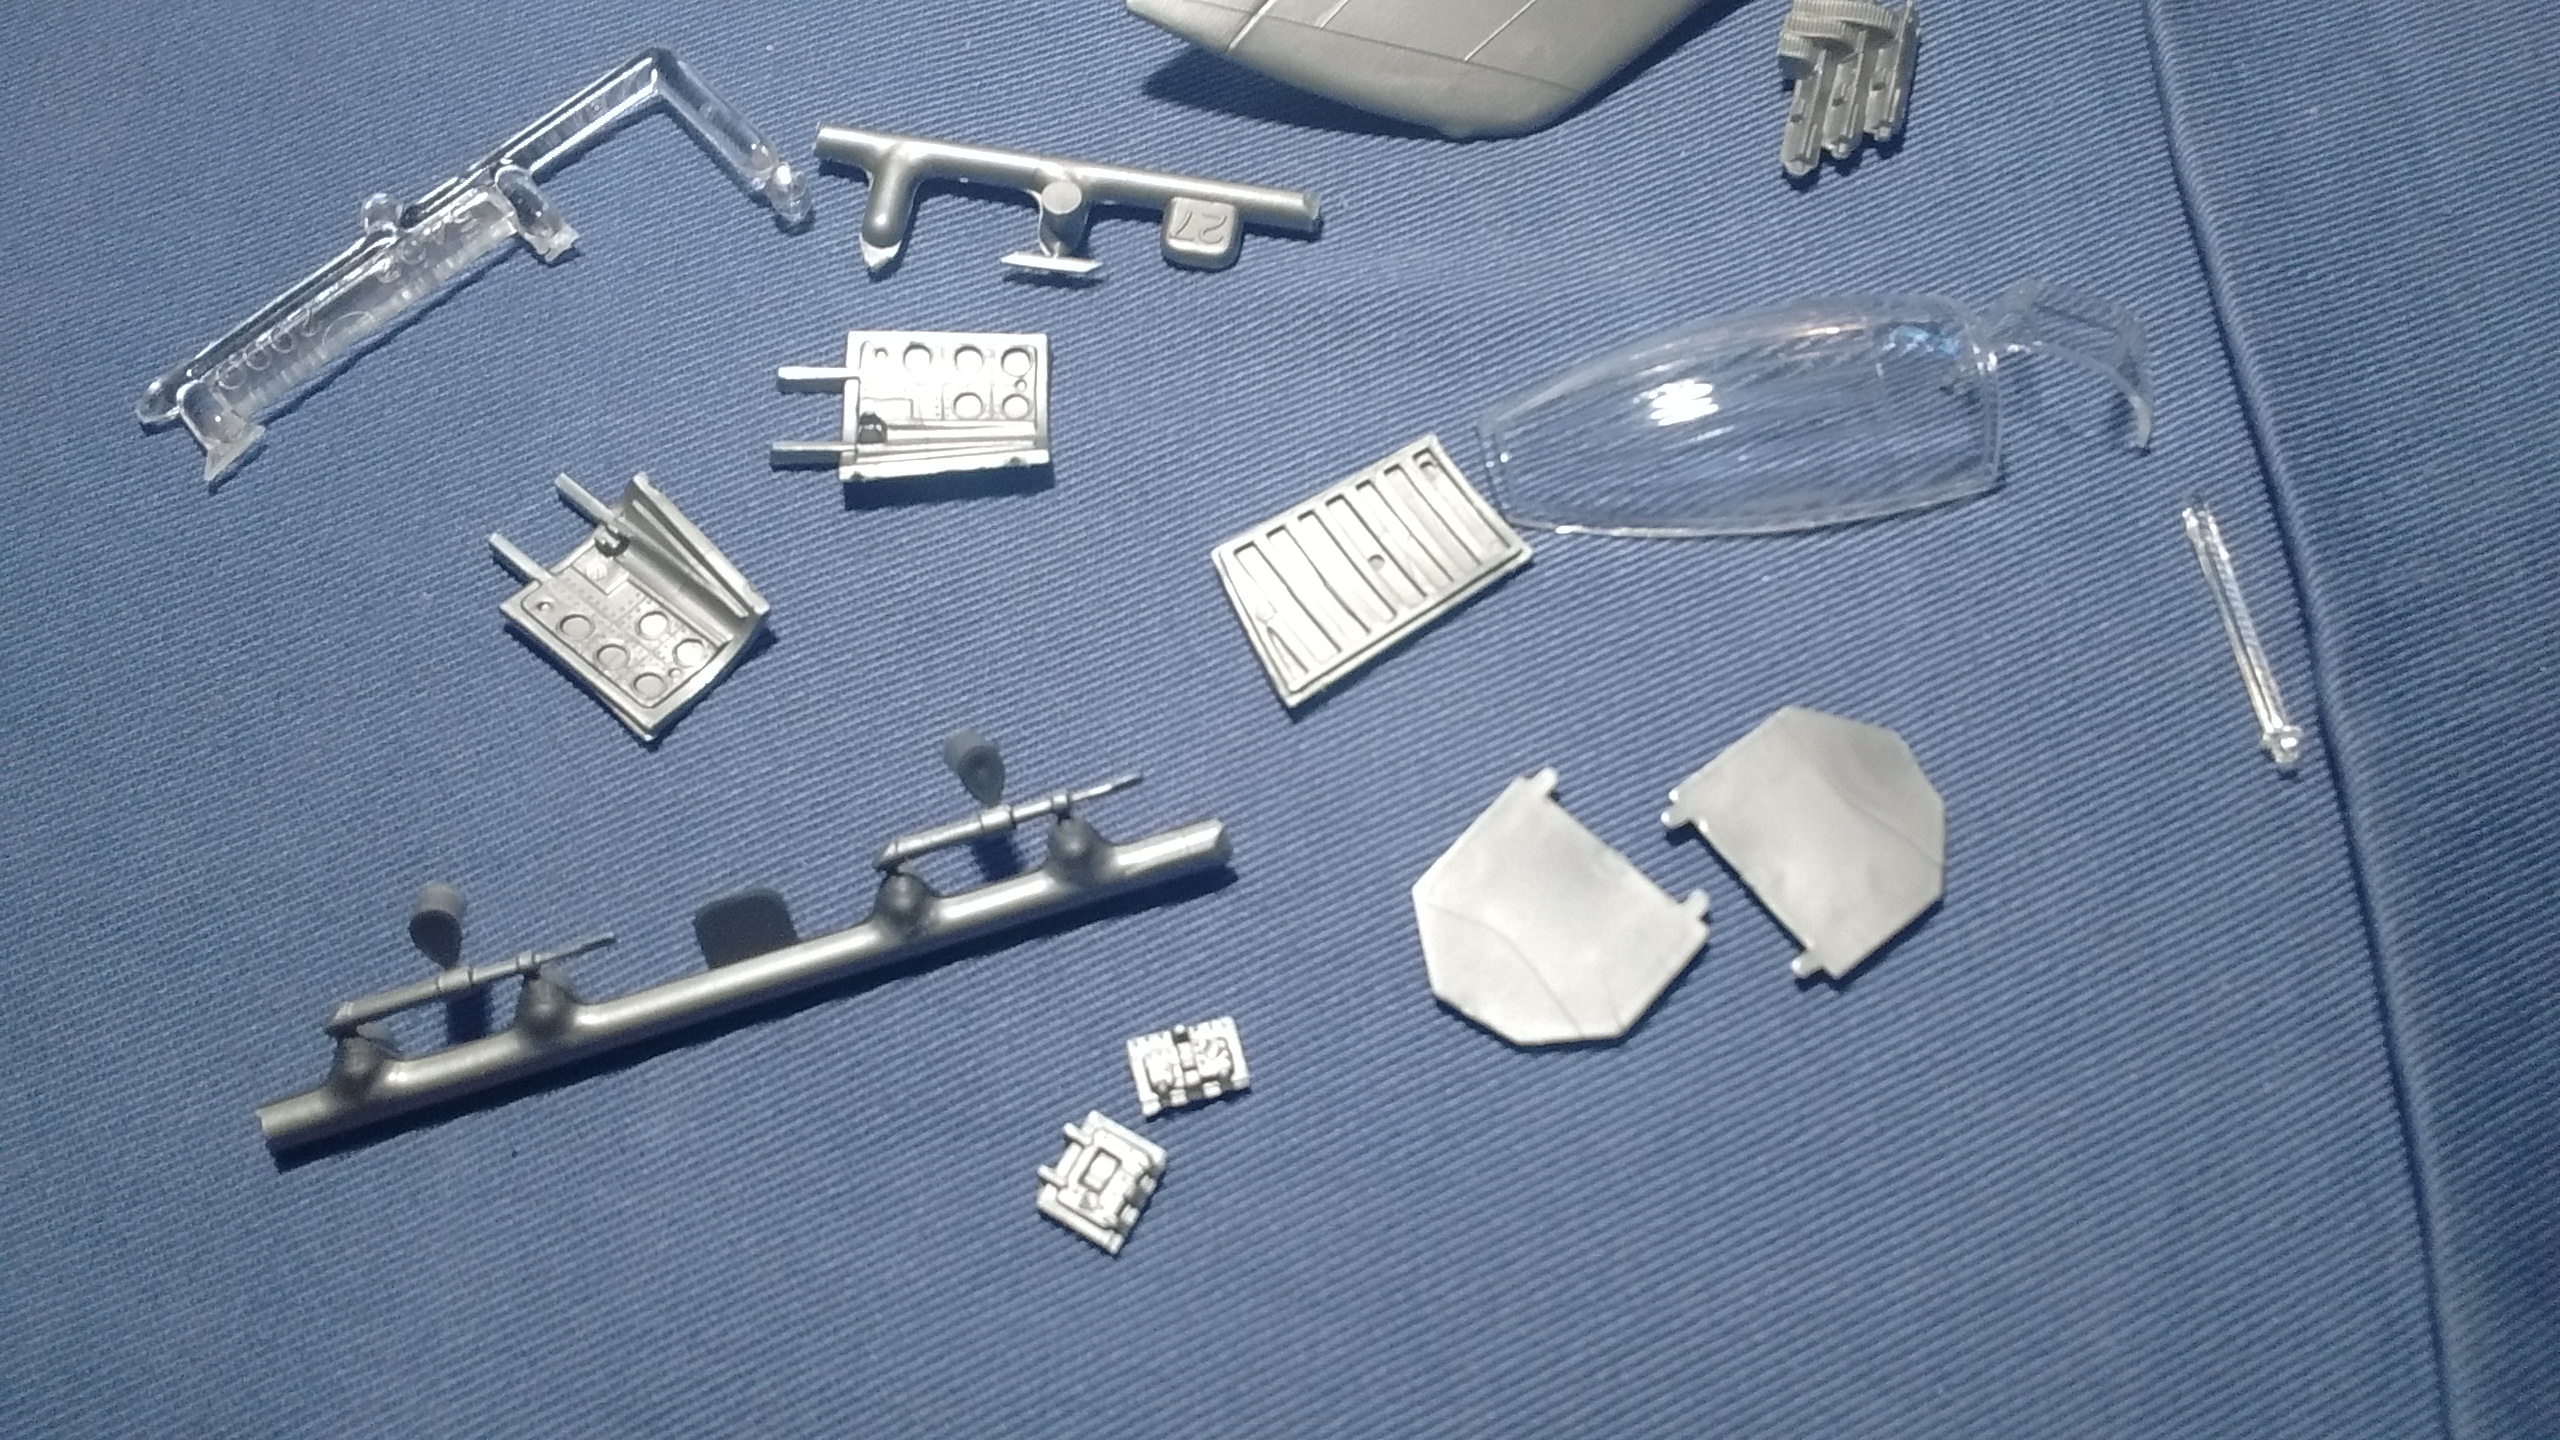
I think the clear parts should be solidly glued now.
I had started painting the He 111 using a paintbrush.
First the upper surfaces with dark green which seemed to be the wrong shade of green, and then the undersides with the right shade of RLM 65 Hellblau.
Those photos we taken with my new Motorola Stylus G cellphone I got as a gift from my son. Now I have no reason to procrastinate and then shower you with photos of my progress reports.
This is the original post if you have not click on the link above. It was probably the shortest post I wrote…
What’s your favorite hobby?
Mine is writing blogs. Before, this was my favorite hobby…
Building model kits. Why not combine both hobbies, one from the past with this one? While you are pondering over this, you can visit this blog about an amateur airplane model kit builder whose motto is Let’s build!