

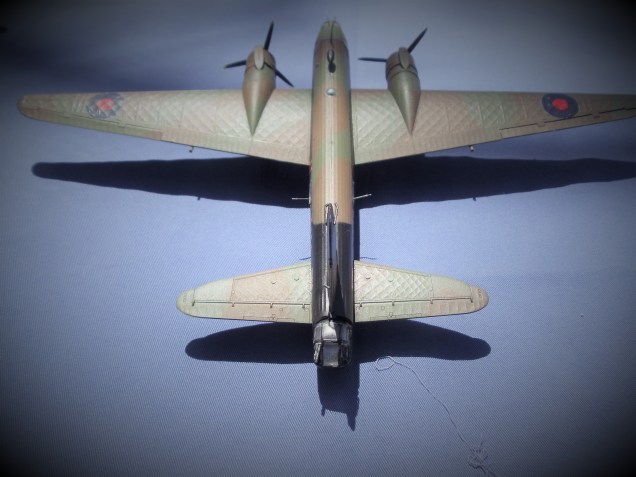

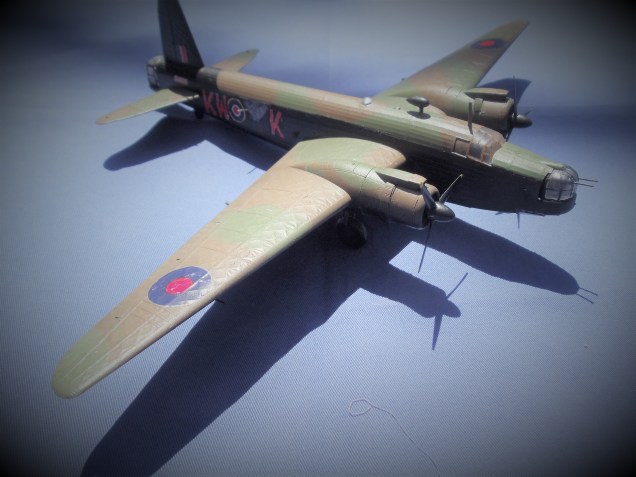
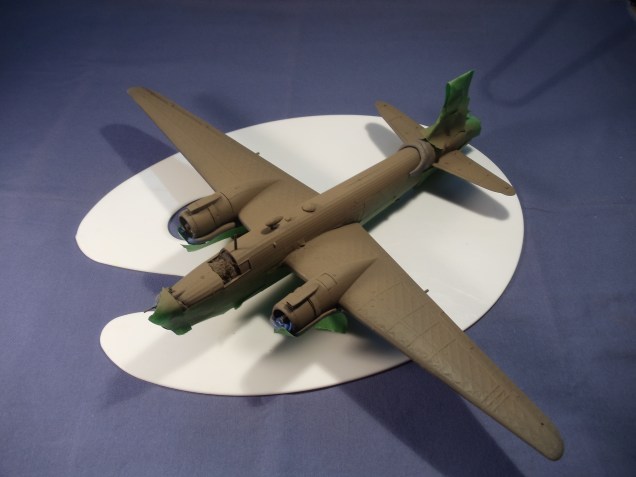
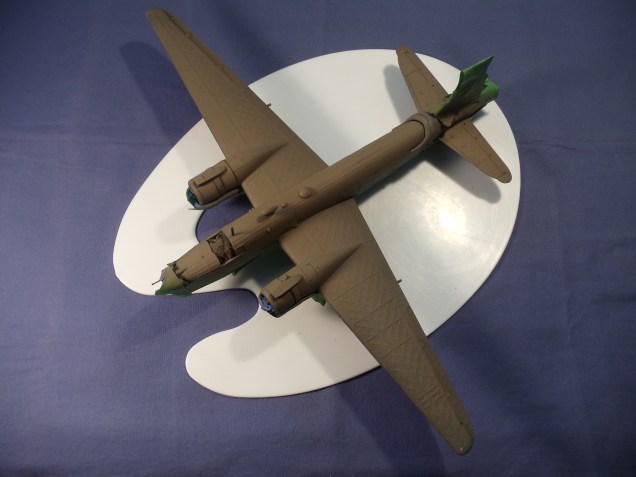
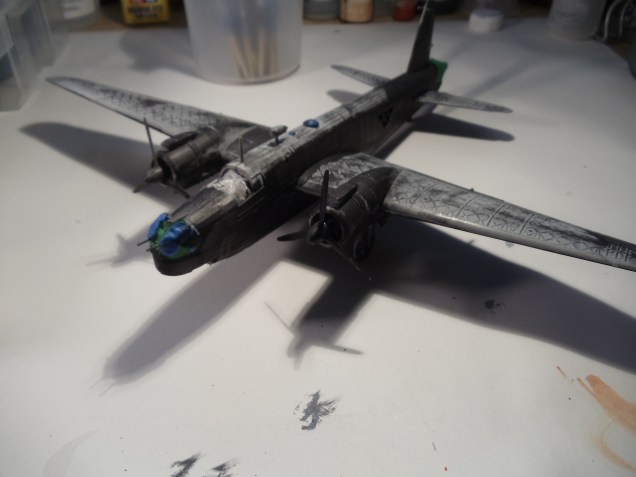
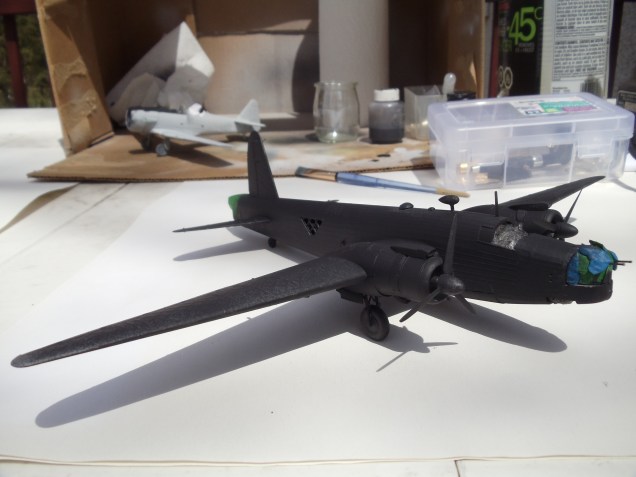
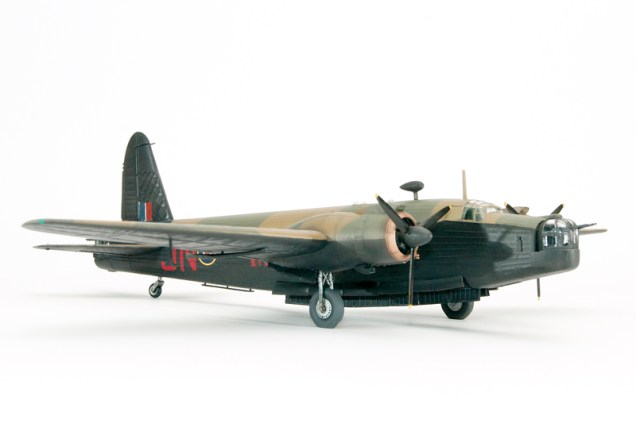
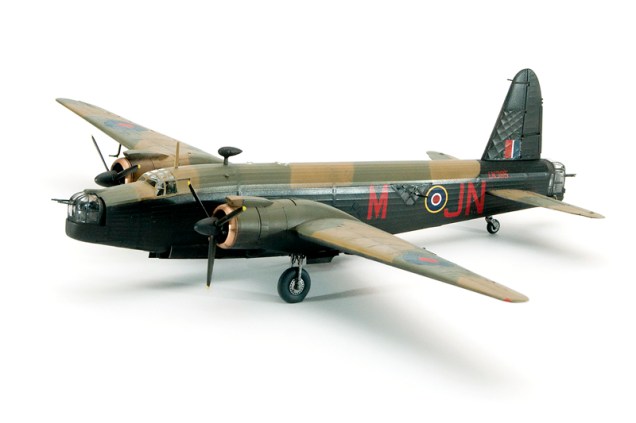
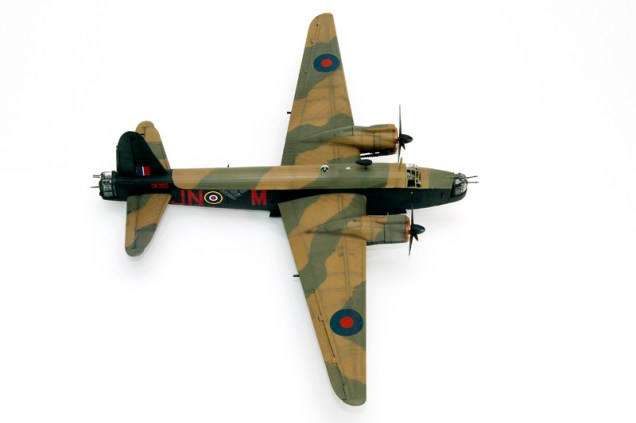
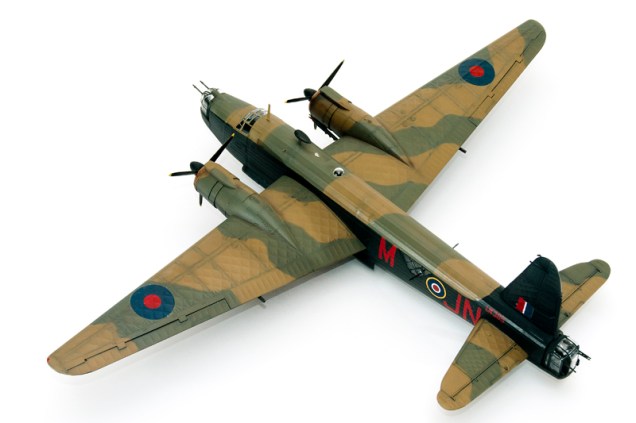
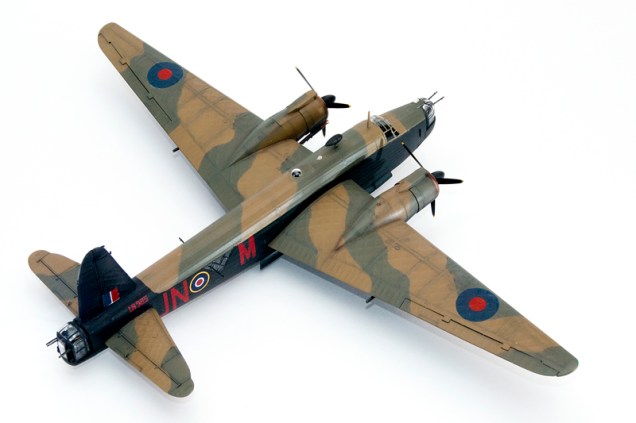
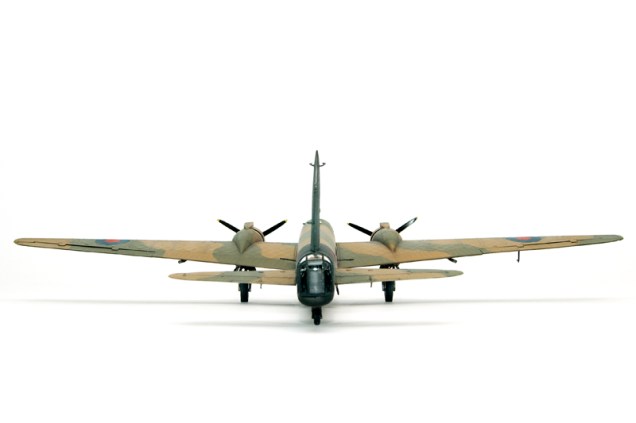
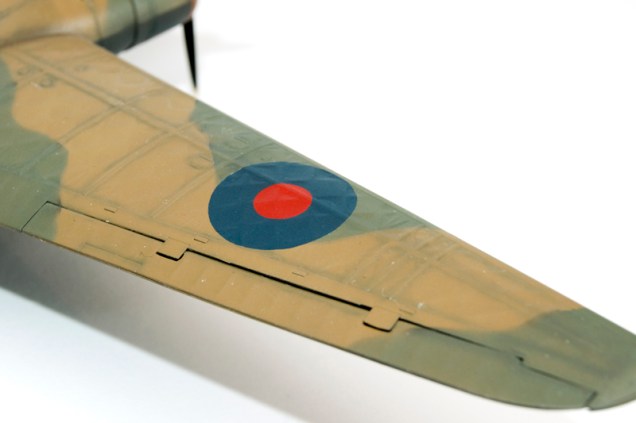
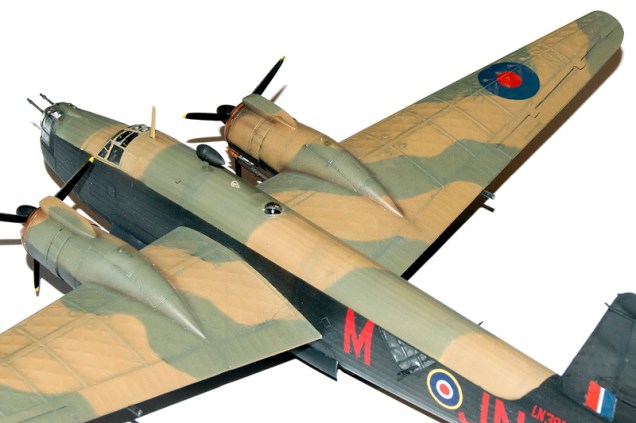
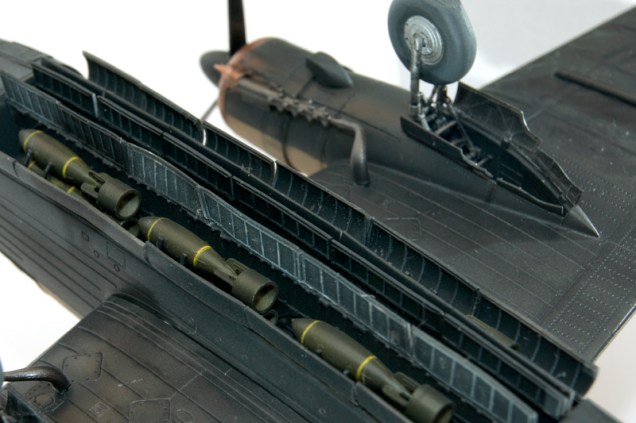
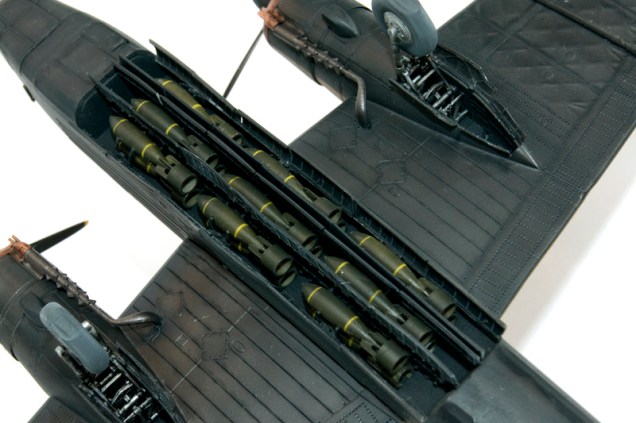
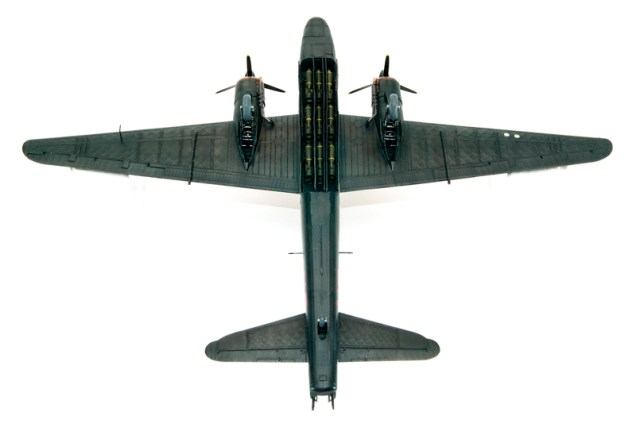
Dark green was sprayed this afternoon even with a temperature of 10° Celcius.


A few touch-ups will be needed but that won’t be a big problem.

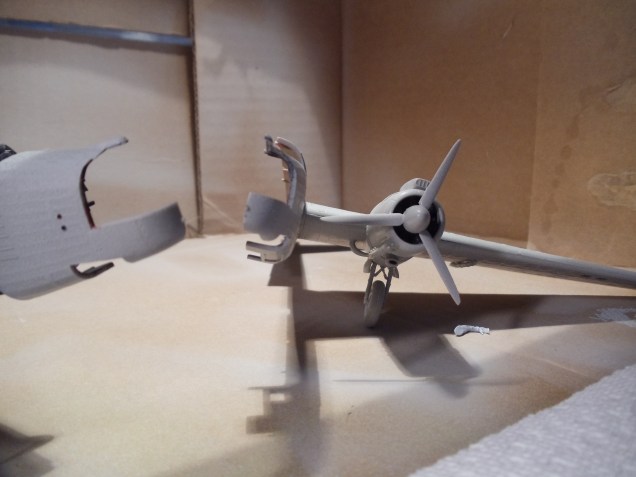
This I won’t be able to fix…

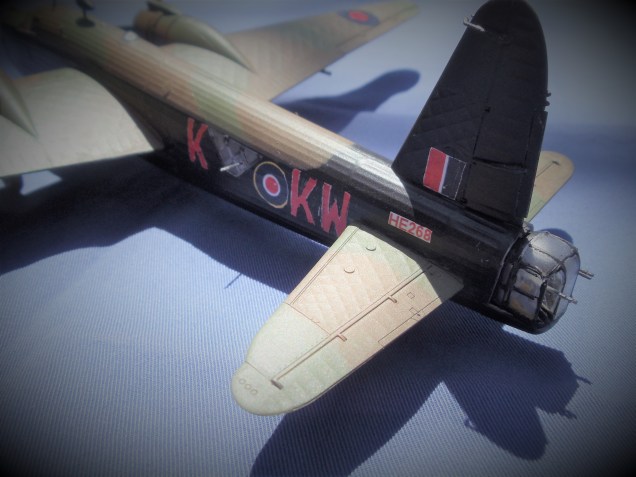
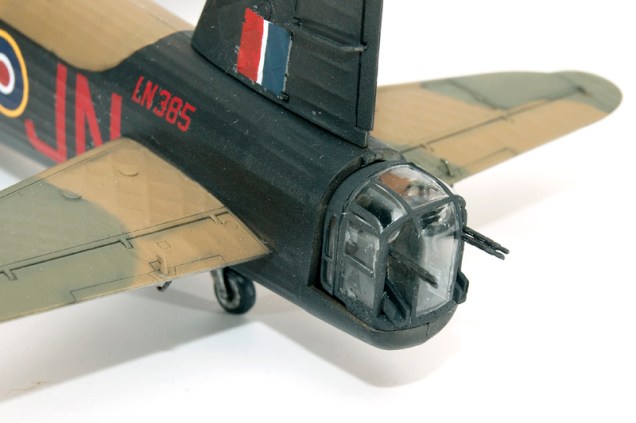
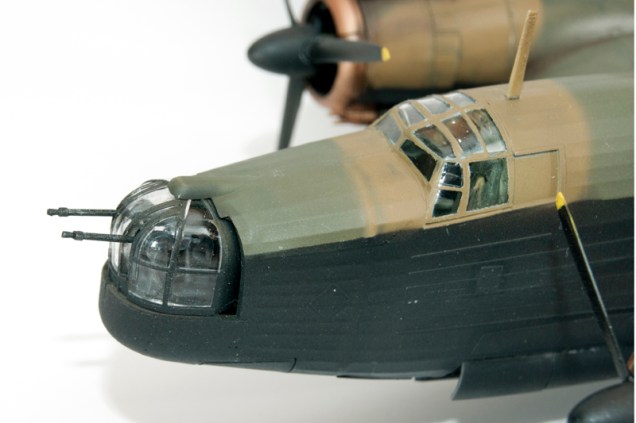
Next time adding the propeller, the waist guns, the canopy and spraying clear acrylic before applying homemade decals.
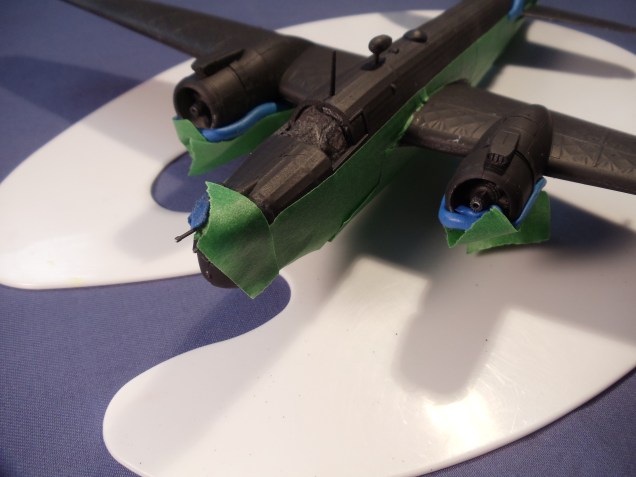
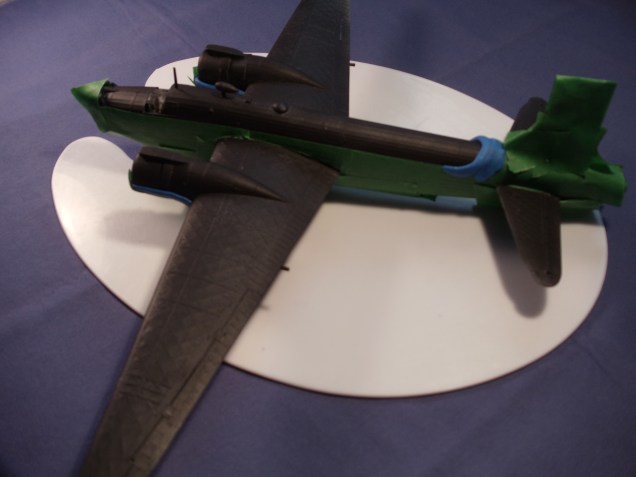
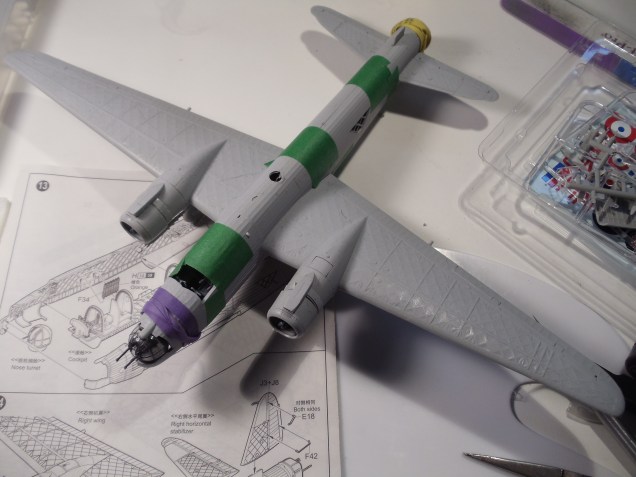
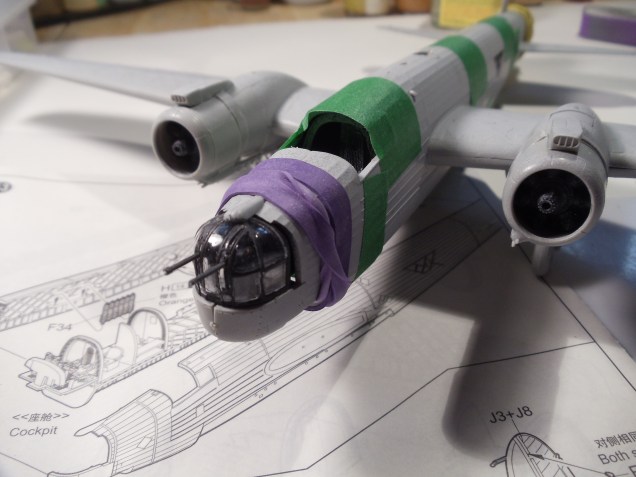
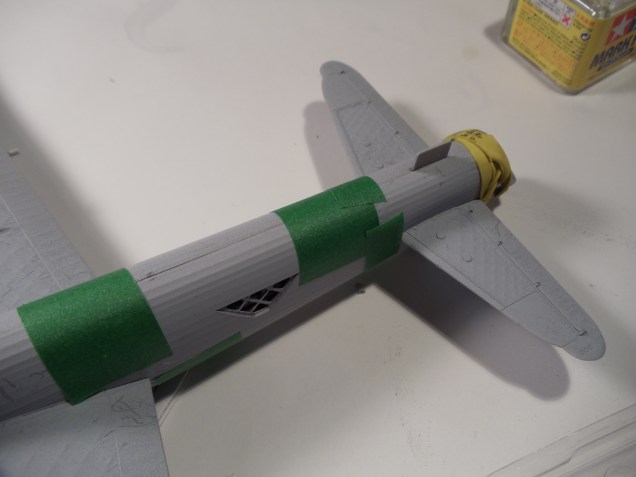
Lots of masking tape and poster tack.

Warmer temperature is expected tomorrow so you should expect another update.
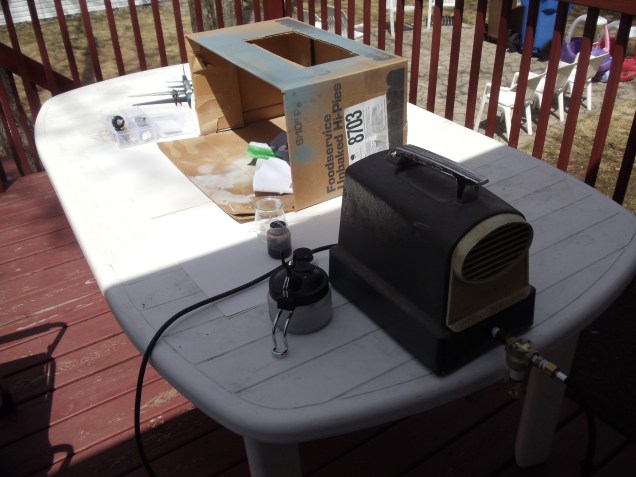
We are expecting some rain north of Montreal this afternoon and colder temperature in the next few days, so there is a small window of opportunity for an airbrushing session in a few minutes.
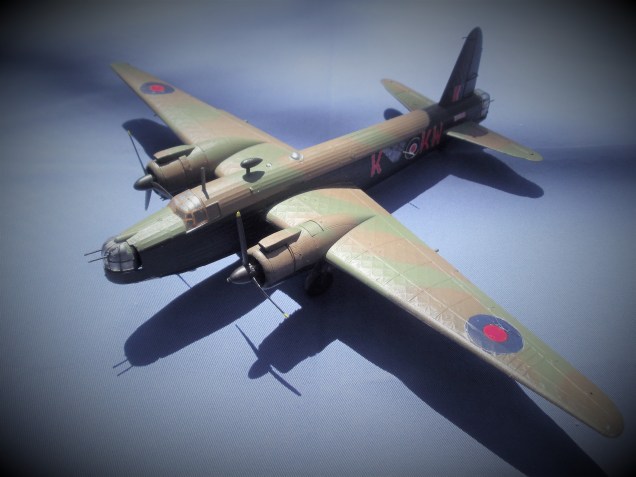
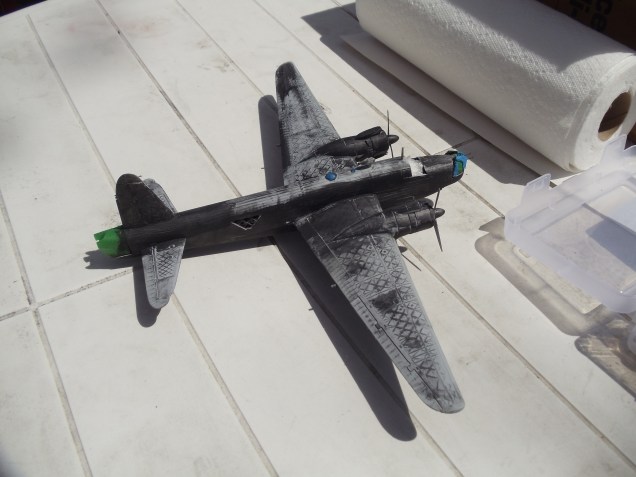
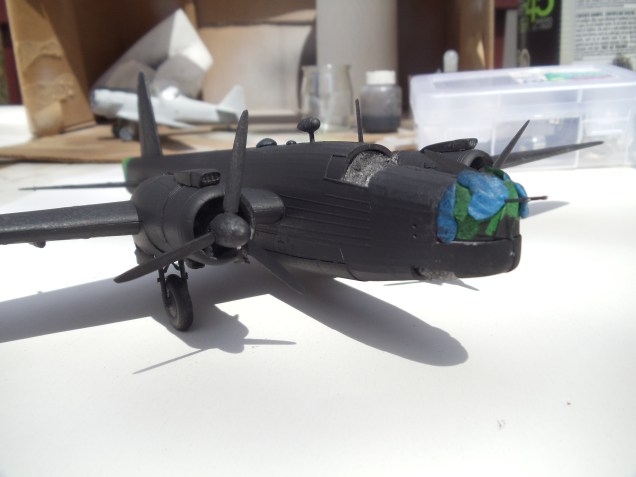
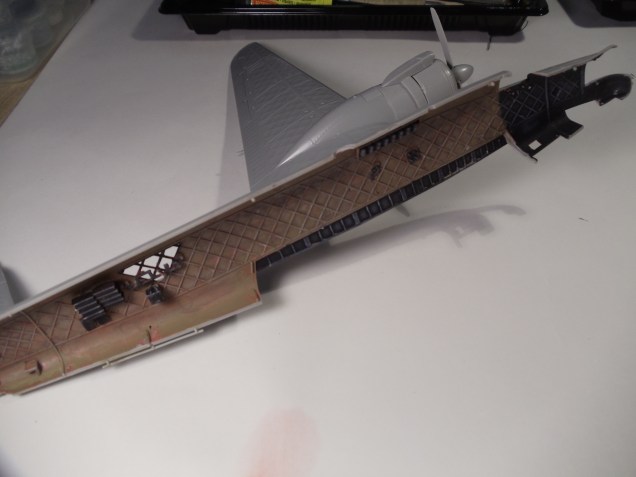
Dark earth will go first…
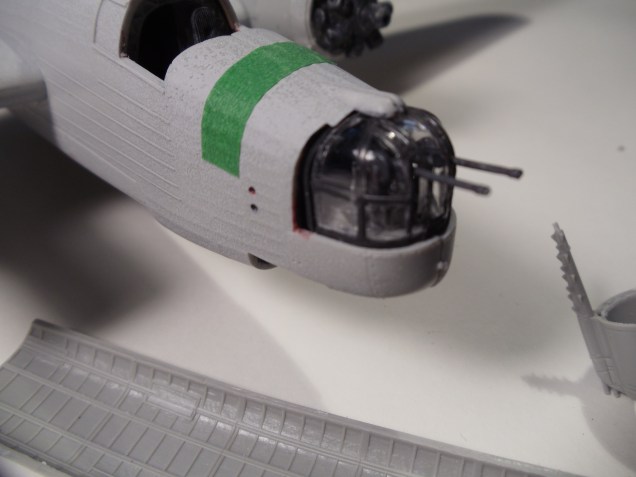
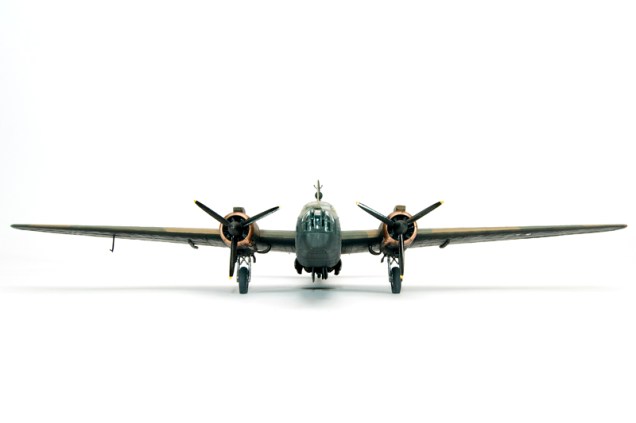
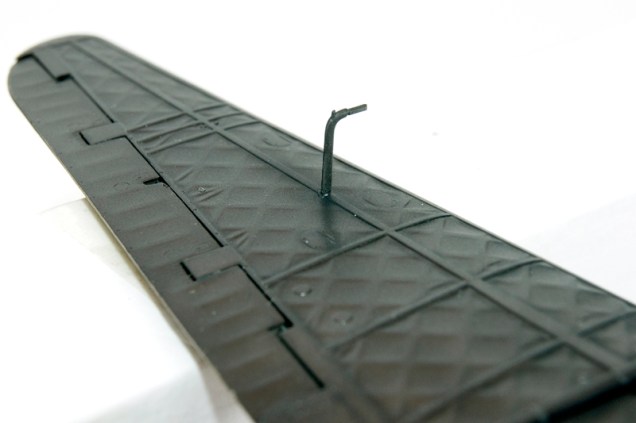
I have used green masking tape and poster tack for masking.

I have my 50-50 dark earth acrylic paint mixed already set and ready to spray on.
I hope everything go smoothly.
Time will tell.

Update

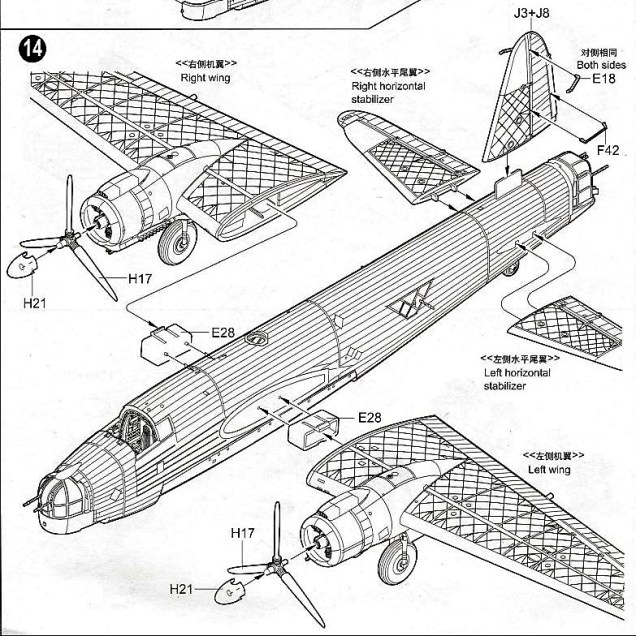
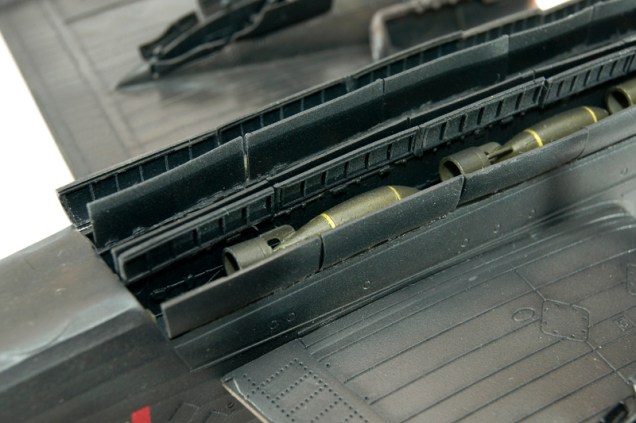
Mating…
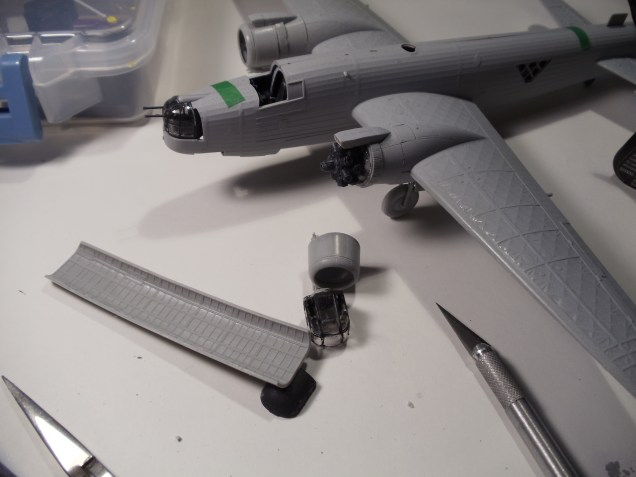
Masking…


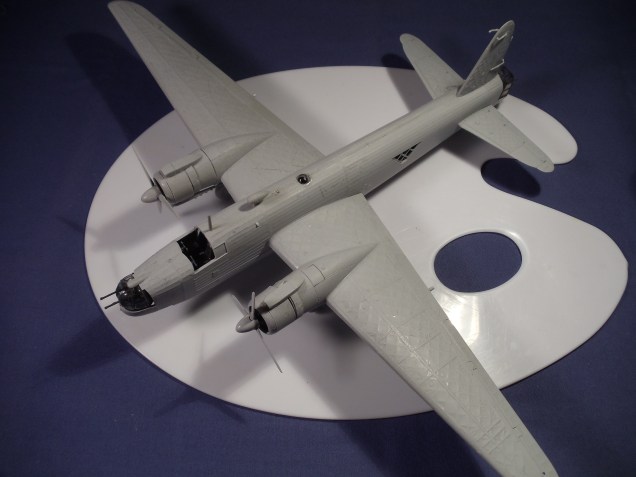
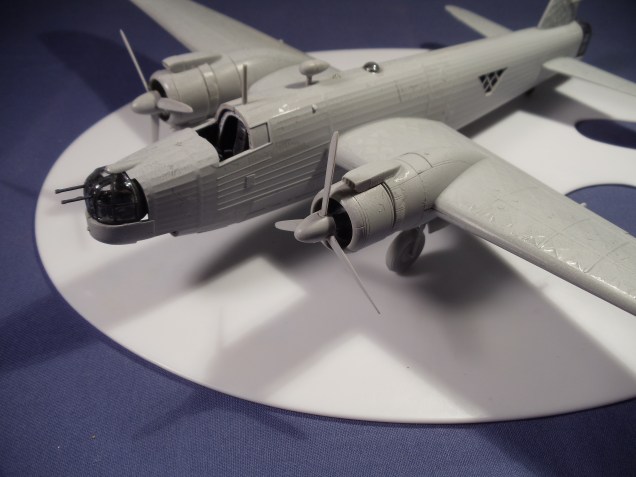
Base coating…


Setting up outdoors…

Preparing for testing…

Nothing yellow won’t cover…

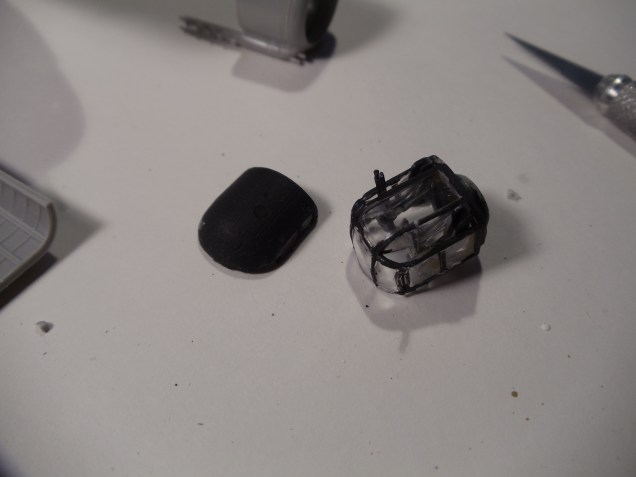
Before…
After…


Next time…
Spraying dark earth and a little praying…


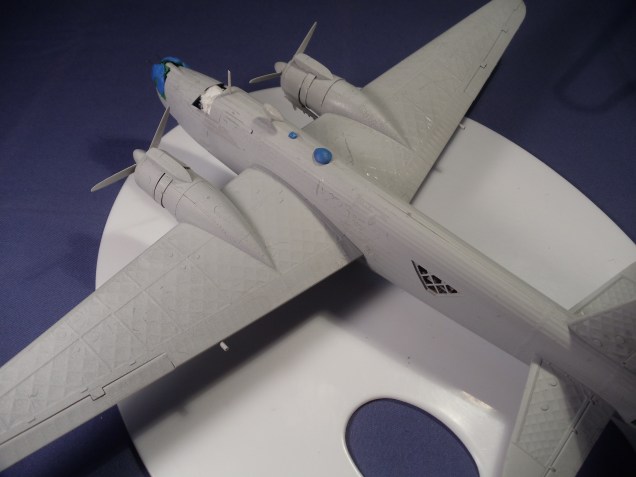
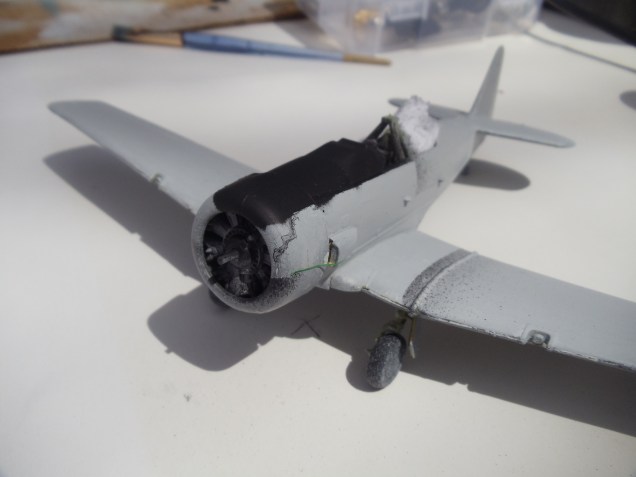
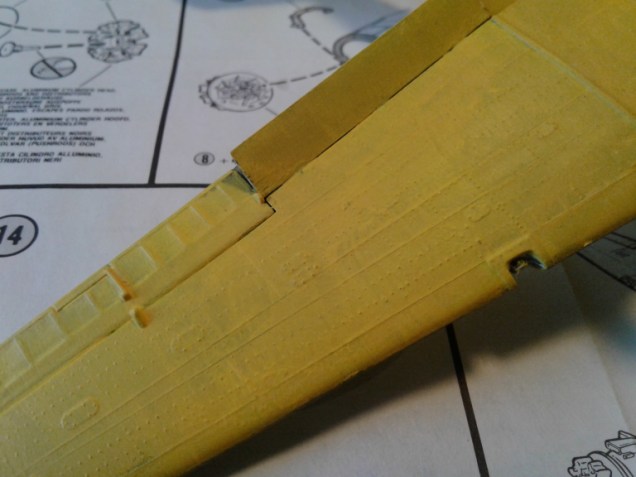
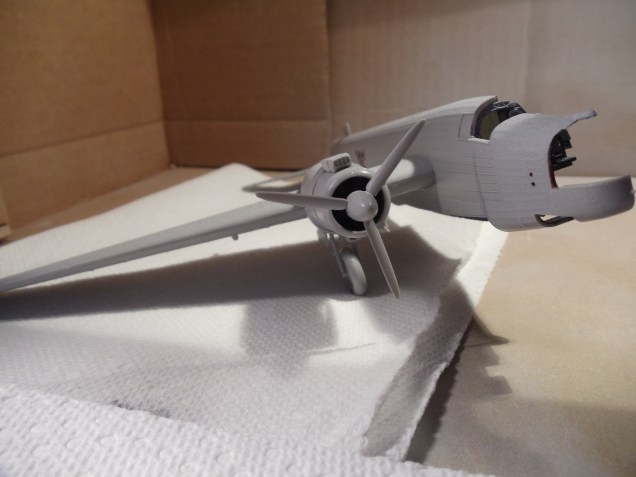
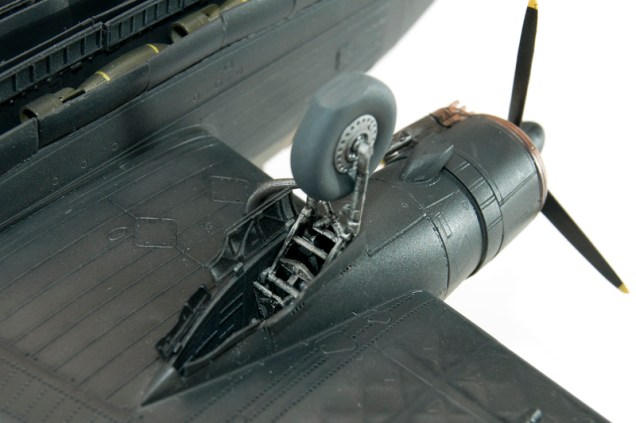
It had to happen. As I was preparing to join the fuselage parts yesterday…

This is what has happened!
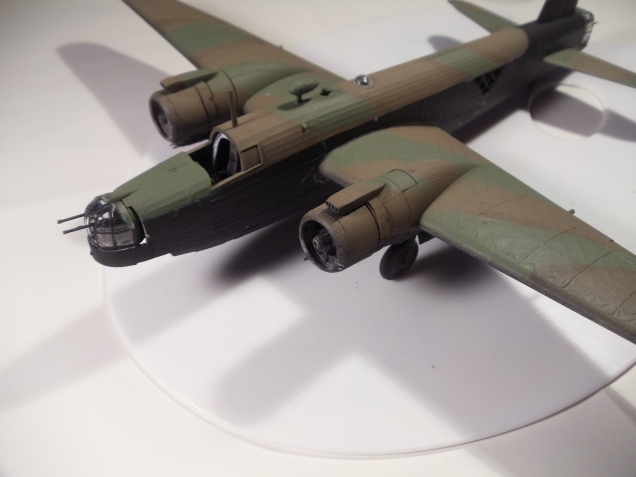
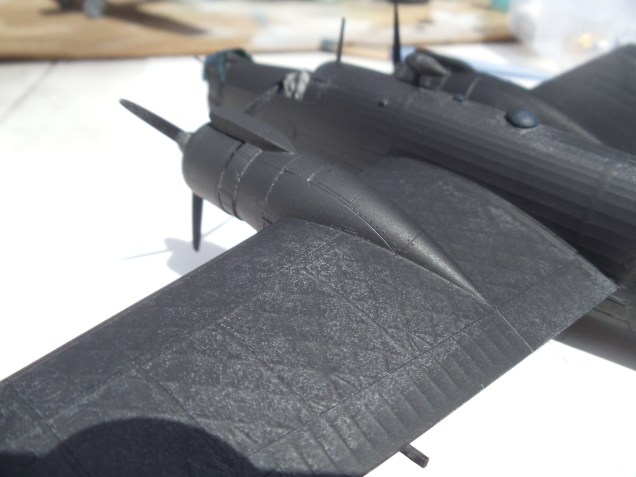
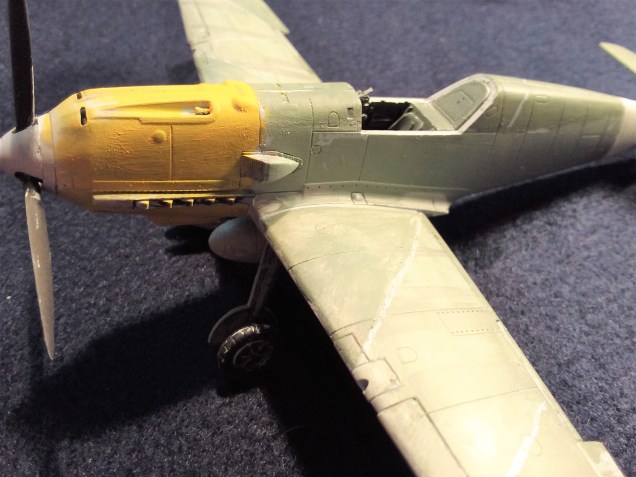
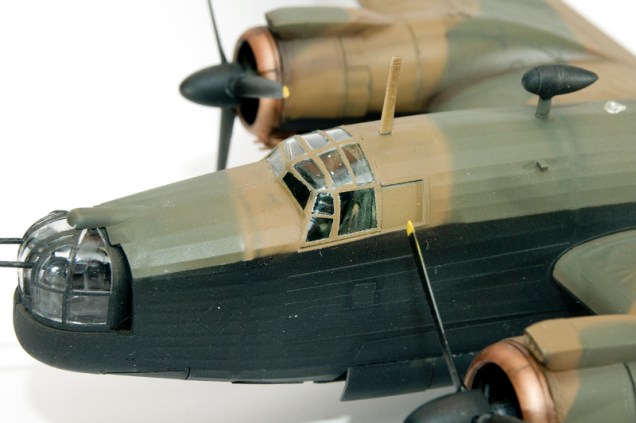
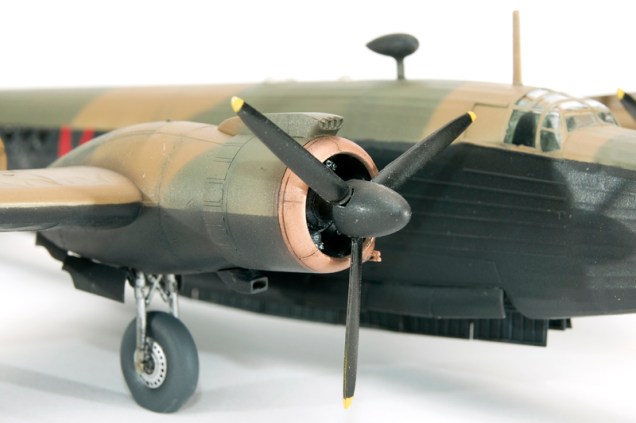
I then decided to reglue the rear turret and to fix the cowl flaps on the port engine…

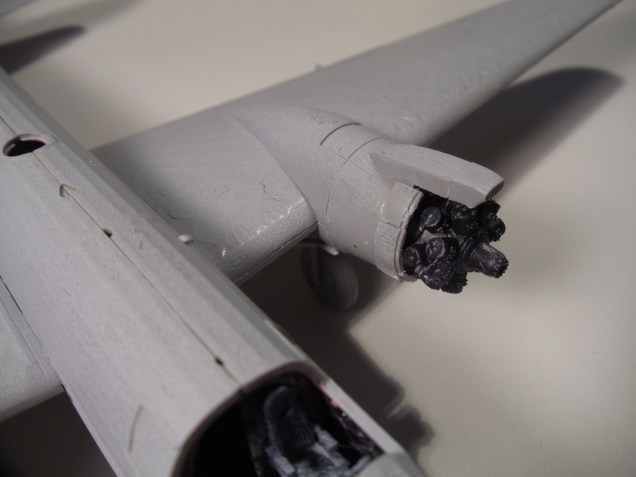
I will not attempt to fix the starboard cowl flaps.

I should not be expecting any more problem now.
But we’ll see what happens next time.
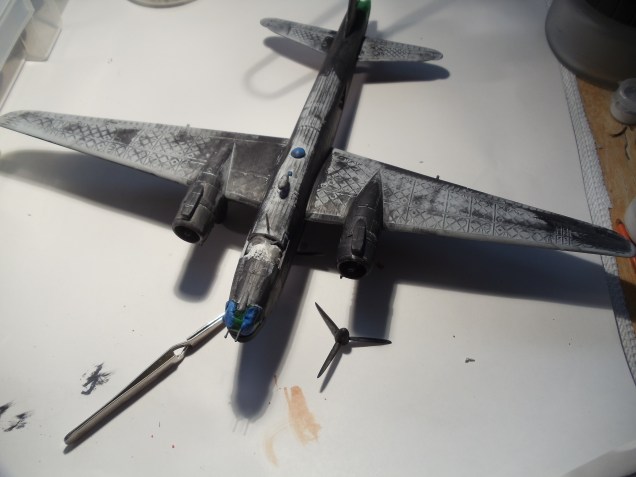
It has been a long winter, and spring weather did not allow me to use my airbrush outdoors. Yesterday I decided to give it a try indoors using a large fan for ventilation and wearing a N95 mask (I had one since last year).
I then proceeded to test my airbrush on two unfinished model kits:
First my yellow Monogram AT-6 (Harvard) and…

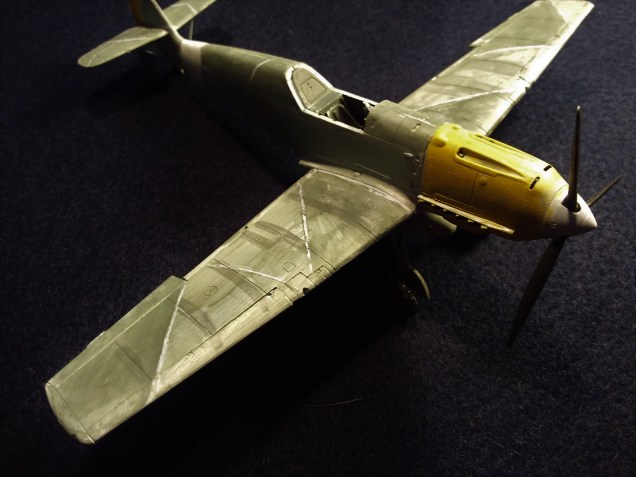
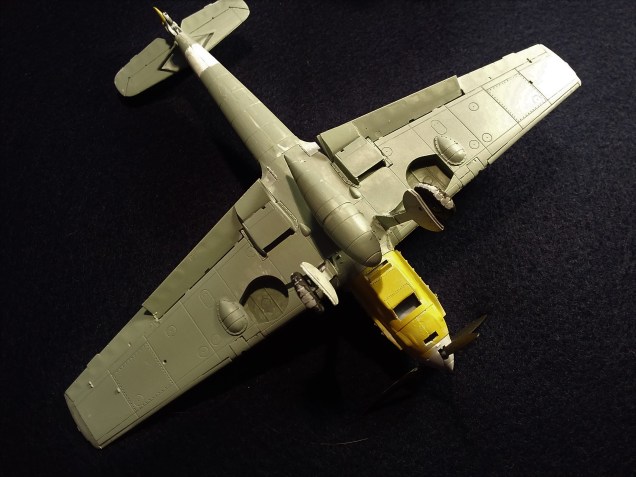
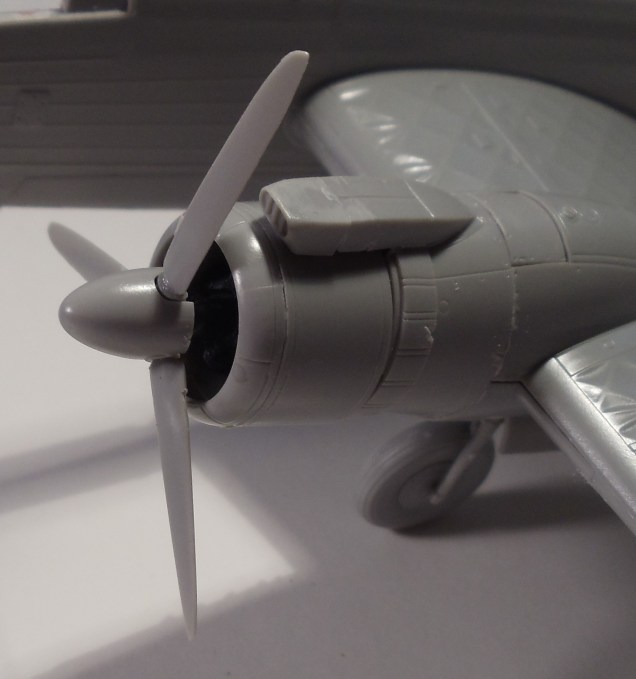
my Airfix Me 109 E.
The Harvard had a black base coat and I did not like the result after I had added four coats of yellow.
The same with the yellow nose of the Me 109.
Using Windex window cleaner I had previously took the yellow off of both planes.
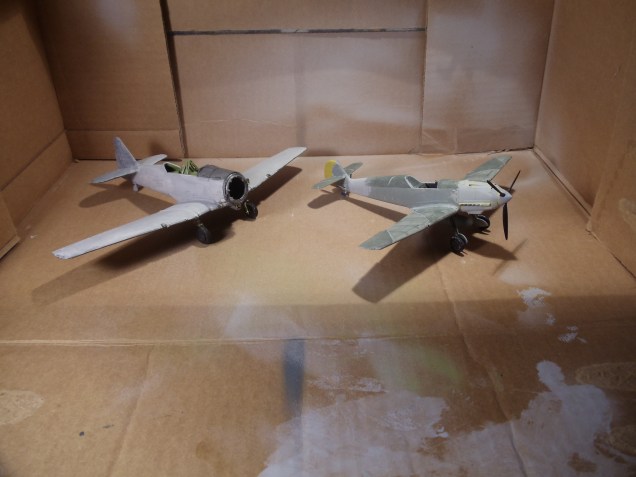
I already had on hand a perfect mixture of light gray acrylic paint having the consistency of skim milk.
I then started to paint both in alternance.
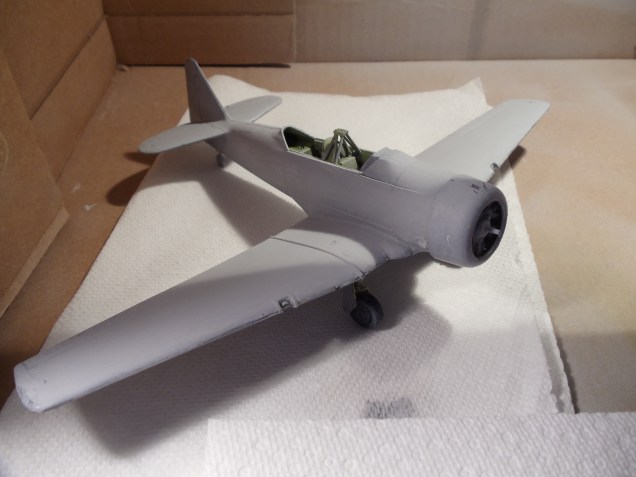
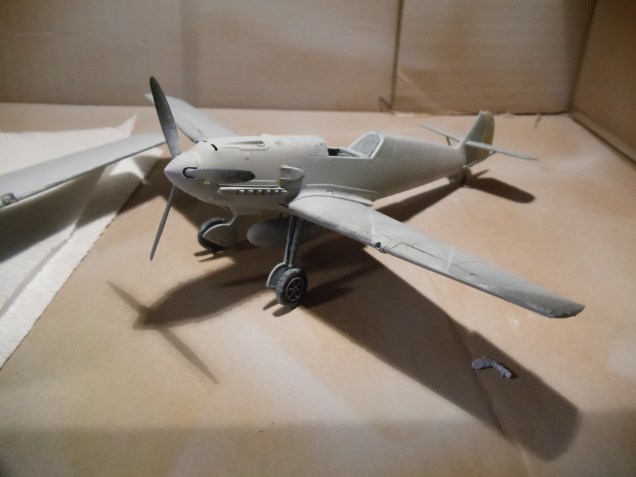
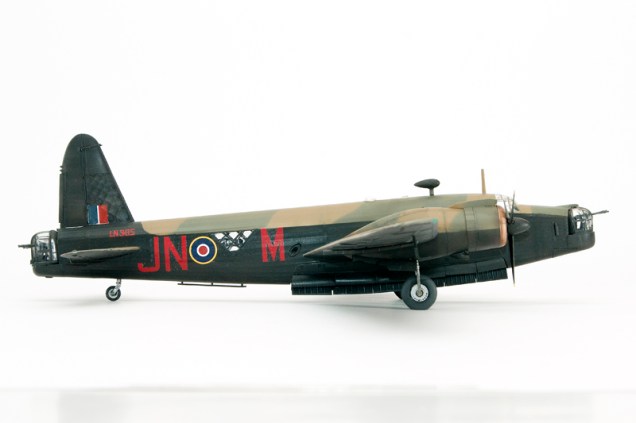
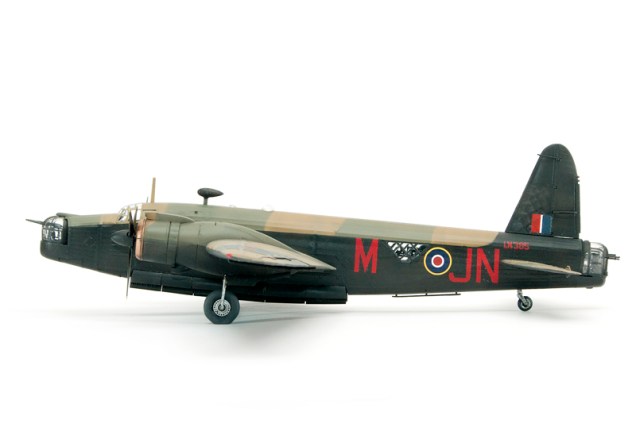
This is the final result.

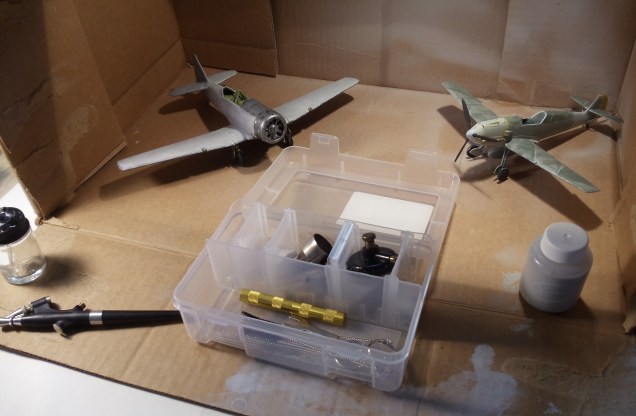
I then used my airbrush for the Wellington Mk X stopping after a while because I was feeling a little dizzy.

Which taught me another lesson. Next time… I will be spraying outdoors!
As I was looking for inspiration I found this Website page…
https://www.britmodeller.com/forums/index.php?/topic/235024138-172-trumpeter-vickers-wellington-mkx/


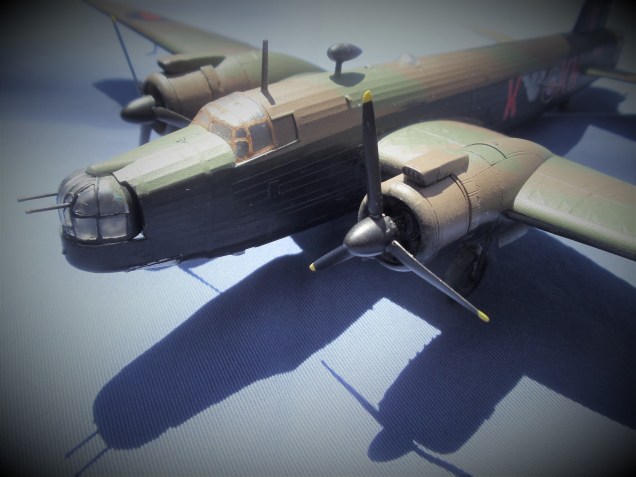
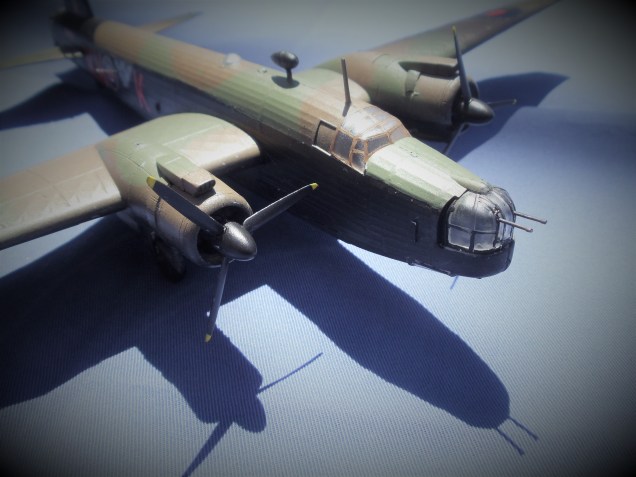
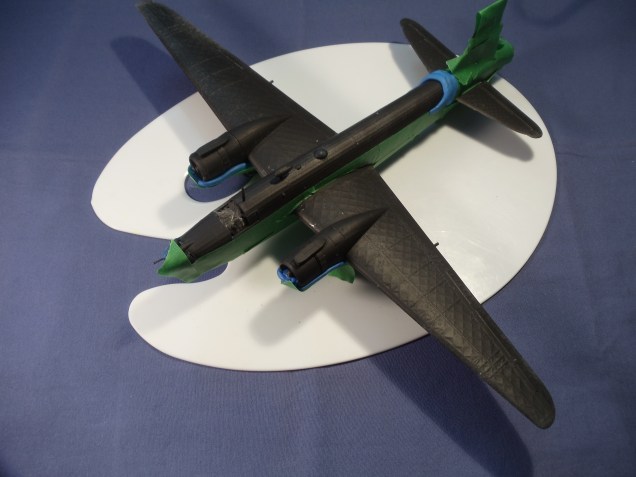
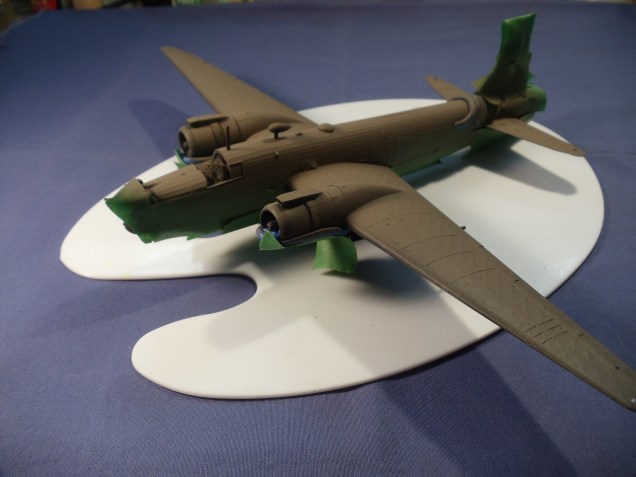
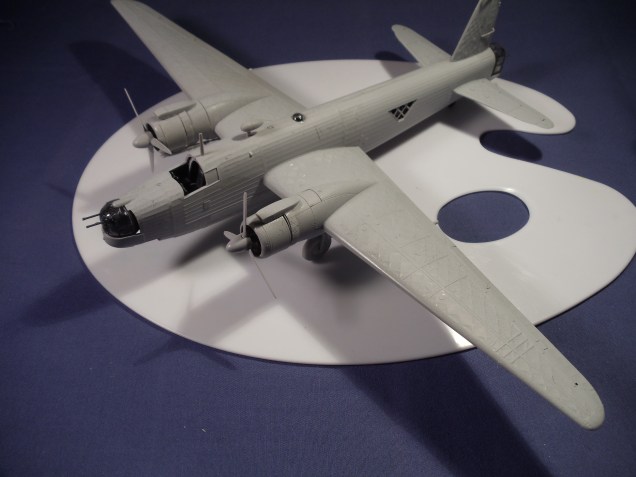
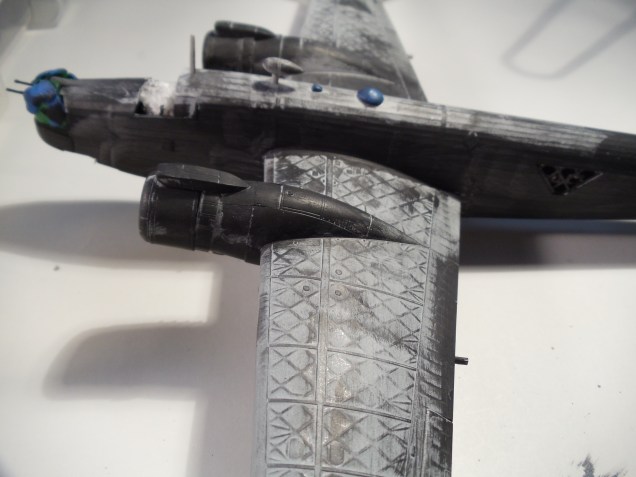
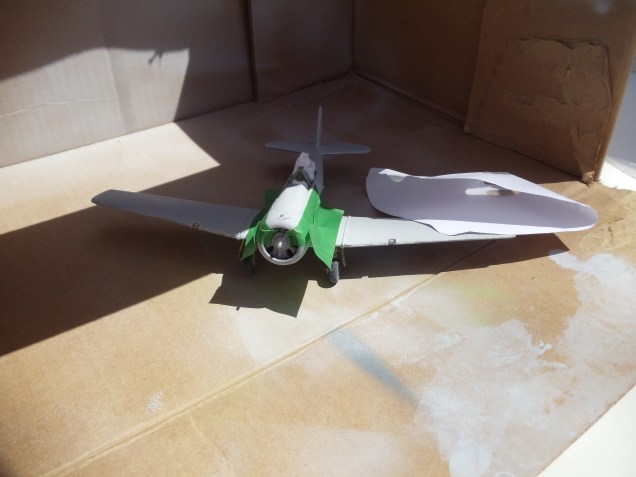
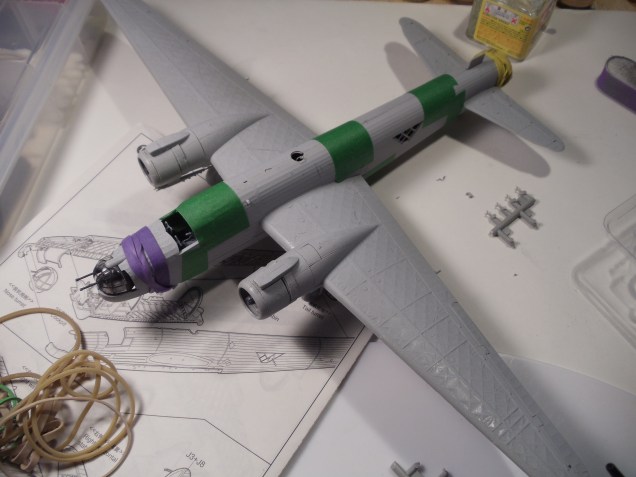
I am getting there even if I dread this part of glueing the fuselage. I decided to glue the wings to make painting easier with my airbrush, and I won’t have the gun turrets in the way.


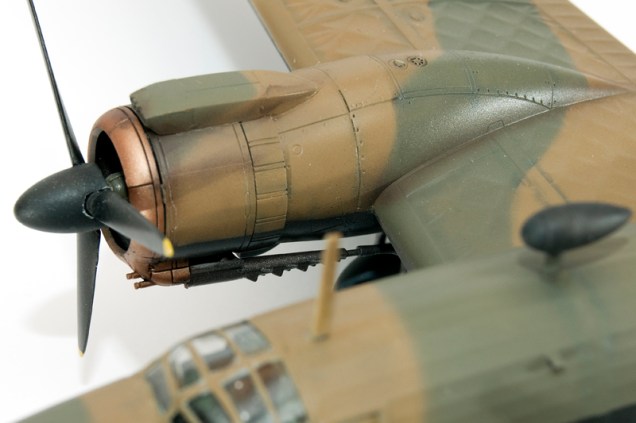
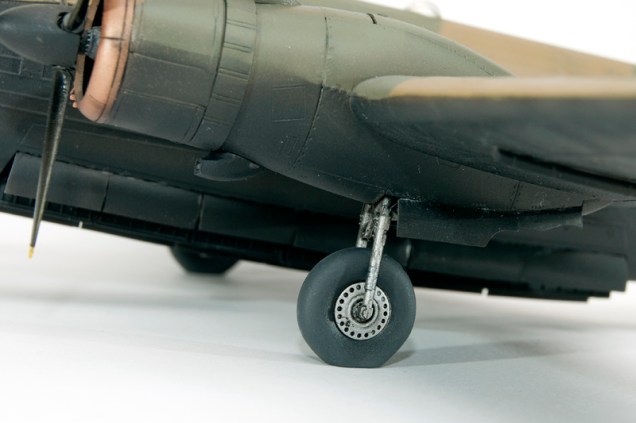
Even if I followed the instructions I still got this bad fit with the cowl flaps…

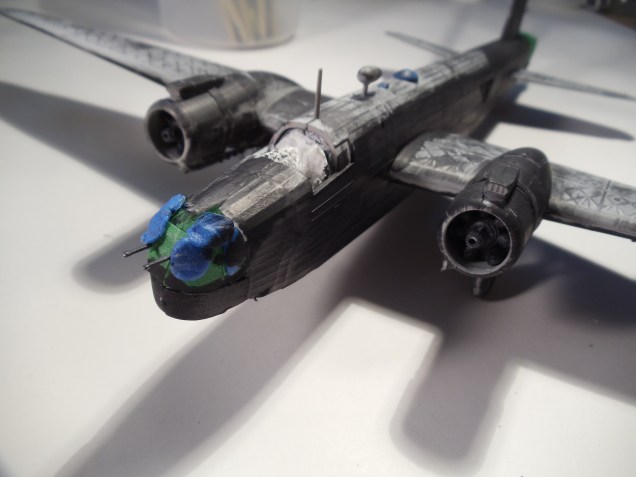
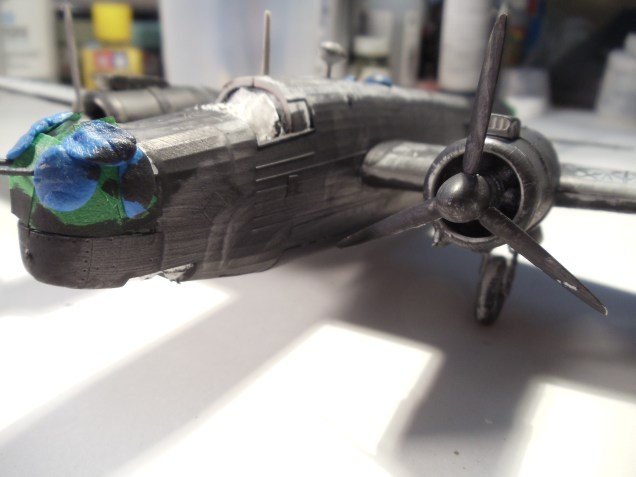
These are the very last shots before glueing the fuselage.


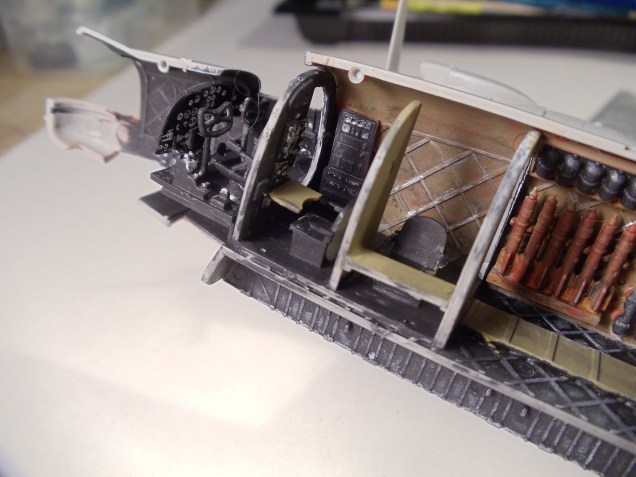
Once the turrets are installed and the fuselage parts are glued there will be very little to see.

