
Now came the tricky part on Thursday night…
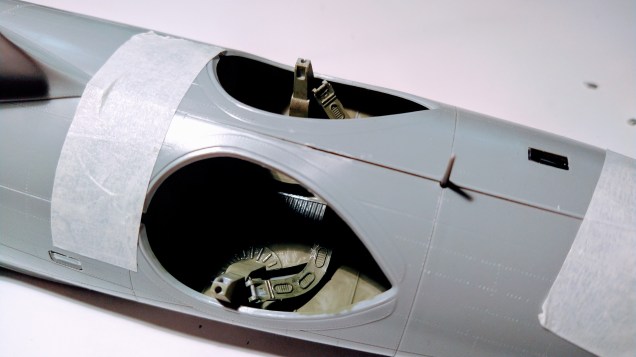
We’ll see what happens…

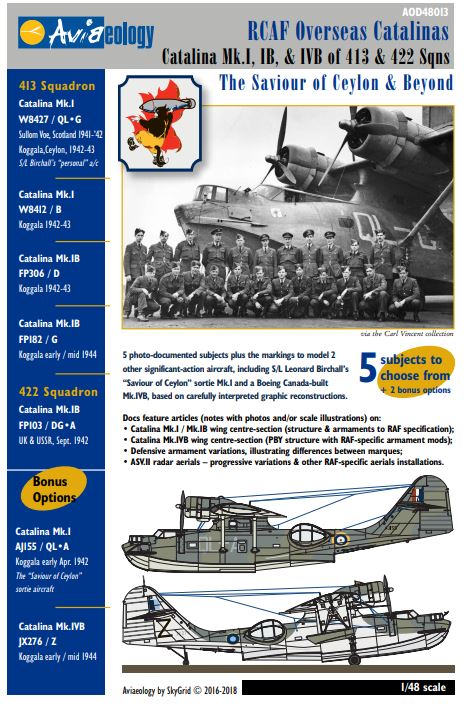
On another note, I have received my after-market decals which were even more than what I first expected when I ordered them.
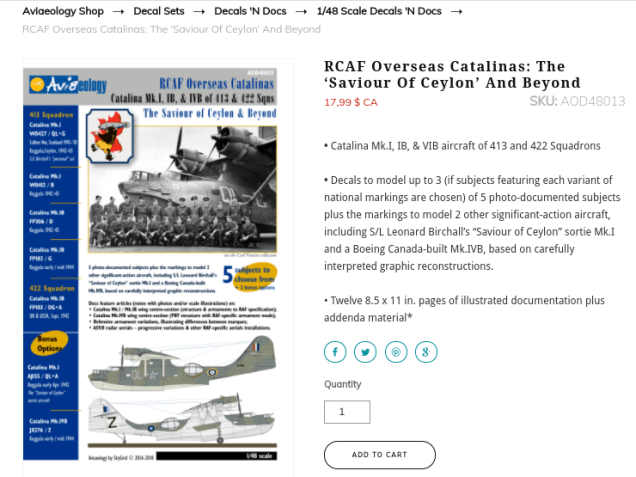
https://www.aviaeology.com/#/


Now came the tricky part on Thursday night…
We’ll see what happens…
On another note, I have received my after-market decals which were even more than what I first expected when I ordered them.
The time has finally come… The control wheels were painted black as well as the tires on Wednesday.

I will follow the same procedure I have used with the He 111. I will be mating the fuselage halves in sections.
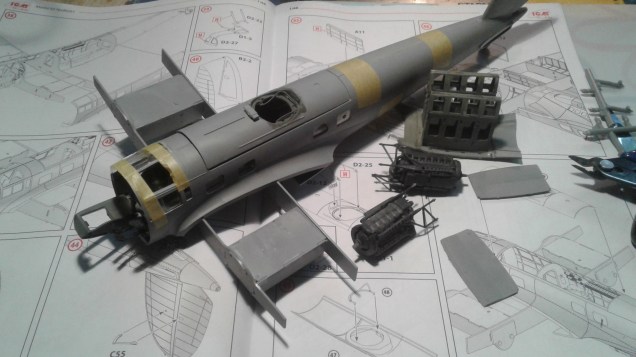
I will go first with the front section and then let everything dry rock solid.
Before…

After…? Guess what?
I just couldn’t wait.

While I am waiting for everything to dry rock solid I will be checking out my Monogram B-26 which was bought in the late 70s.

Jeff the Inch High Guy was quite inspirational on Wednesday…


This should be my next build.
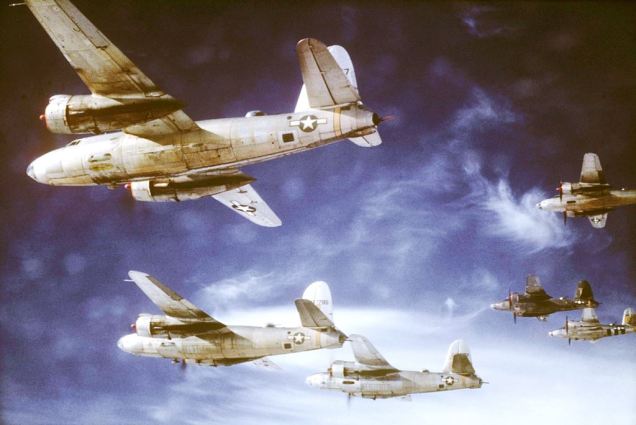 A formation photograph of Marauders from the 320th Bomb Group’s 441st Squadron. Modelers note the variety of camouflage and markings, remaining paint where the cheek gun packs have been removed, and the extensive oil staining under the nacelles.
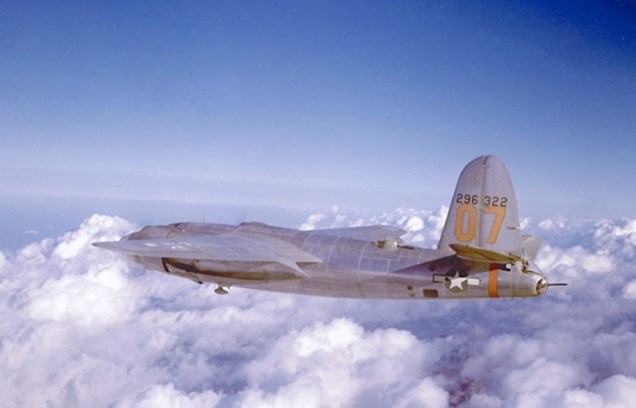 A beautiful study of B-26F 42-96322 of the 441st Squadron.
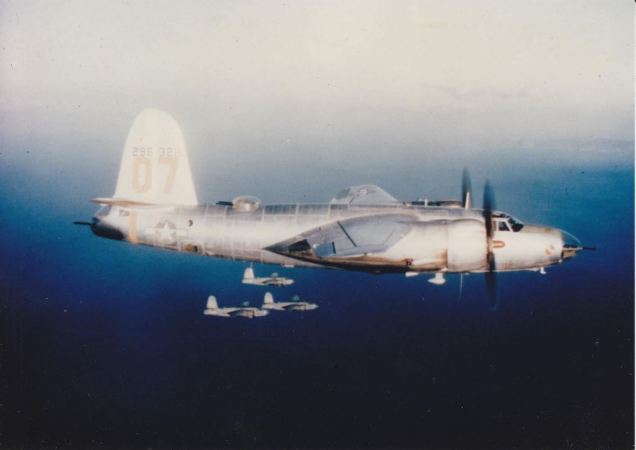 Although not the highest quality photo, it is comparatively rare to have photographs of both sides of an aircraft – let alone in color.
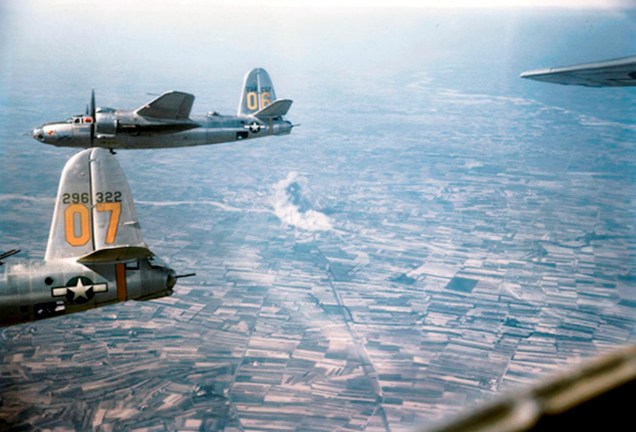 A 441st Squadron formation banks away while their target burns in the background.
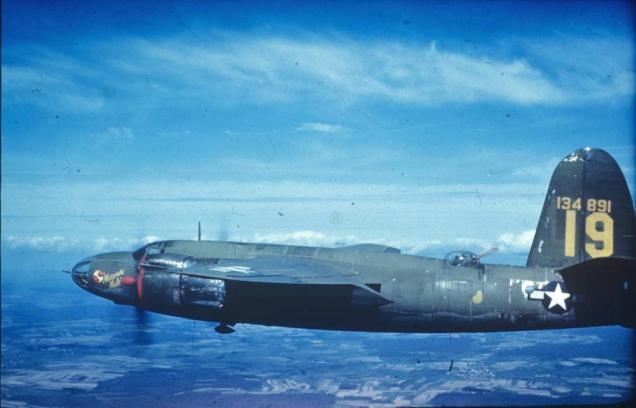 Another 441st Squadron ship, this is 41-34891 “Missouri Mule”, a B-26C. The red cowling faces and propeller hubs are a Group marking.
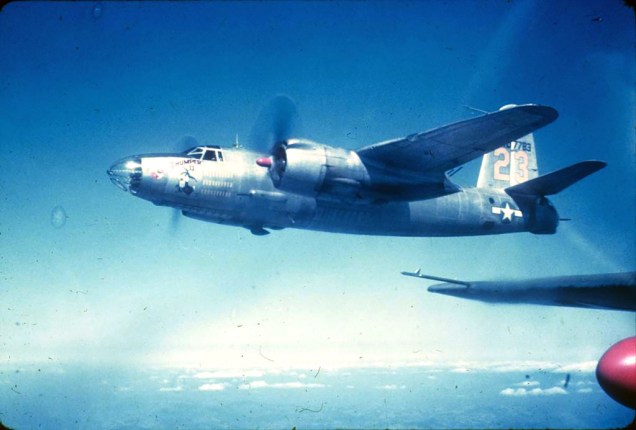 Thumper II is another 441st Squadron ship. She is B-26C 42-10778.
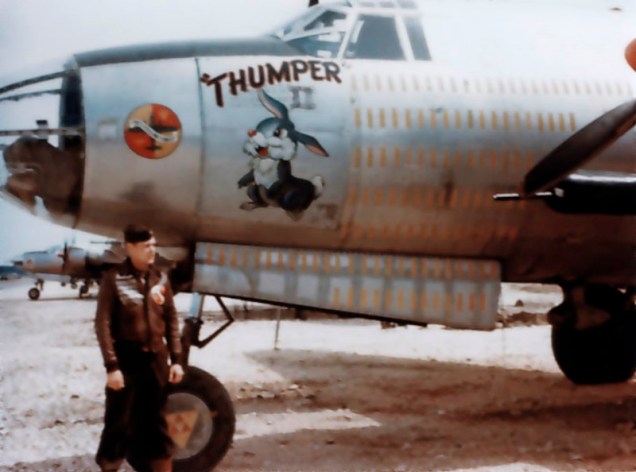 Here is a close-up of Thumper II’s nose art, note the mission markers extend to cover the landing gear door.
 “Bell Ringer” was B-26C 42-107534. One of the cheek gun fairings remains…
View original post 93 more words
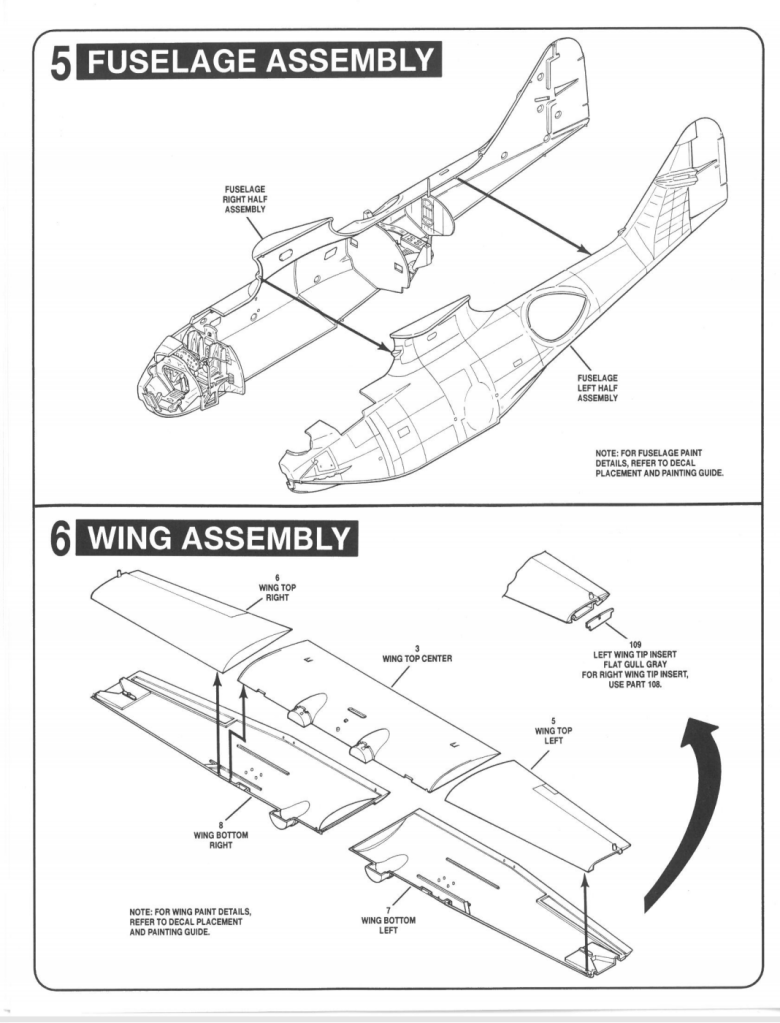
If mating the wings was somewhat easy, mating the fuselage halves will take some time because of this.
I will glue the fuselage halves section by section making sure everything is glued solid. I still have some little touch-ups to do because once the fuselages halves are glued painting these touch-ups will be hard to do.
Control wheels will be painted black as Jeff suggested. I should be receiving the after-market decals soon. I already have received by email the twelve 8.5 x 11 in. pages illustrated documentation.
The PBY is a quite large model kit and I will have to use common sense assembling some parts before painting. Fragile parts will be added at the end.
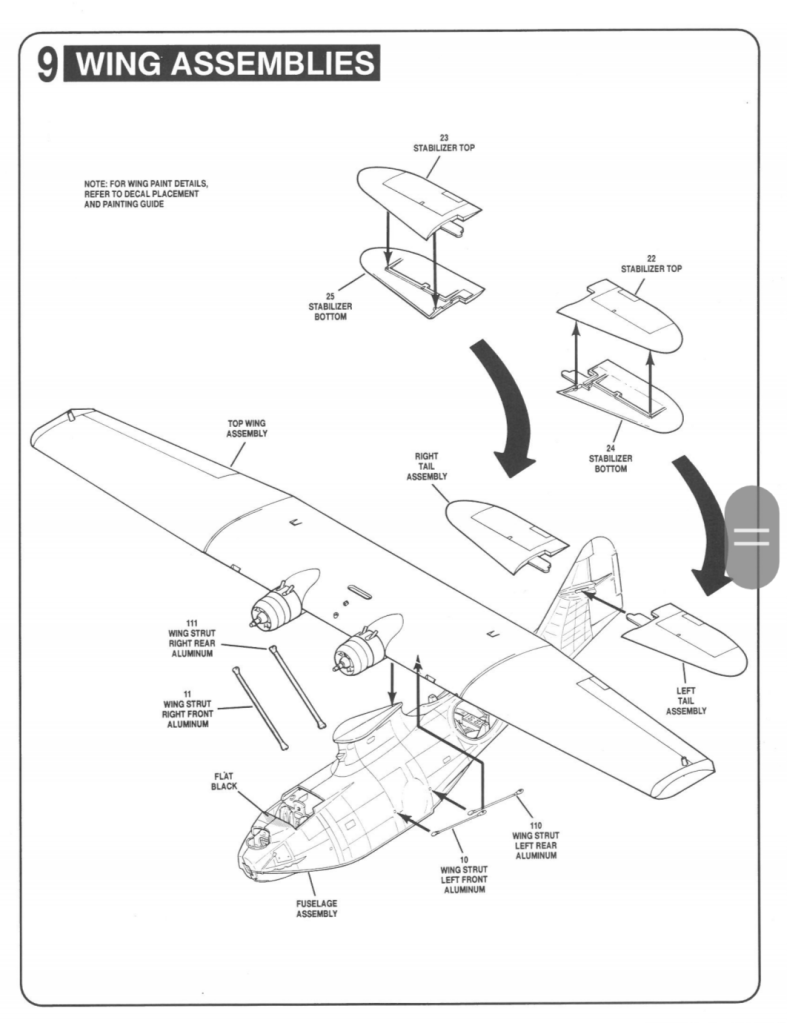
After-market decals will be added before the wings are attached to the fuselage.
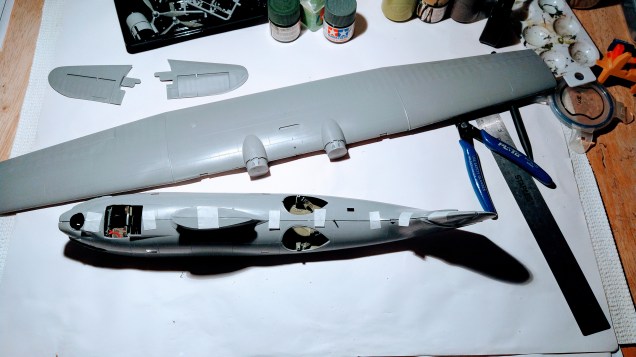

With his comment about the red yoke lock, Jeff, the Inch High, led me to this Website even if he doesn’t know it yet.
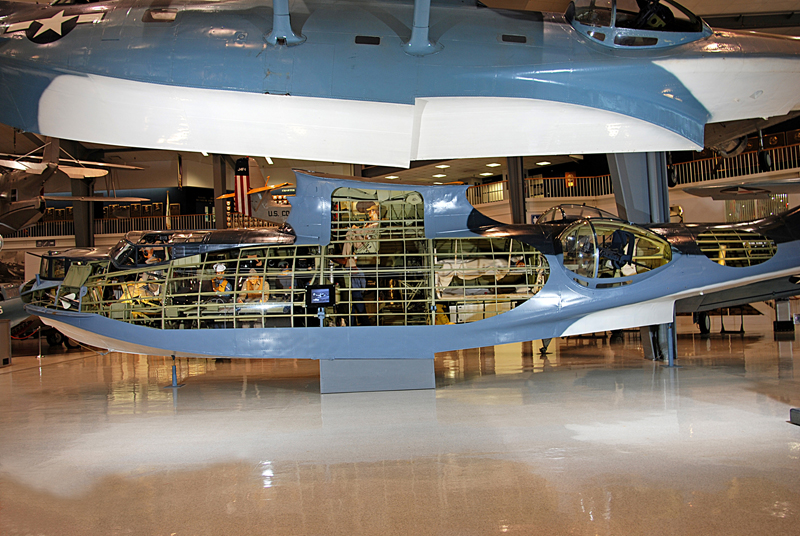
The PBY at Pensacola has black control wheels and yoke. The red may be factory-specific, not sure.
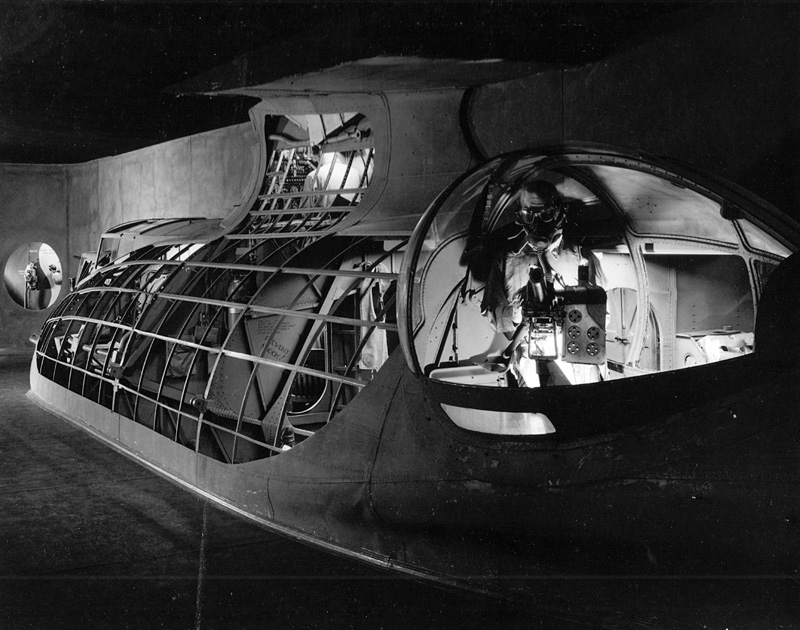
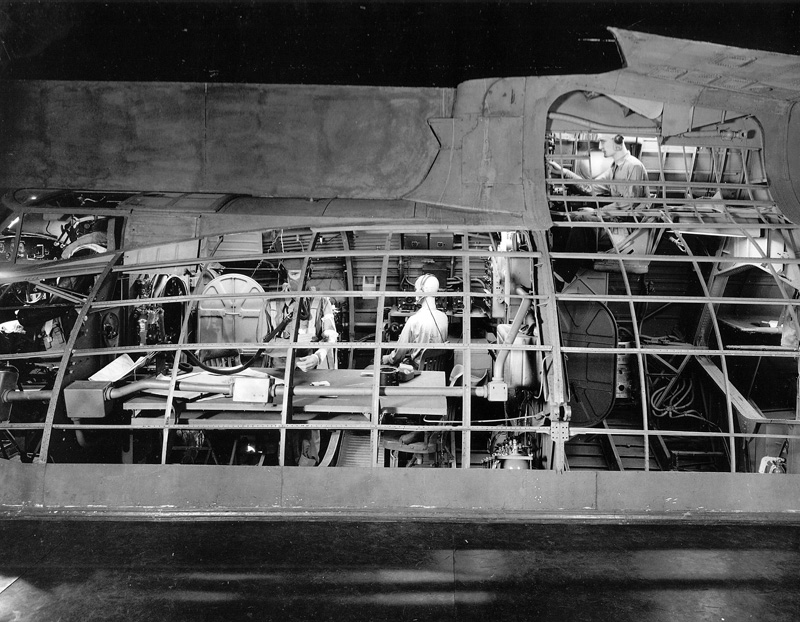
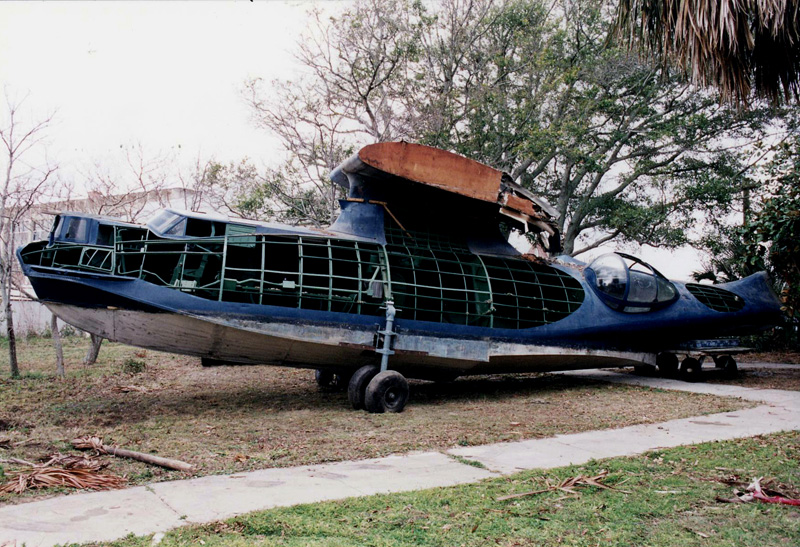
More…

I still need a few touch-ups before mating the fuselage halves. That won’t happen soon having the grandchildren around the house for two days.
Documenting my progress on WordPress is the only way I found to keep going.
Modelers can be somewhat obsessed with details when preserving the past either in 1/72 or 1/48 scale.

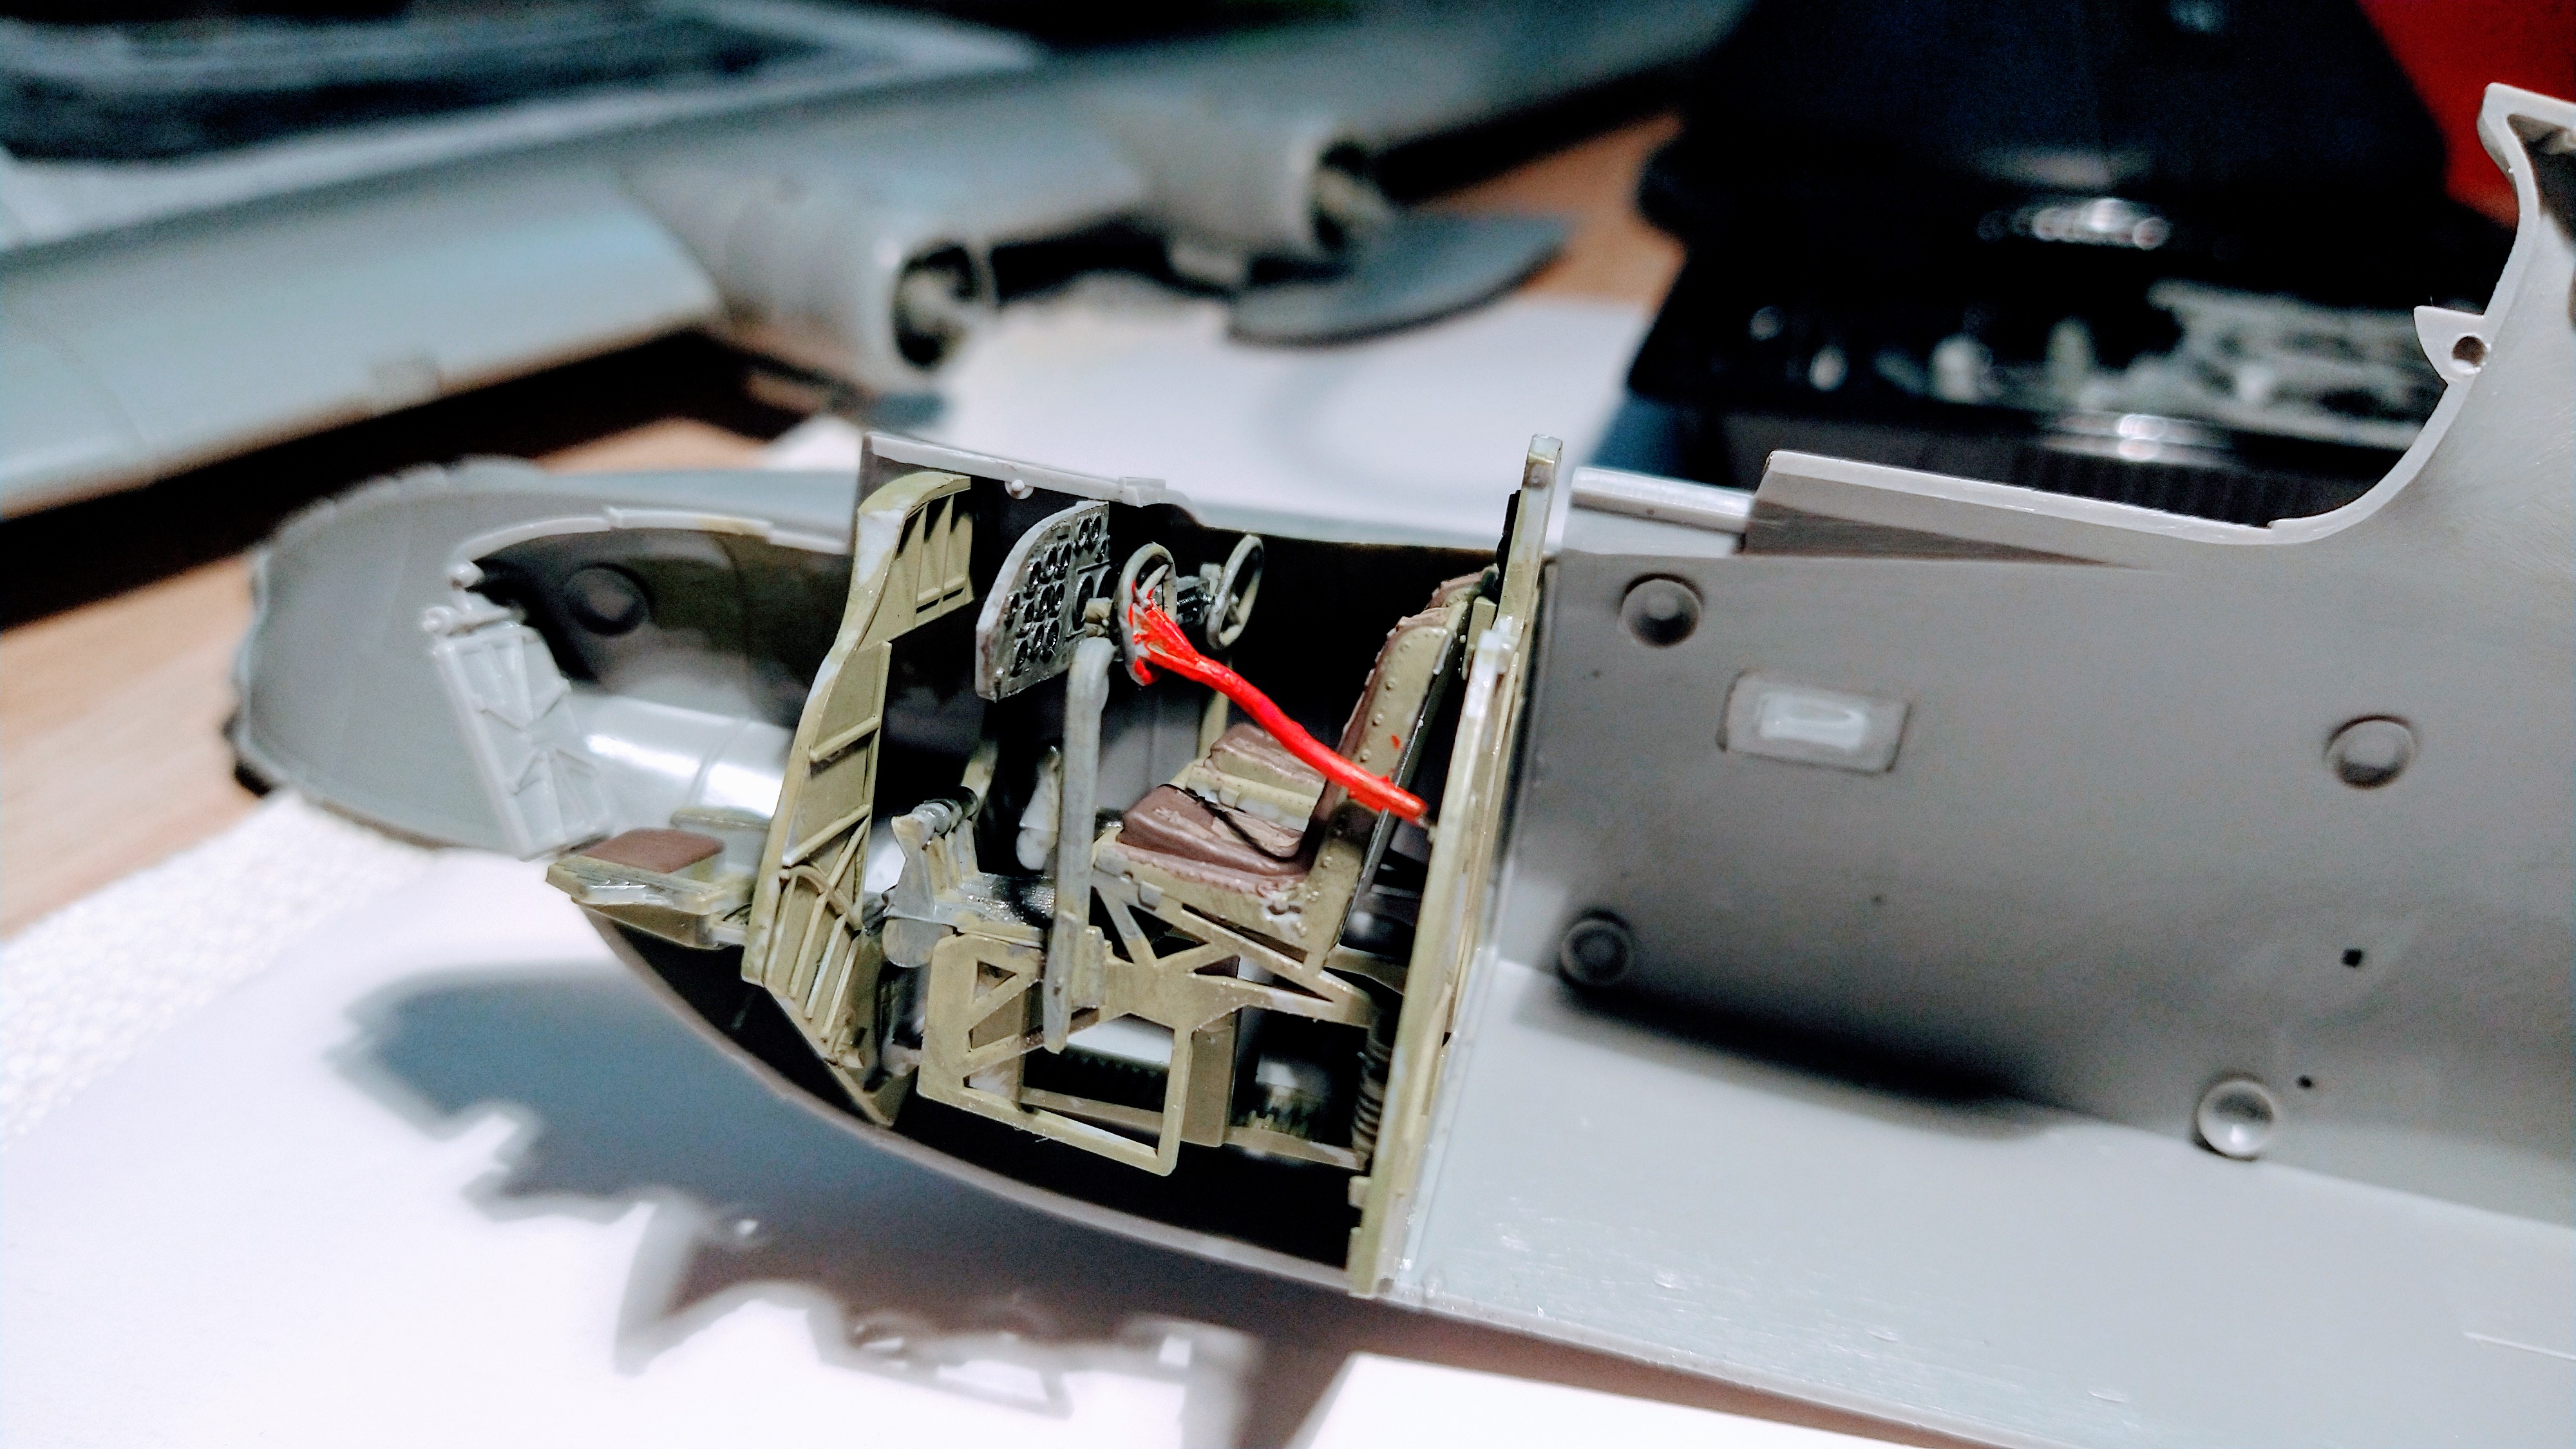
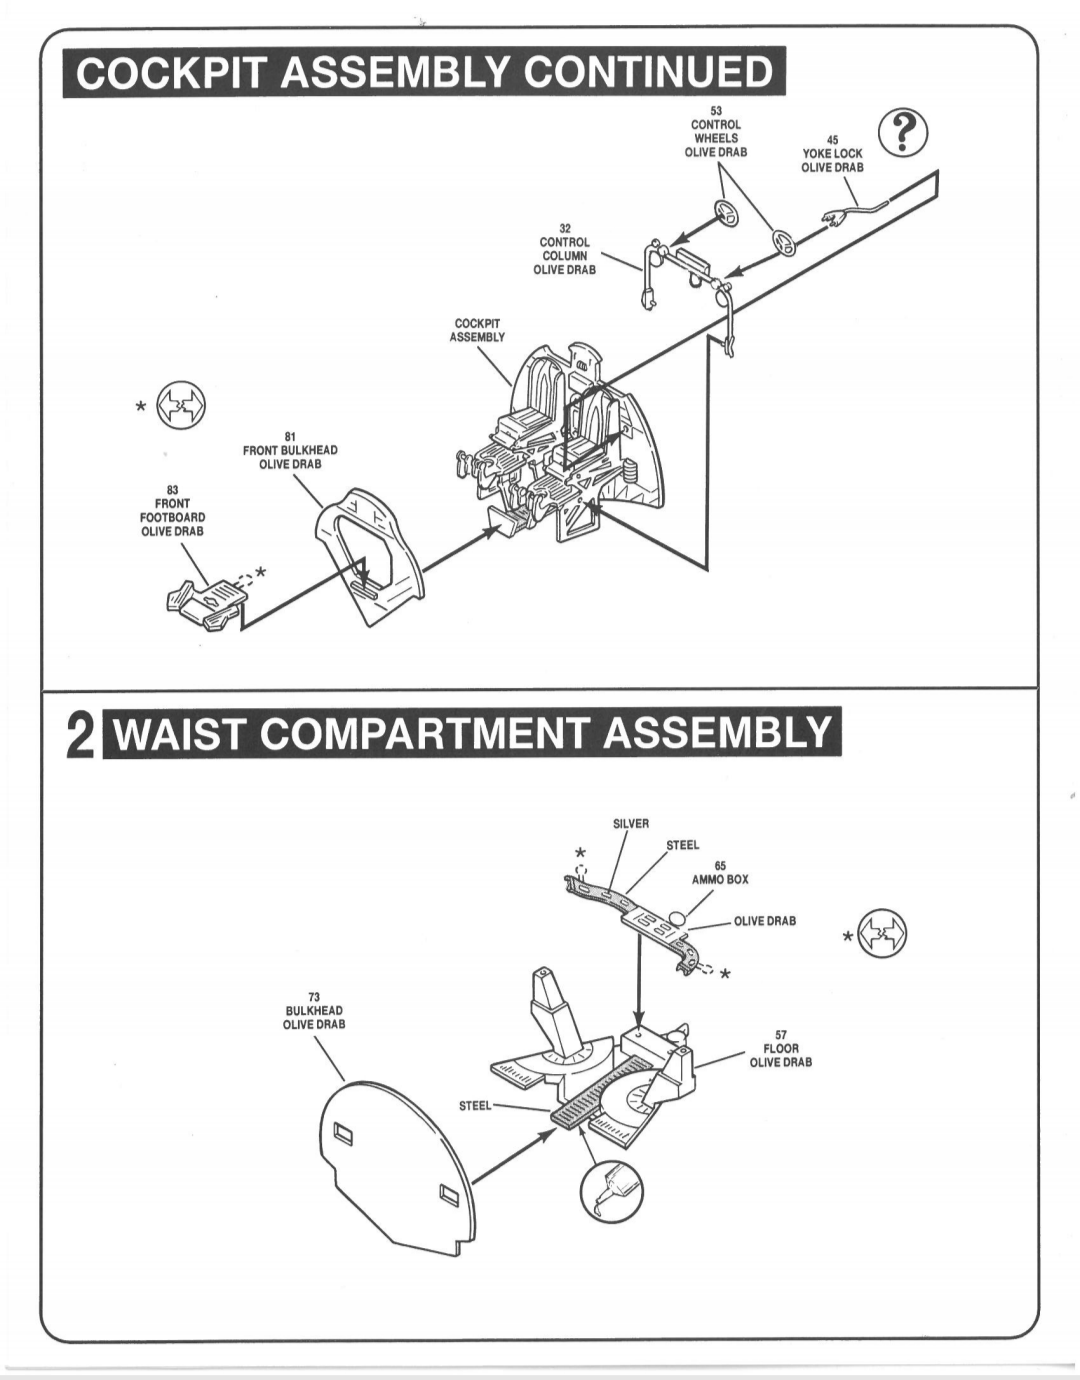
The instructions say olive drab for the control wheels.
But the man in the video said red was the original color.
While I am pondering how to paint the control wheels I did some dry fitting.

This step of mating the fuselage halves can make it or break it what you are building.The fit looks fine except for aft section.
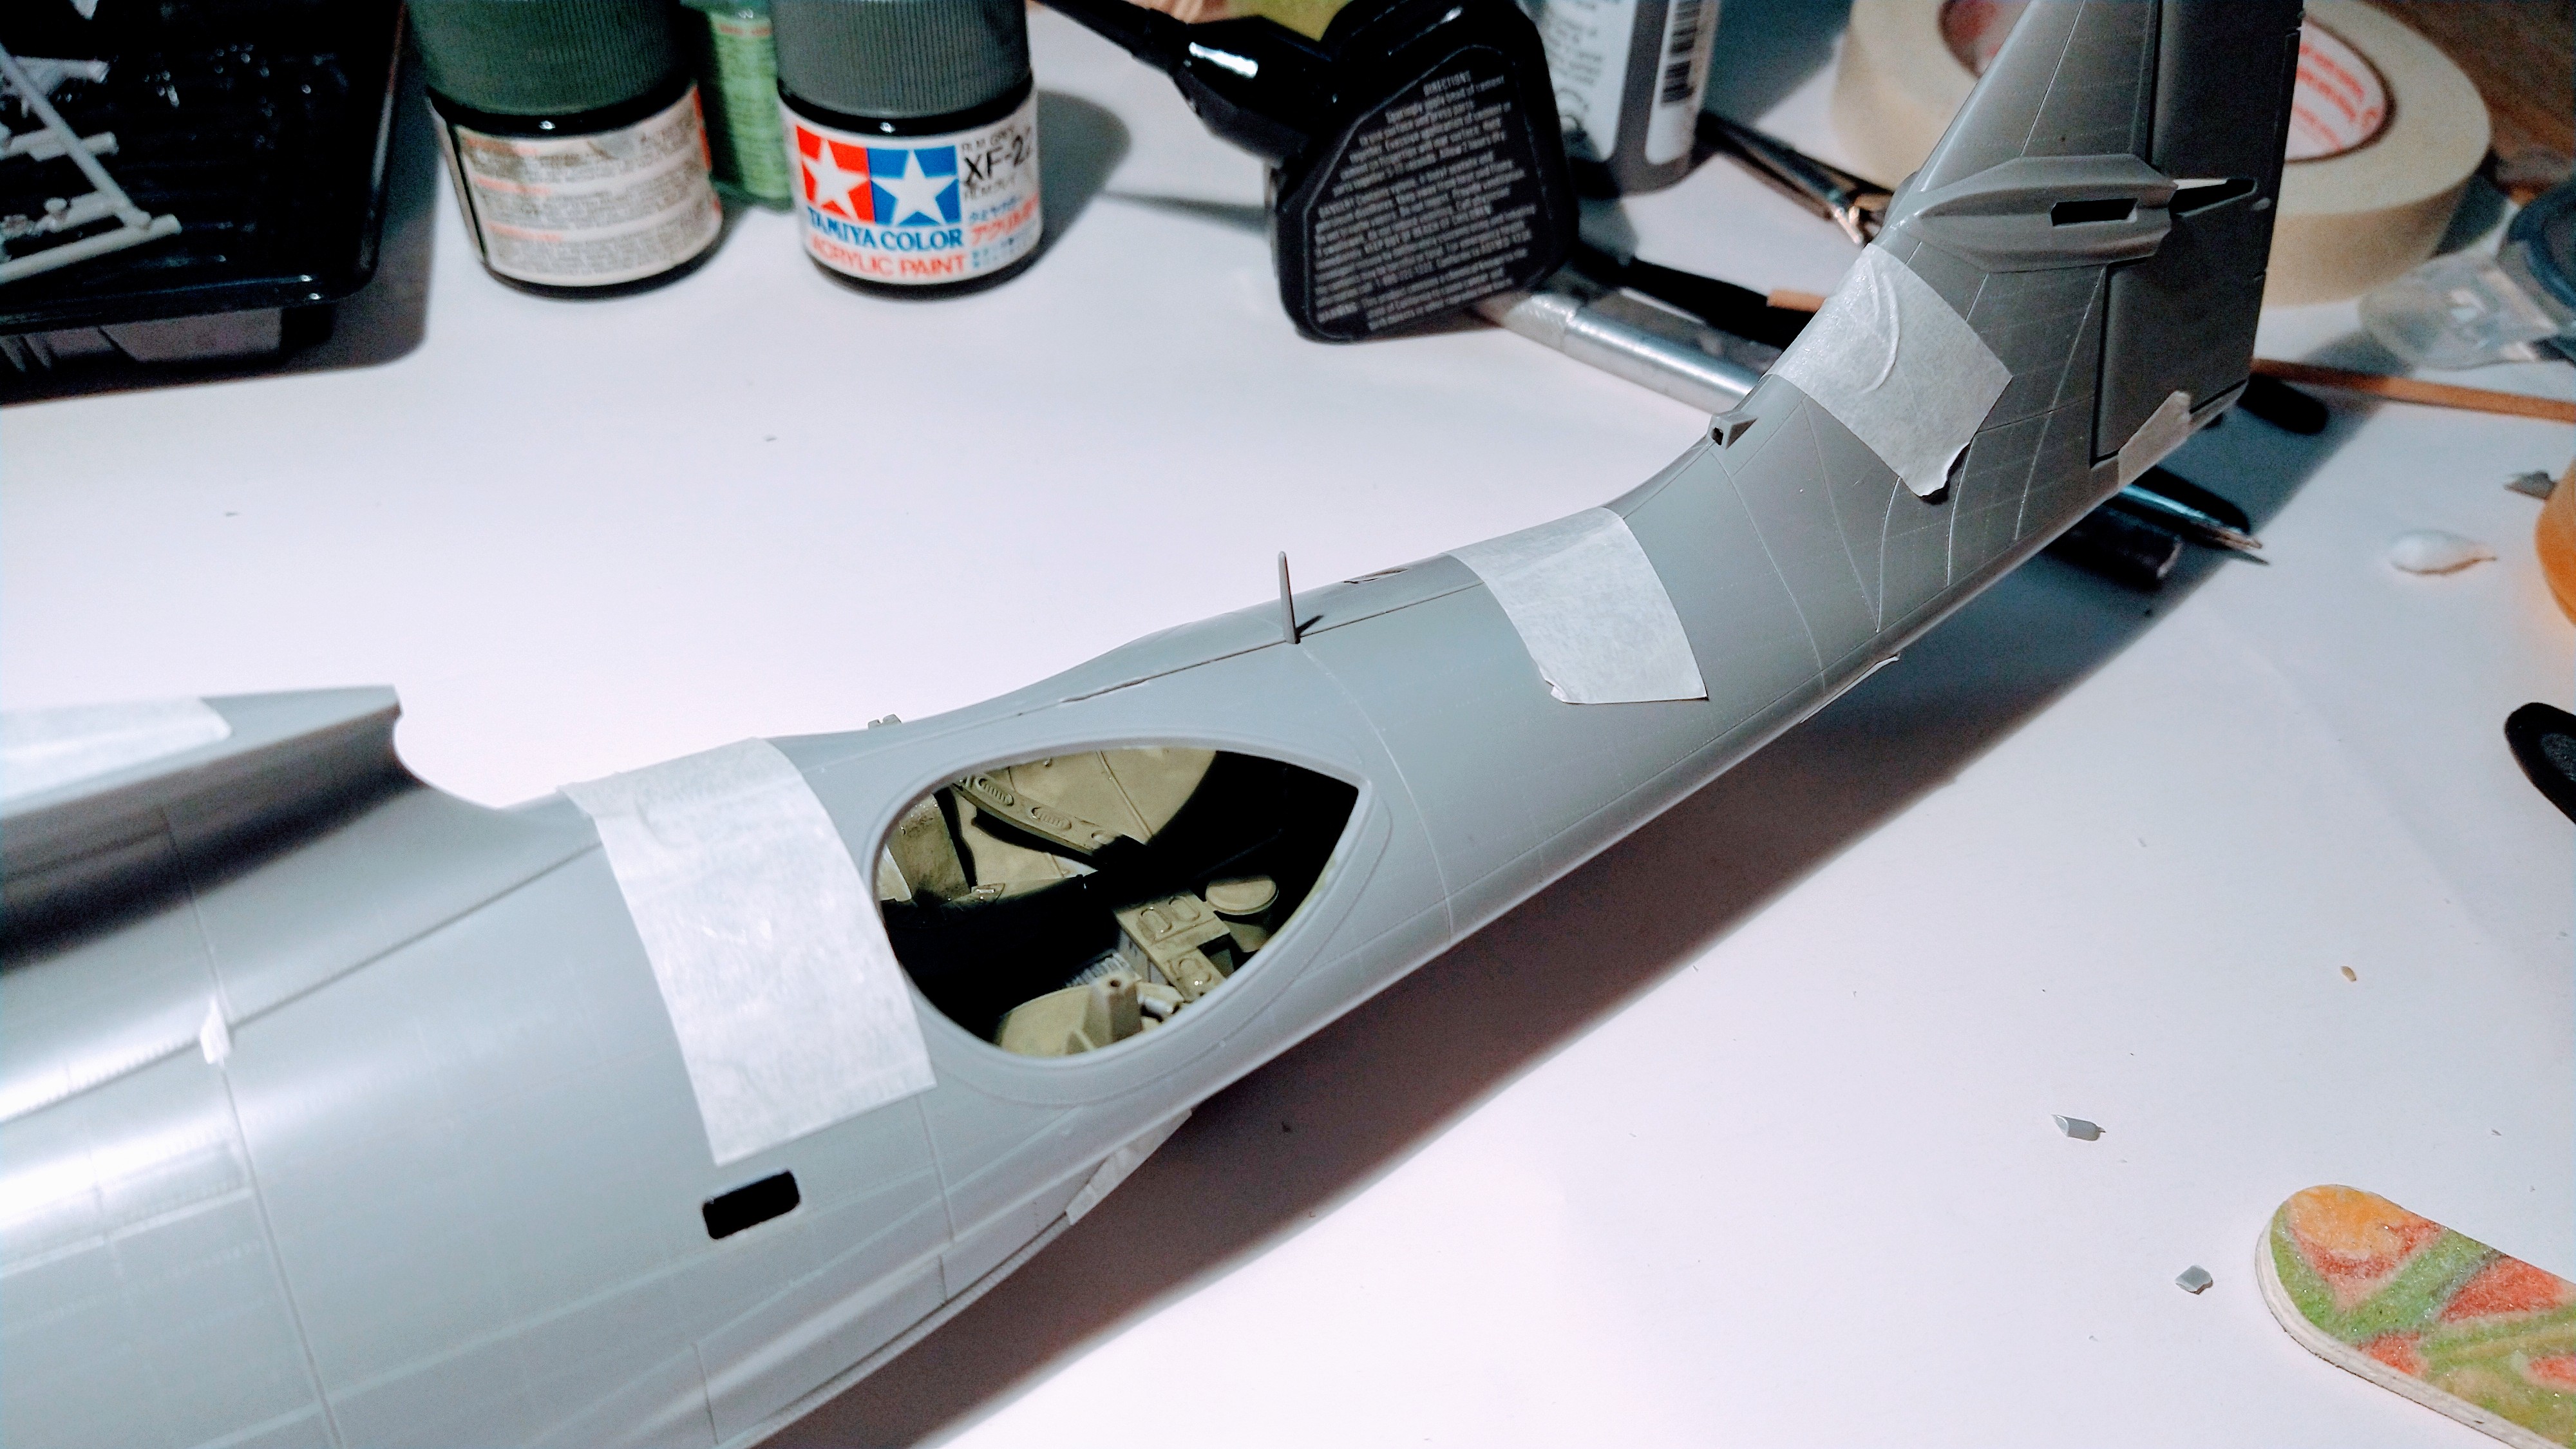
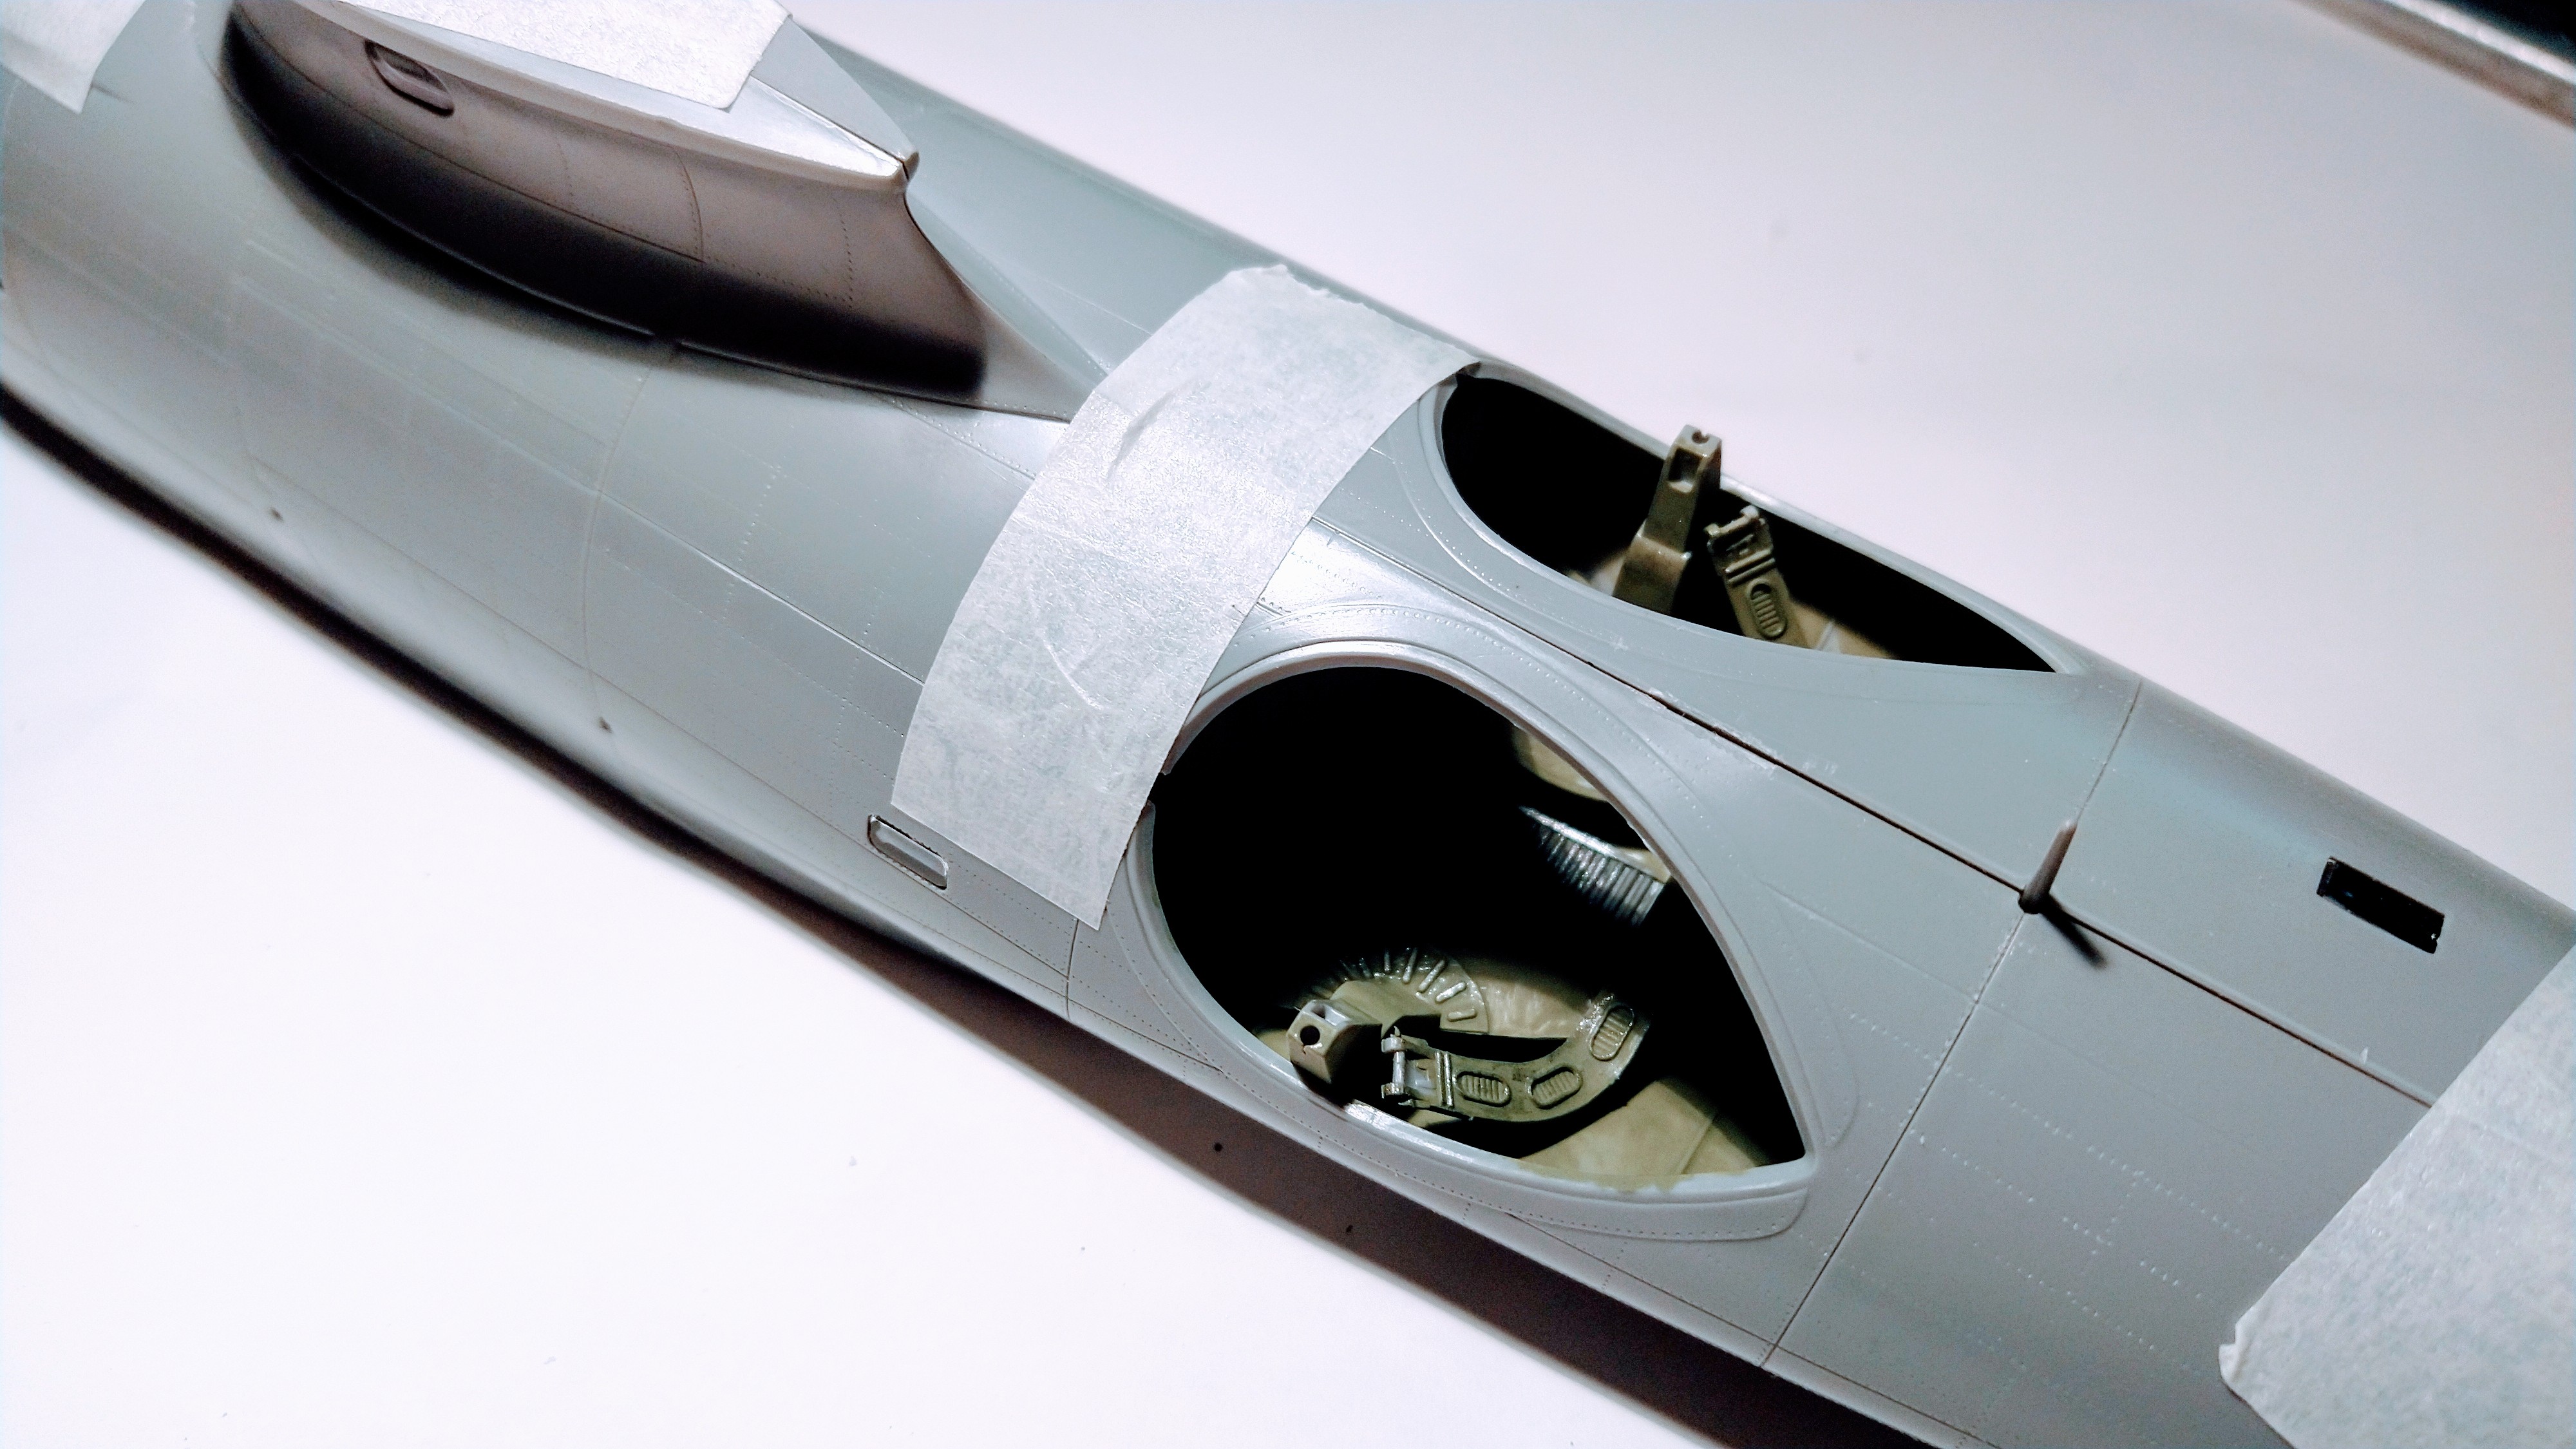
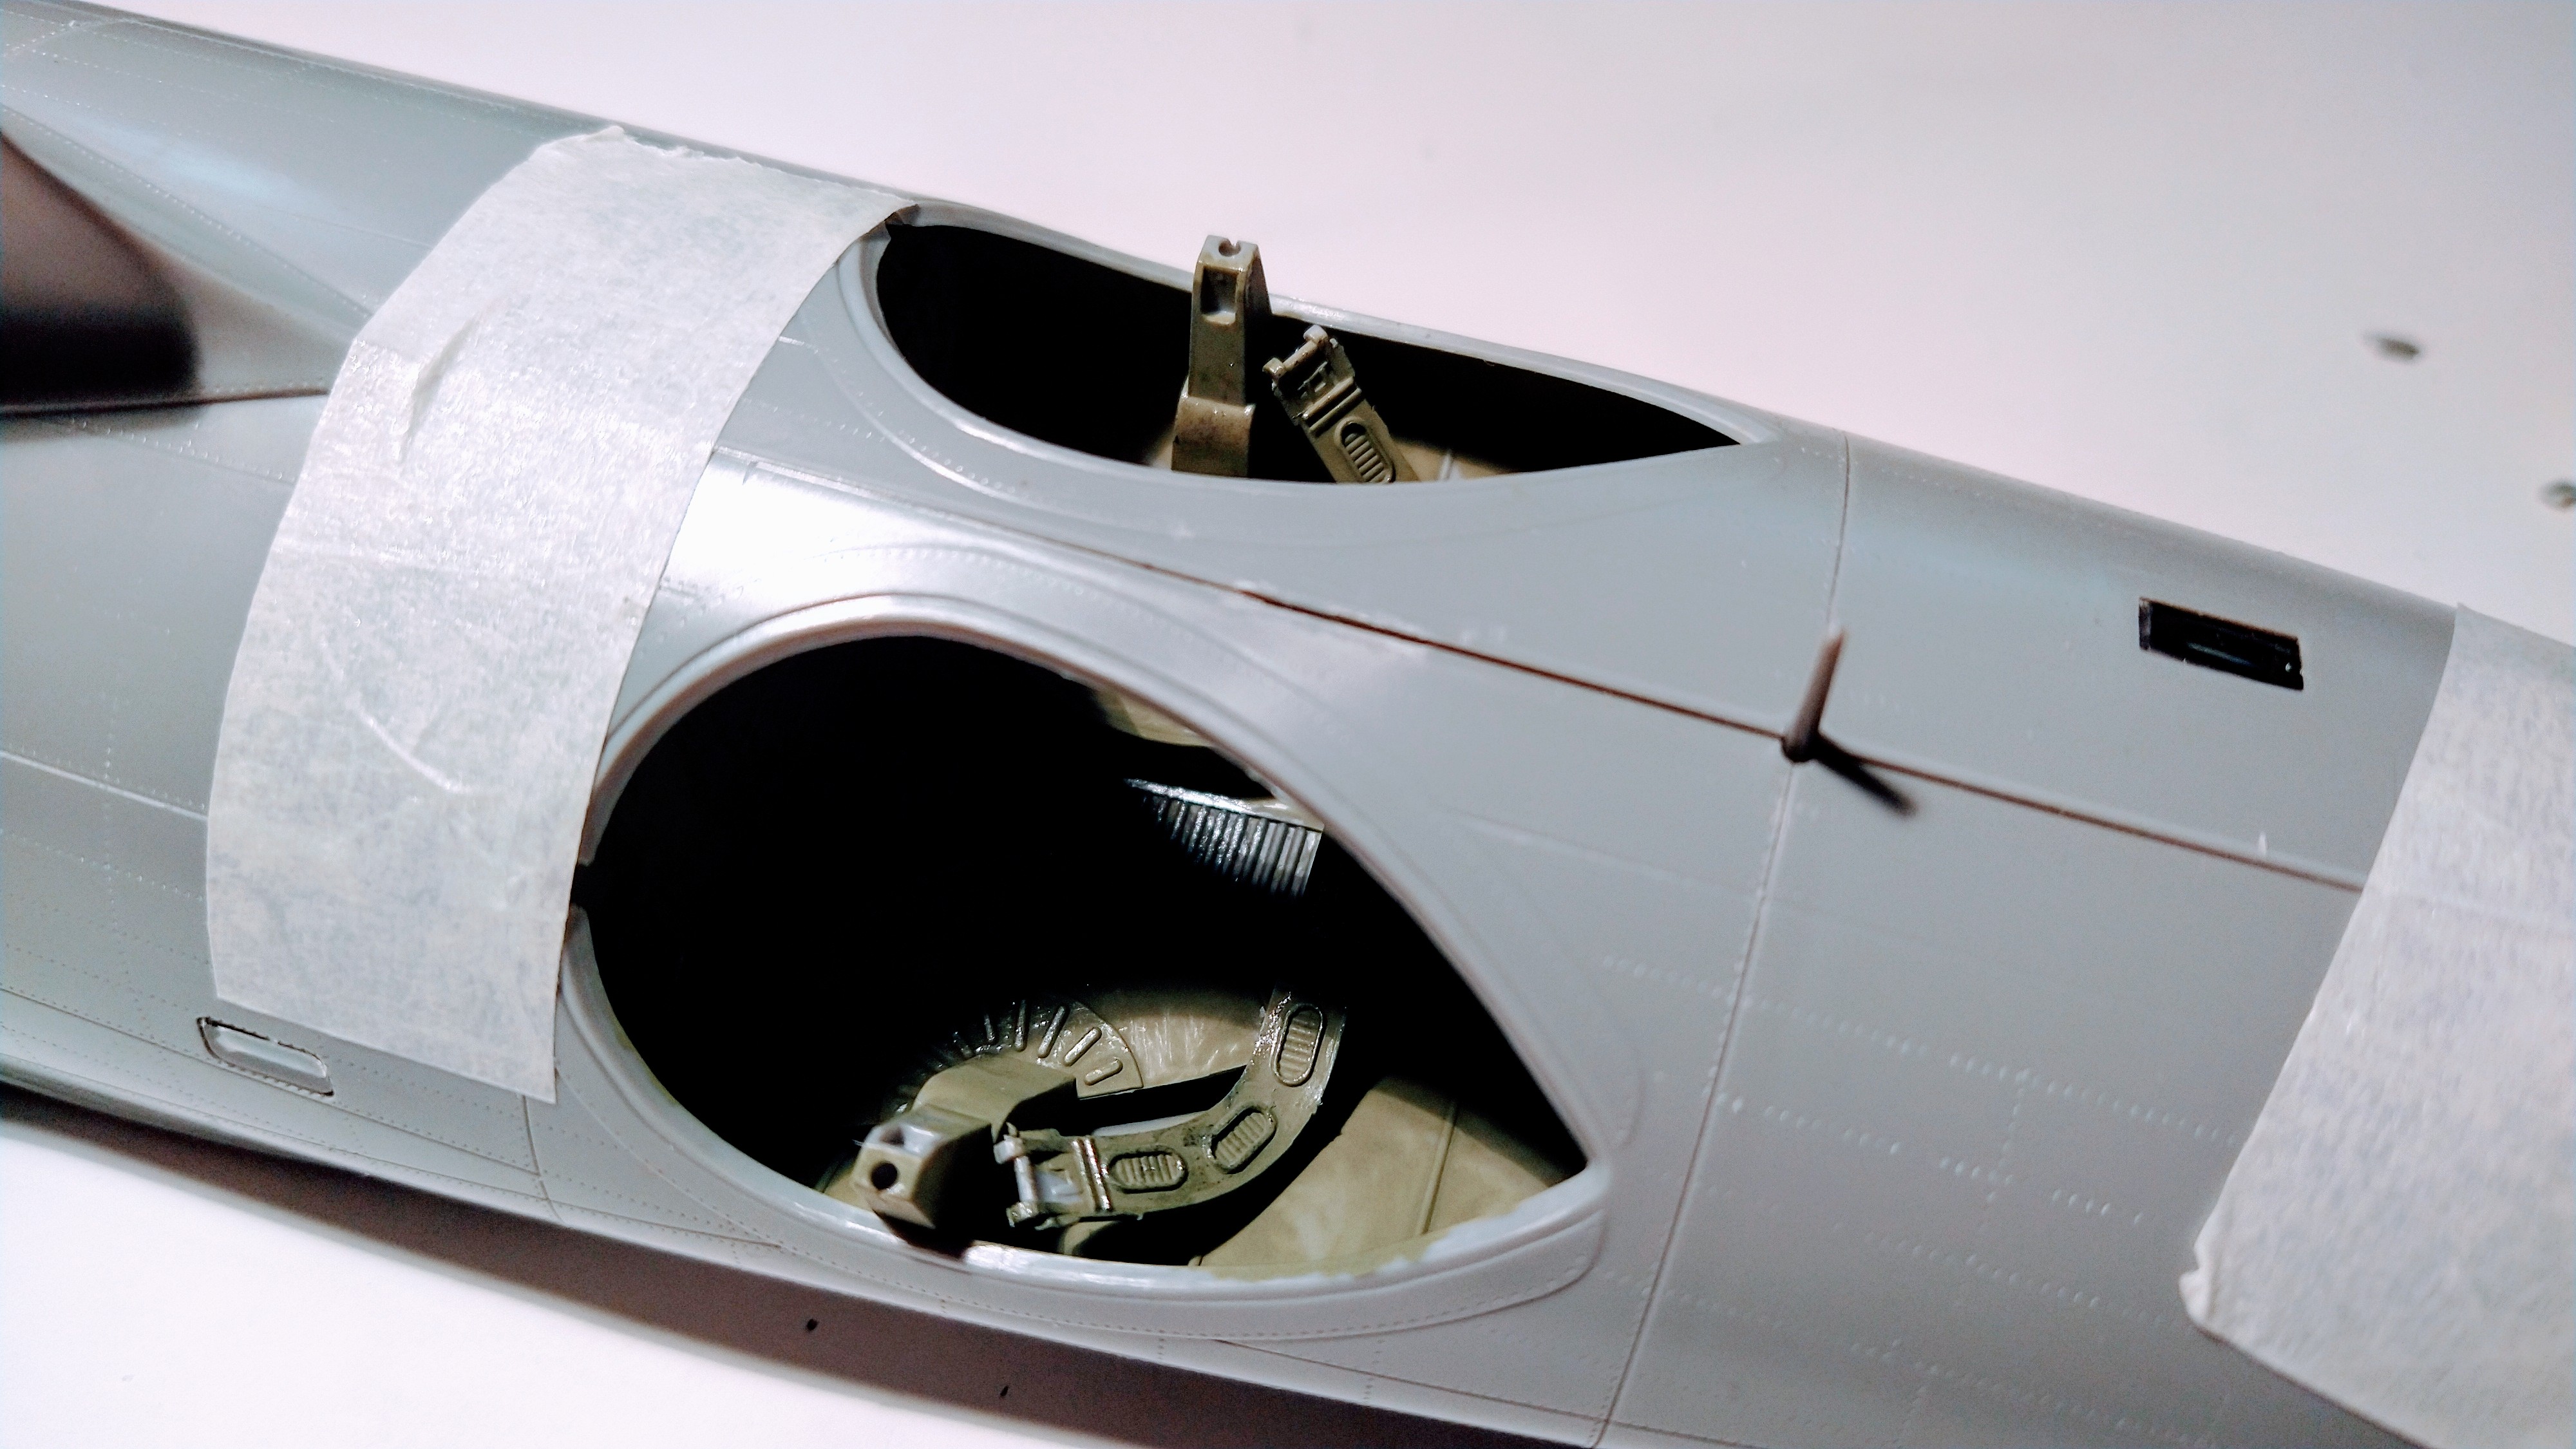
I know mating the fuselage halves will require to glue them in sections starting with the bow.
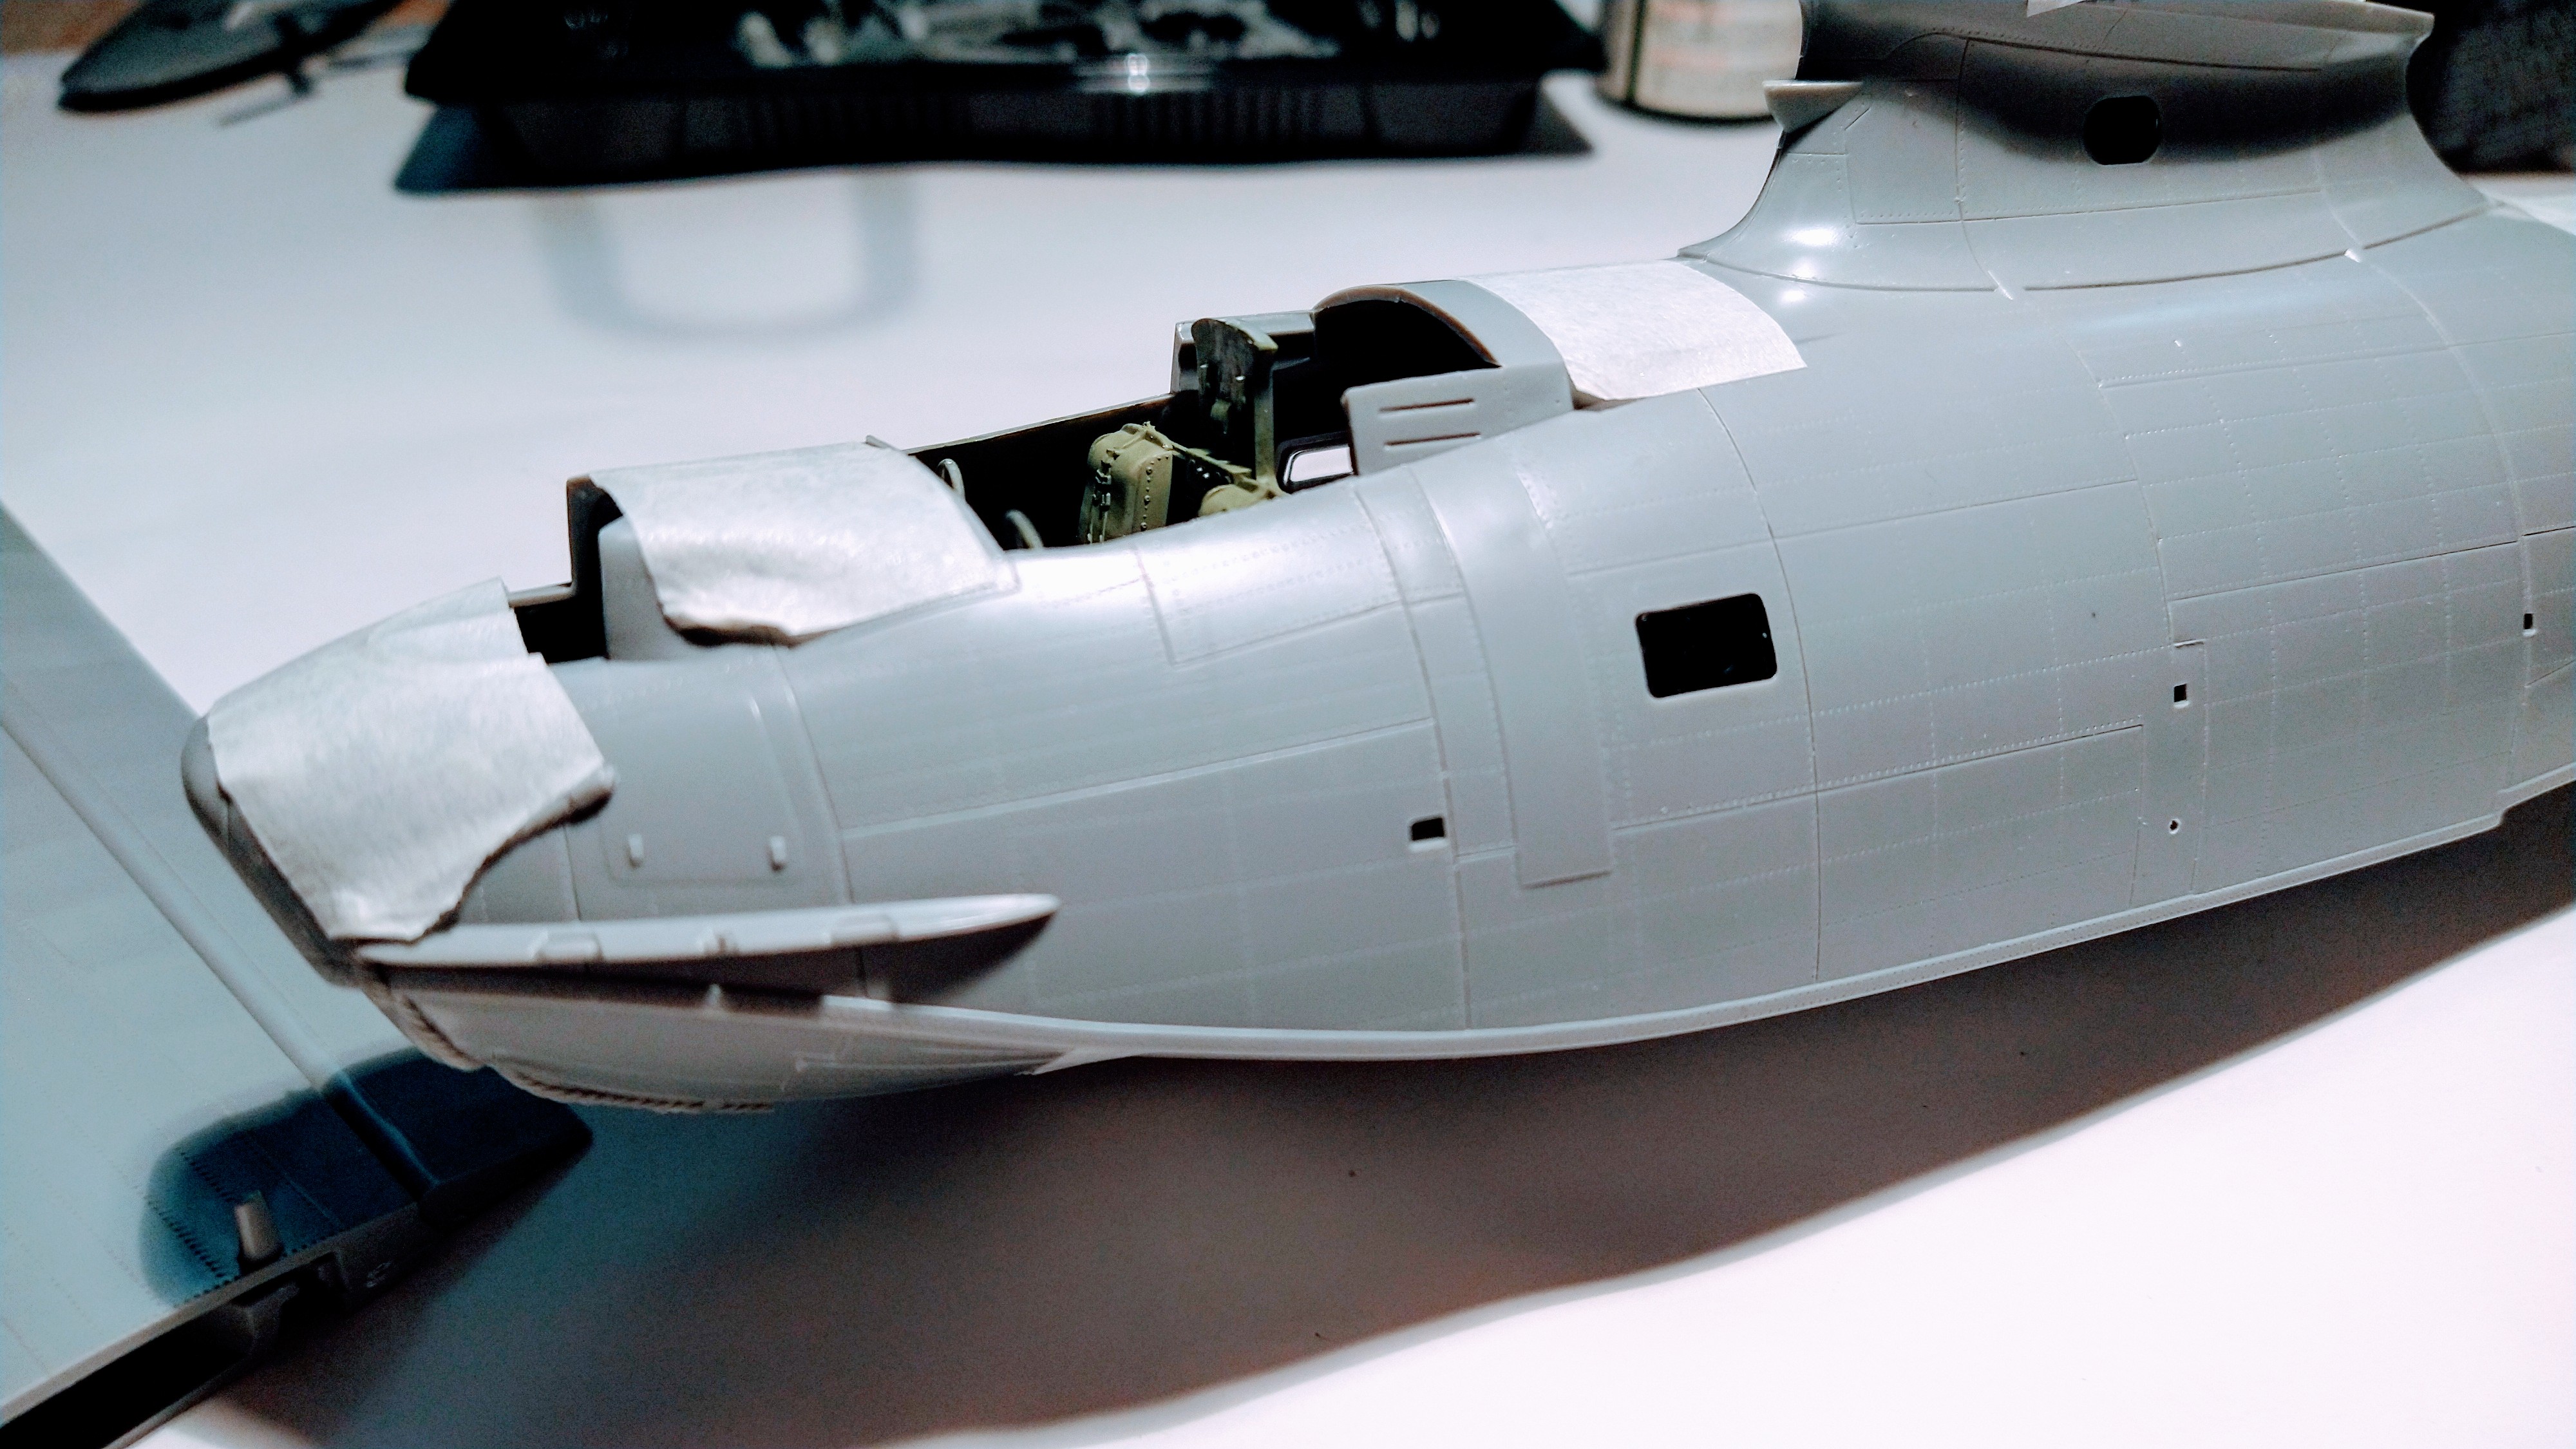

But I am not there yet having to decide how to paint the control wheels and the cockpit details.
Spoiler
Control wheels and cockpit details painted and this was finally glued in place…
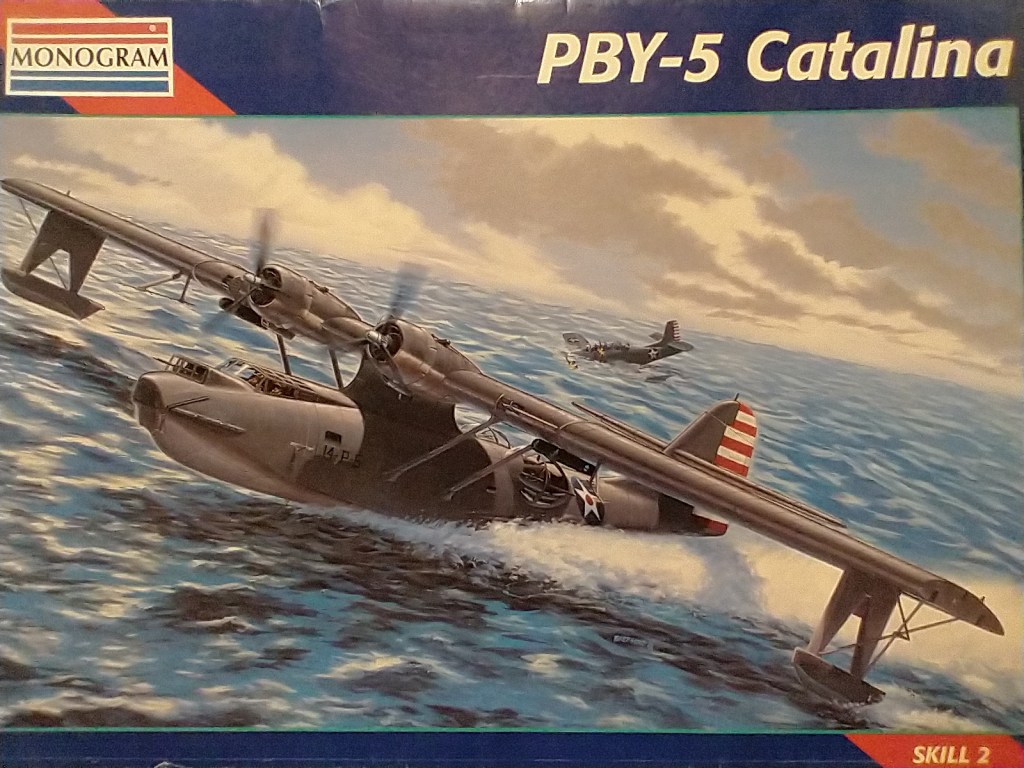
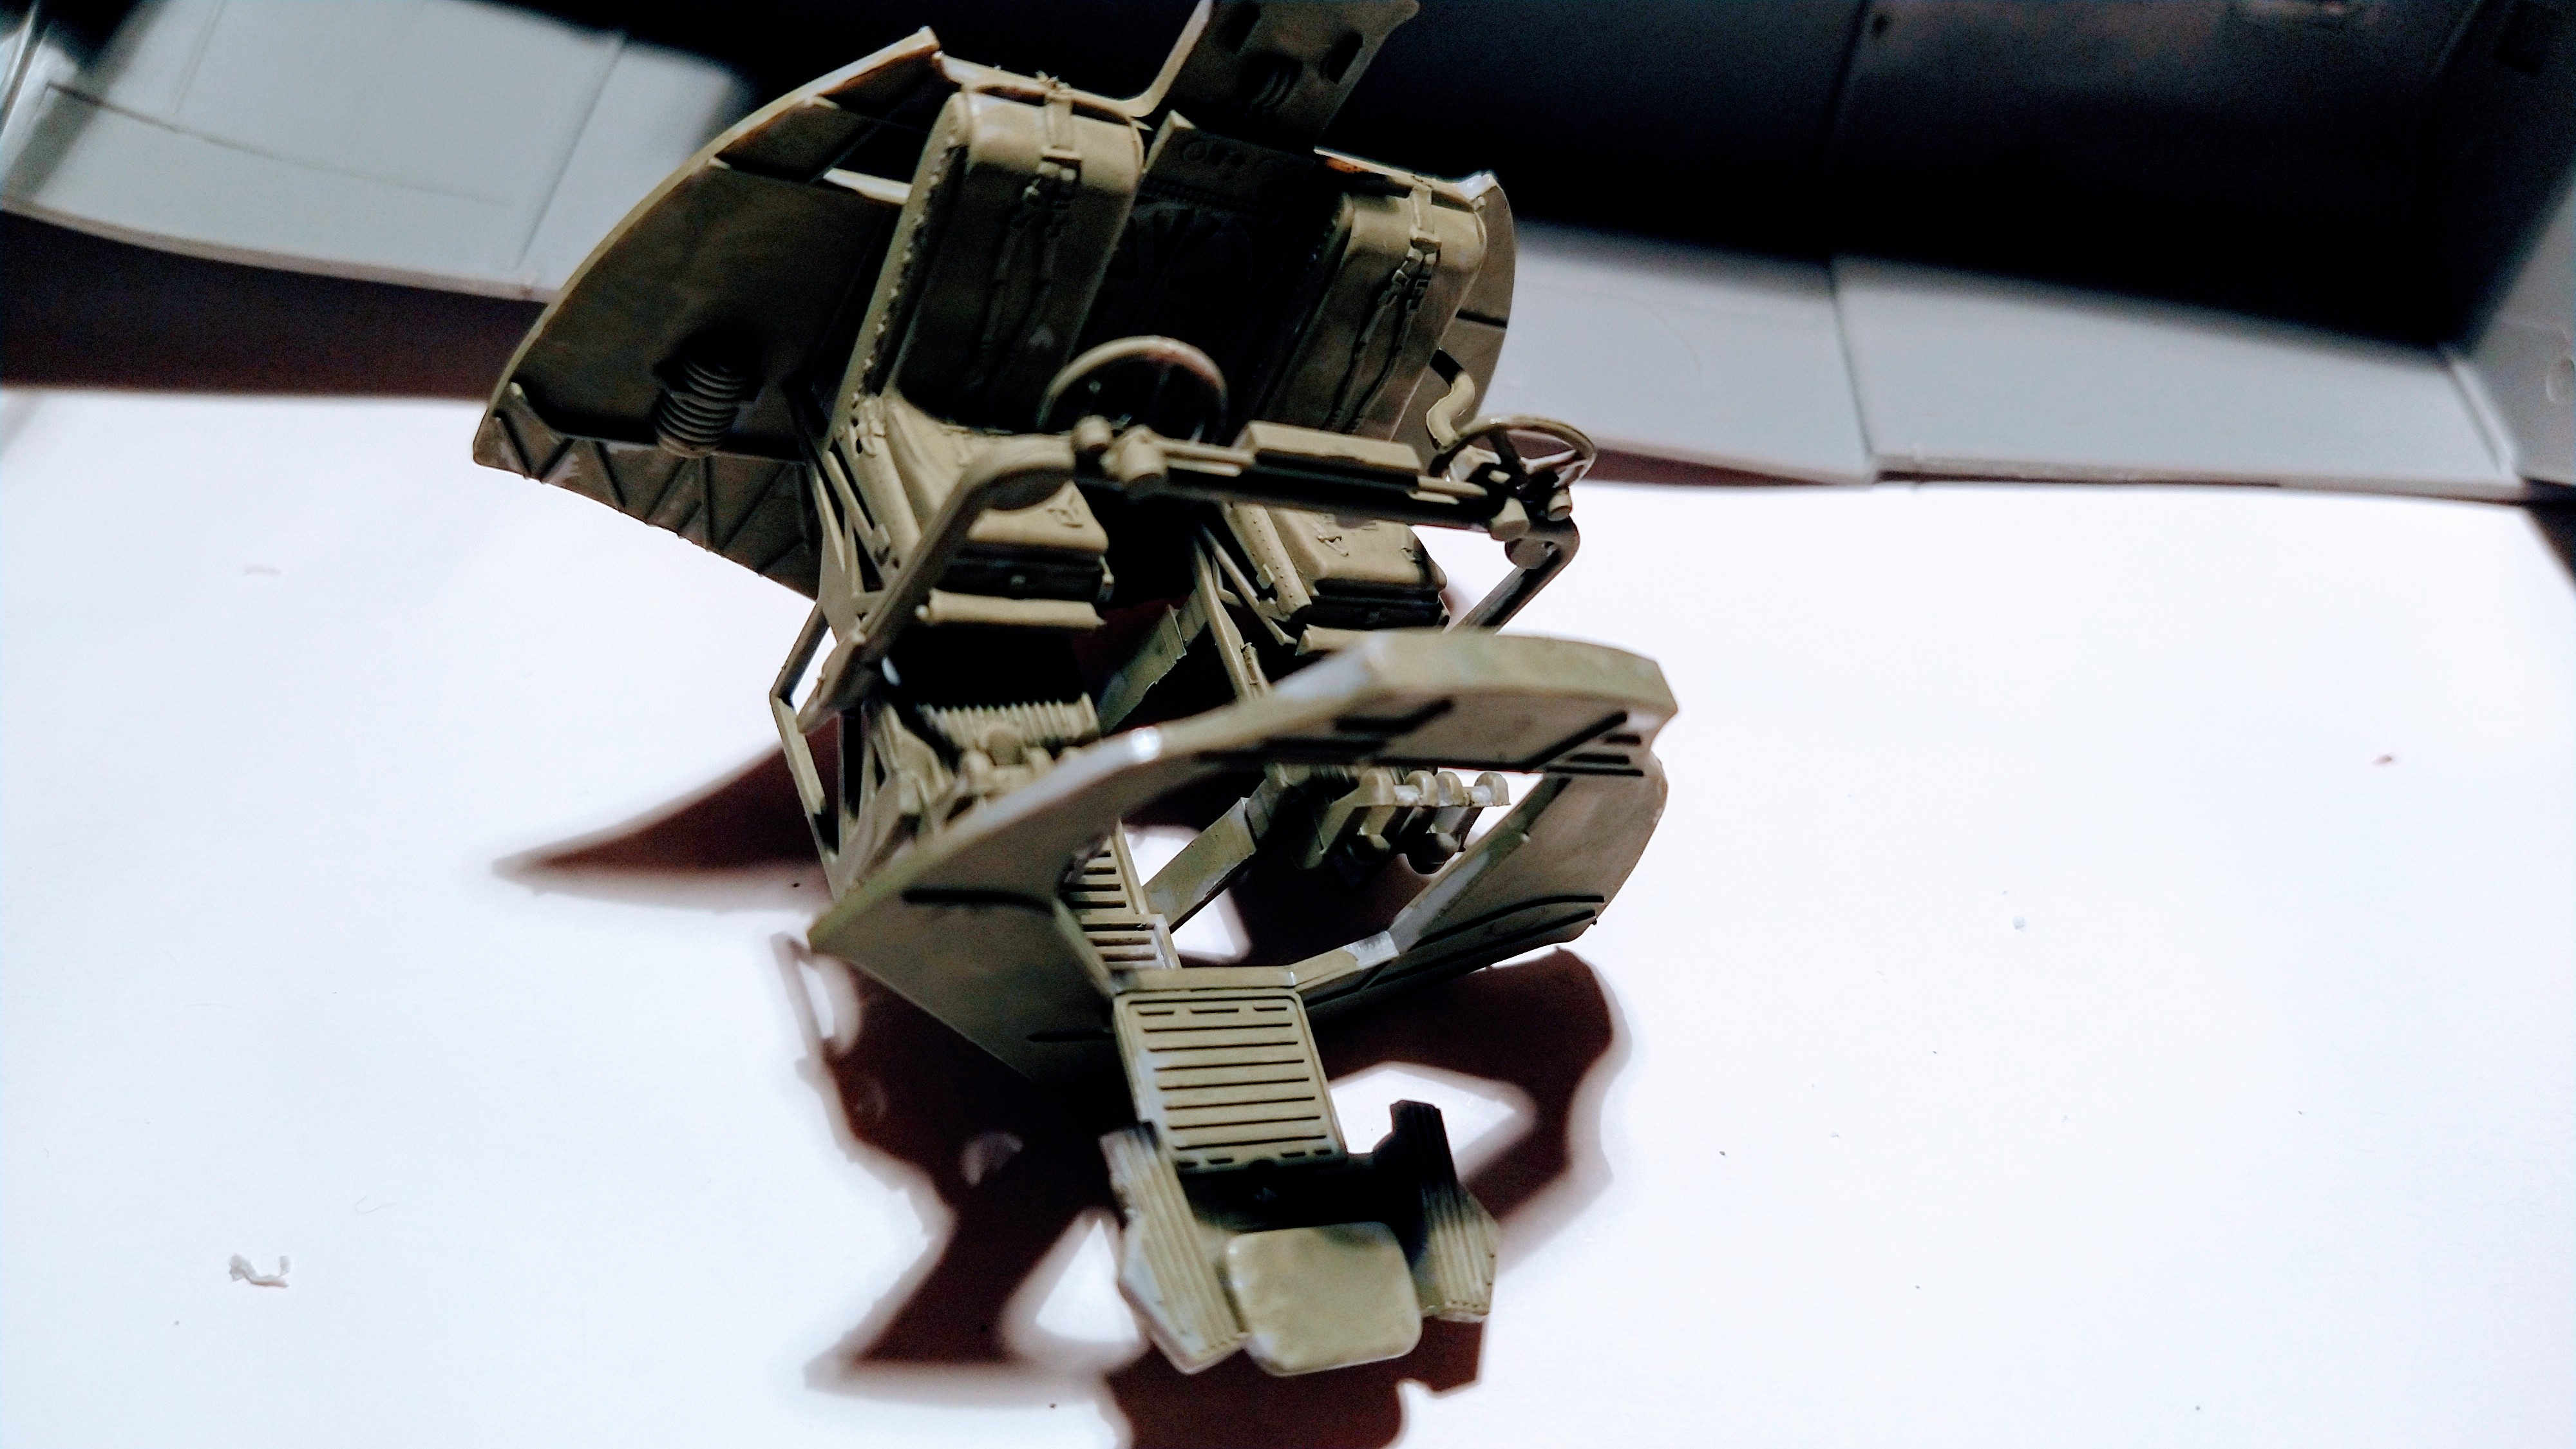
I am always a few steps ahead on My Forgotten Hobby III. Of course I will be painting the cockpit assembly before glueing it. In fact I did it yesterday with homemade interior green.

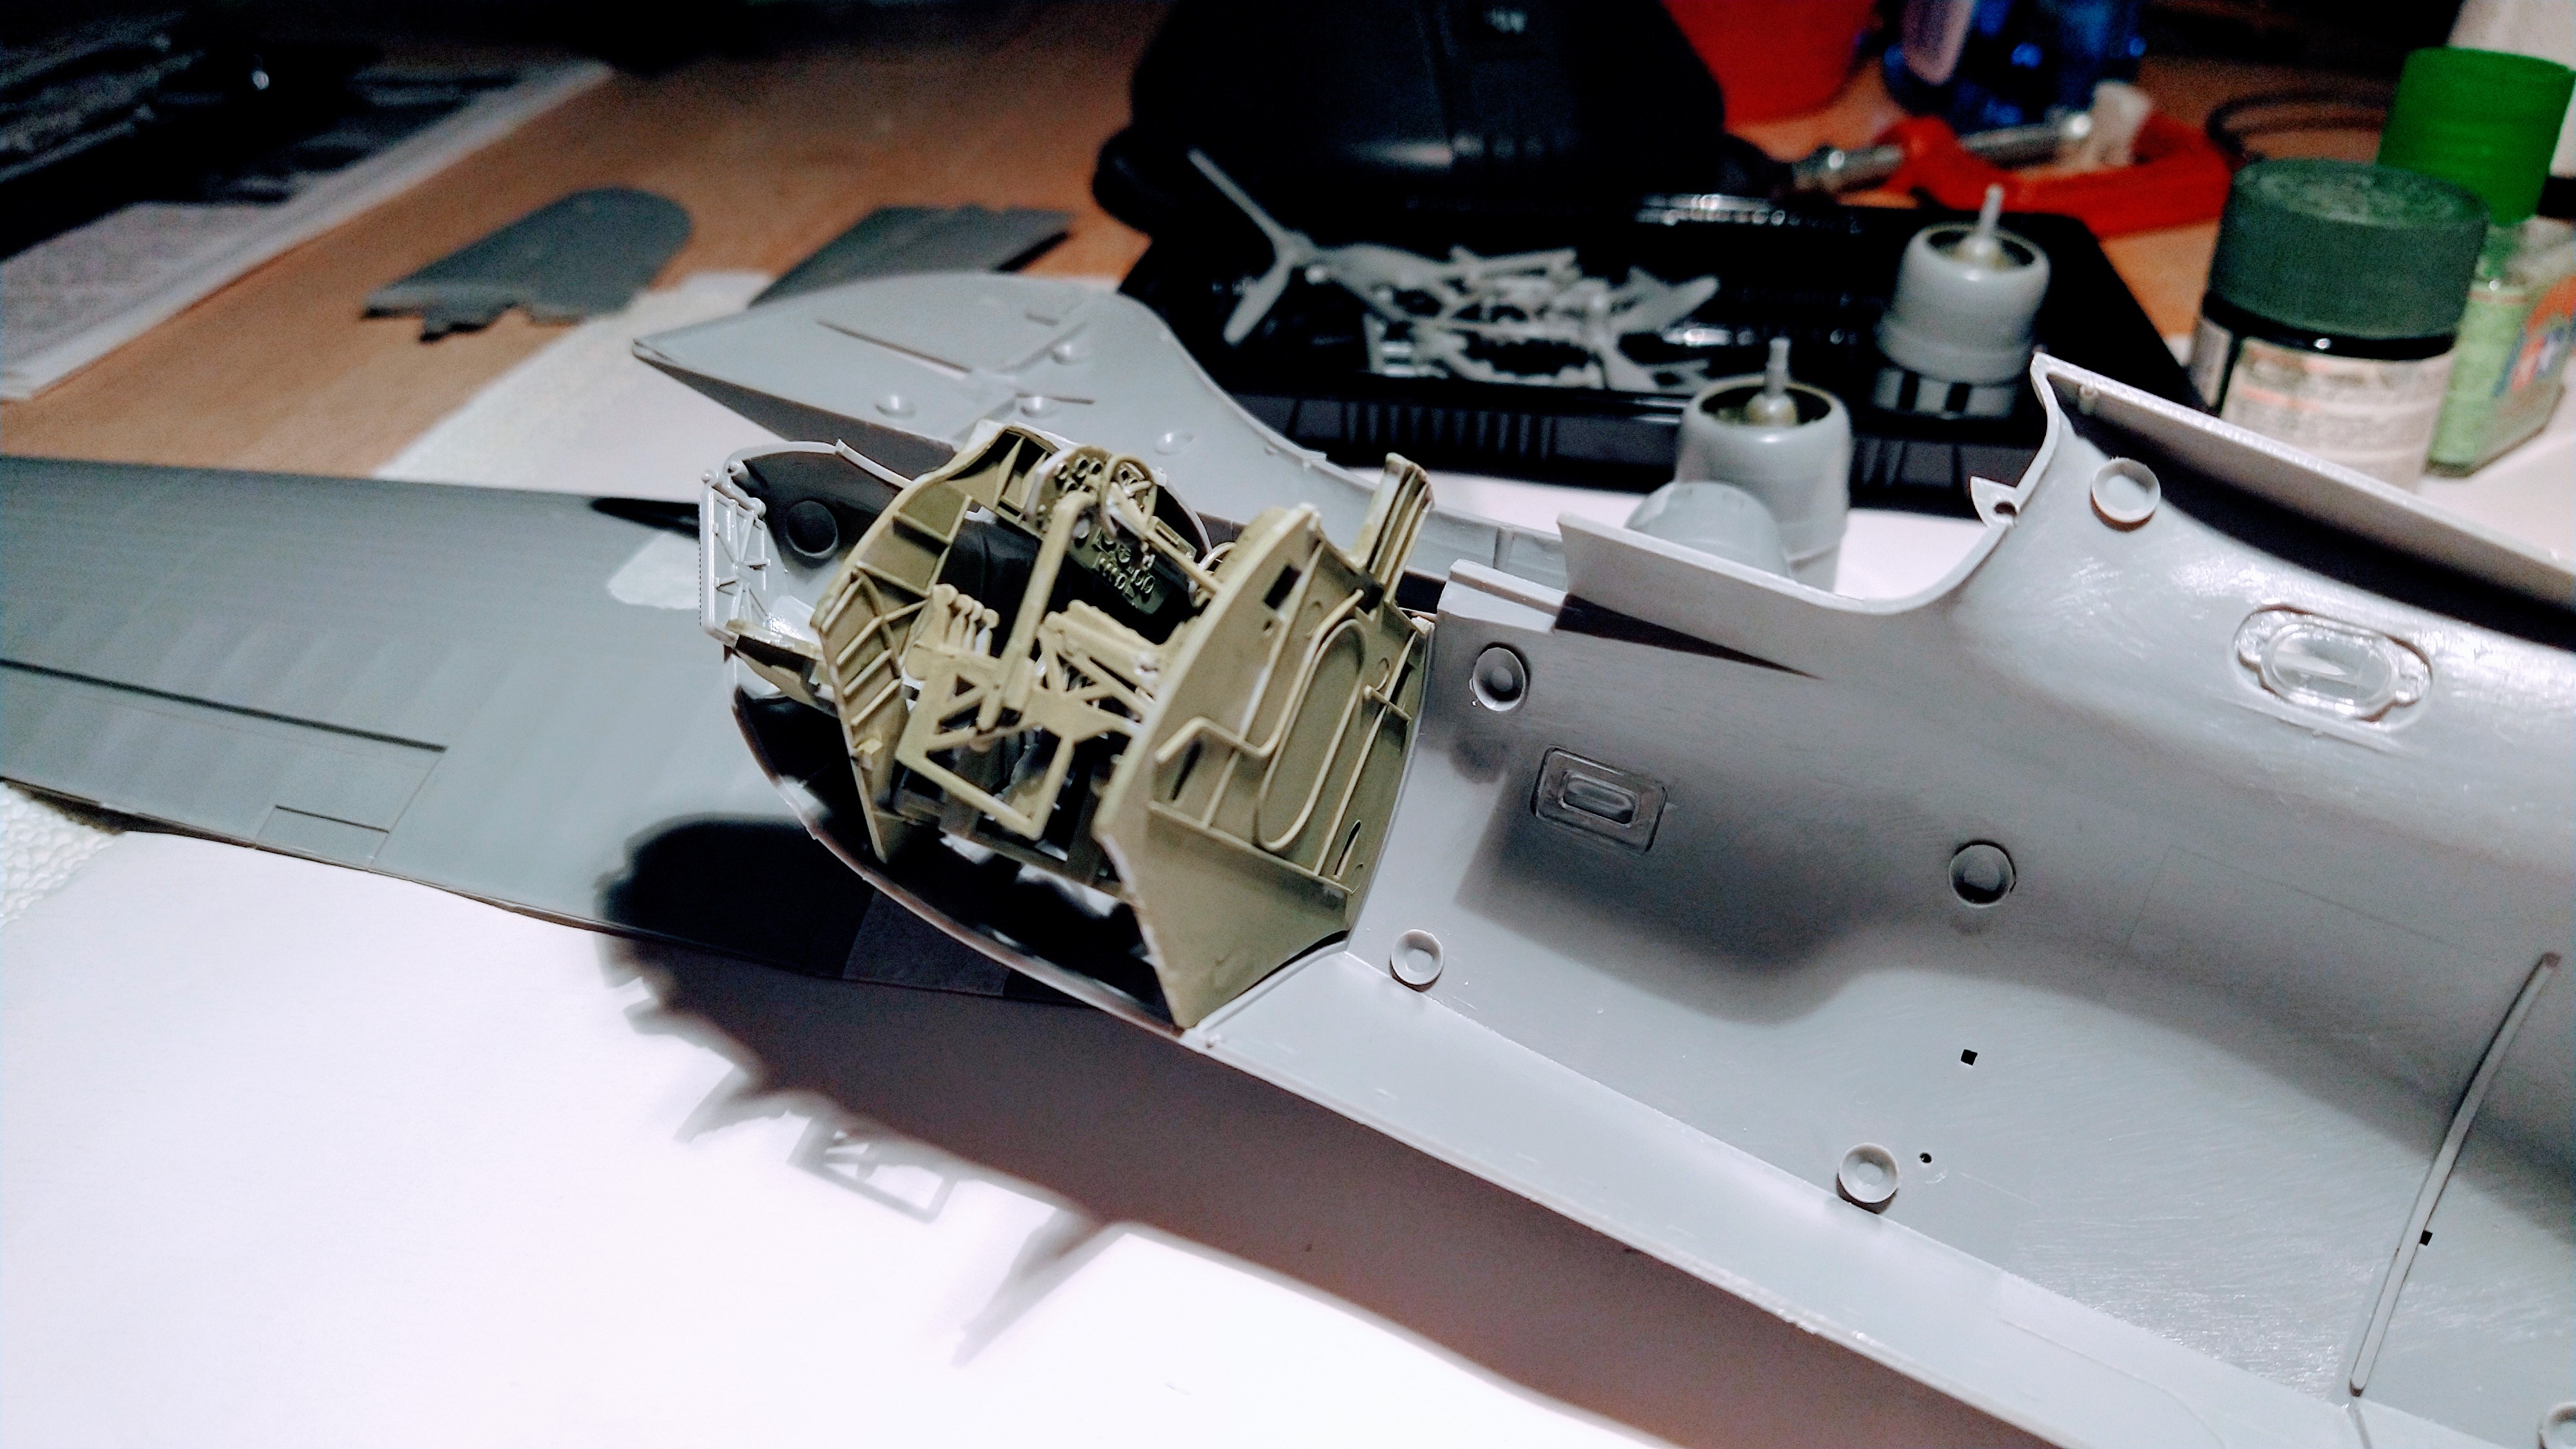
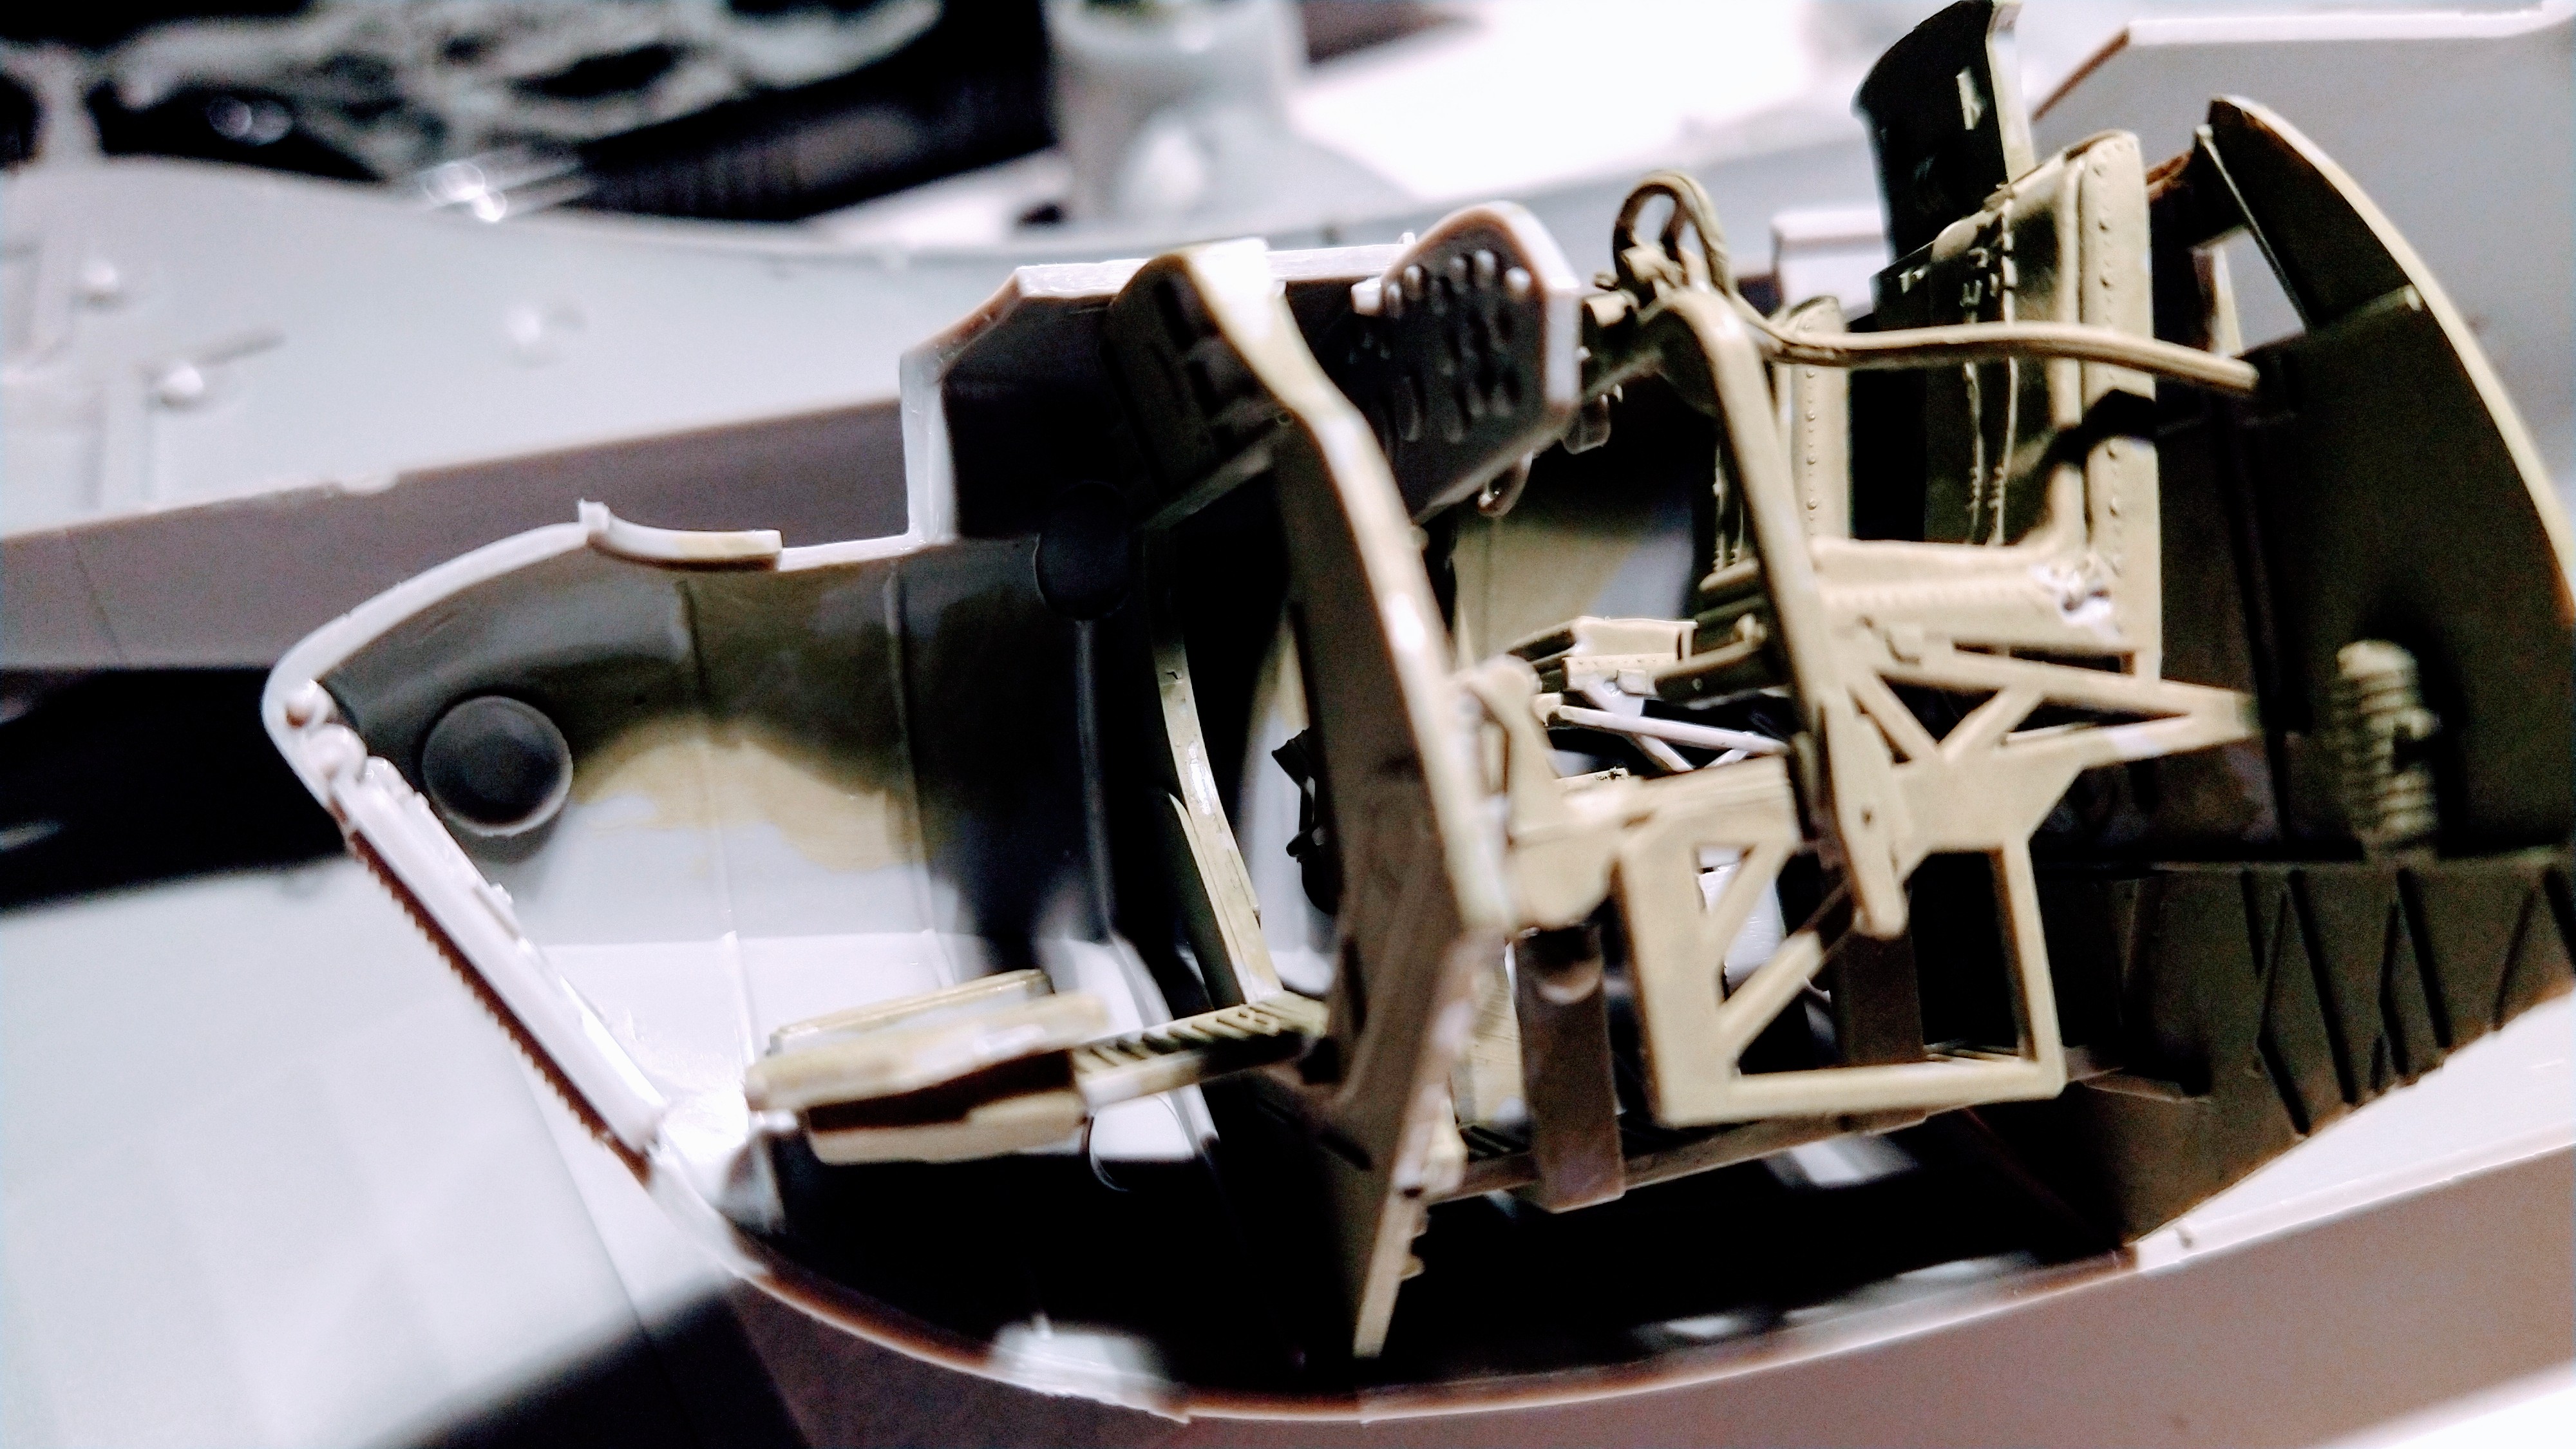
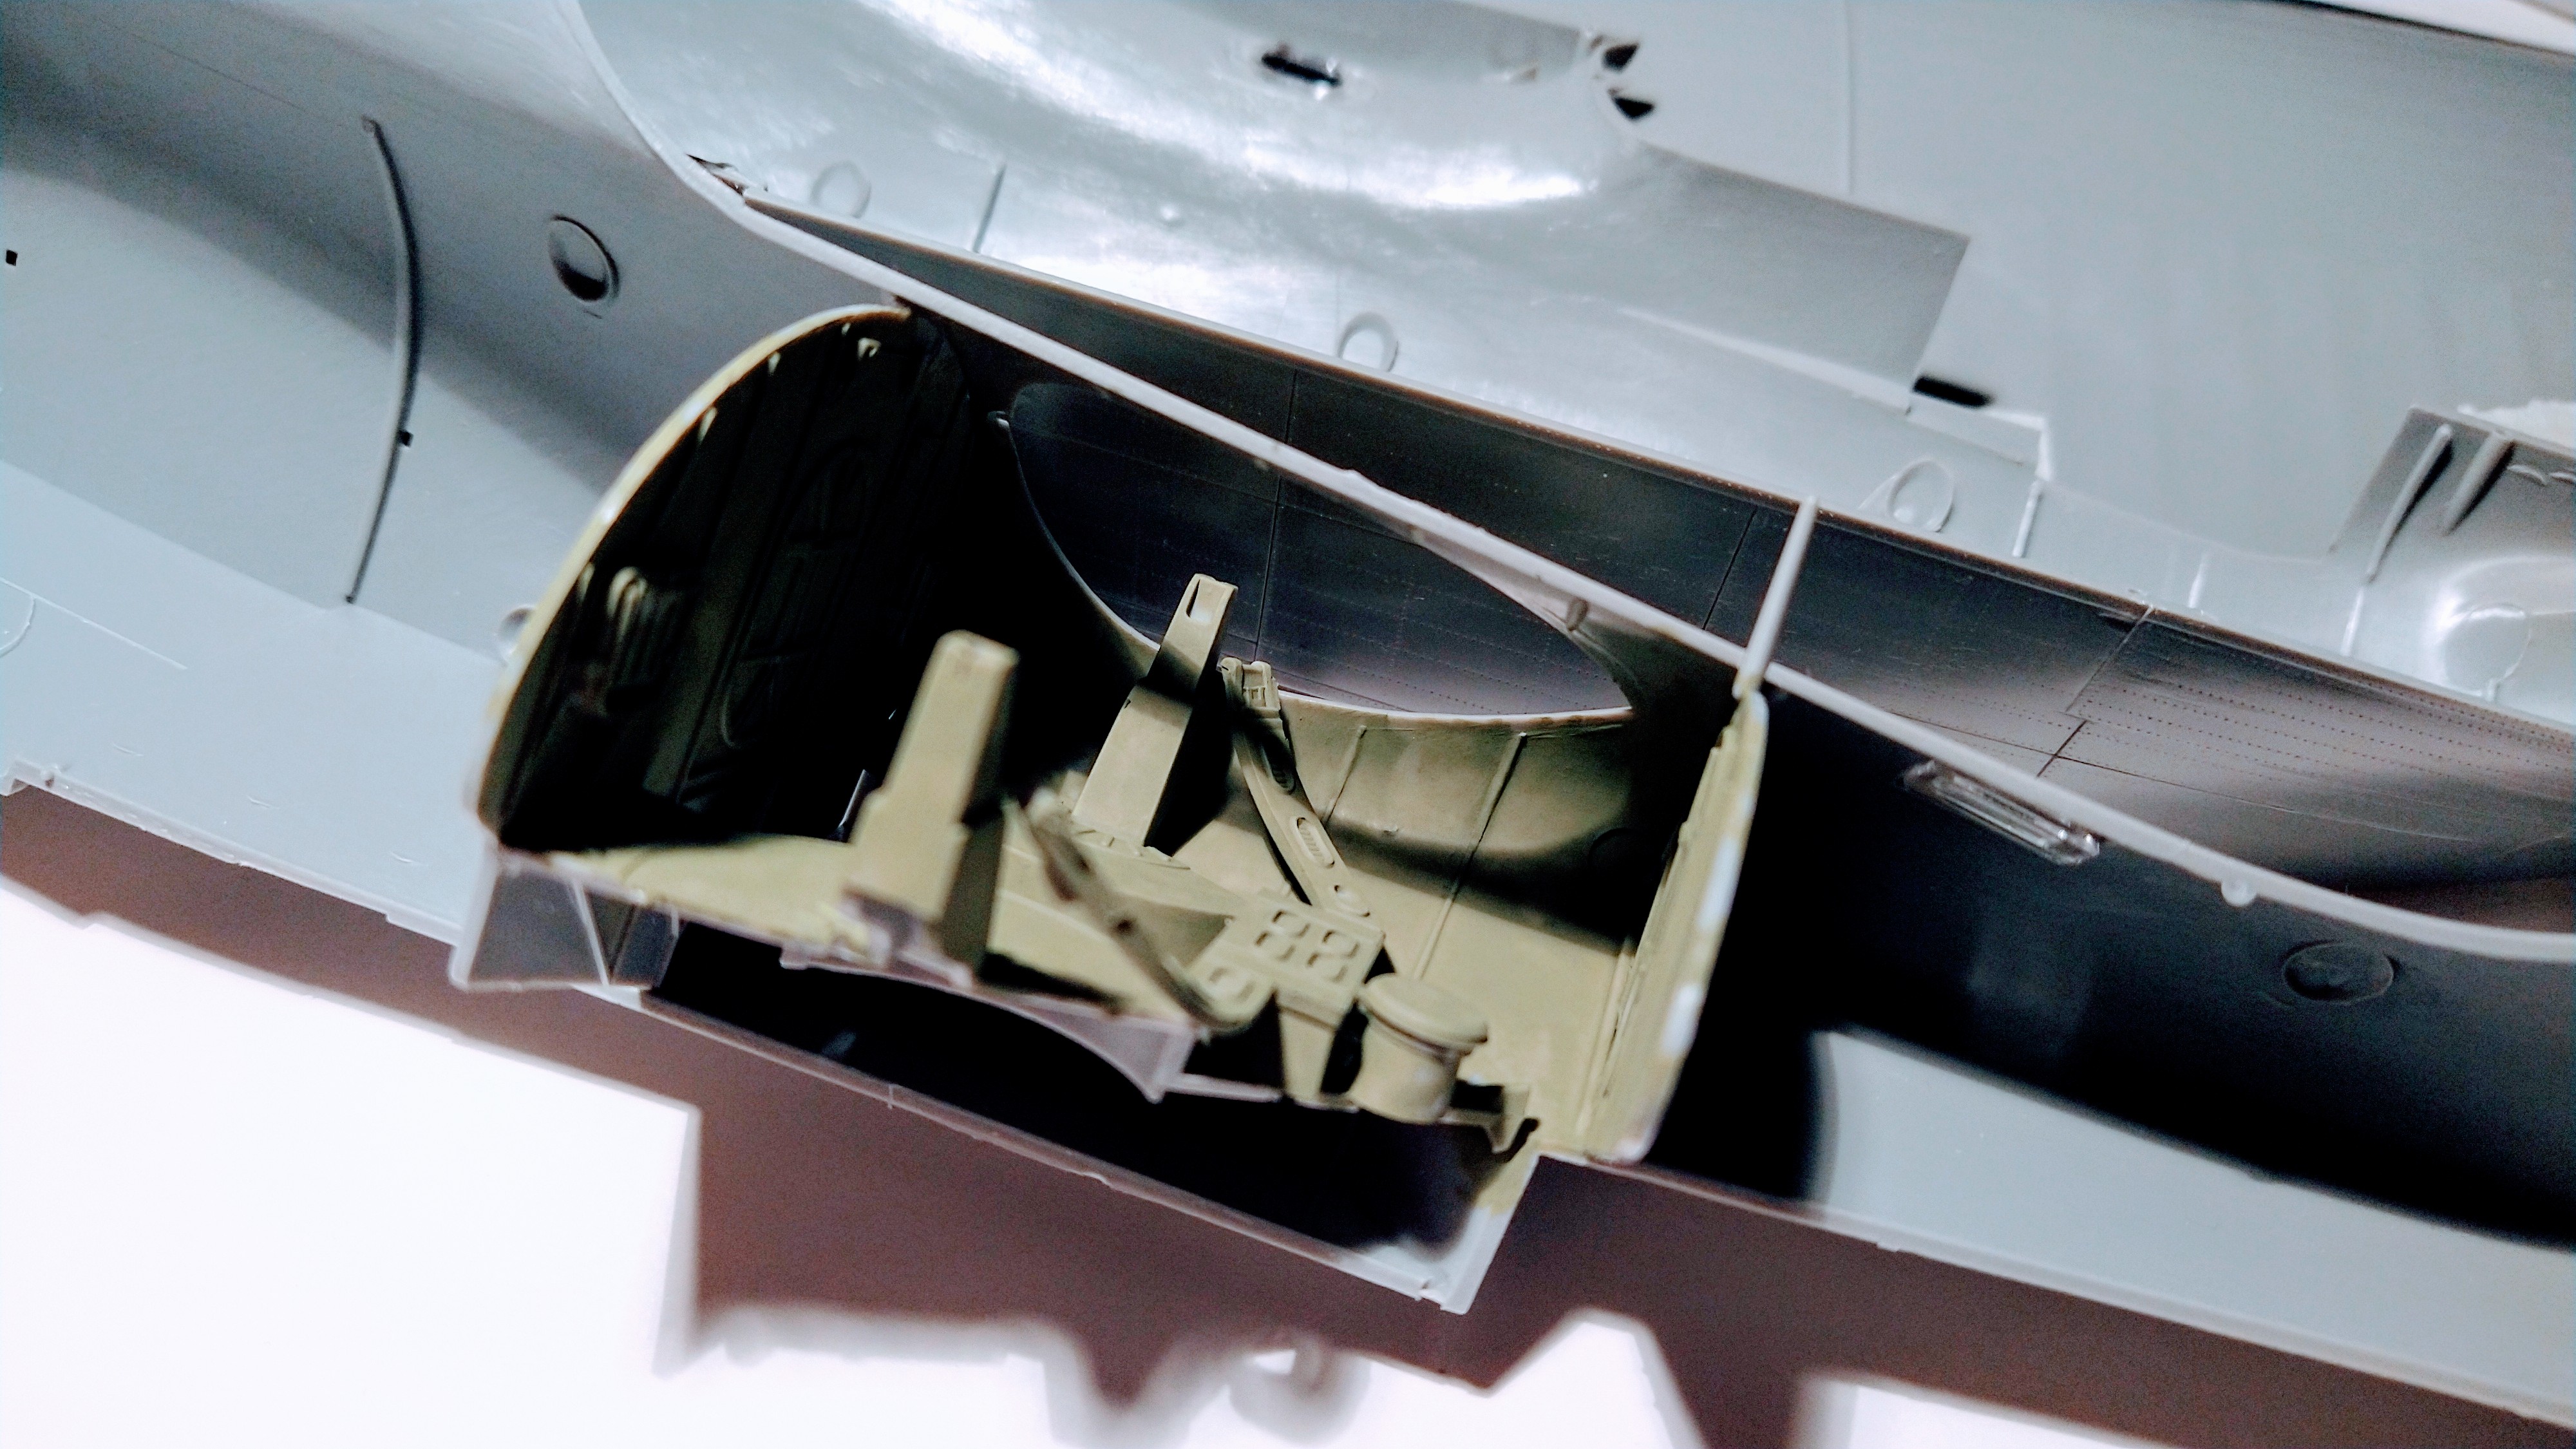
Step 2 is already completed and glued, but you already know that if you are following this blog.
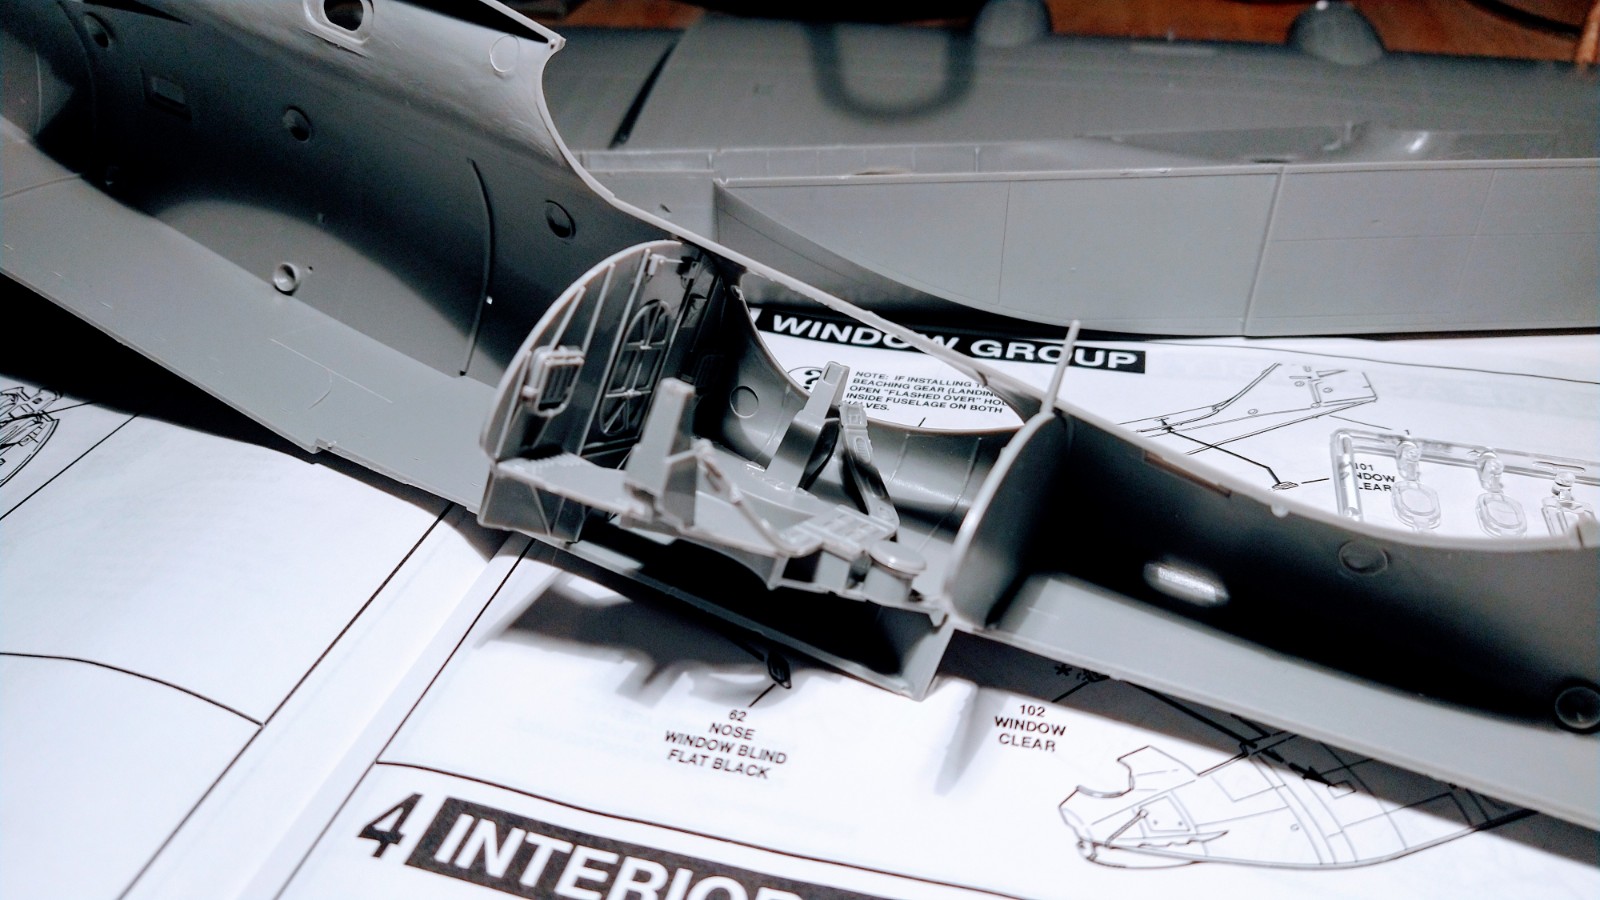
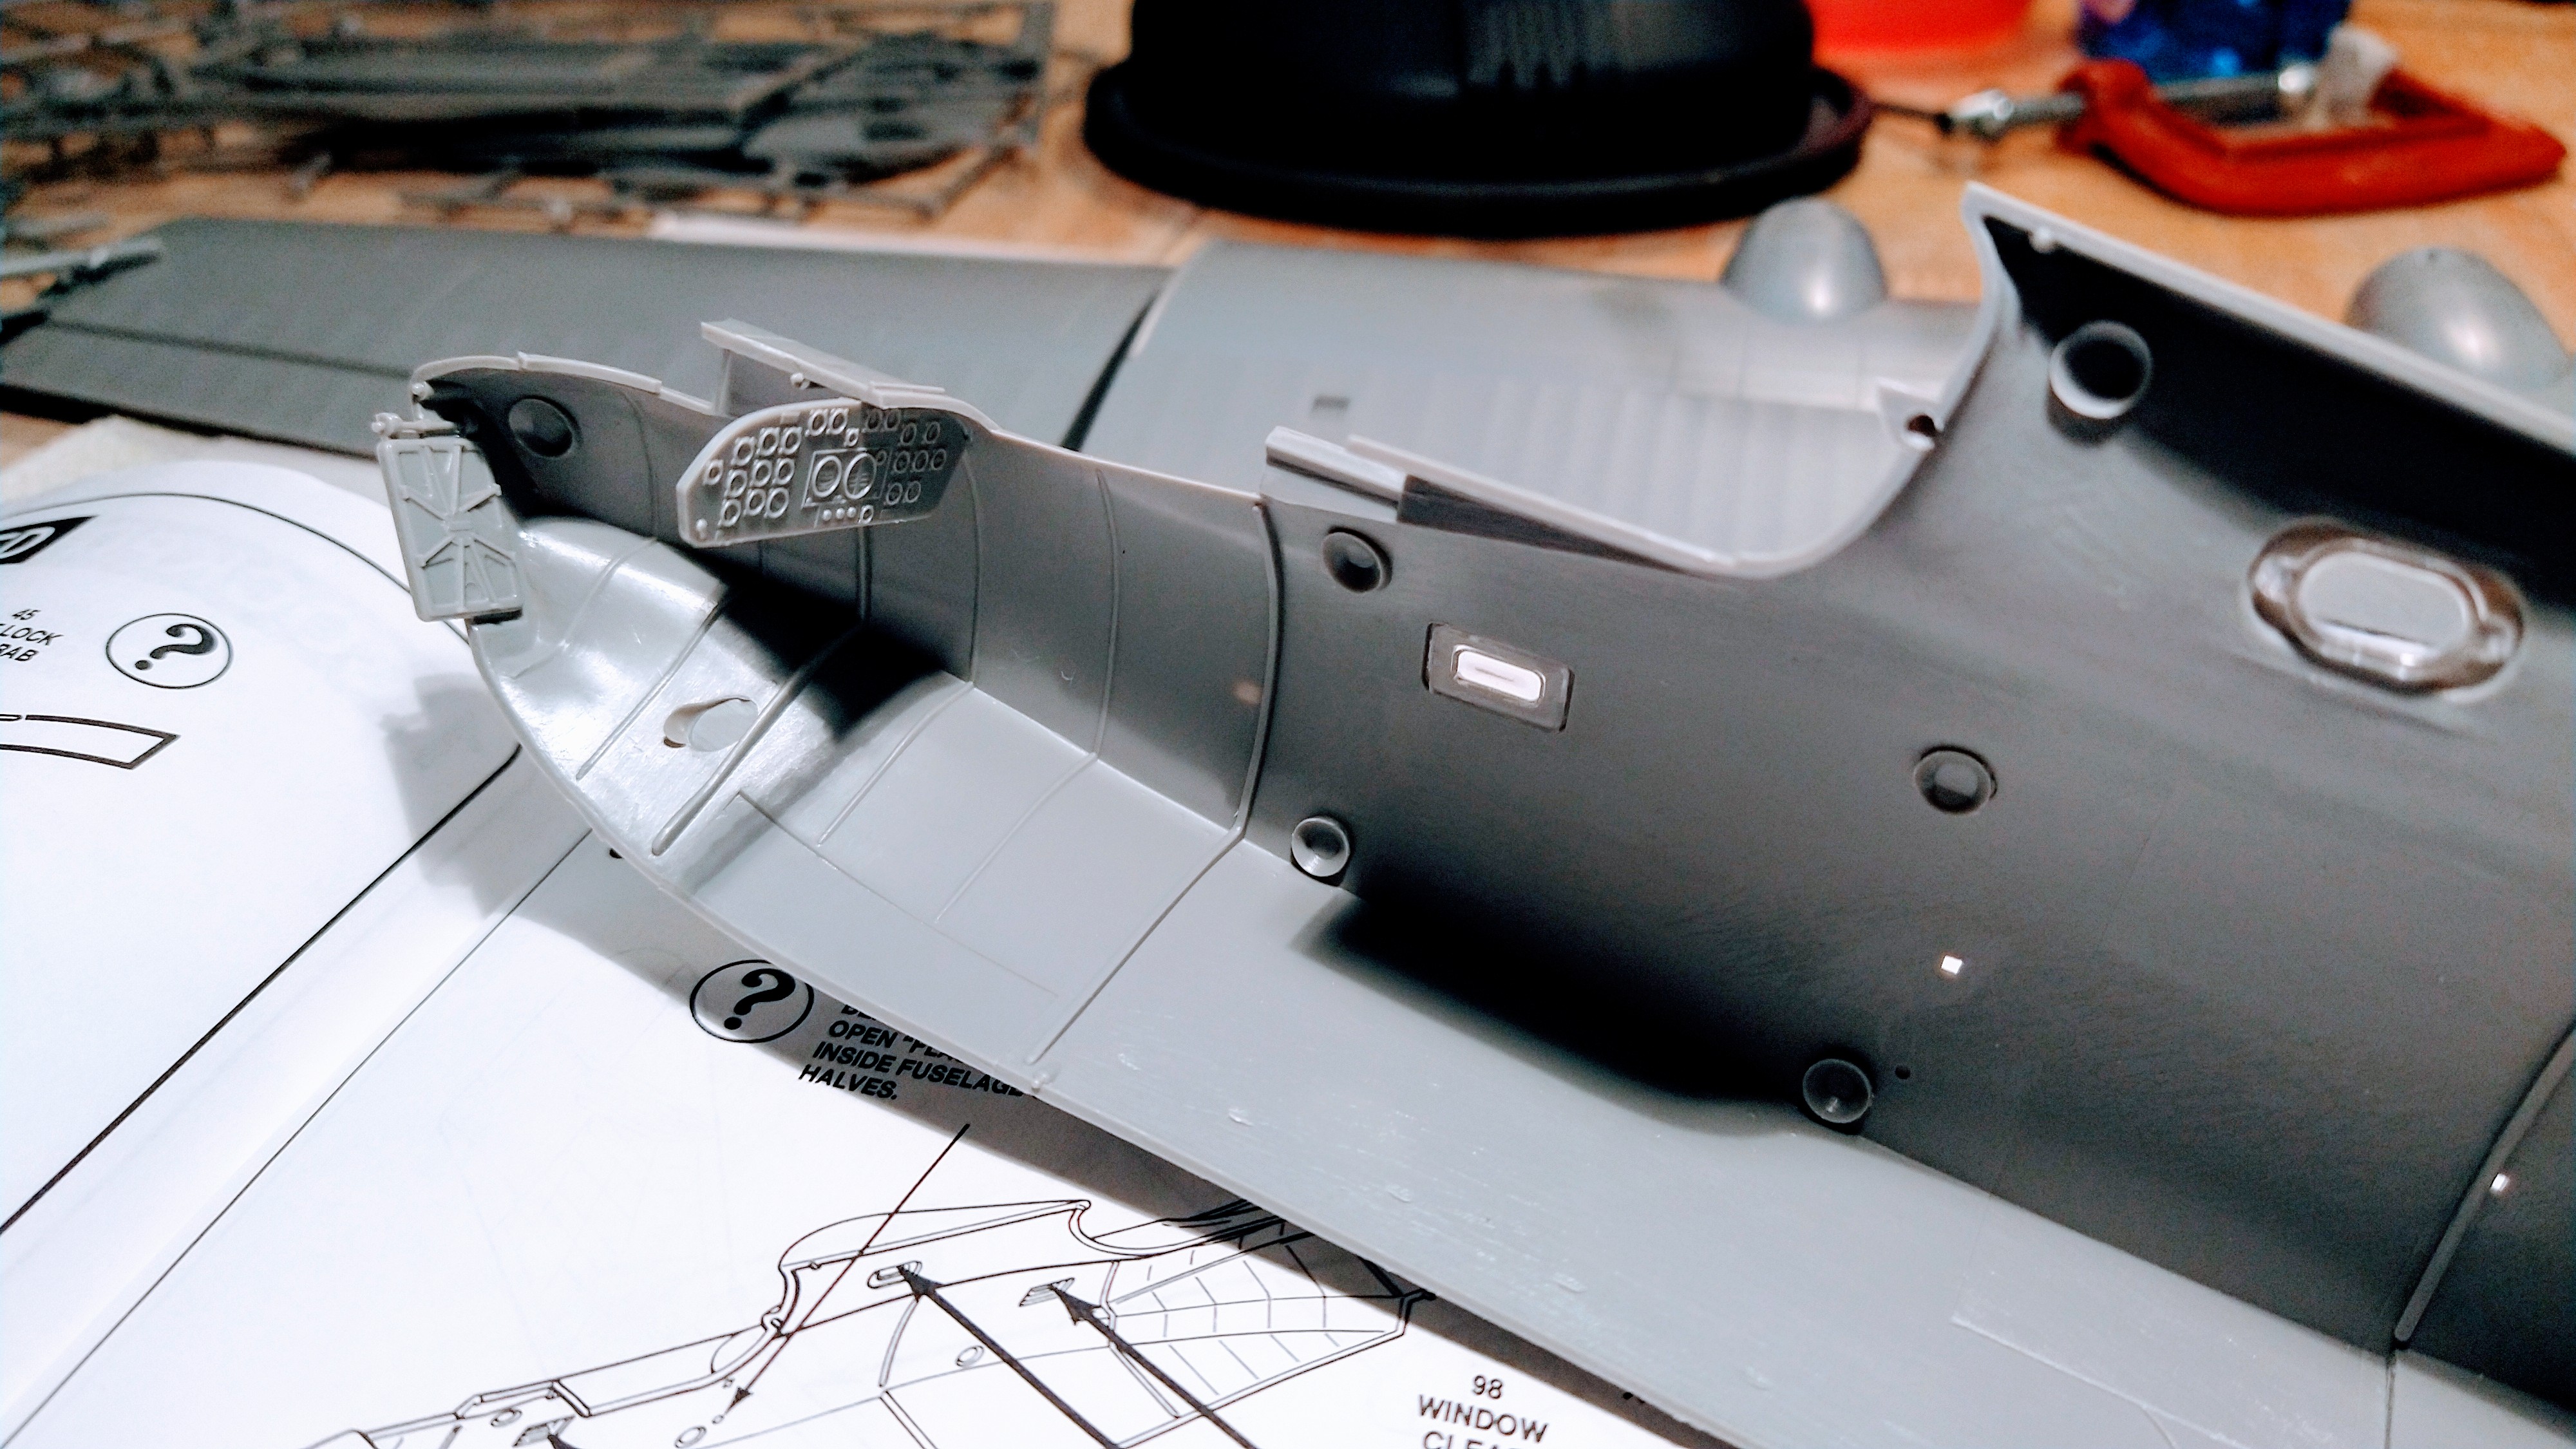
Step 3 is also done. I had to be careful because windows are not all identical.
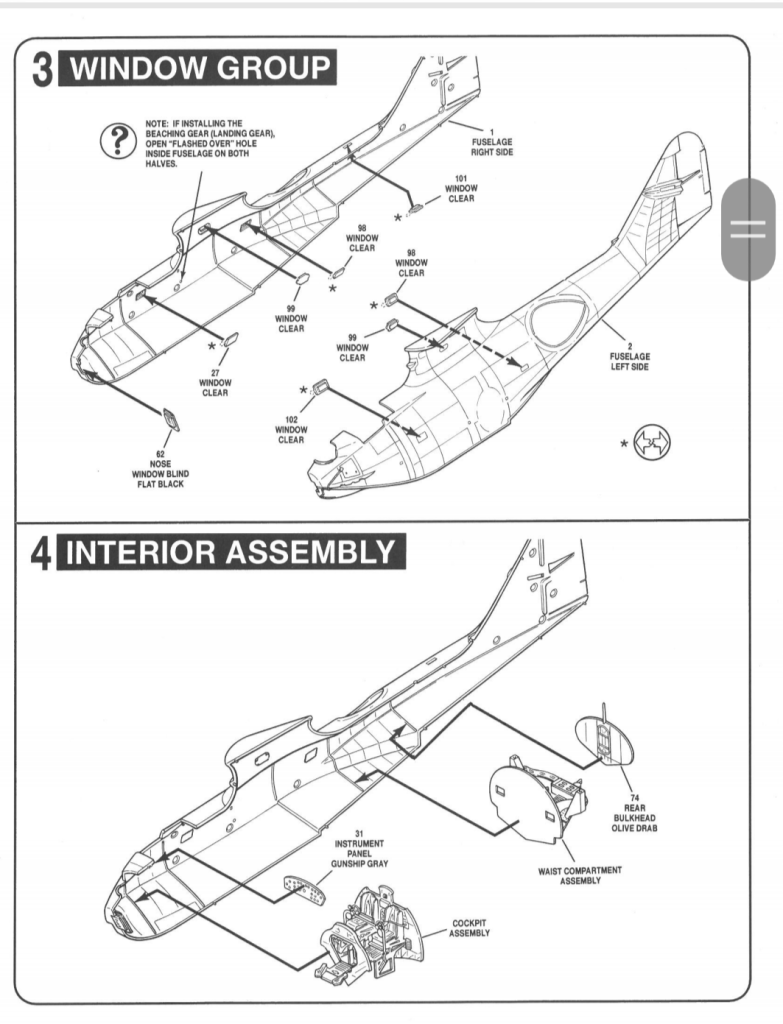
I then glued these two parts.

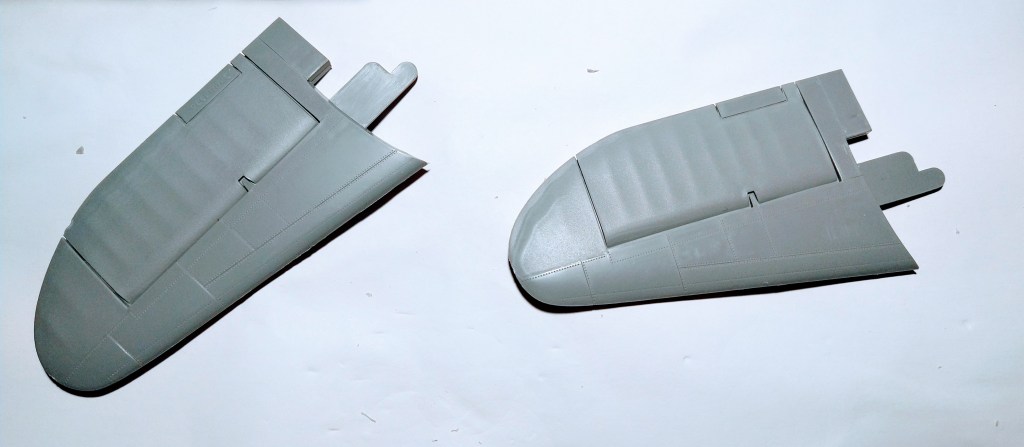
The wings were glued after checking the alignment several times.

Then came the engines, the tires and the pontoons.
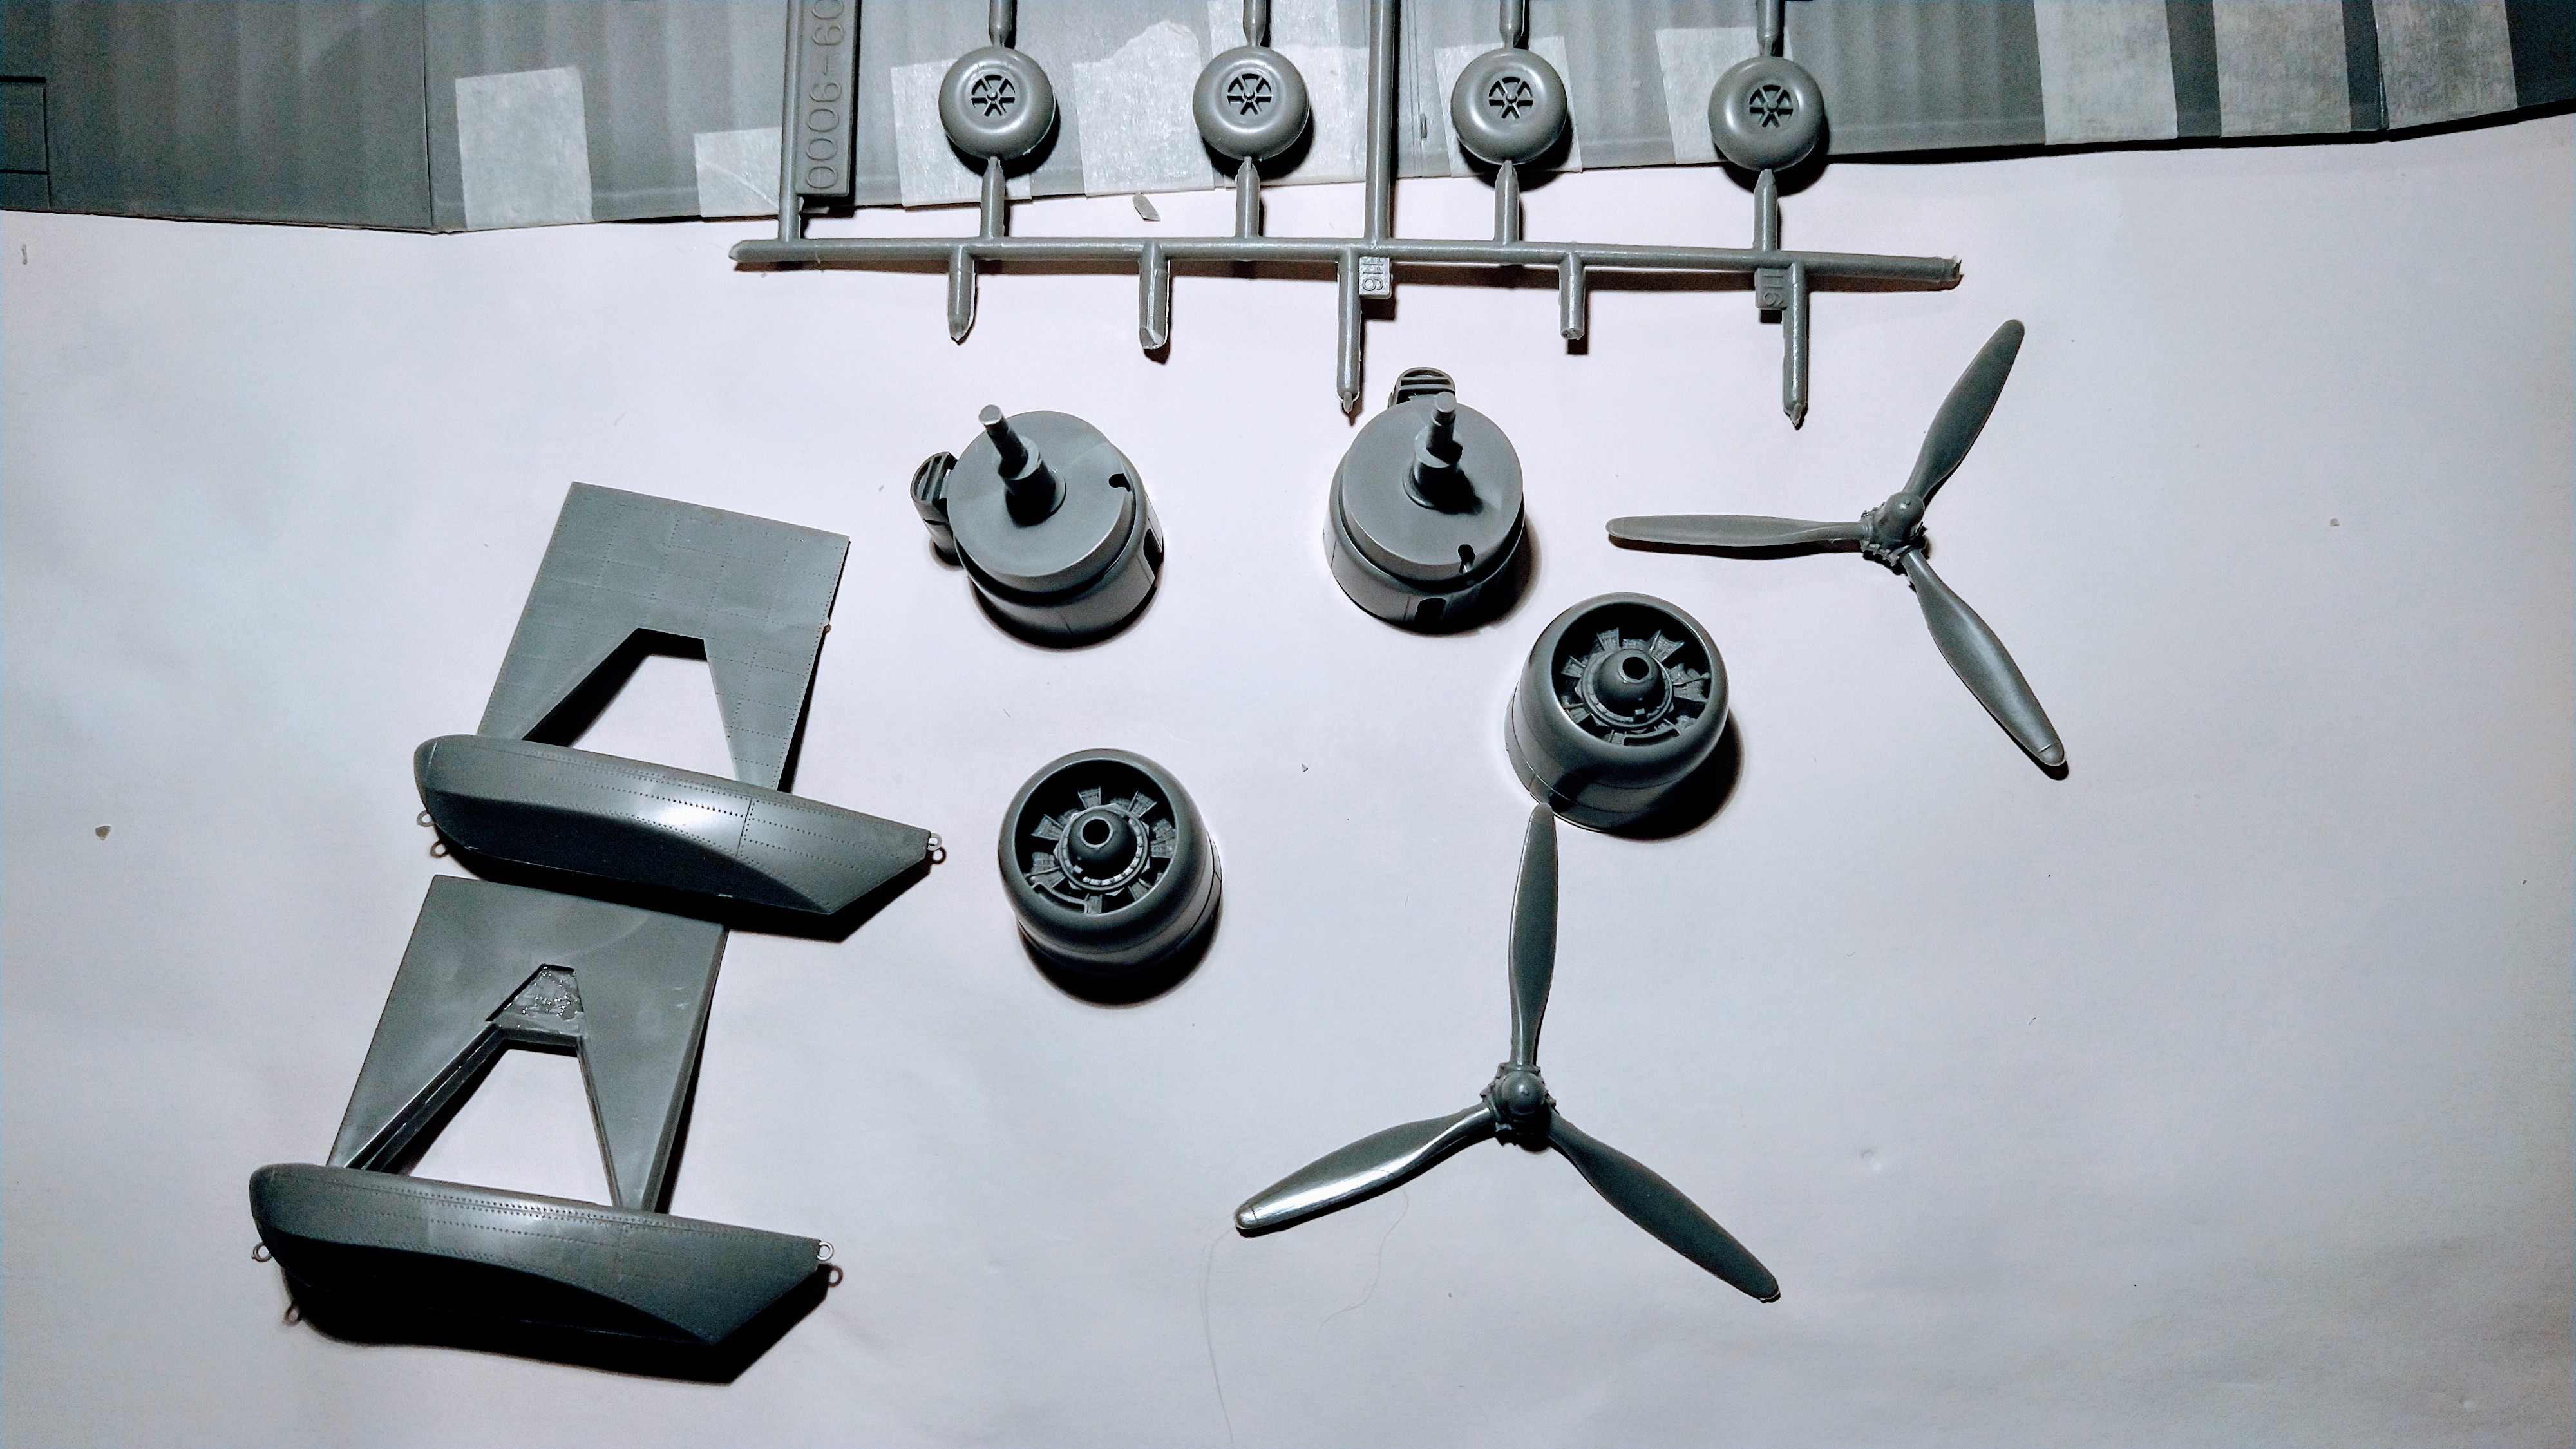
Step 5 will have to wait.
The stabilizers were glued, but the wings will have to wait before I glue them onto the fuselage.
Next time I hope to complete painting the cockpit.

It’s easy to get overwhelmed when you first open the box.
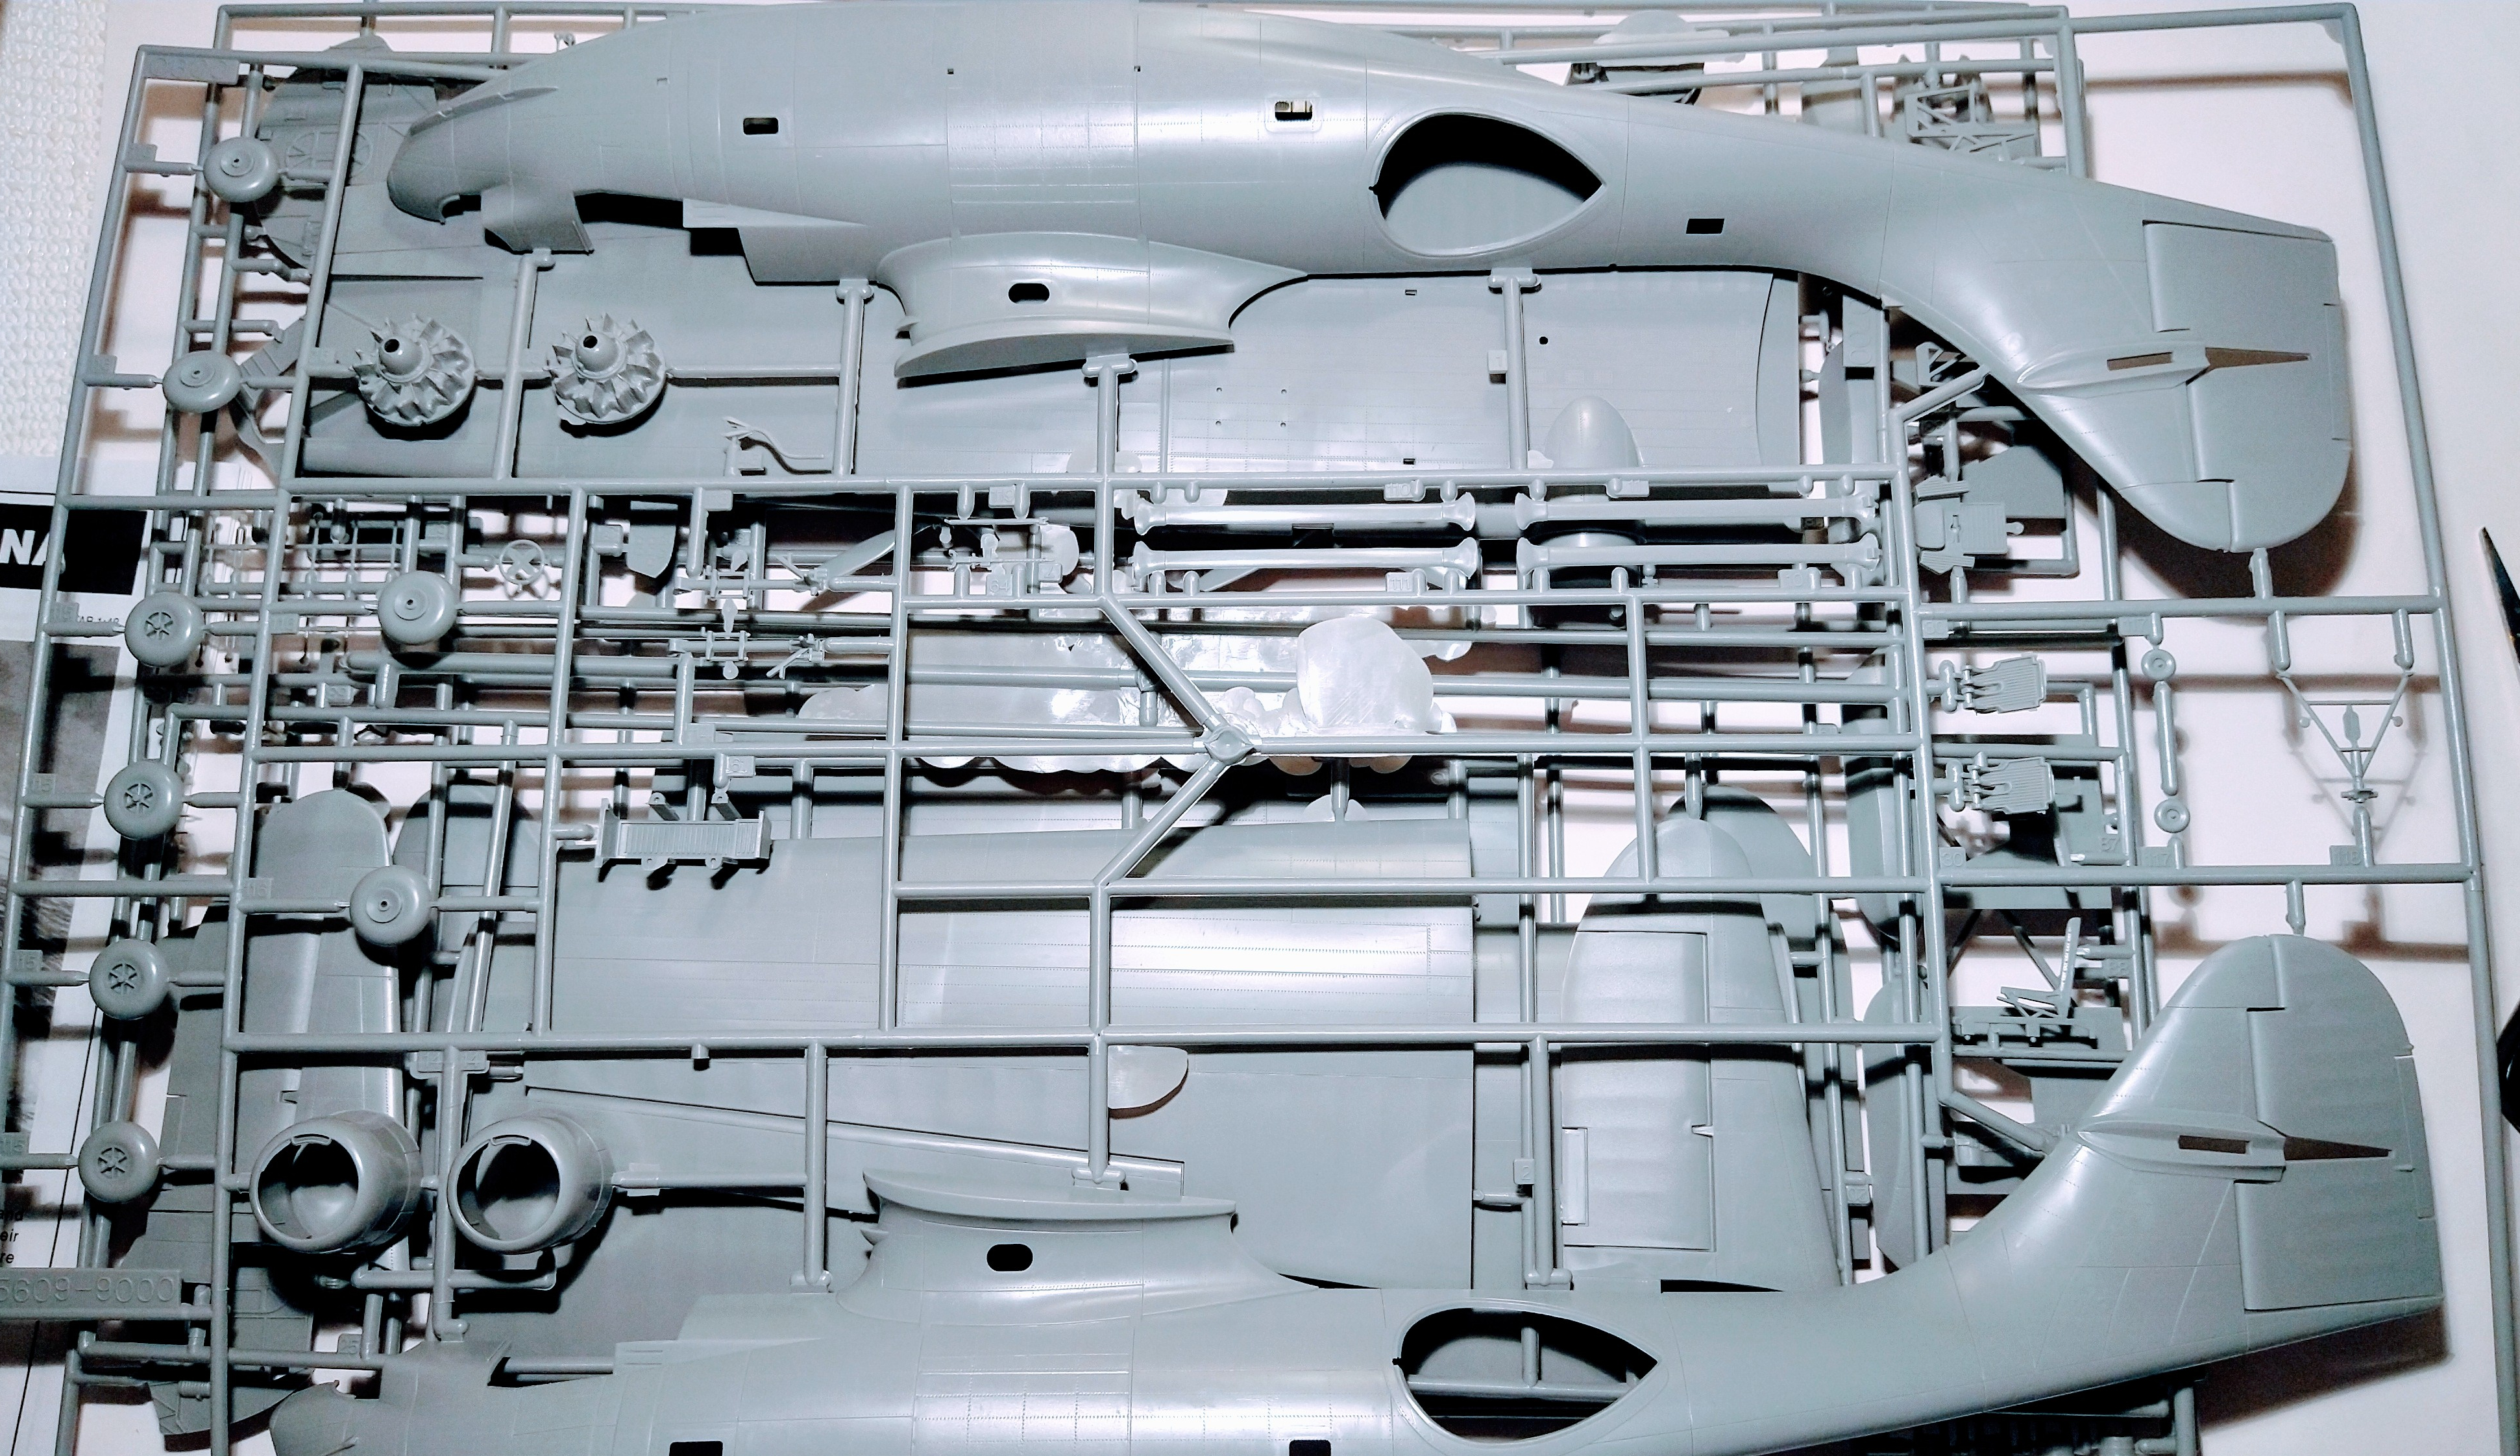
Sometimes you want to put everything back and wait another 25 years, but then you start adding 25 to 72 and realise you would be 97 years old. That’s enough incentive to start Step 1.
So Step 1 it is, without forgetting to read the instructions… 90-88-72.


With the He 111 looking on, I assembled the seats after reading the instructions once more. I thought I had been very careful. However I managed to invert these two parts… 88 with 89.
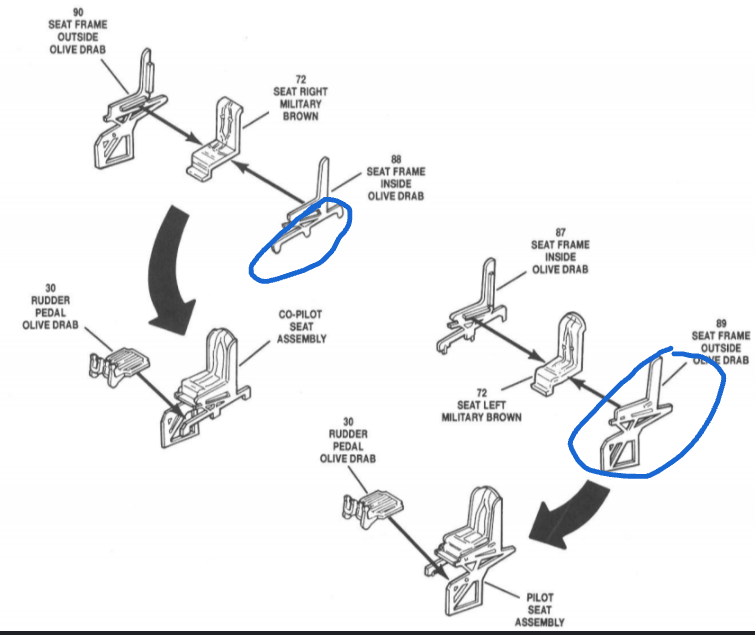
It was easily corrected because the glue had not set yet.

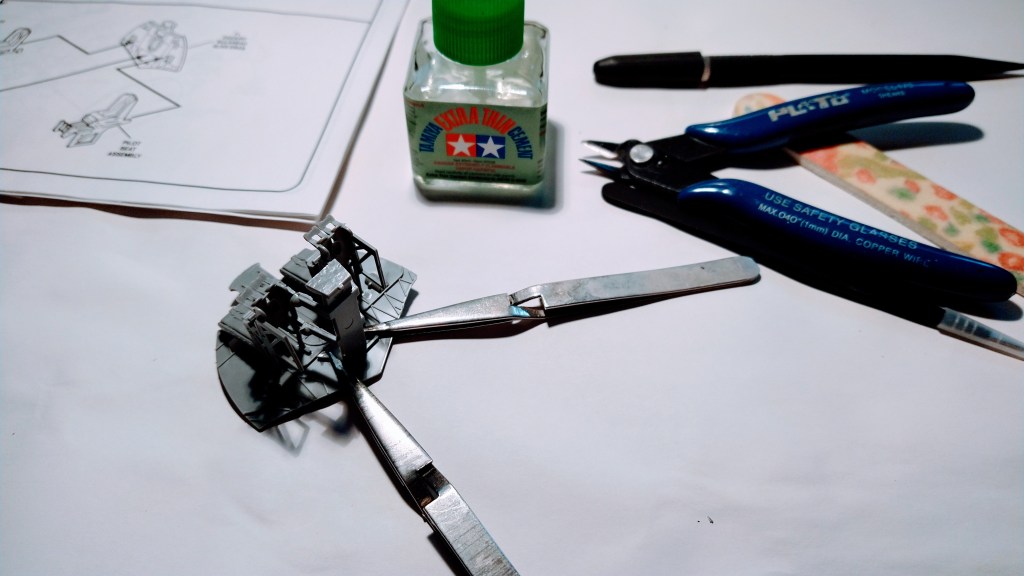
Then came assembling the cockpit bulkhead to the seats and the cockpit floor where tweezers came in handy.

I managed to goof up with this next step by glueing the control wheels in the wrong place. I could not figure out where the yoke lock had to be glued.
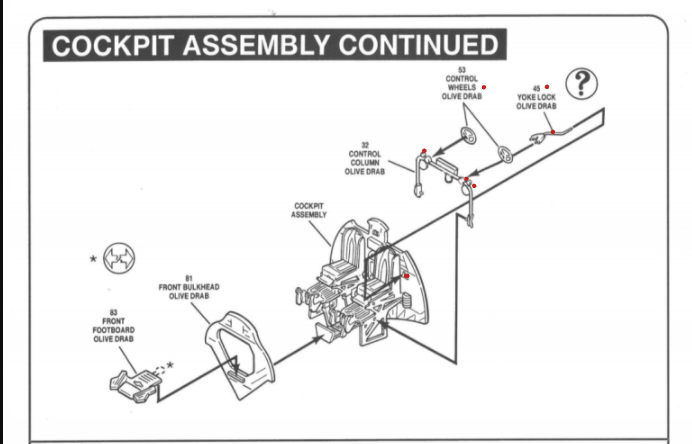
So I unglued the control wheels…
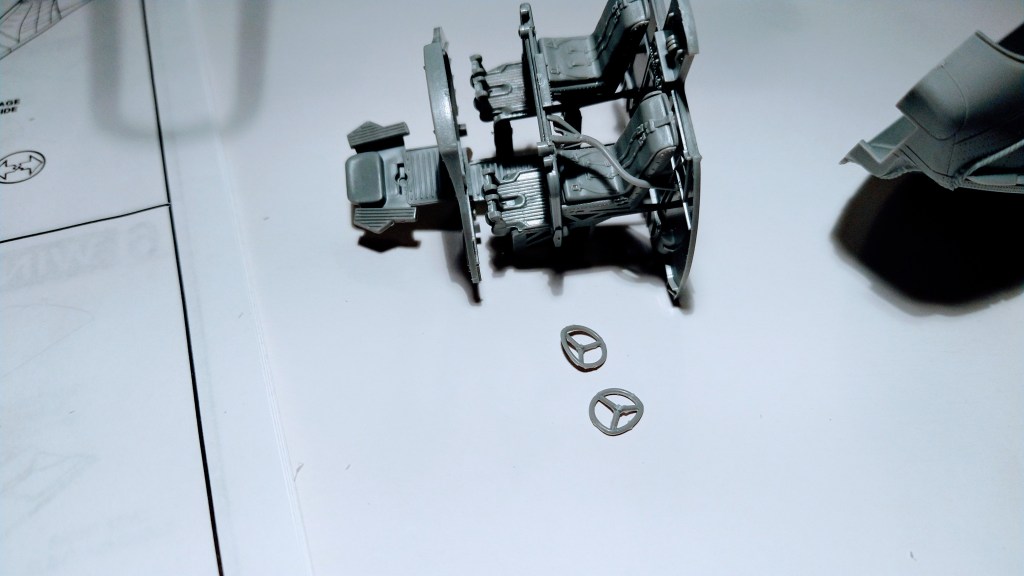
Then glued them back.

I thought the yoke lock must have been in the way of the pilot but that was what the instructions had said…

Then I got thinking…and I searched some YouTube videos.

Before…
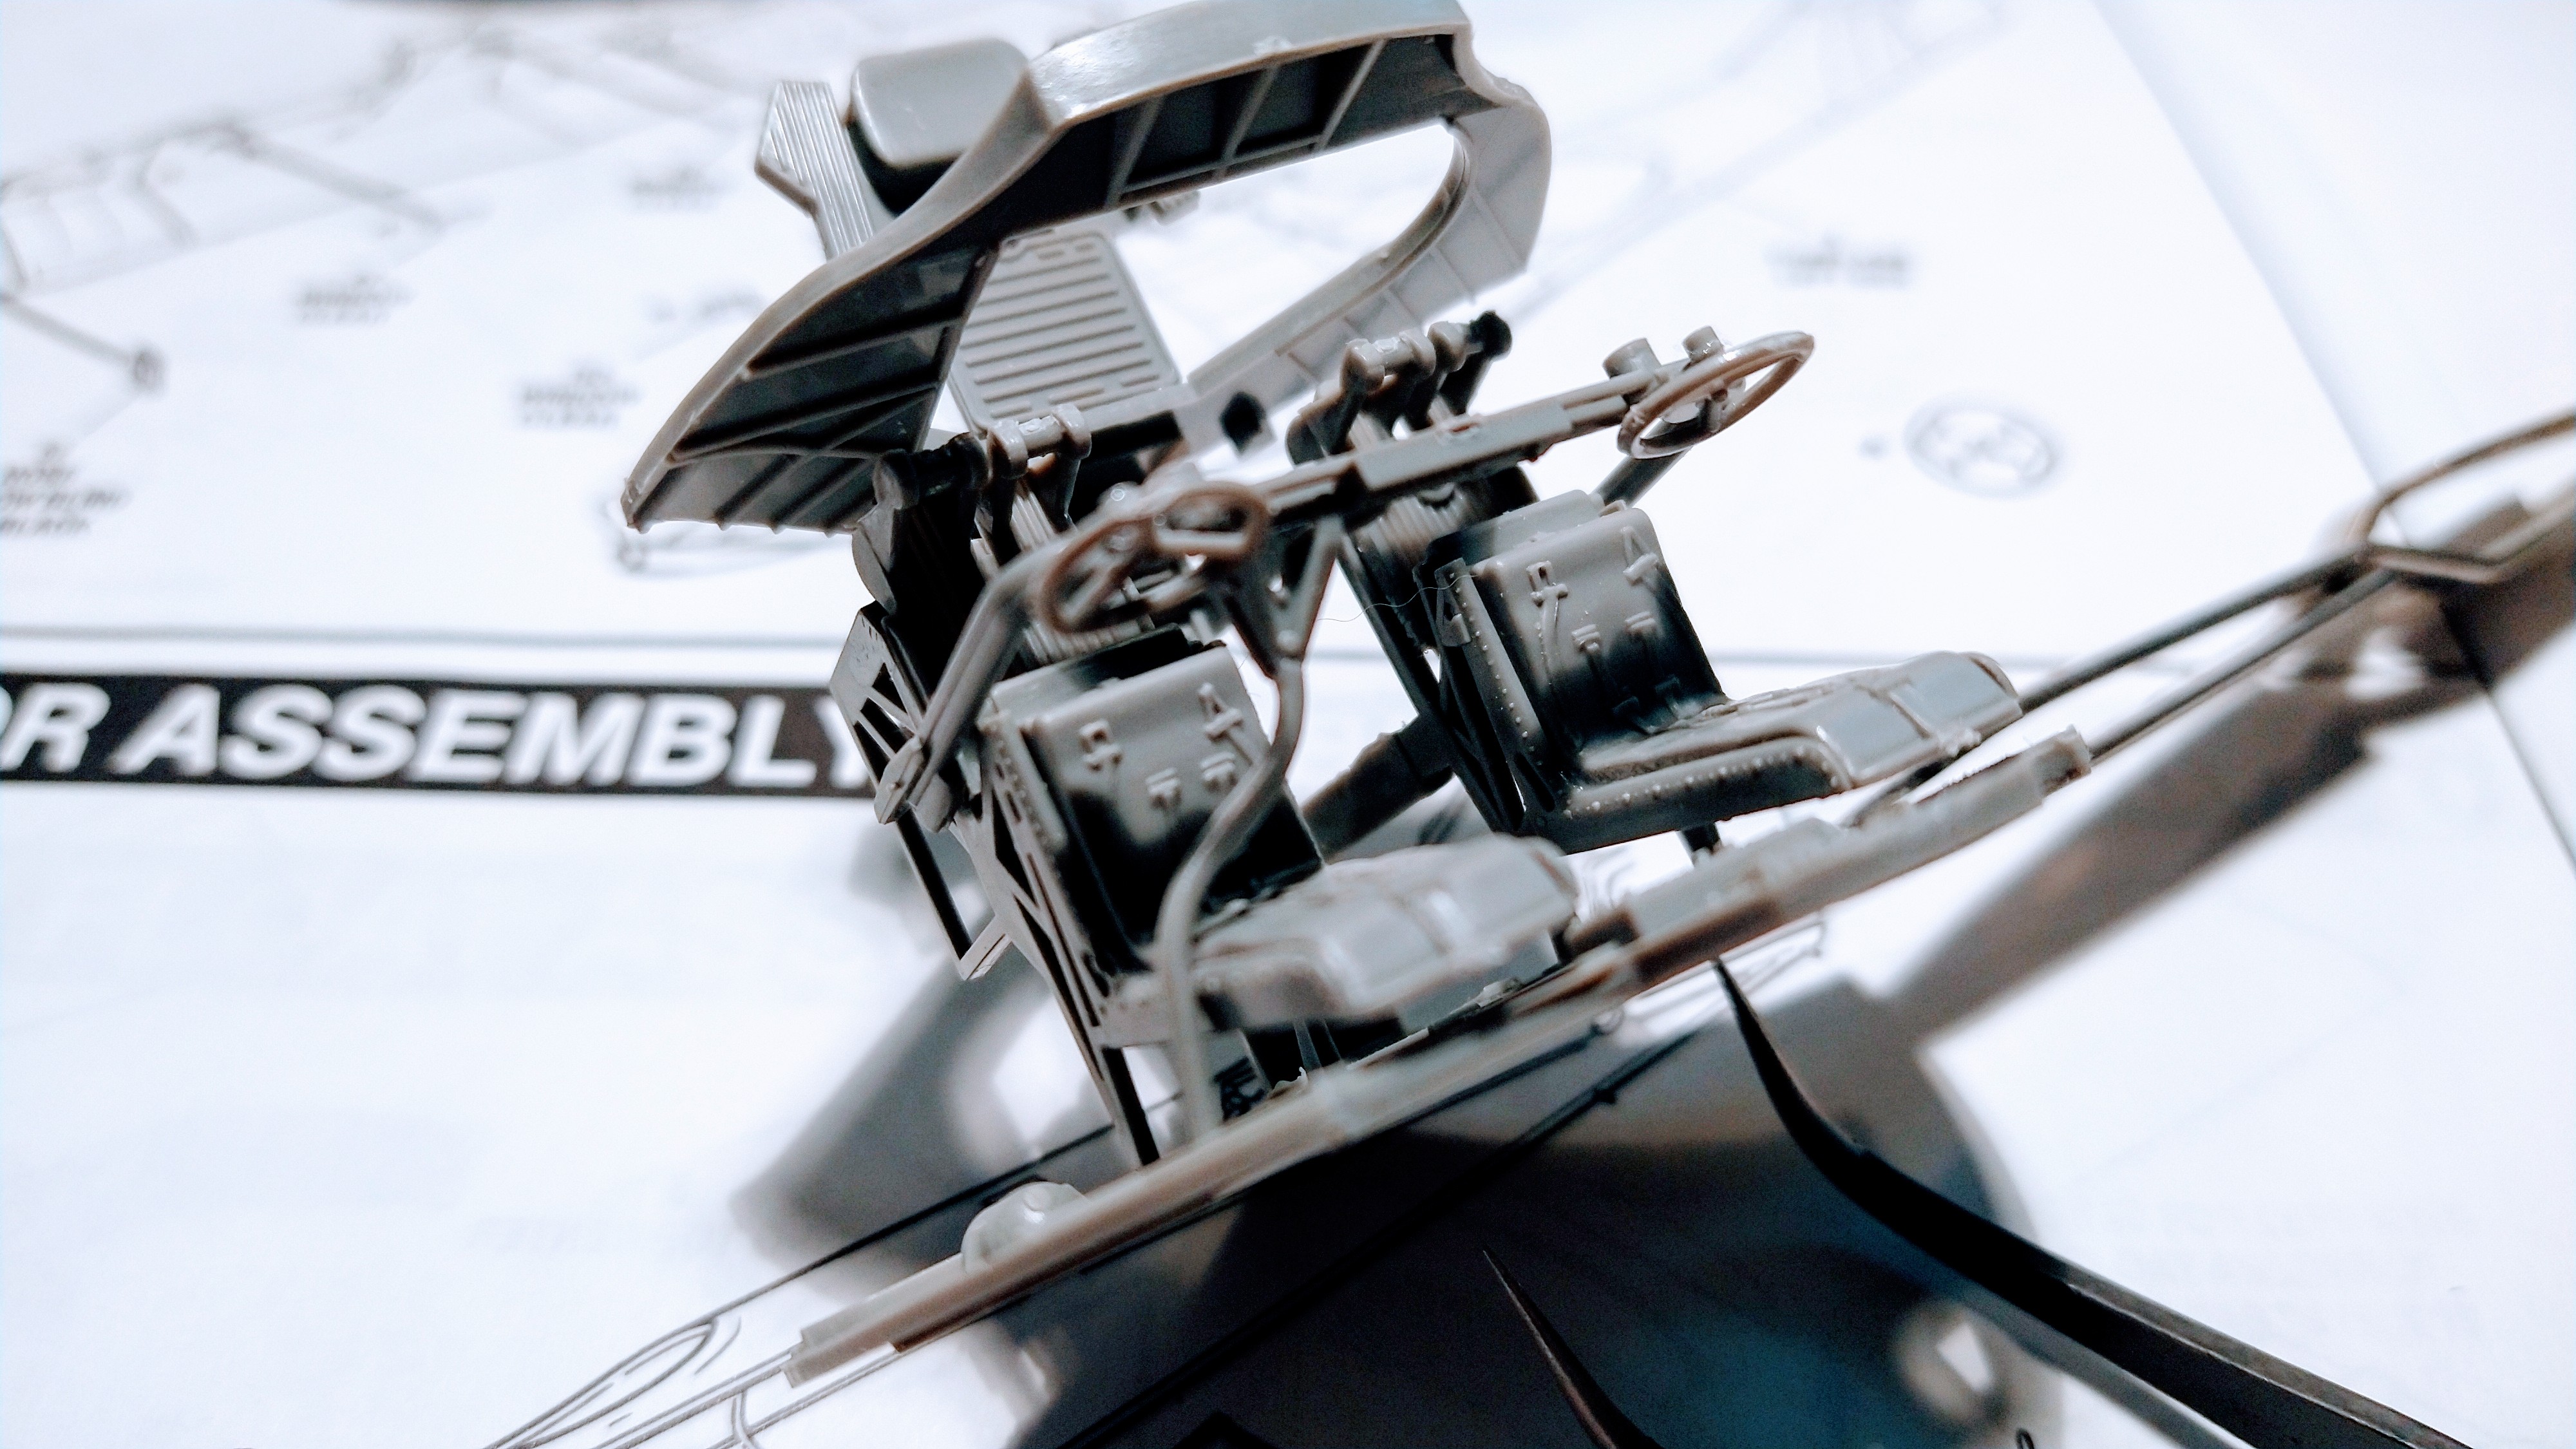
After…
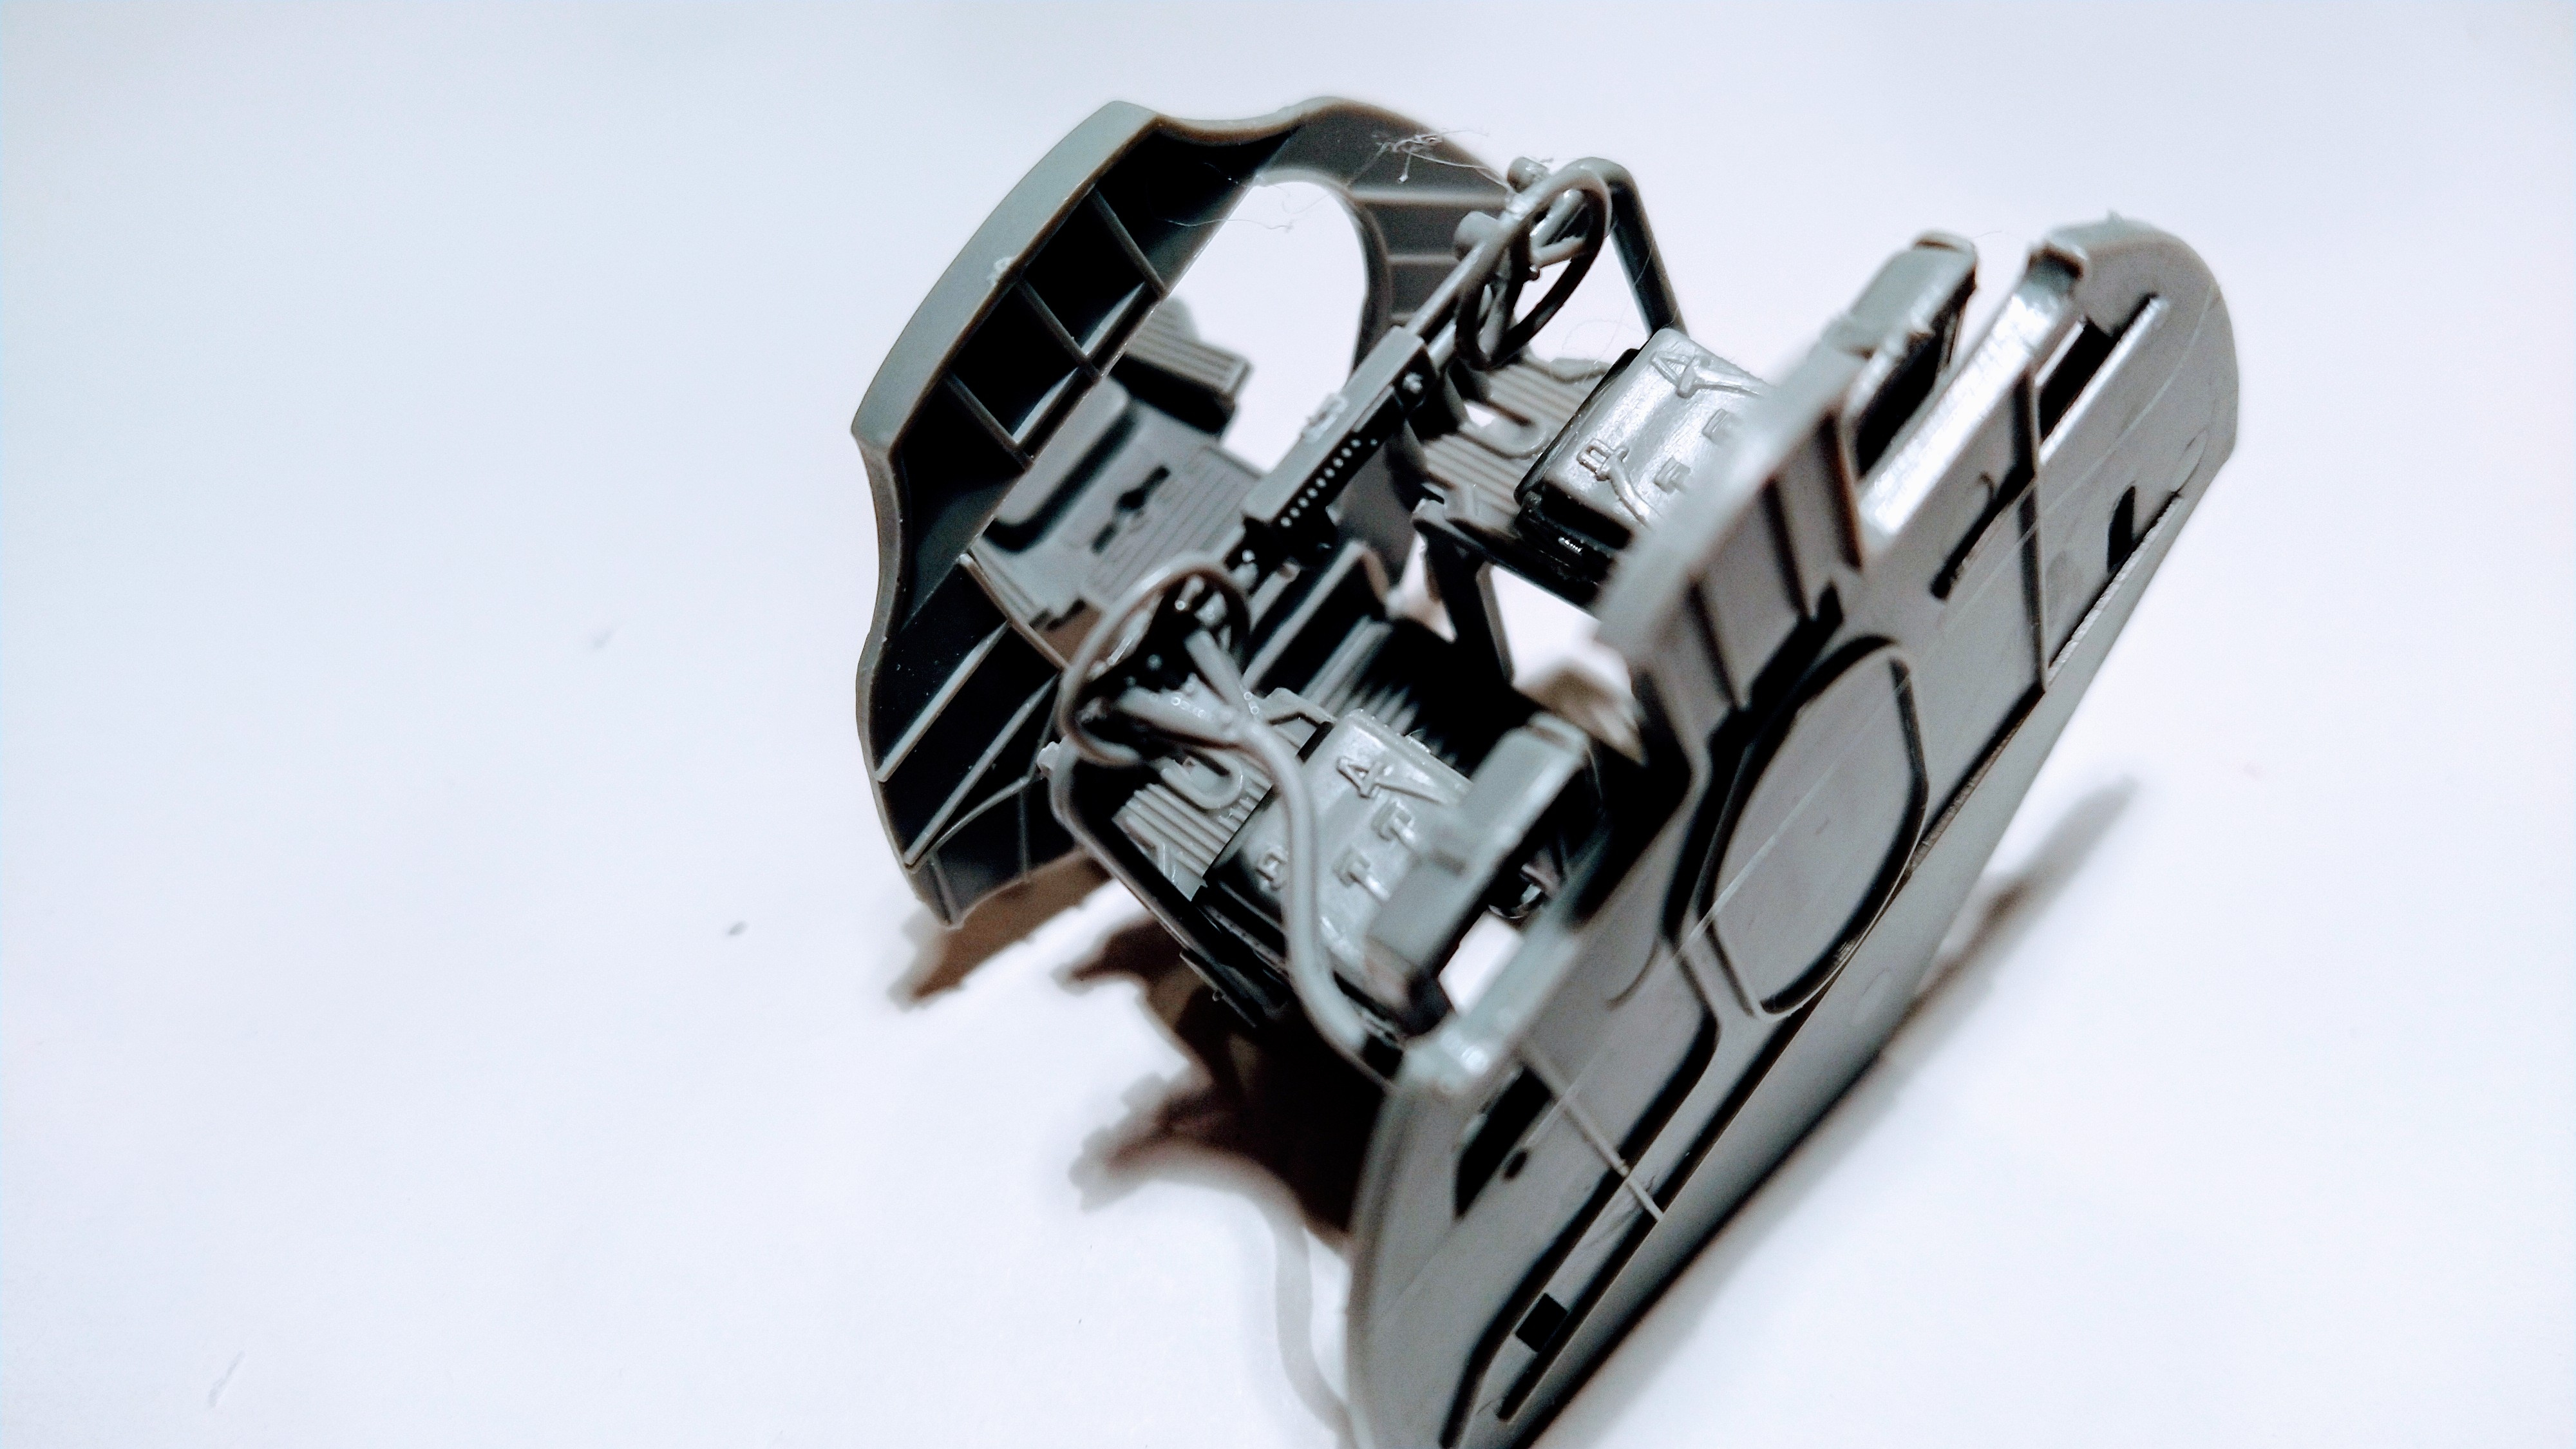
Now it is time to decide if I should be painting the cockpit assembly first or glueing it in place.
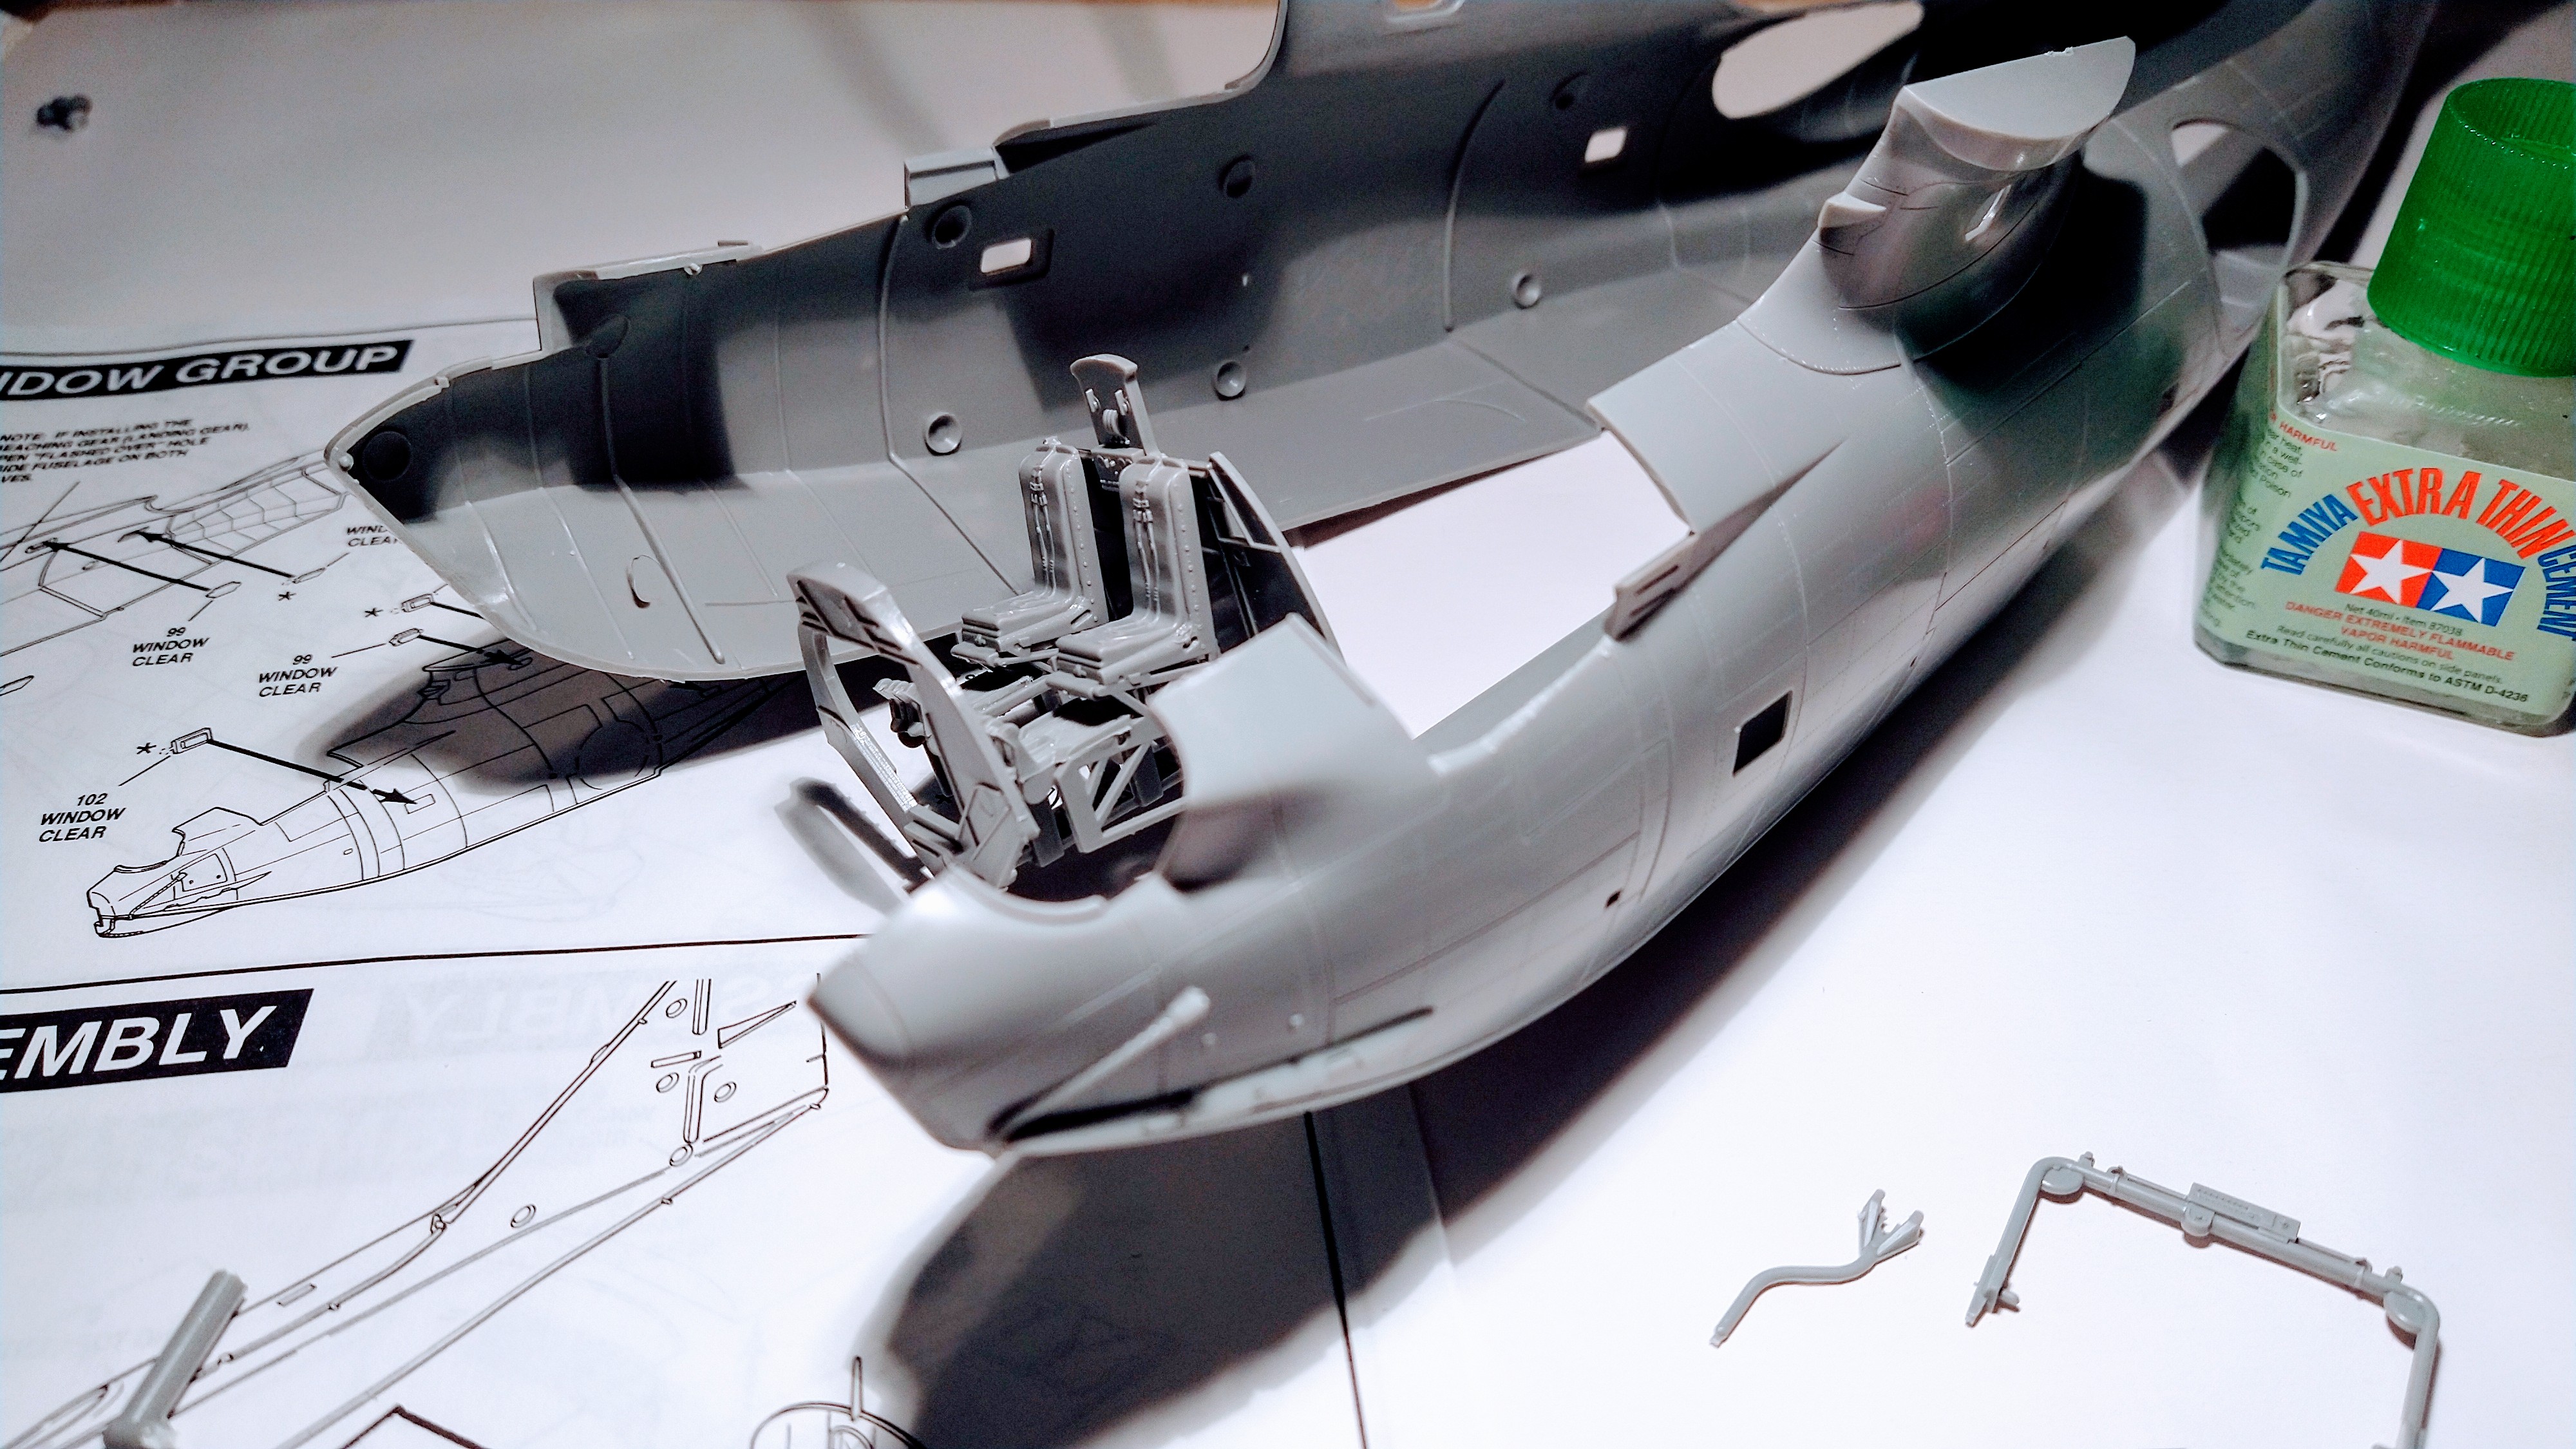
I have already glued the waist assembly, and I have second thoughts…
What would you do? To paint or not to paint the cockpit assembly before installing it?

Leave a comment in the comment section below.


