Monogram Martin B-26 Marauder – Interior green…

Thursday August 19, 2021

Oups… 

I just read this comment (Wednesday 18 August, 2021, 12h38).

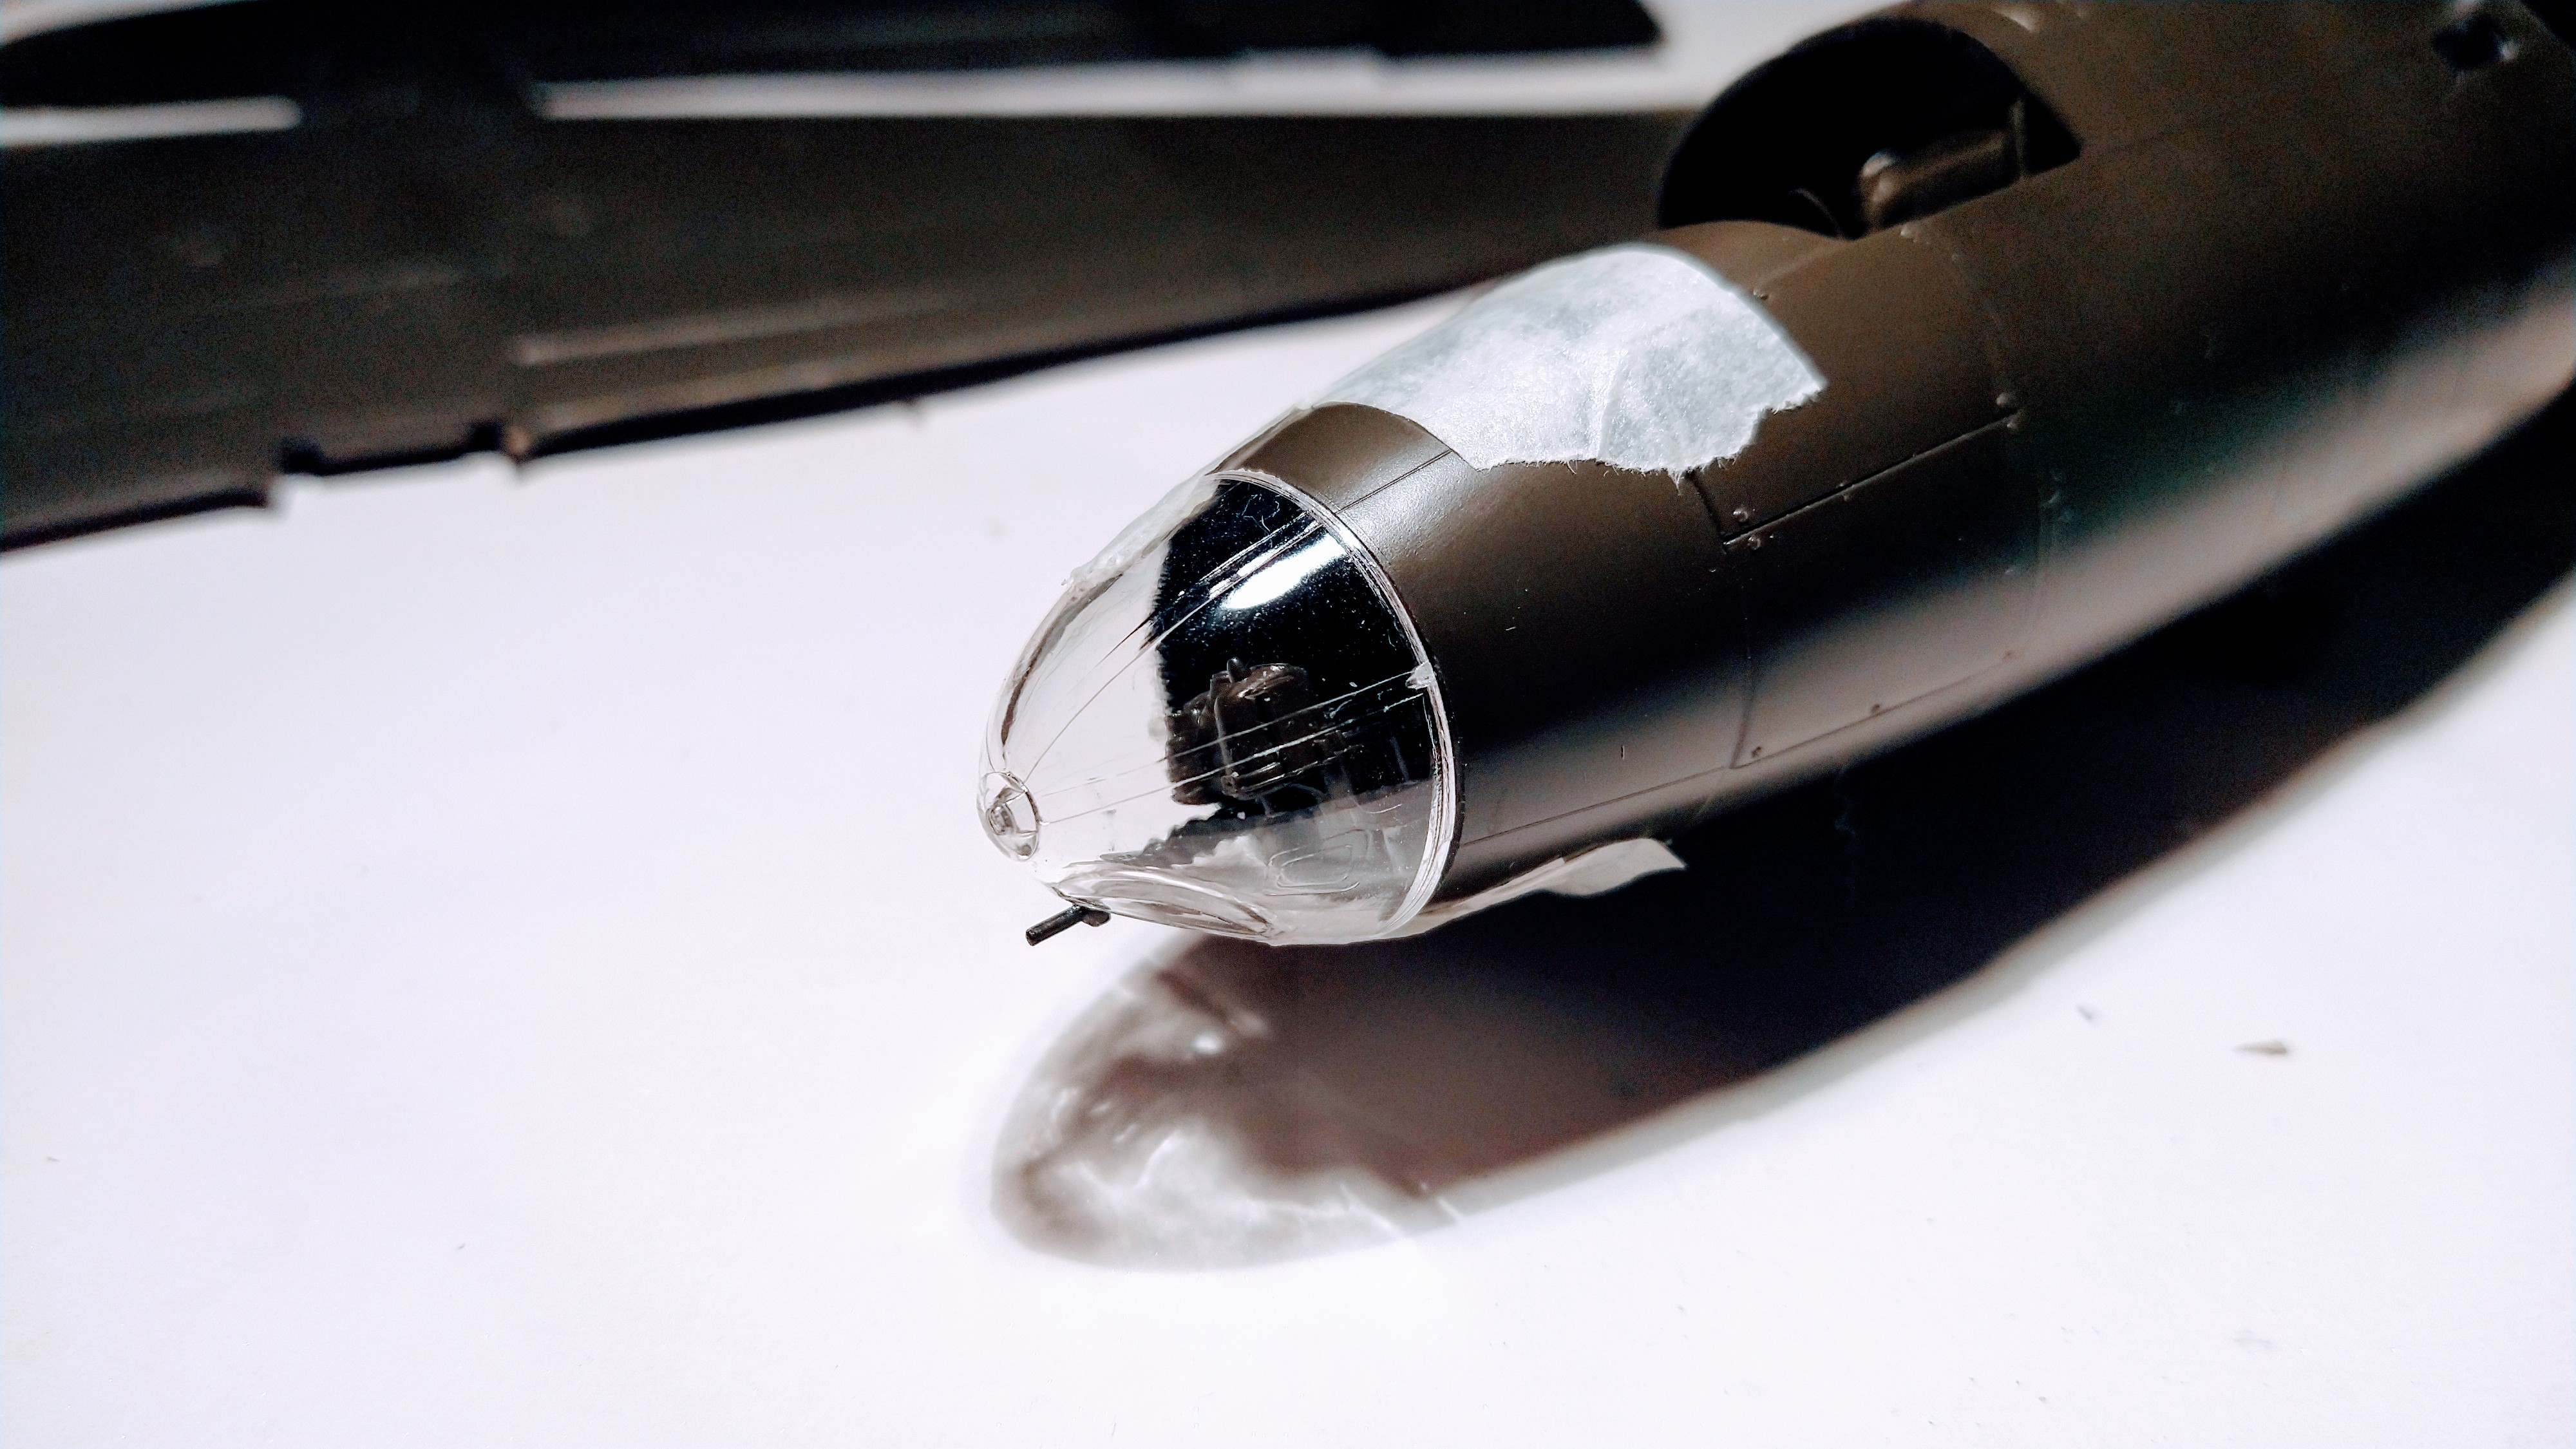
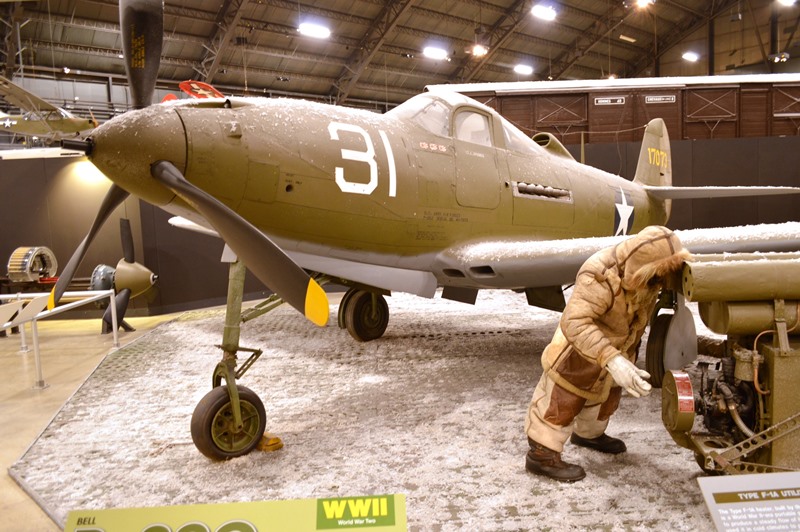
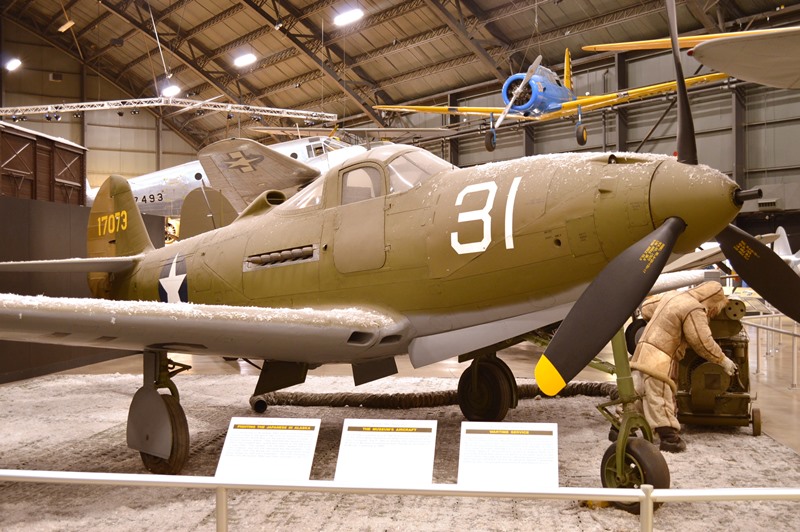
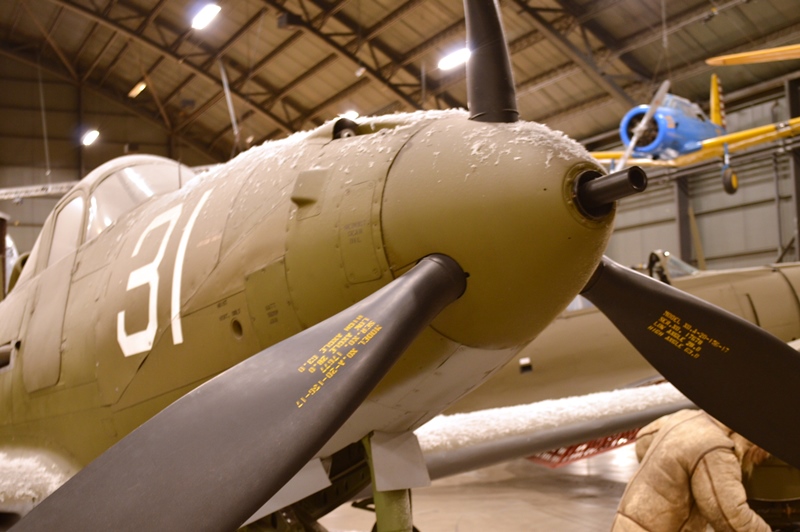
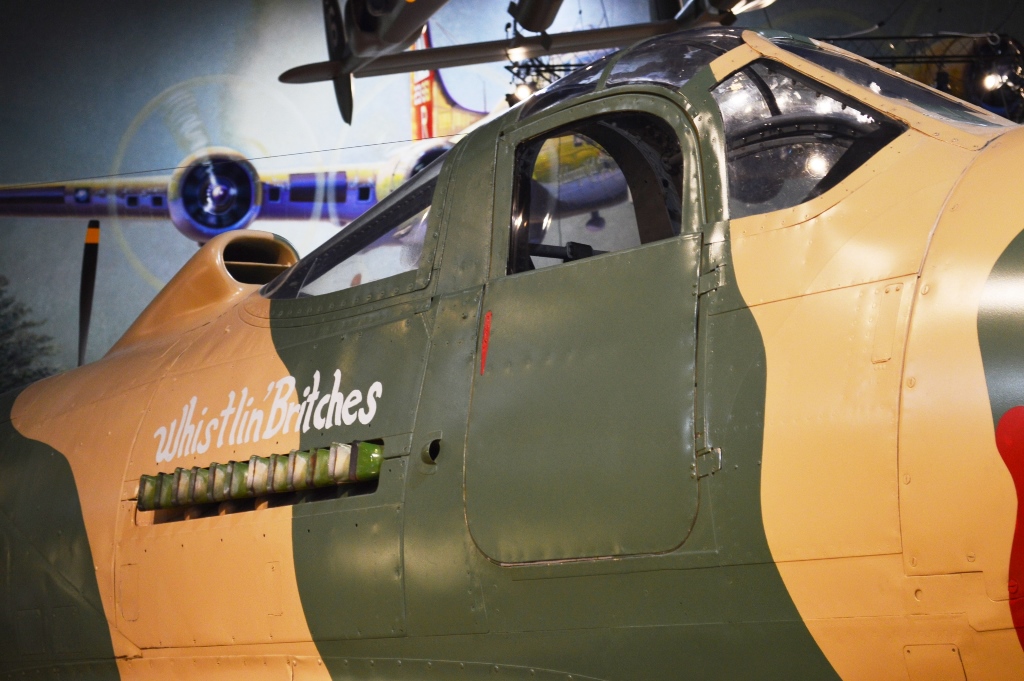
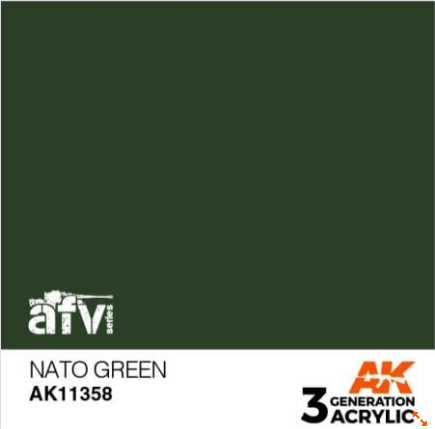
The Marauder isn’t painted “interior green”. It is painted (in the cockpit and nose, and rear gunner’s turret) in Dark Green (Tamiya XF-67 NATO Green will work). The bomb bay is Neutral Gray, and the rear fuselage is unpainted aluminum.

Screenshot 2021-08-18 12.45.52

Darn!

I told you My Forgotten Hobby was like a sitcom full of surprises. I always have a draft written one or a few days before I hit the Publish button.

On Monday night I had painted the cockpit area dark green, then not liking what I did, on Tuesday morning I got thinking that I should use zinc chromate instead.

This is what I wrote on Wednesday morning…

wp-1629287600511.jpg

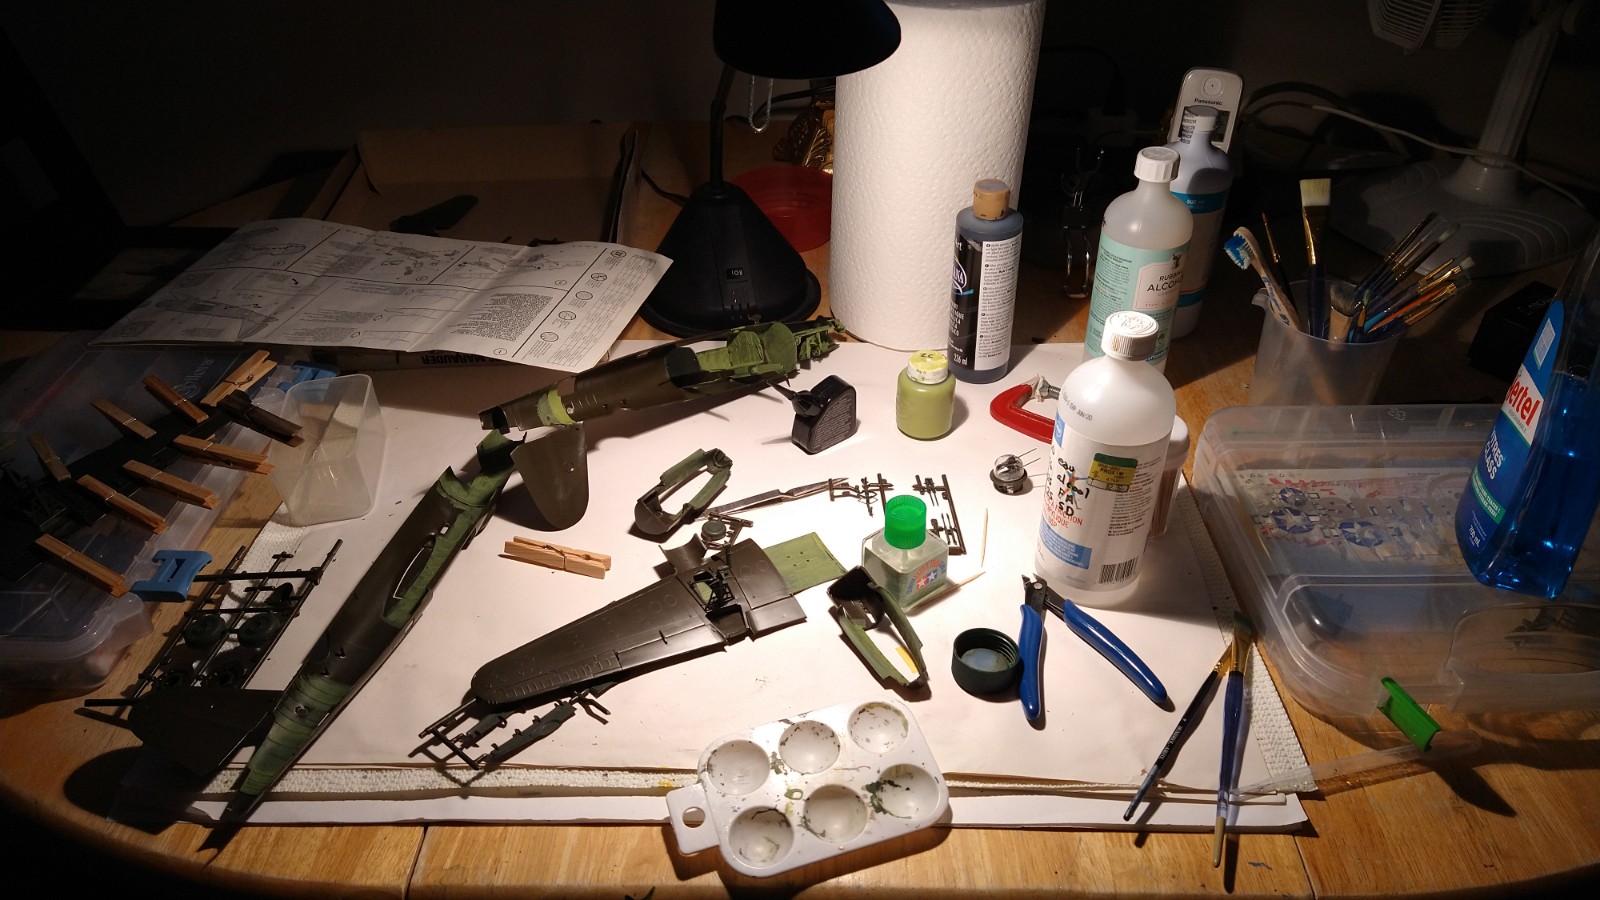
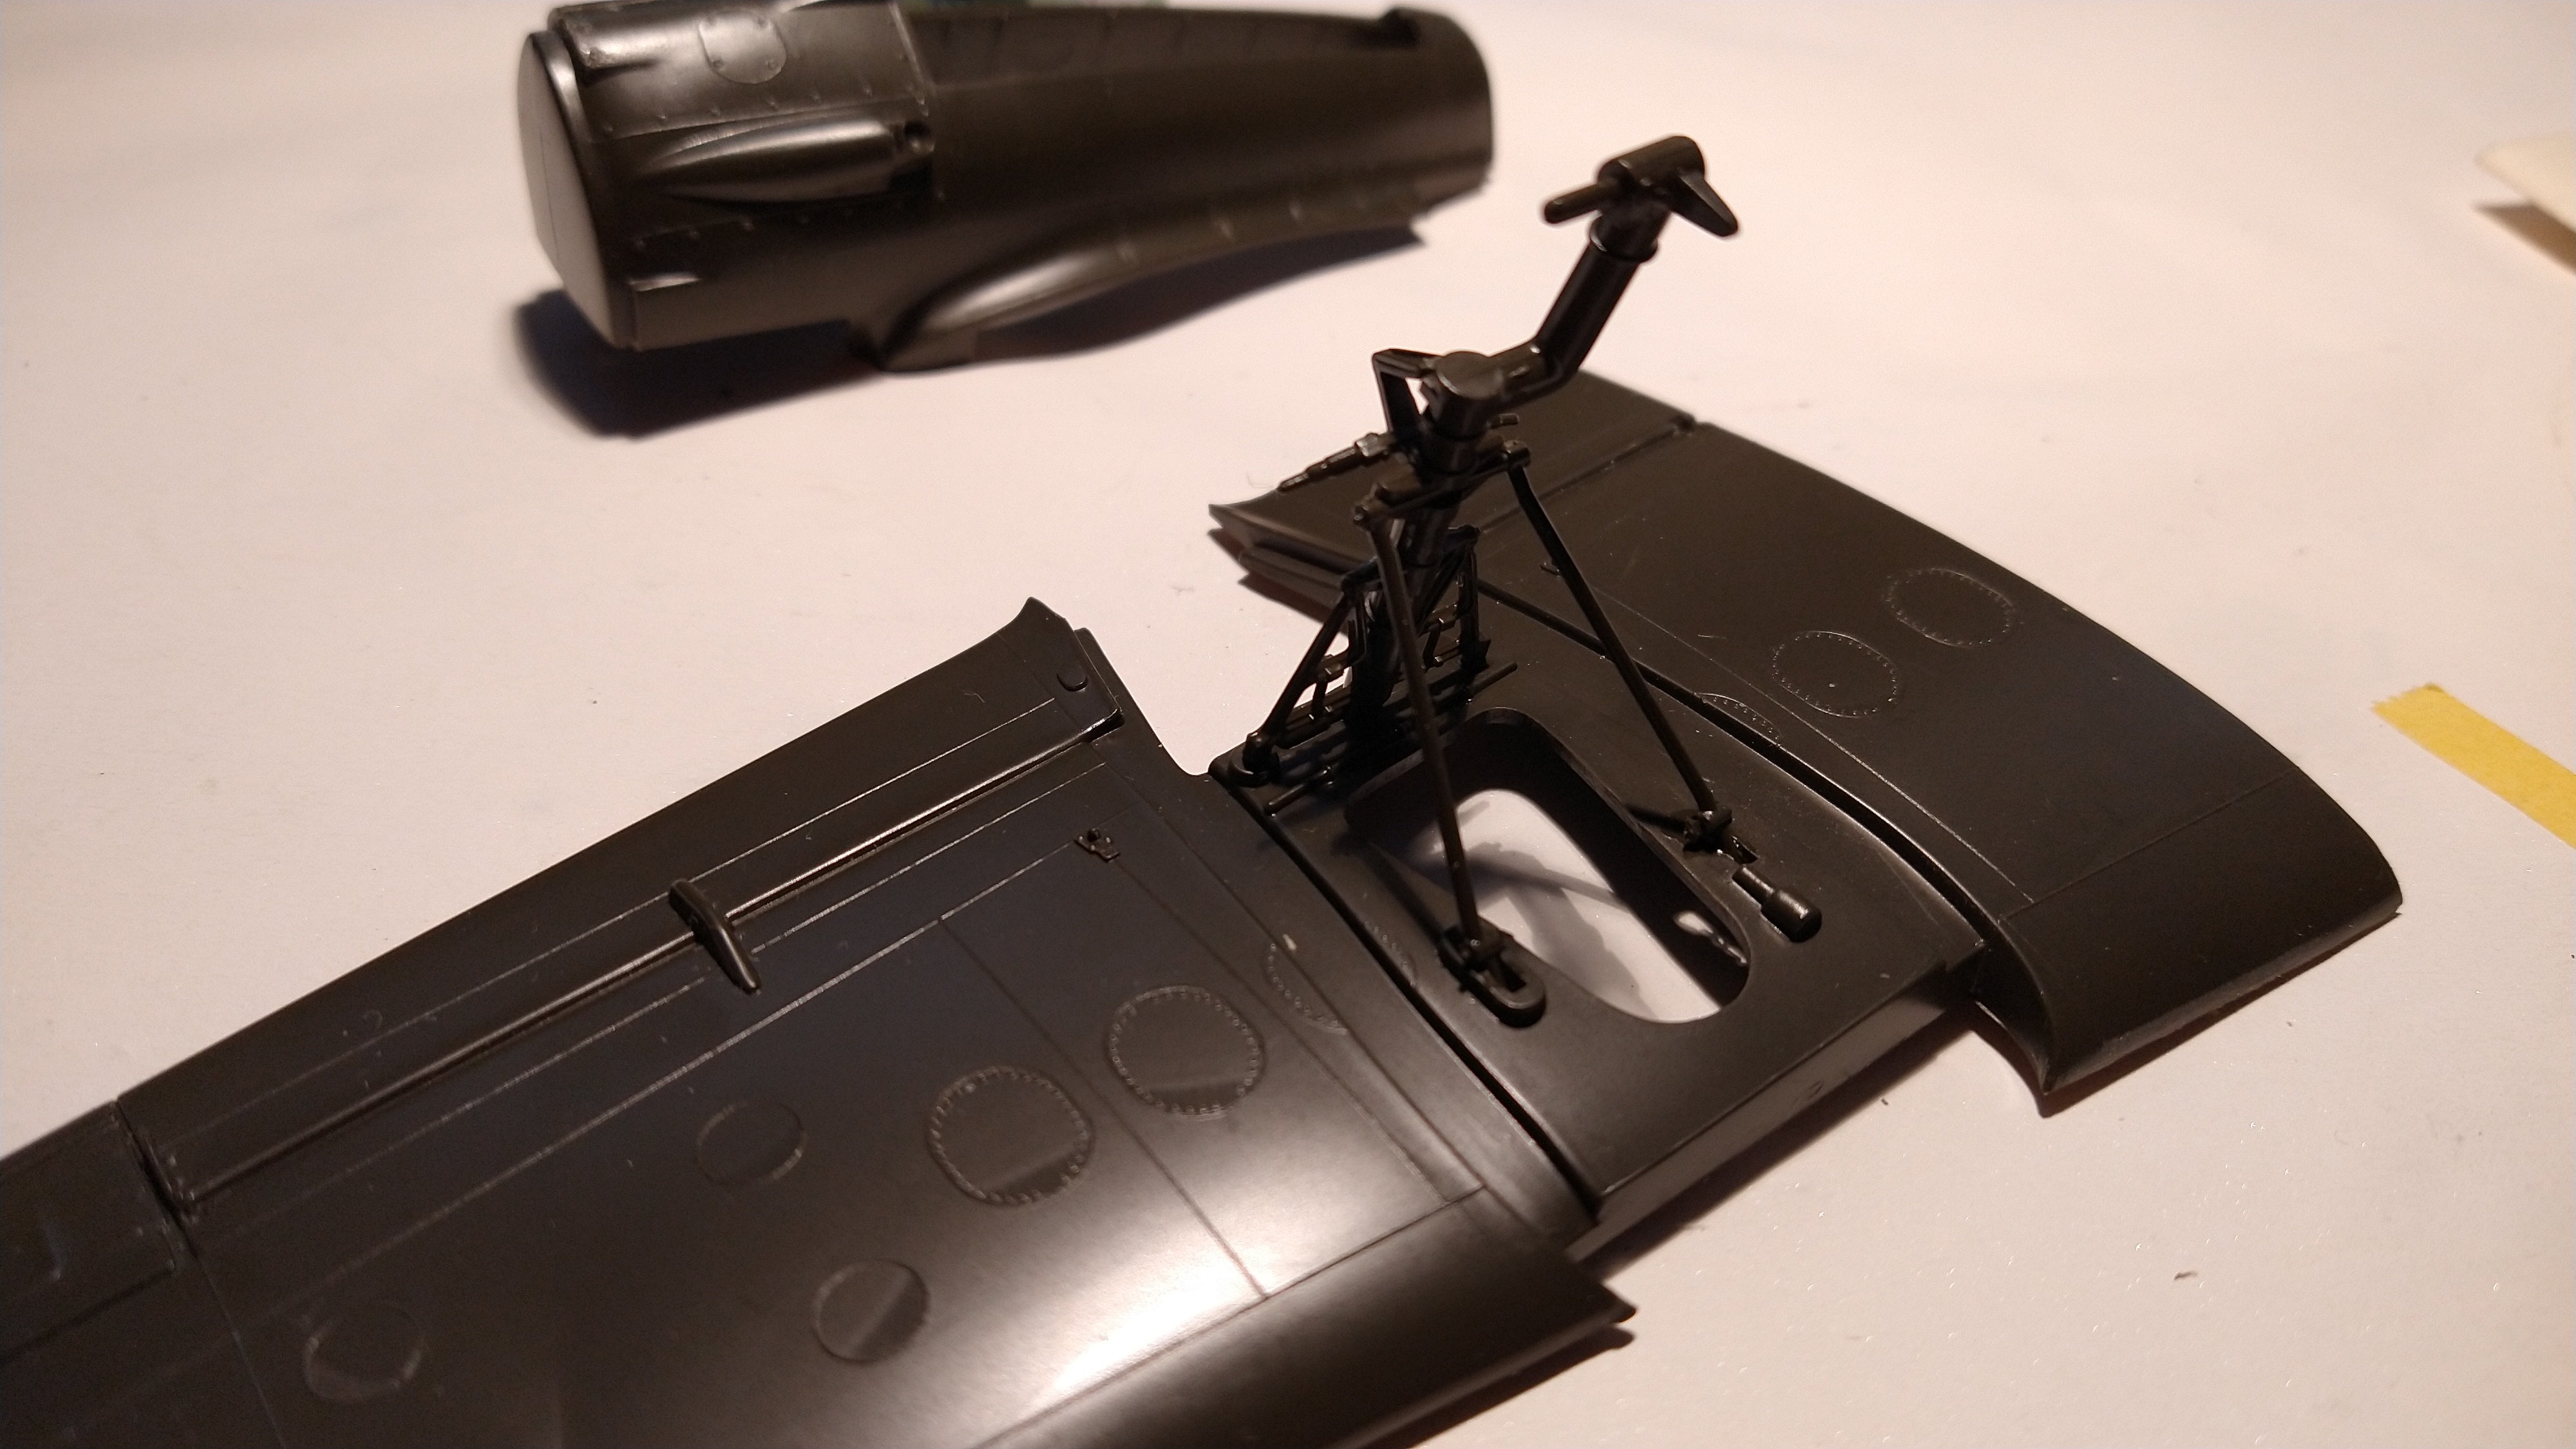
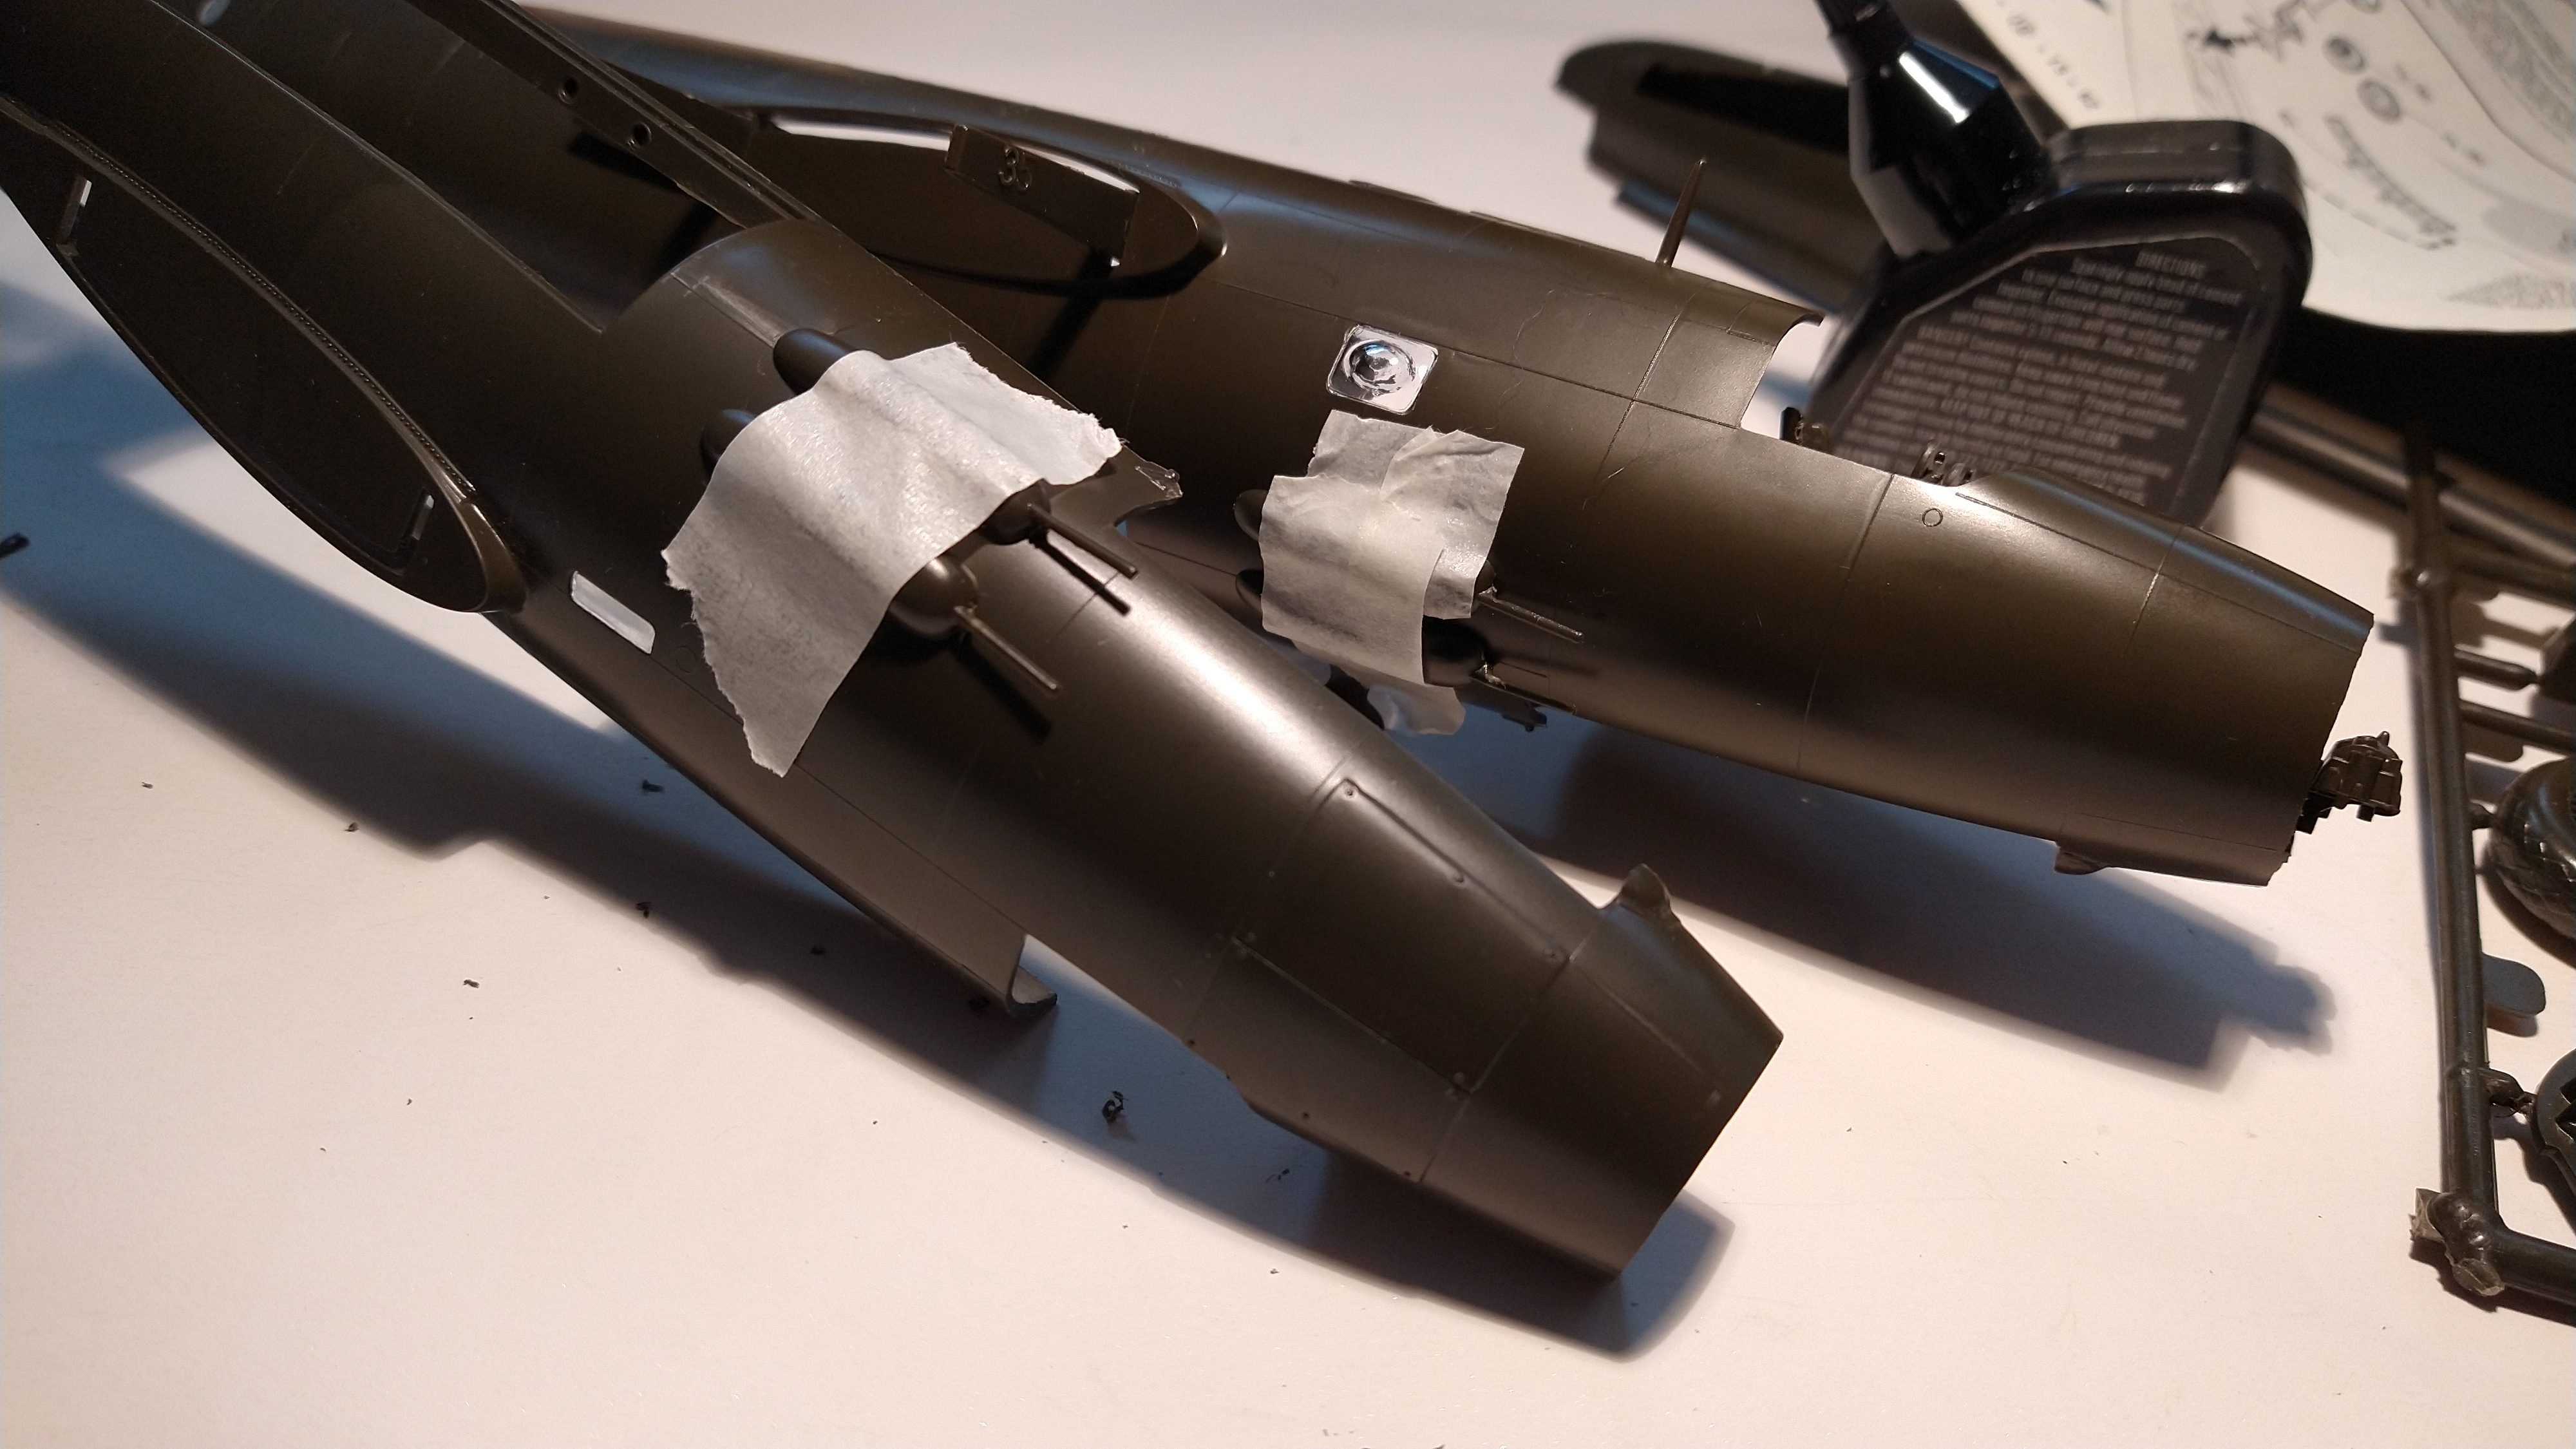
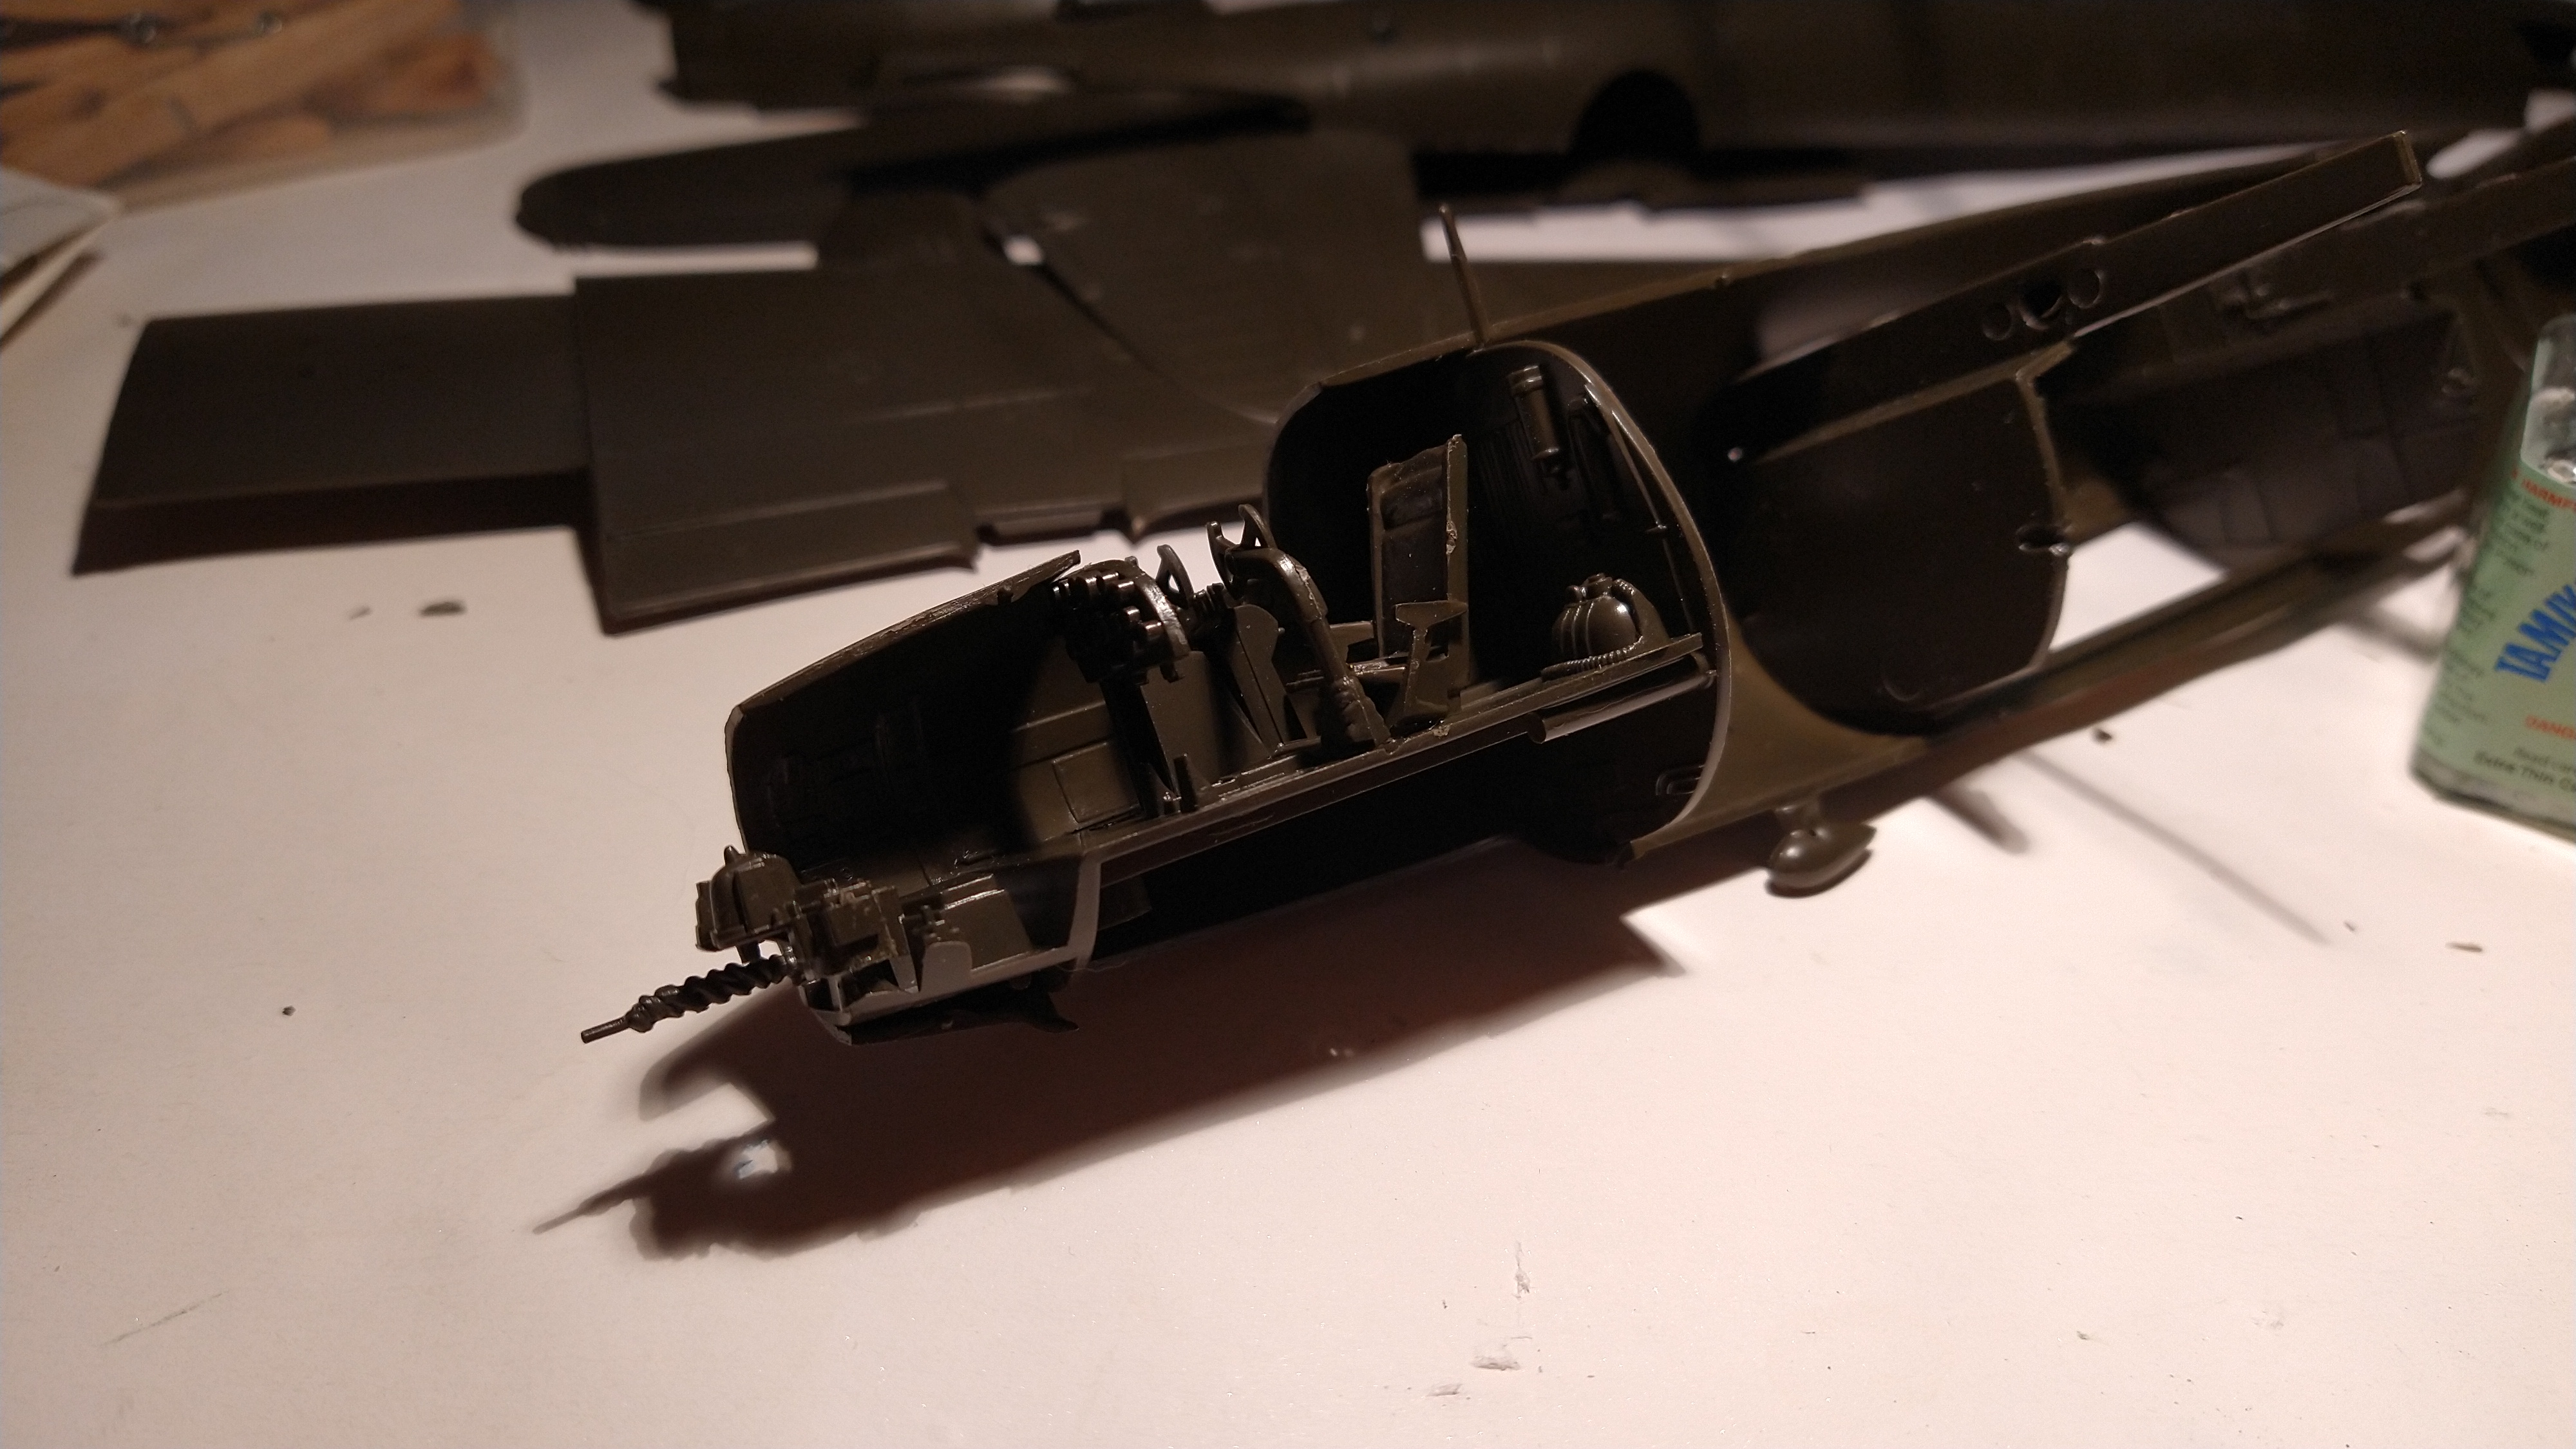
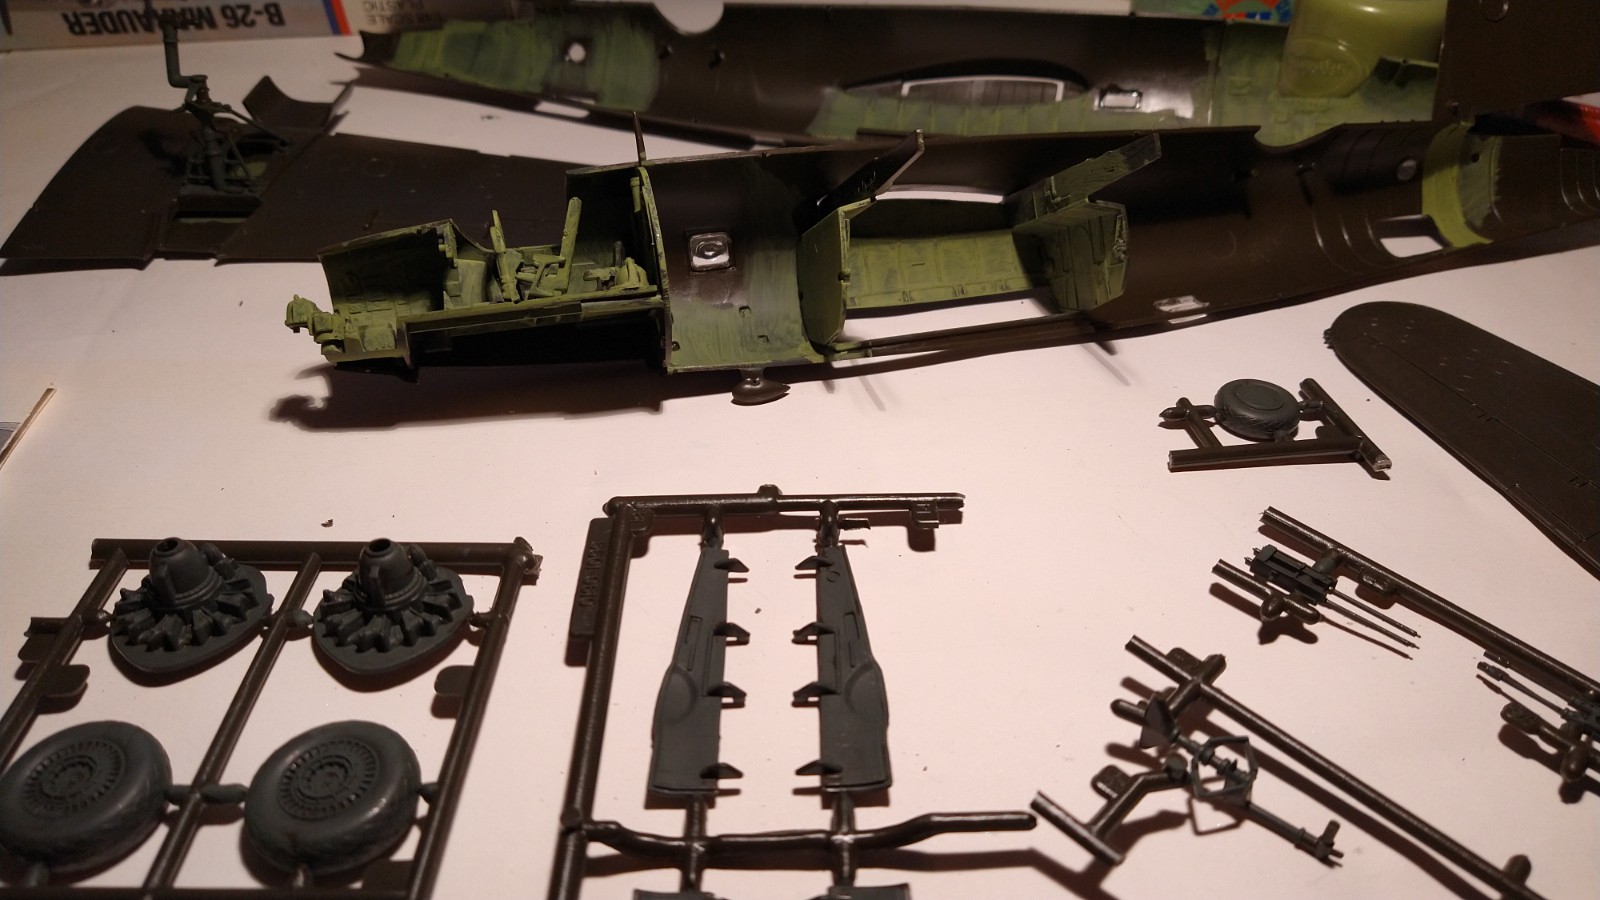
Lots of excitement when I start painting and my workbench proves it.

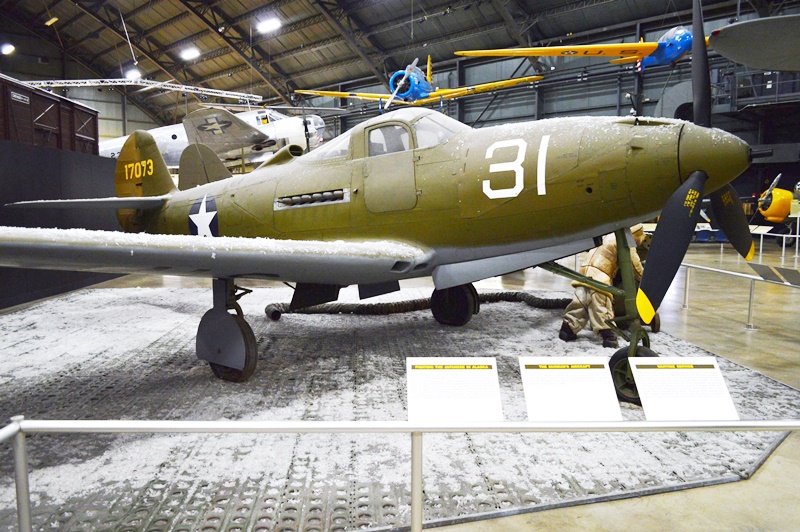
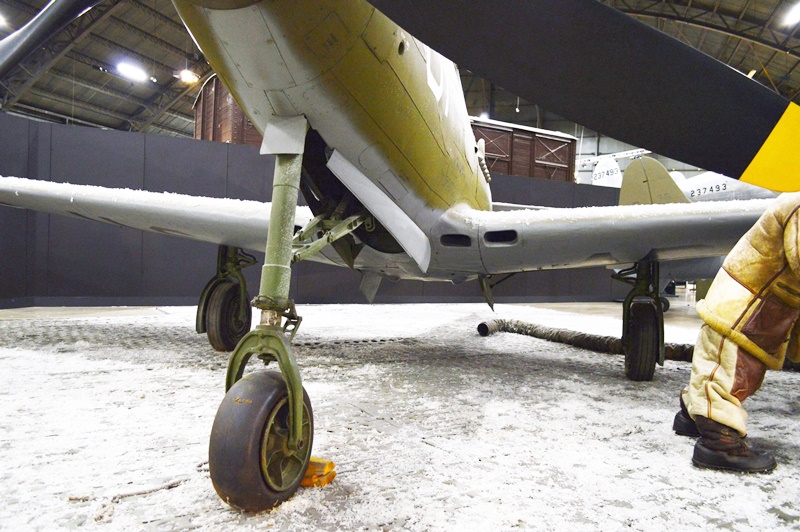
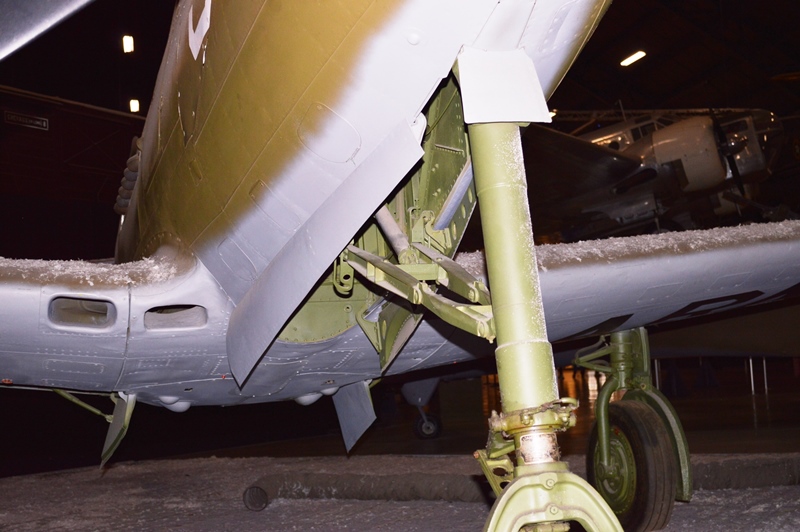
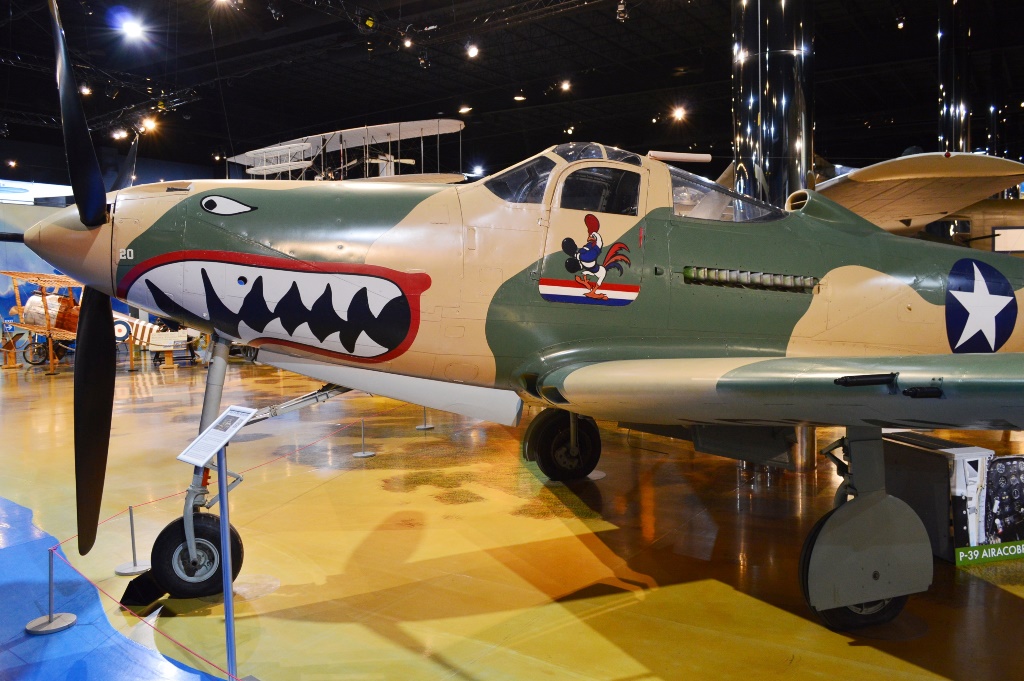
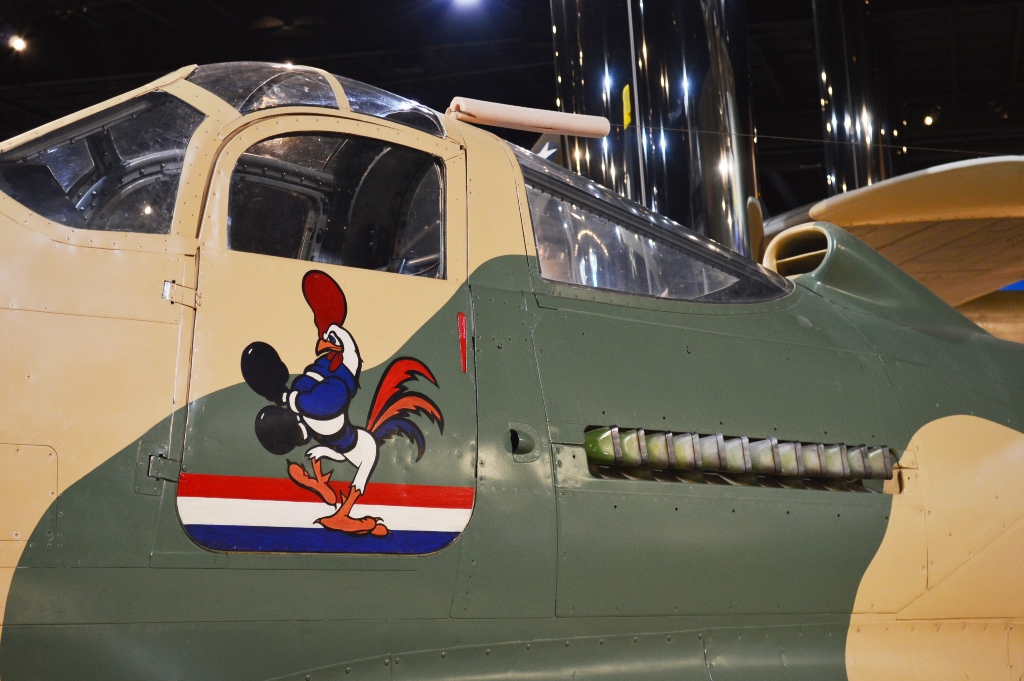
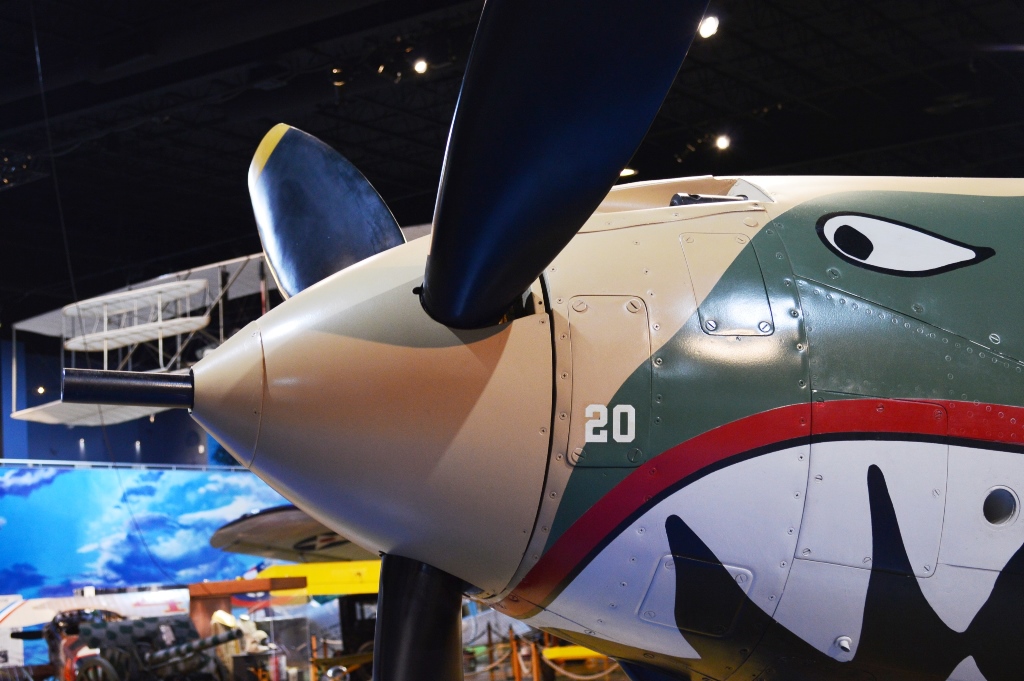
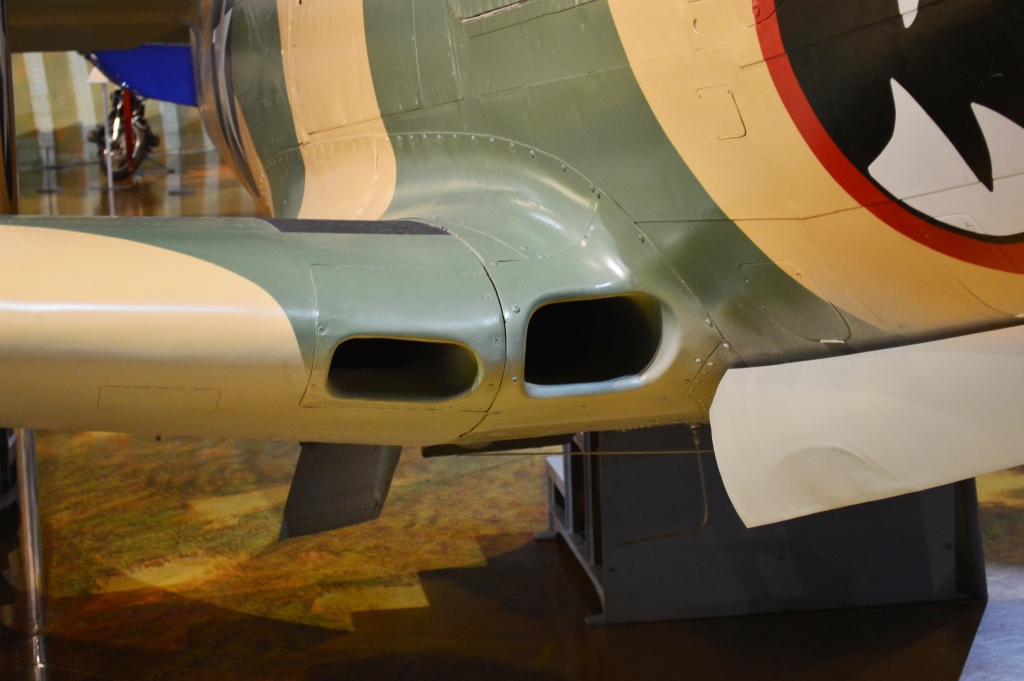
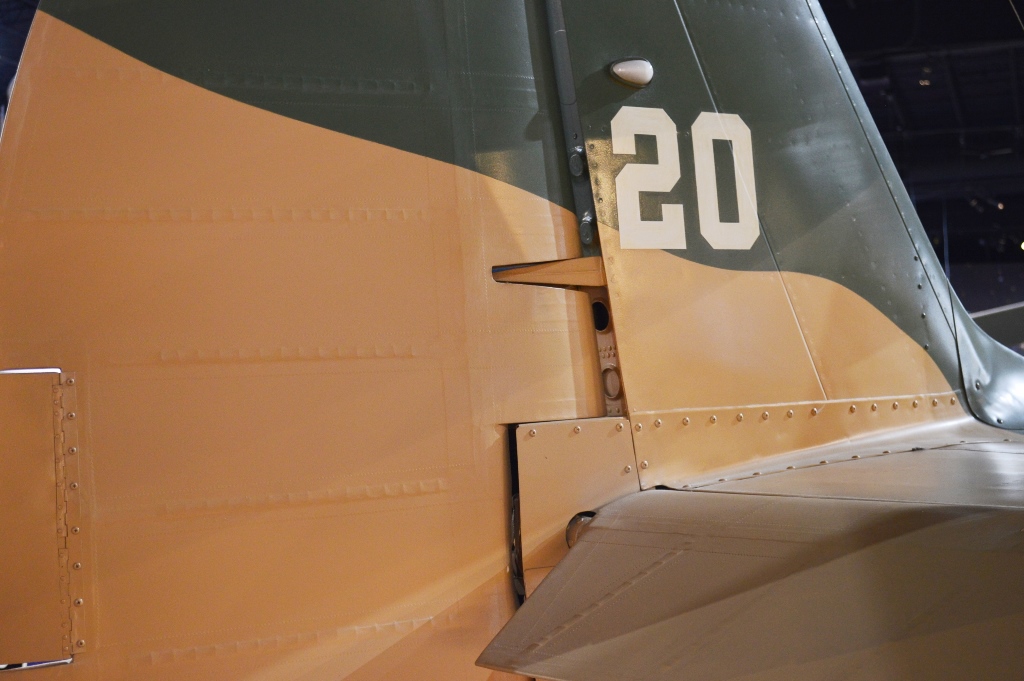
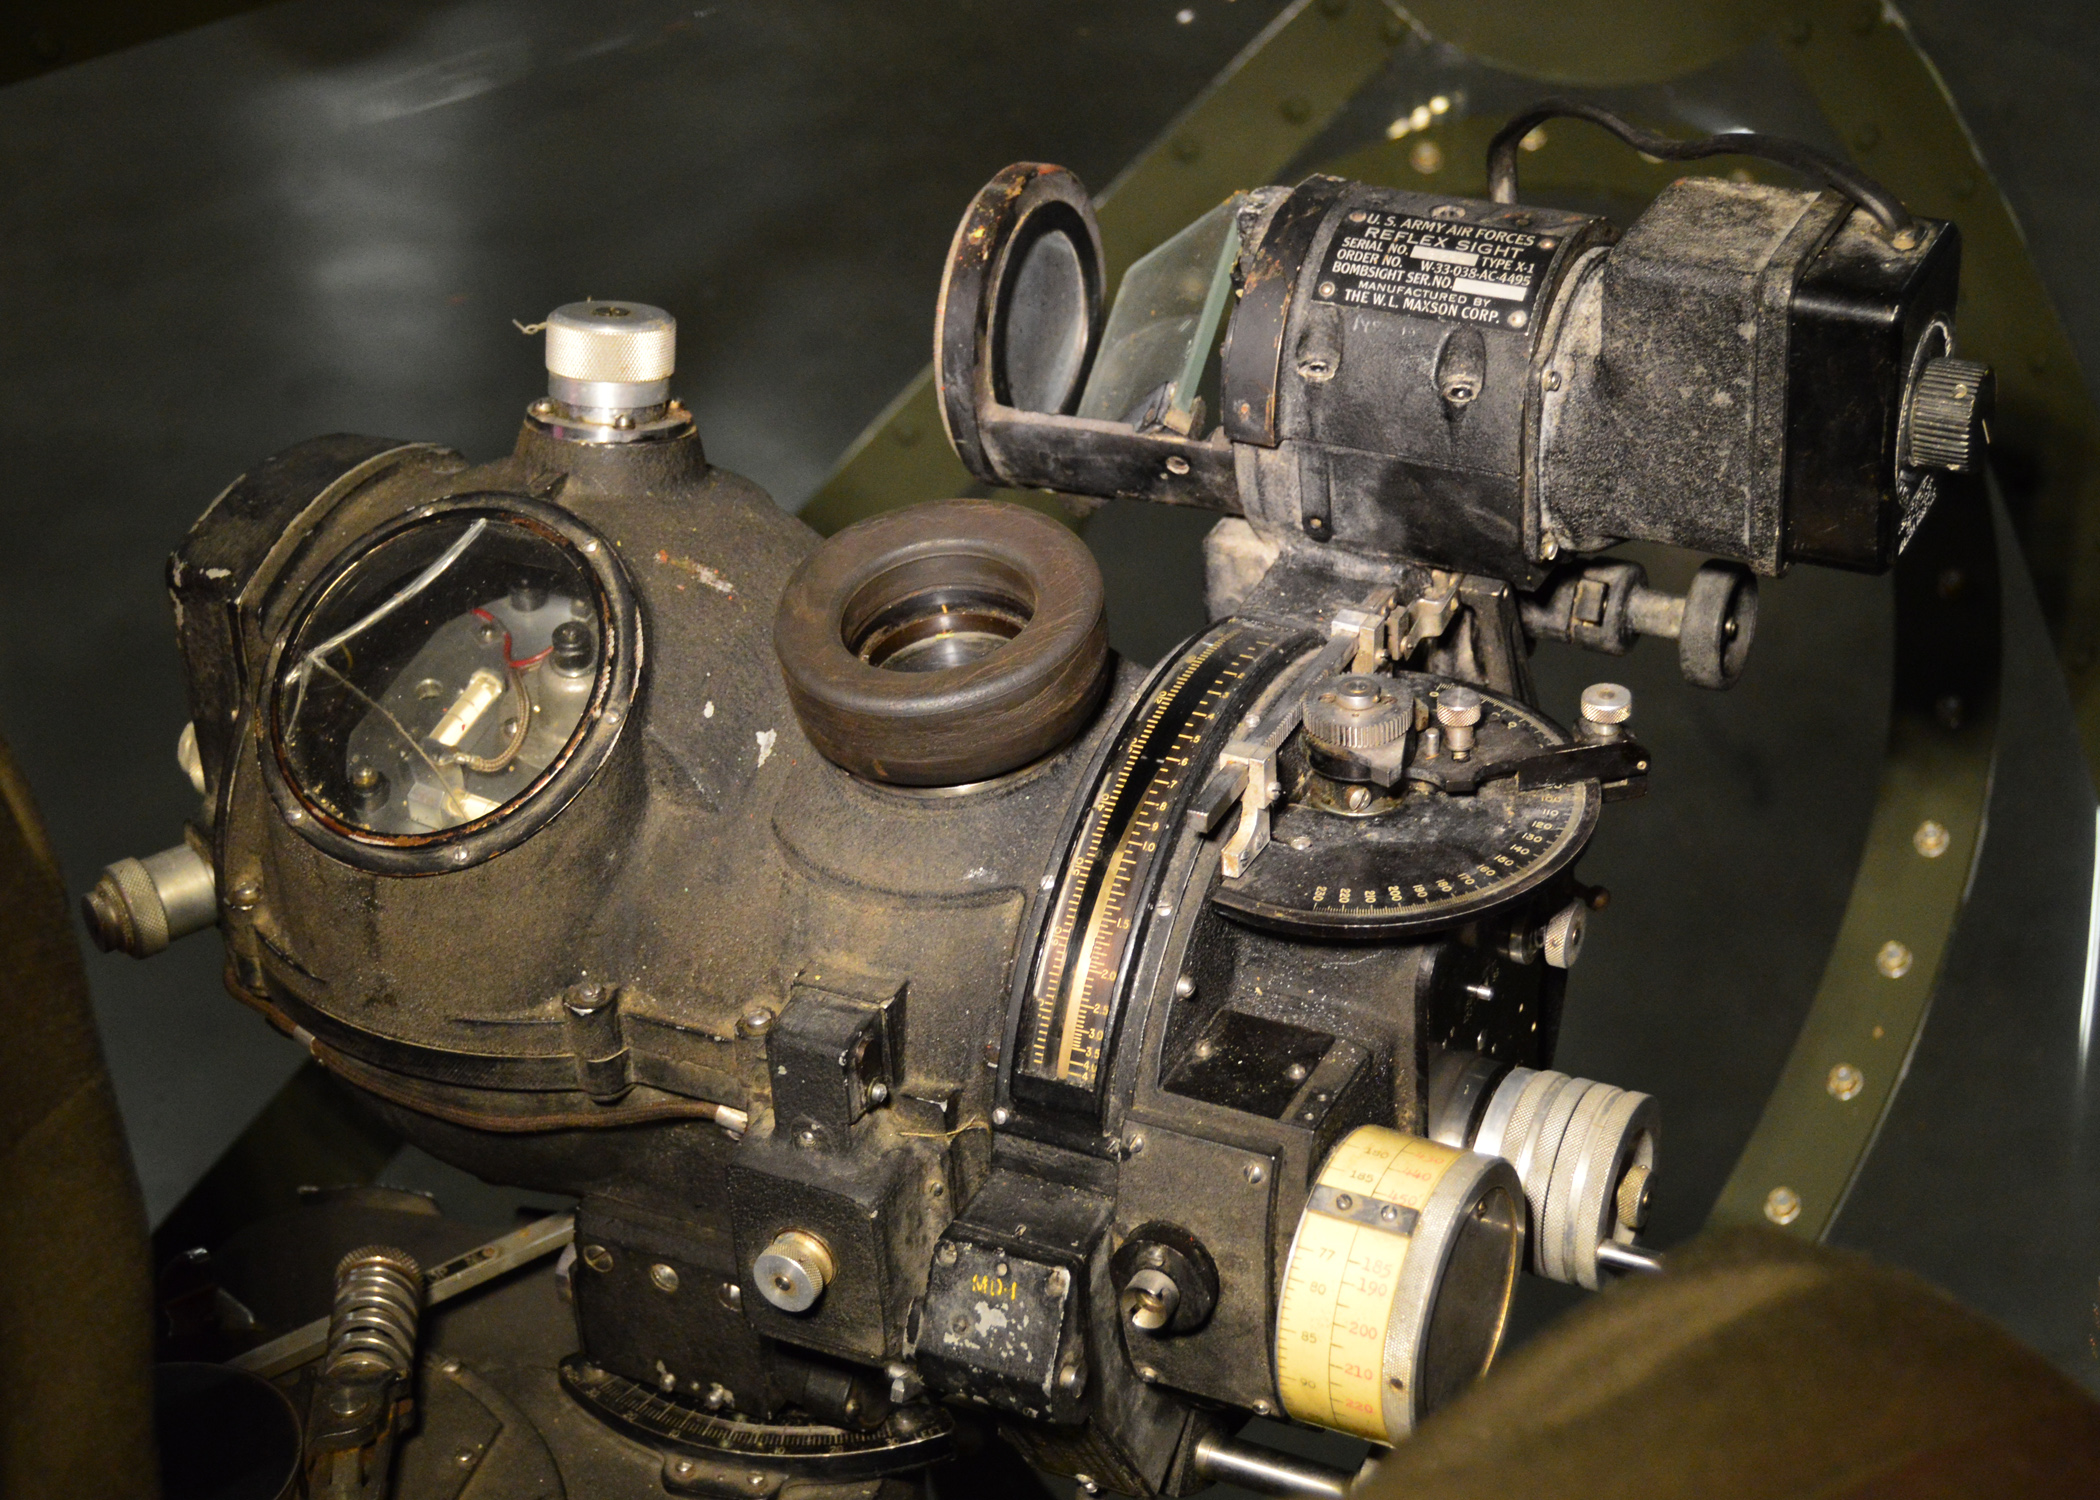
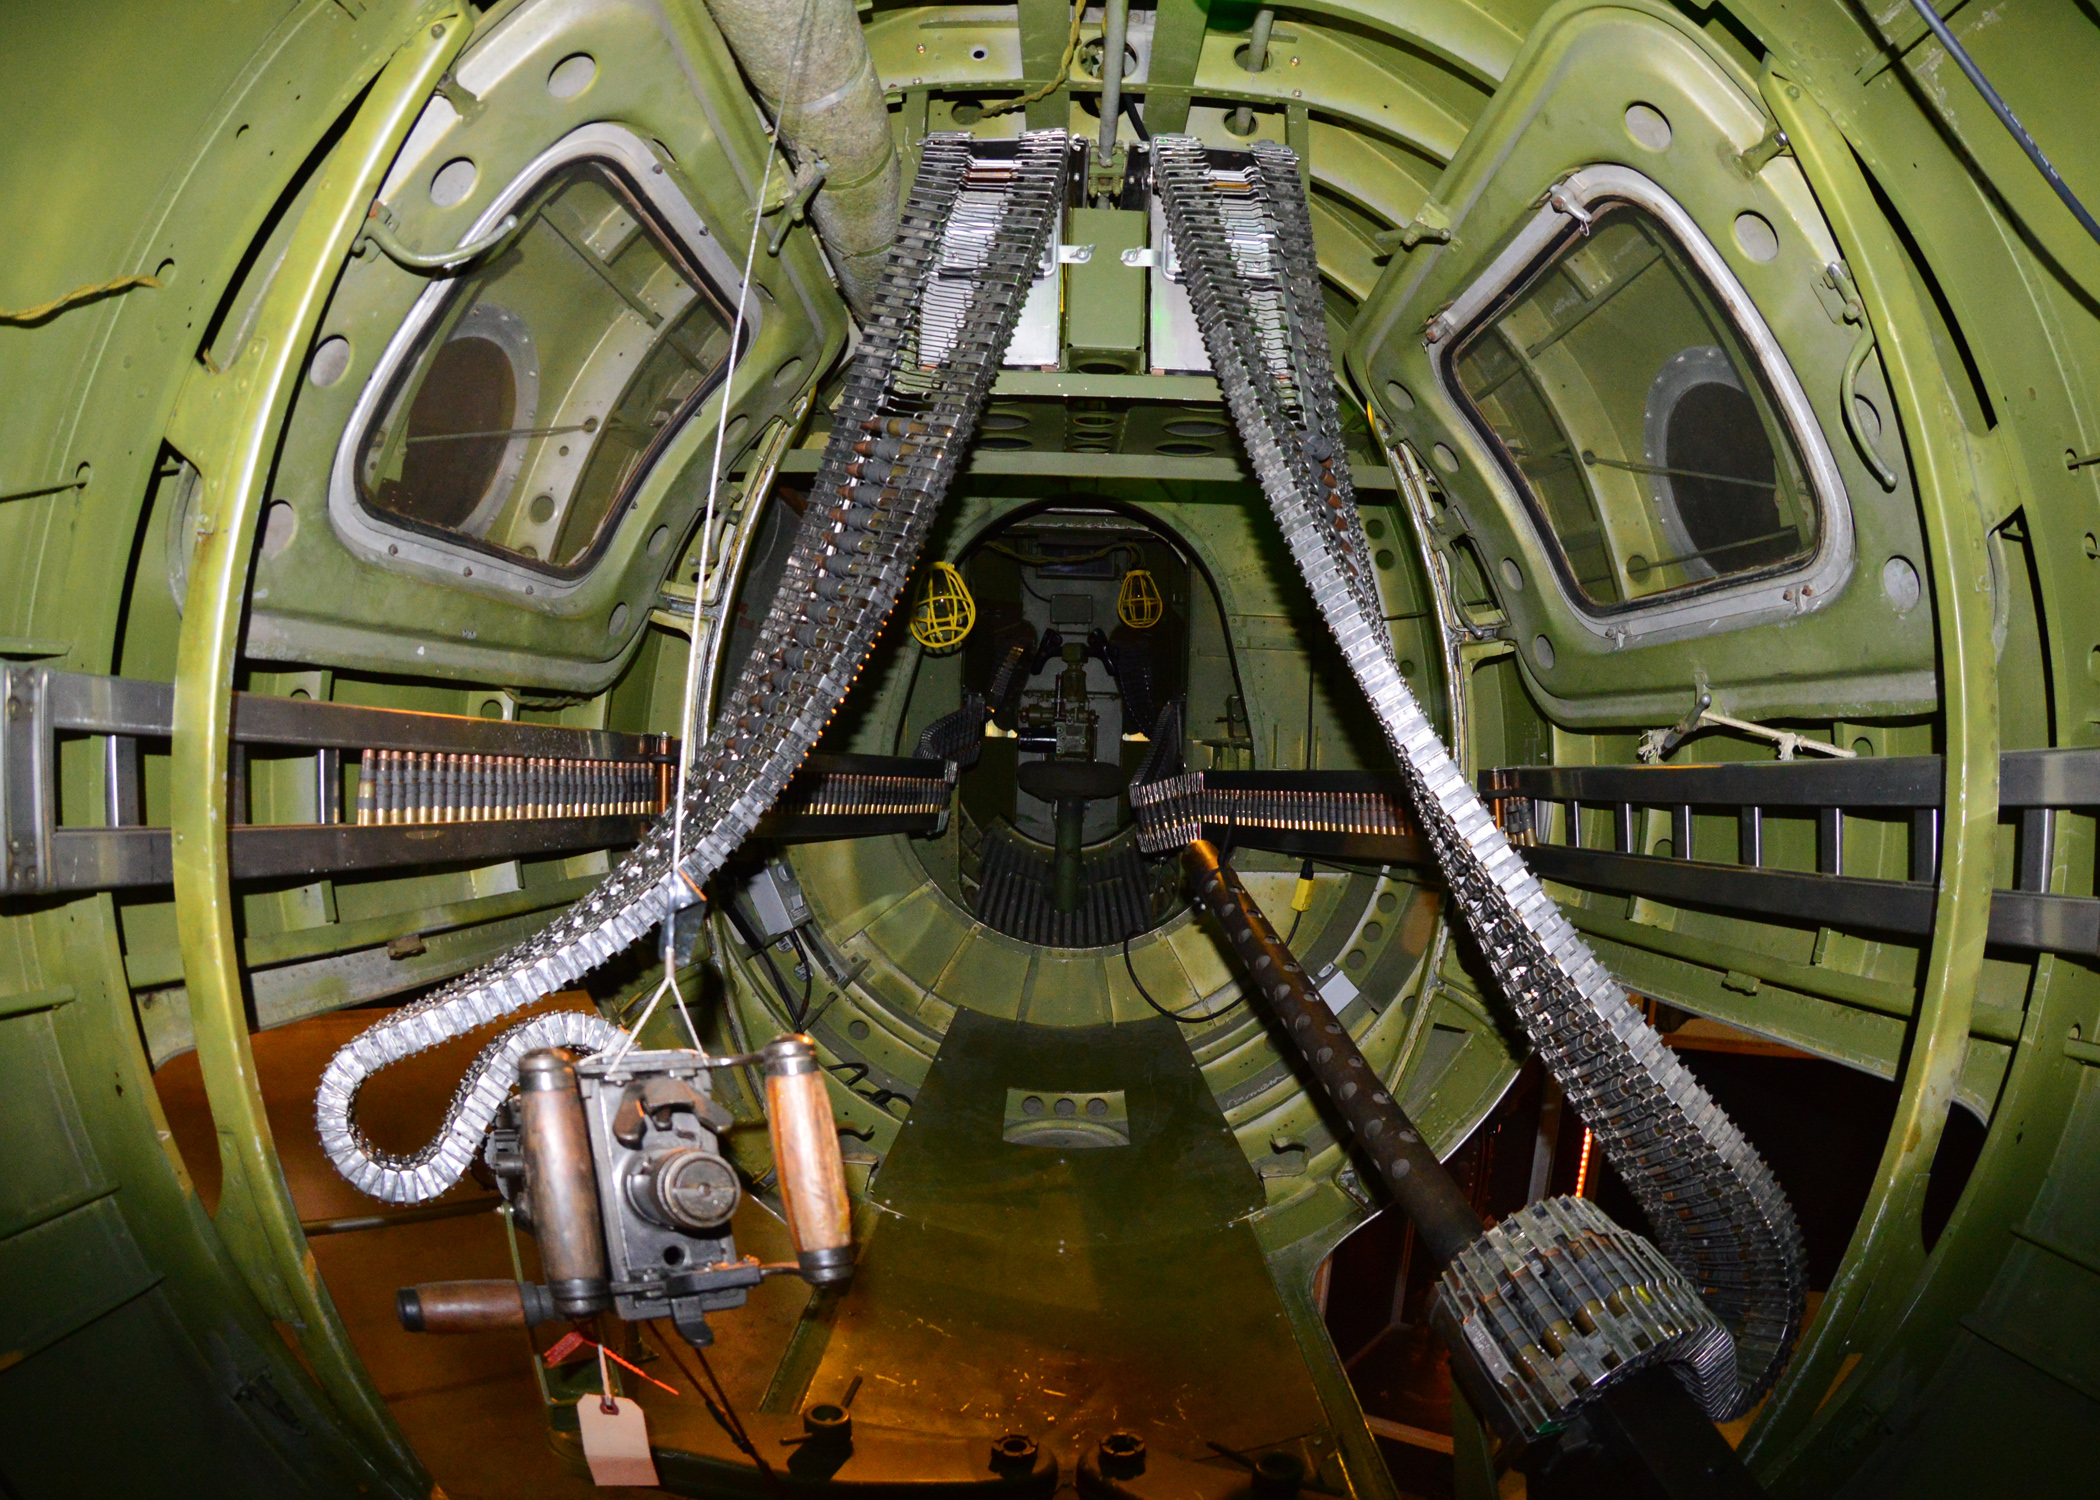
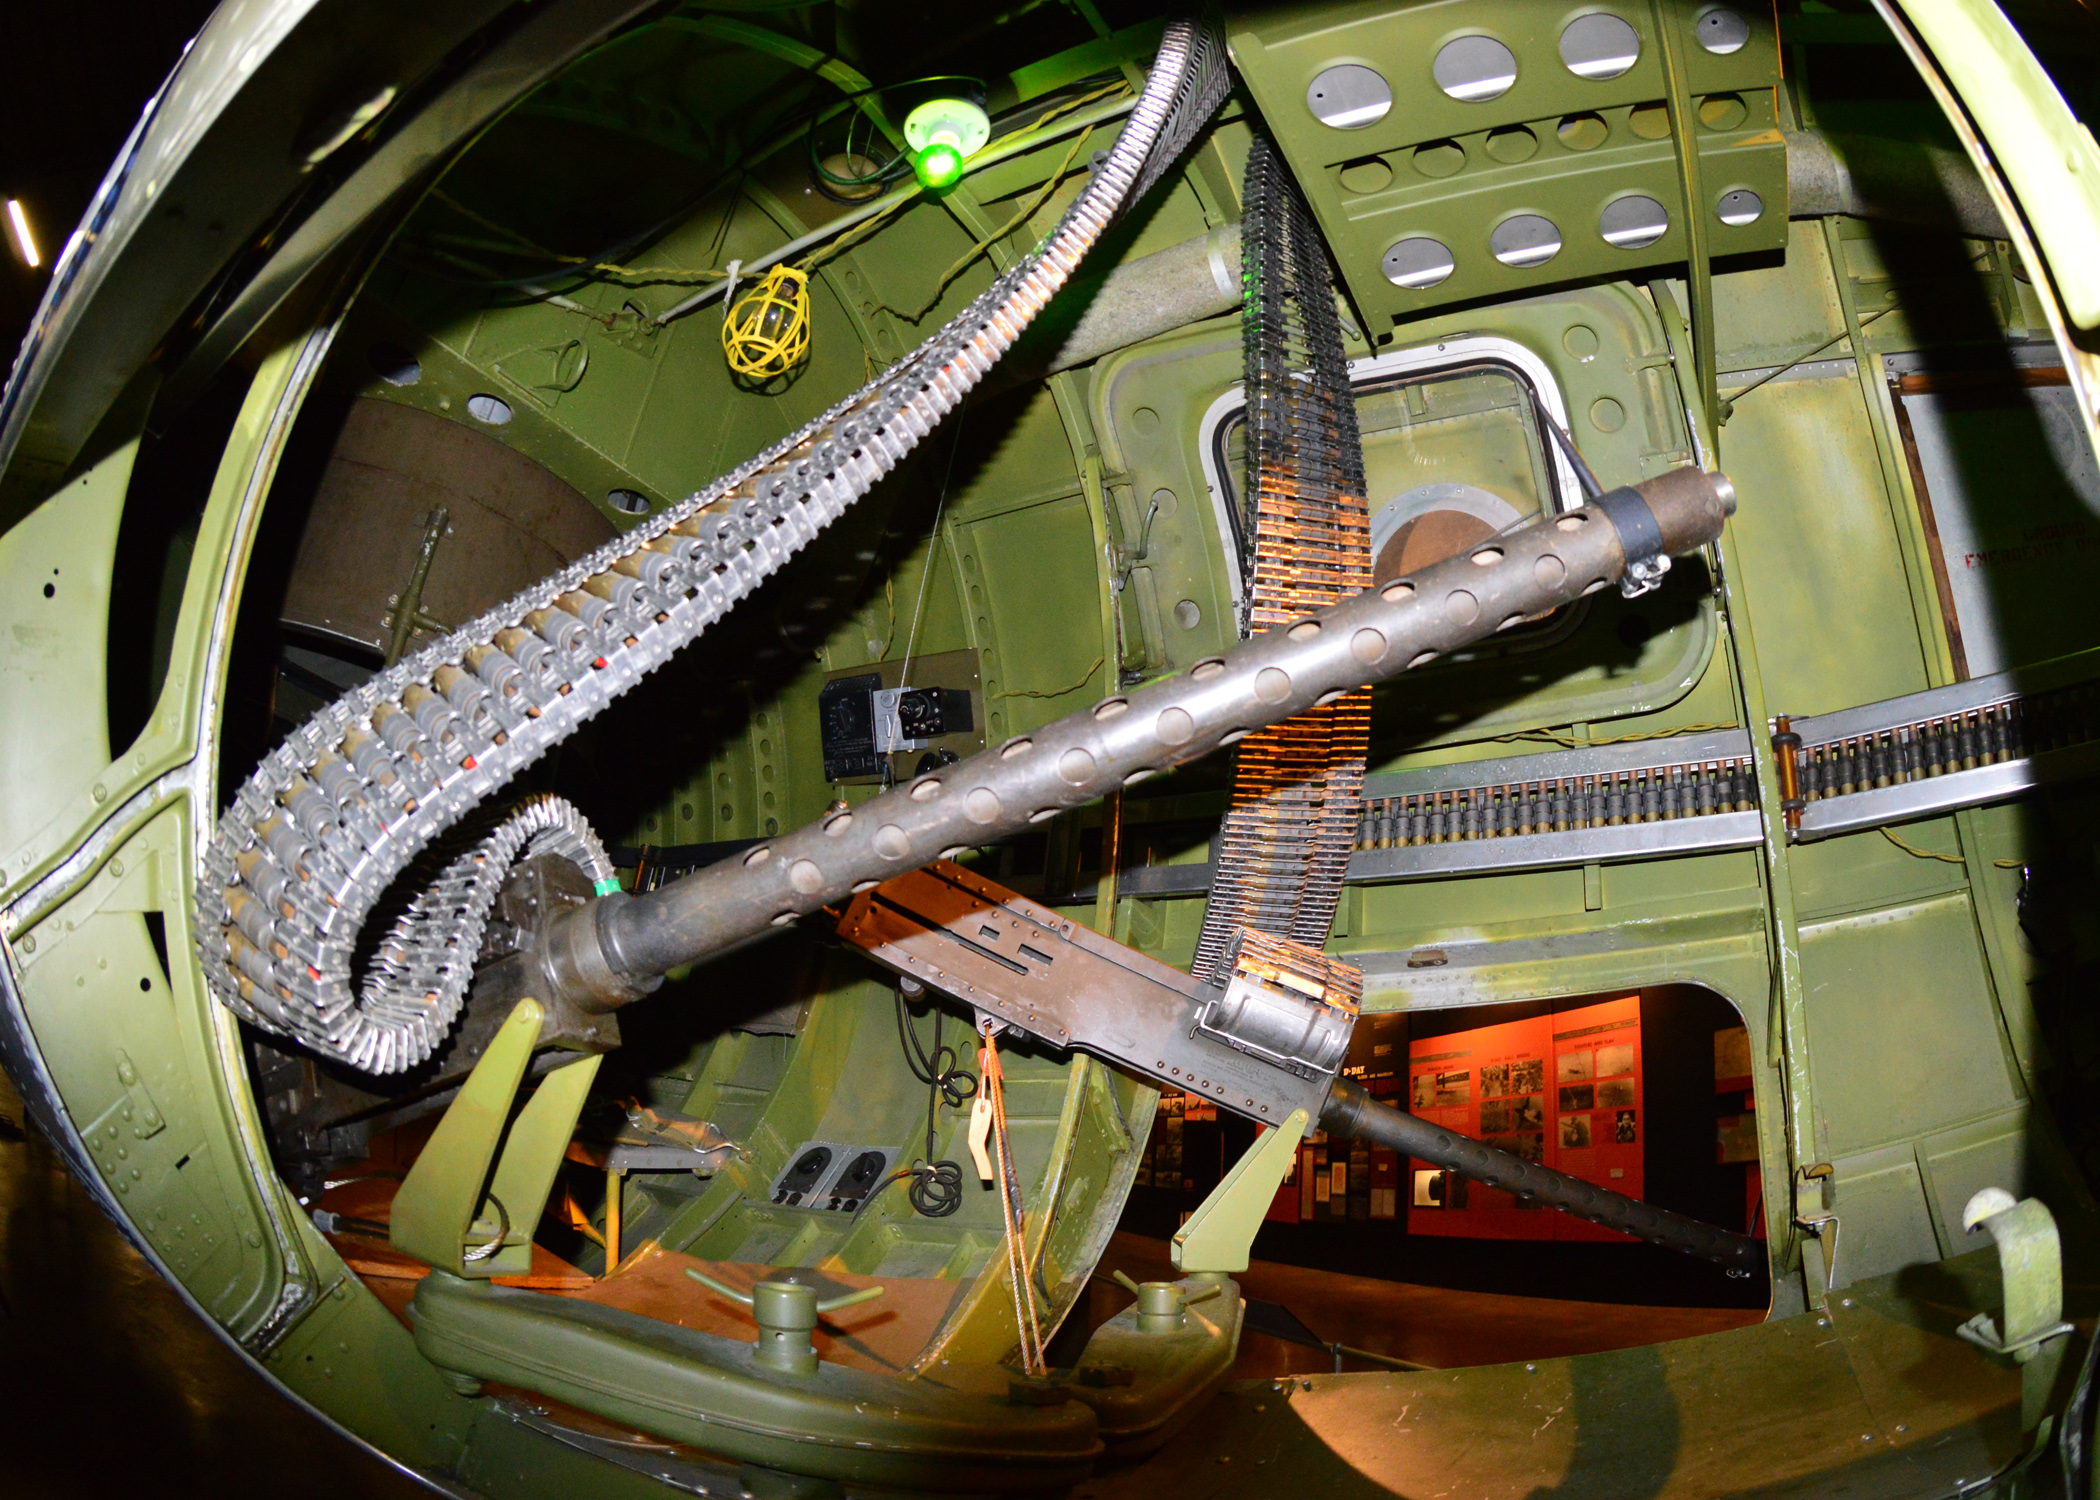
I first tried this shade of green which looks more a dark gray on some parts and then I changed my mind when I saw these photos on this Website…

https://www.nationalmuseum.af.mil/Visit/Museum-Exhibits/Fact-Sheets/Display/Article/196275/martin-b-26g-marauder/

150303-F-IO108-001


150303-F-IO108-004

150303-F-IO108-019

150303-F-IO108-009

150303-F-IO108-012

150303-F-IO108-010

150303-F-IO108-018

150303-F-IO108-016

150303-F-IO108-017

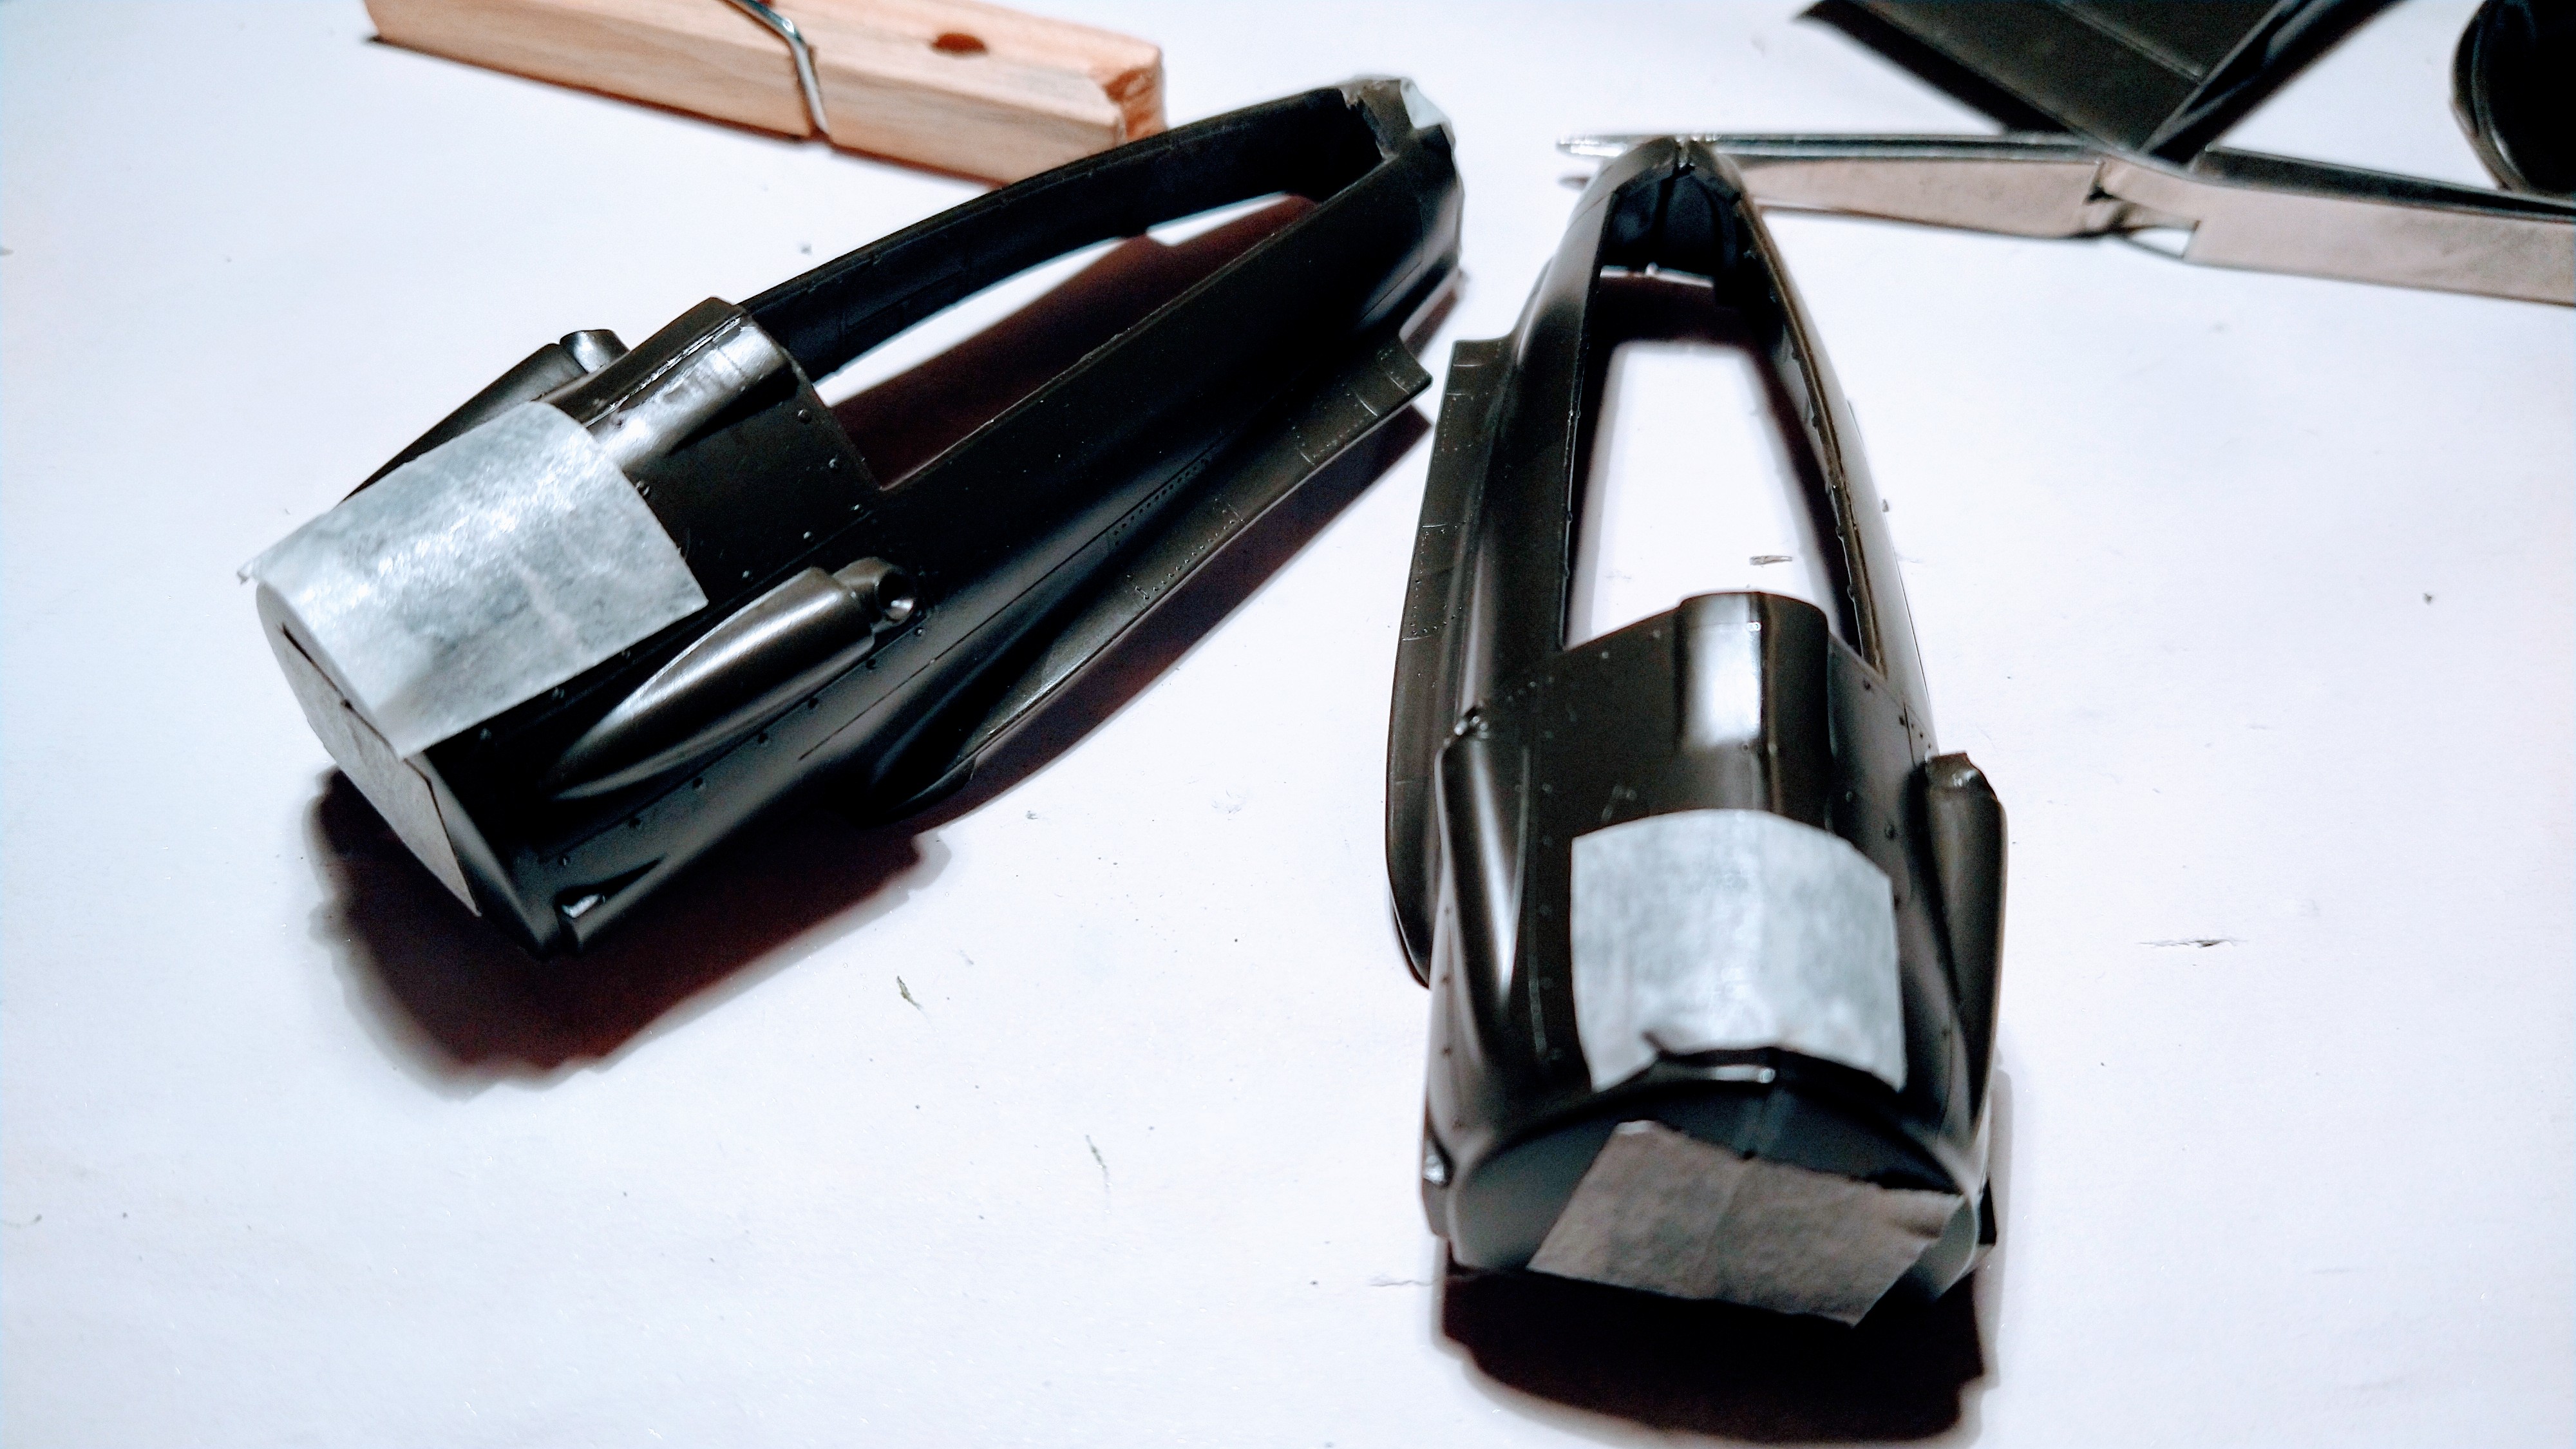
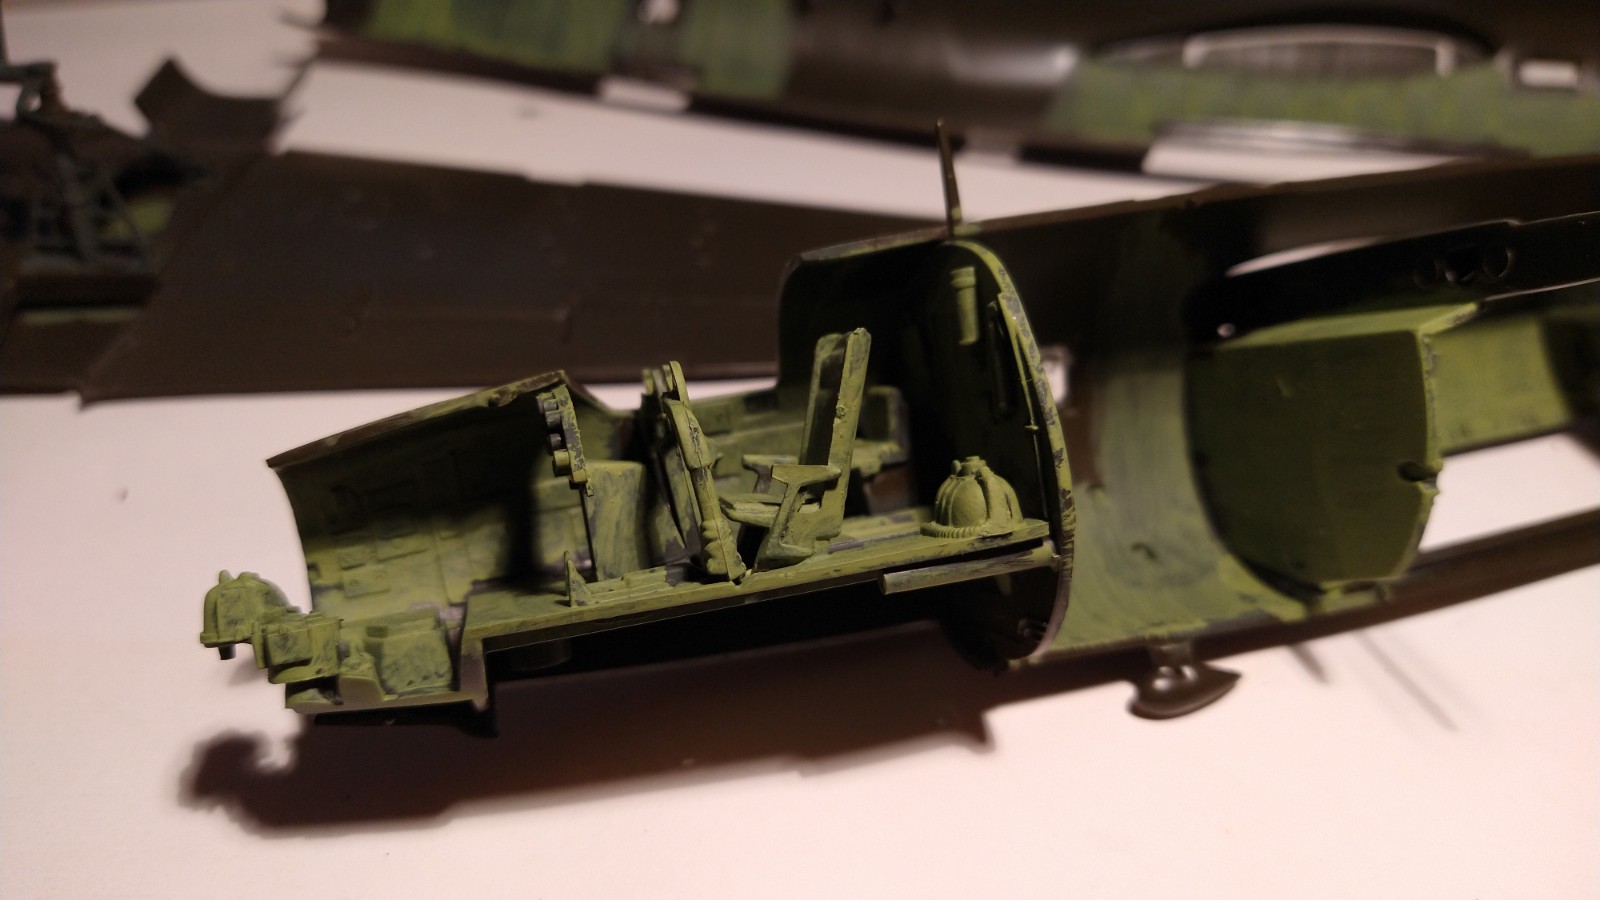
I reverted to my homemade zinc chromate which looks darker here.

wp-1629287600485.jpg


wp-1629287600472.jpg

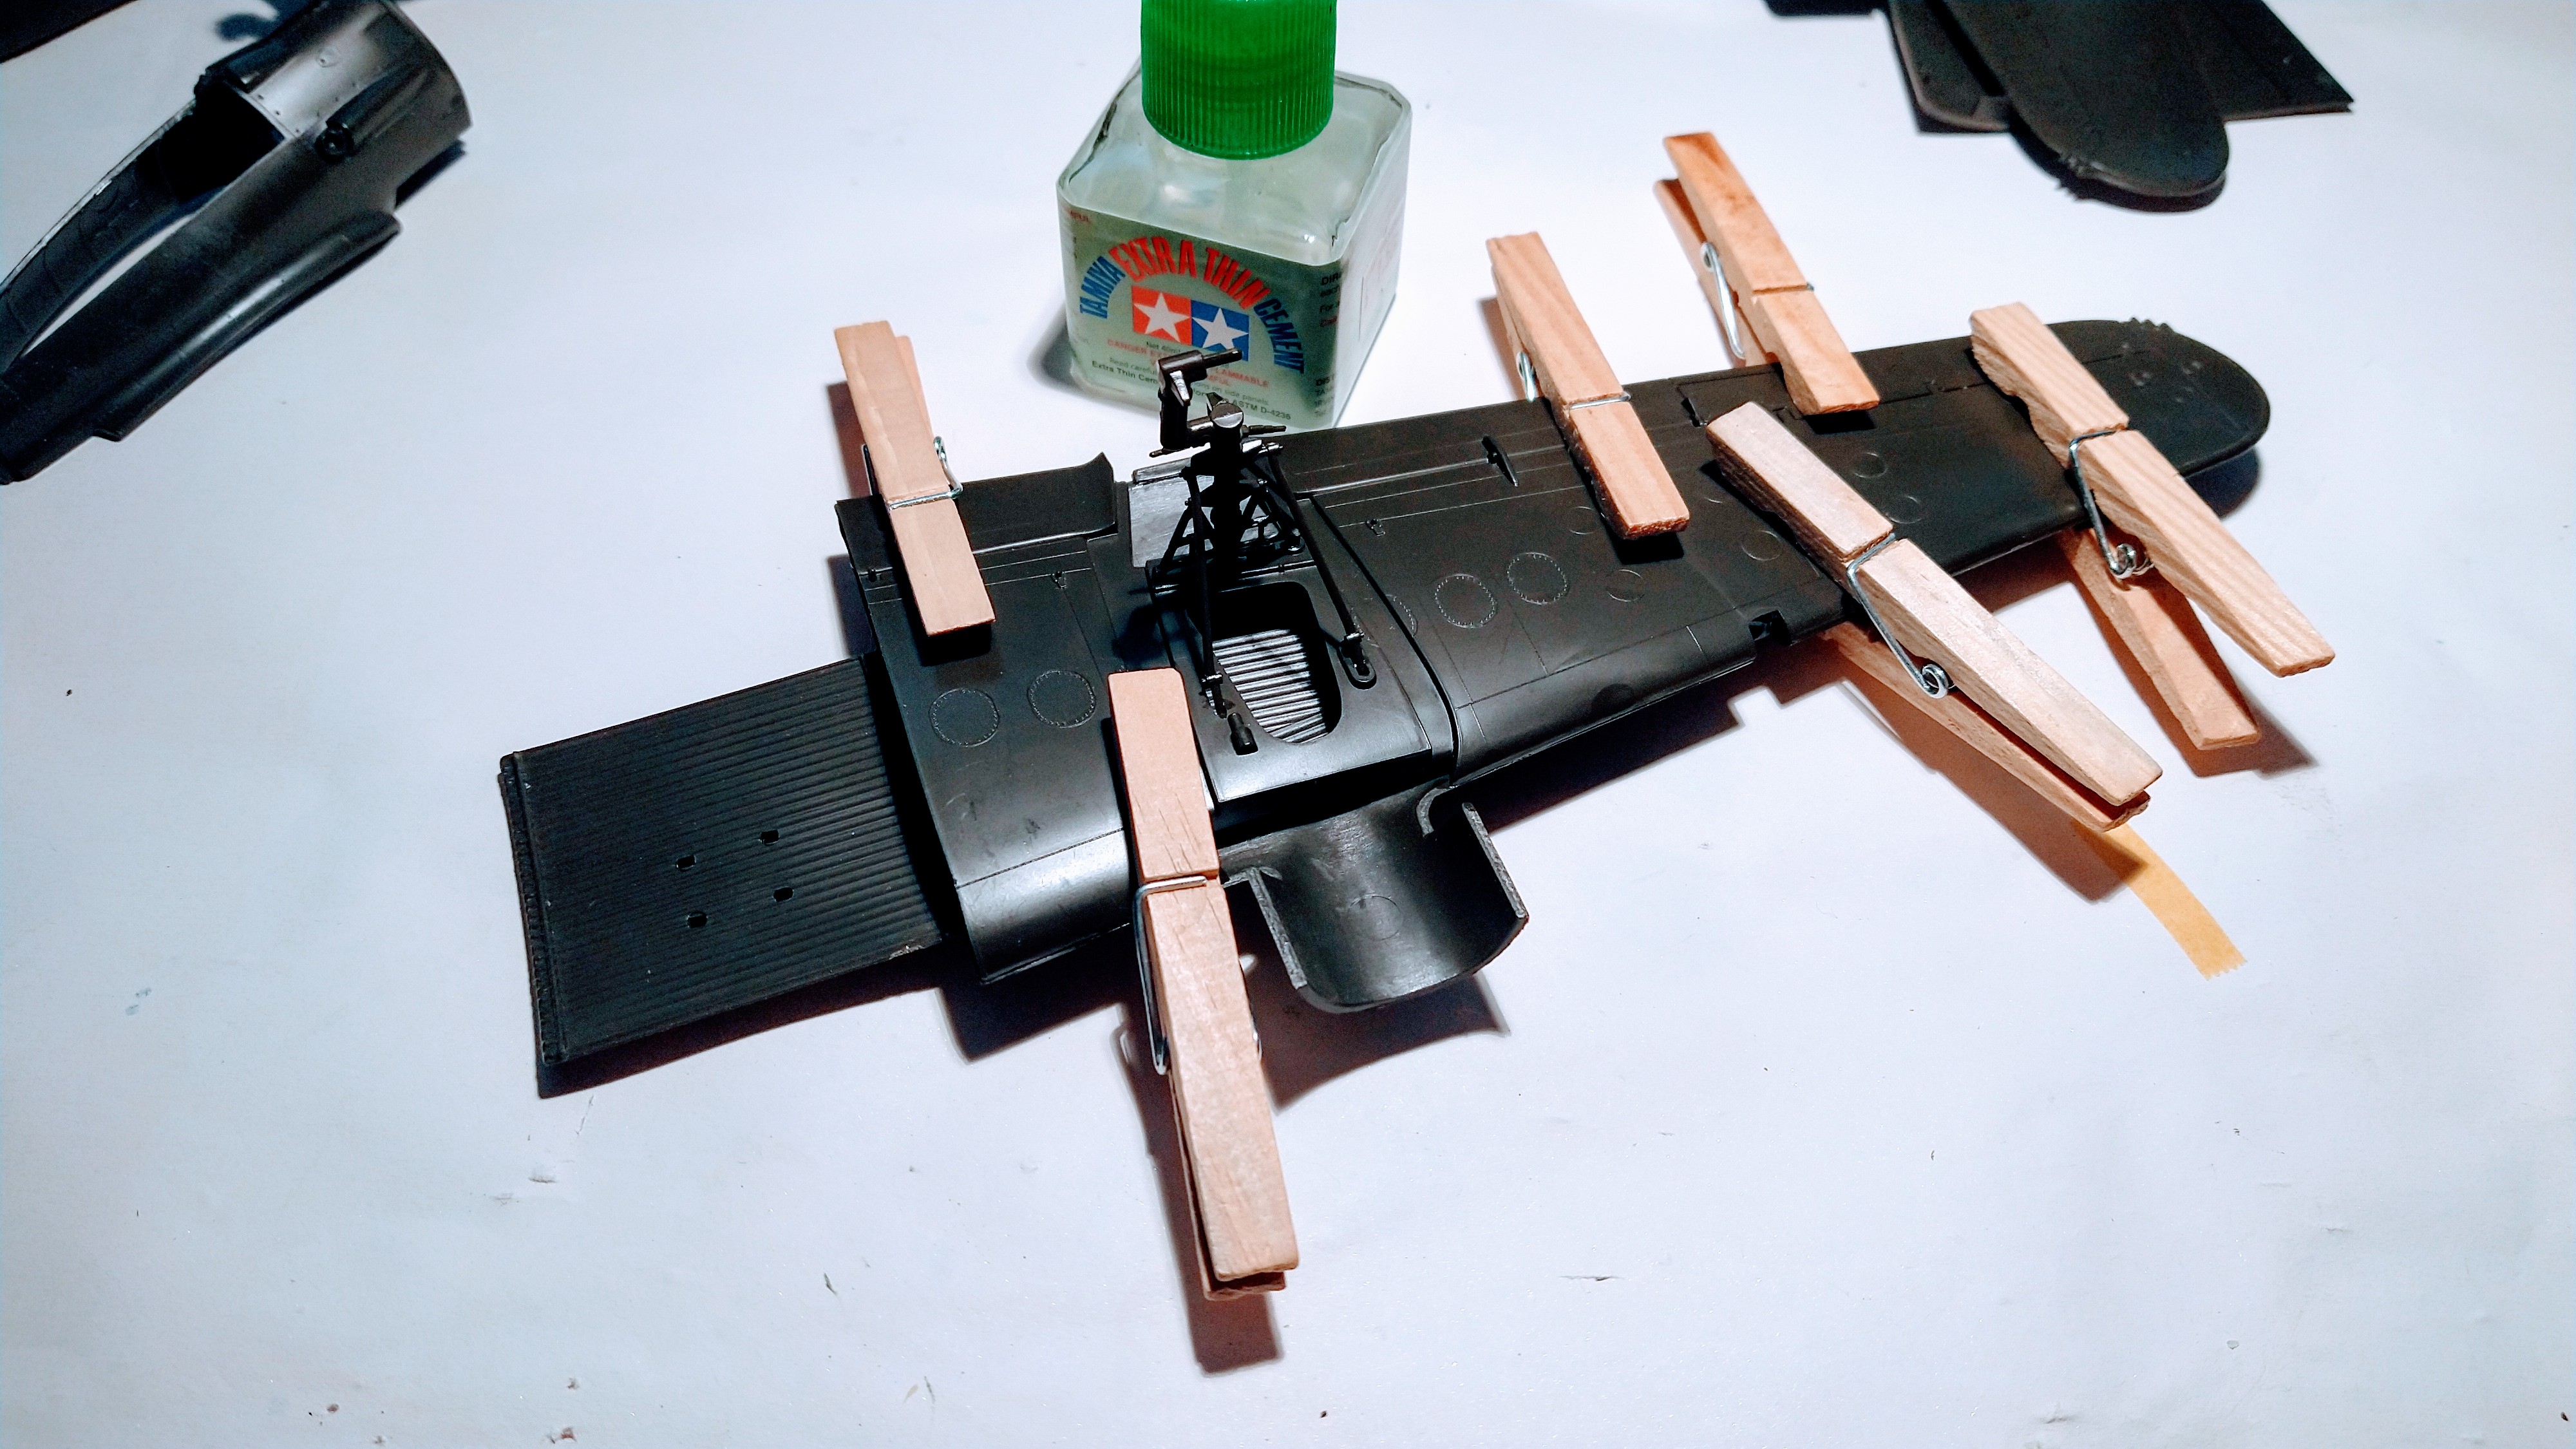
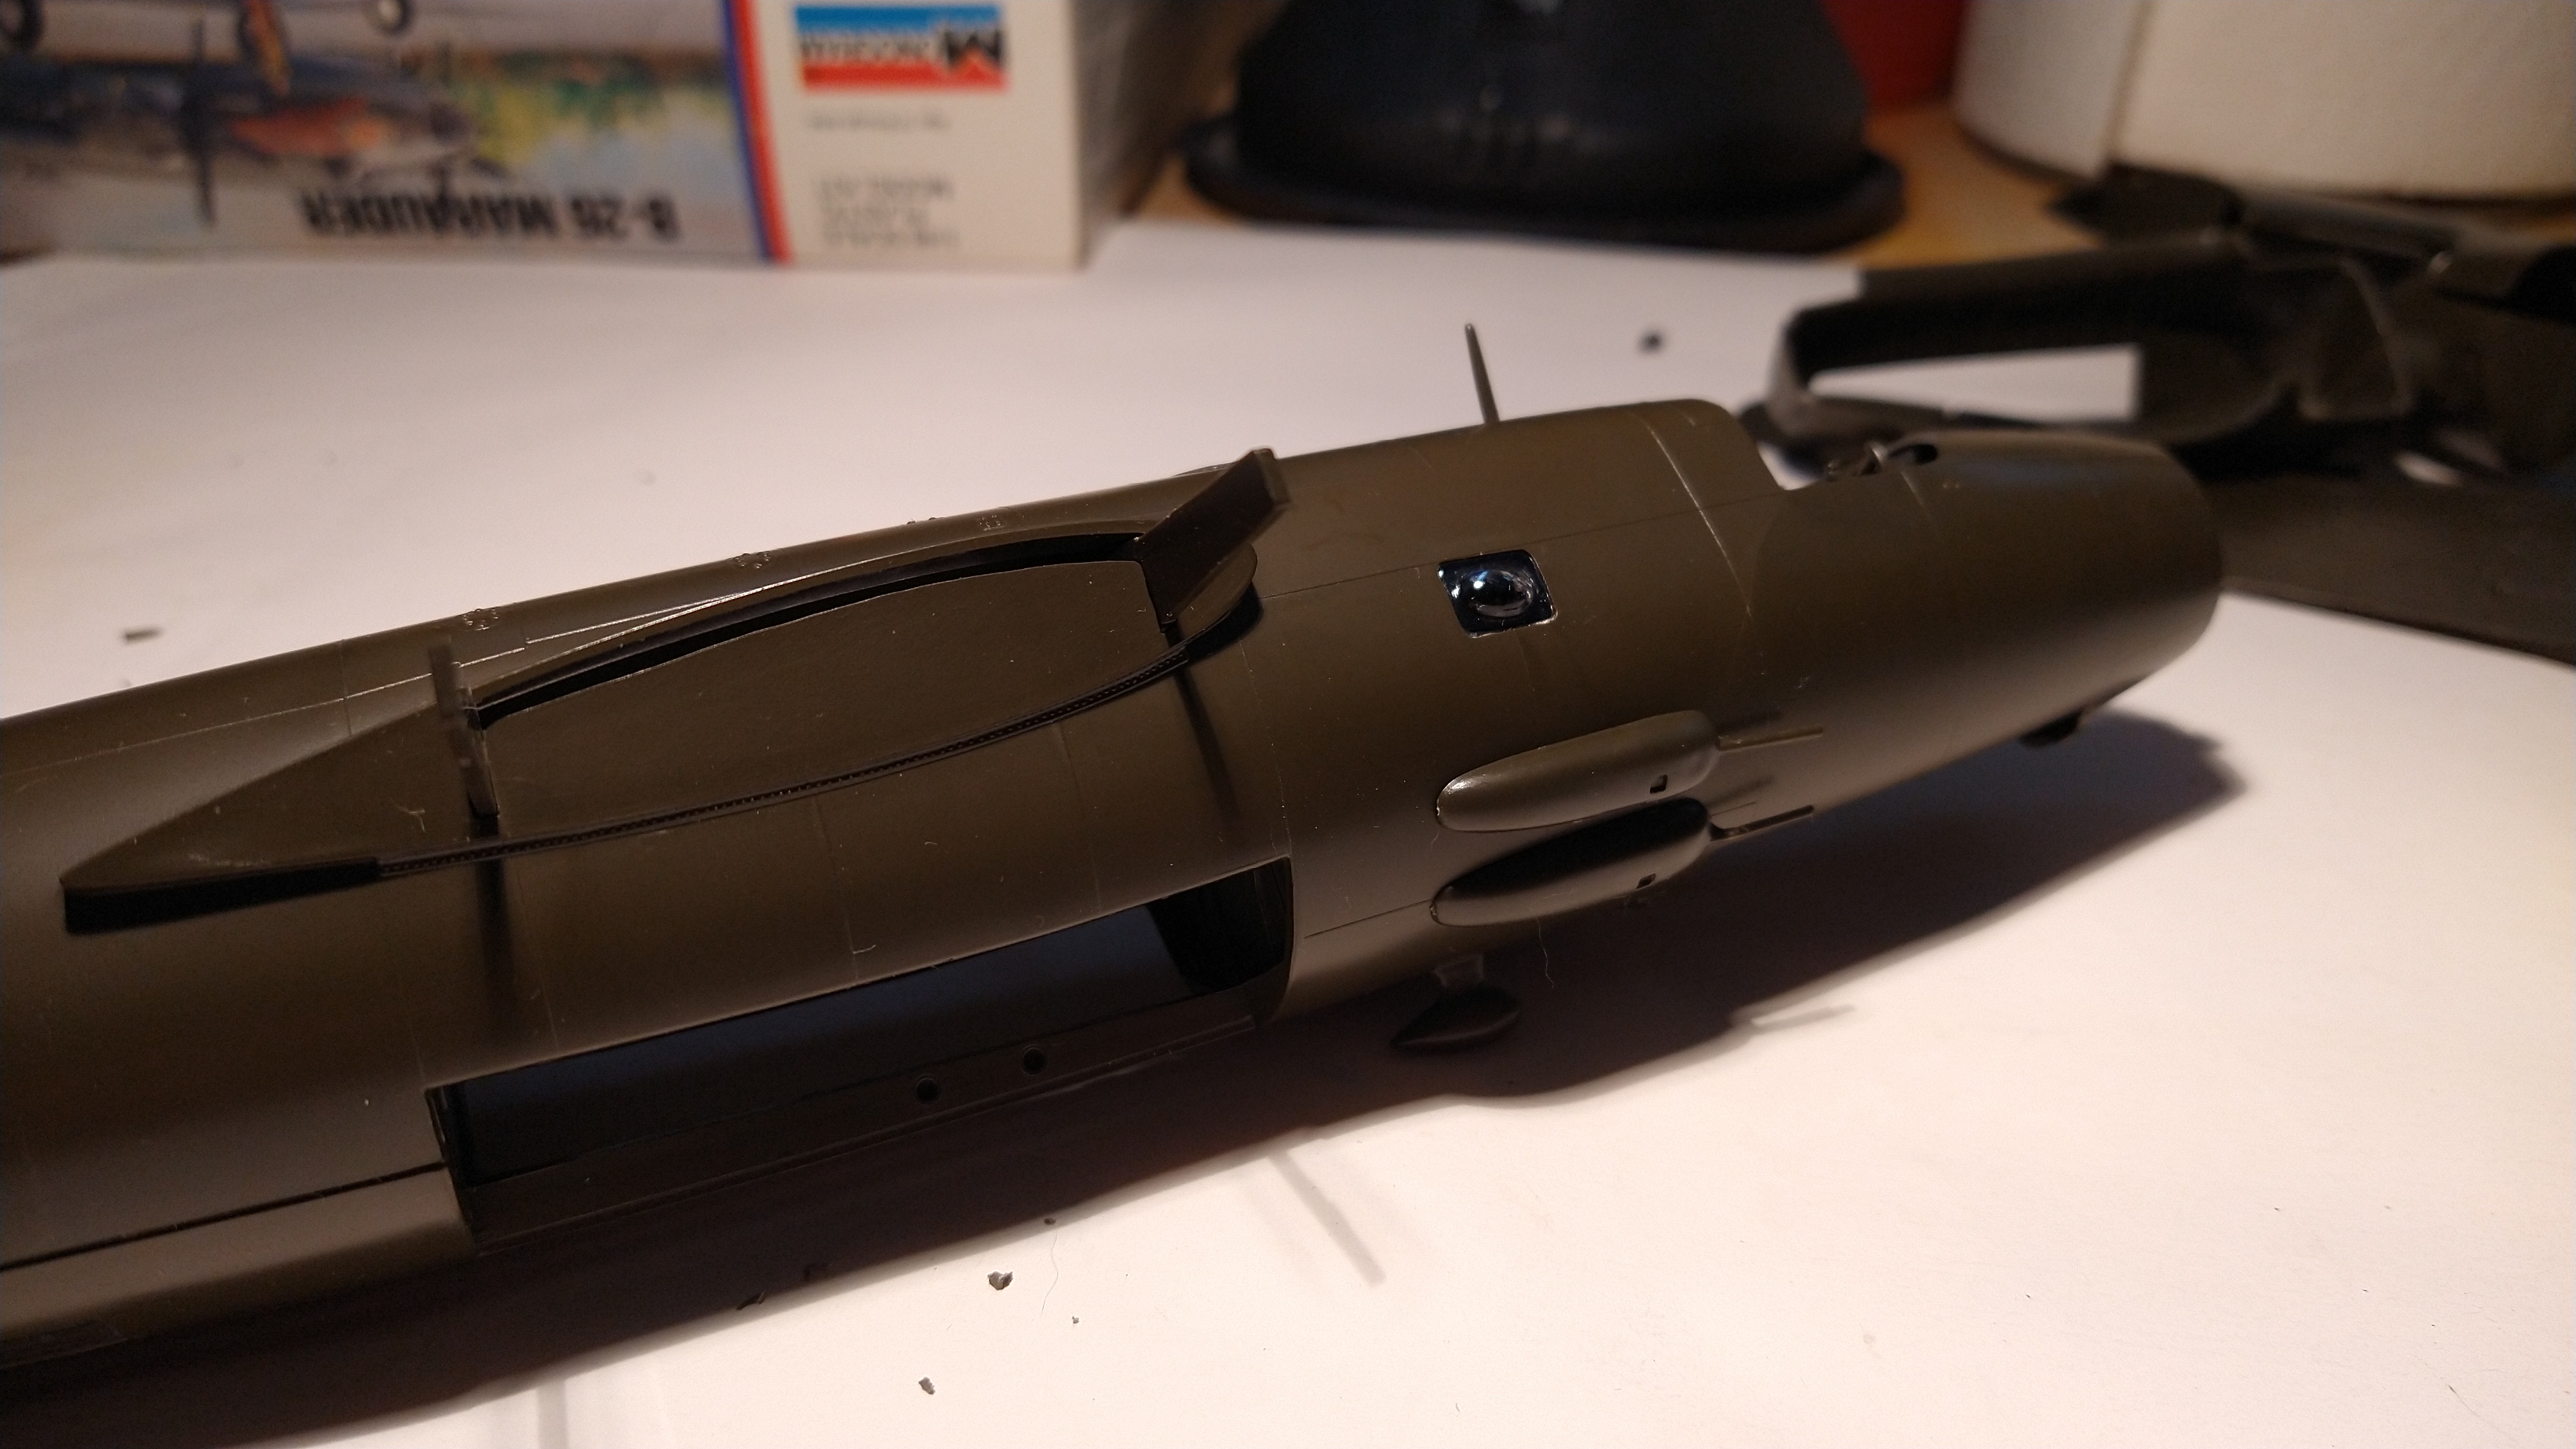
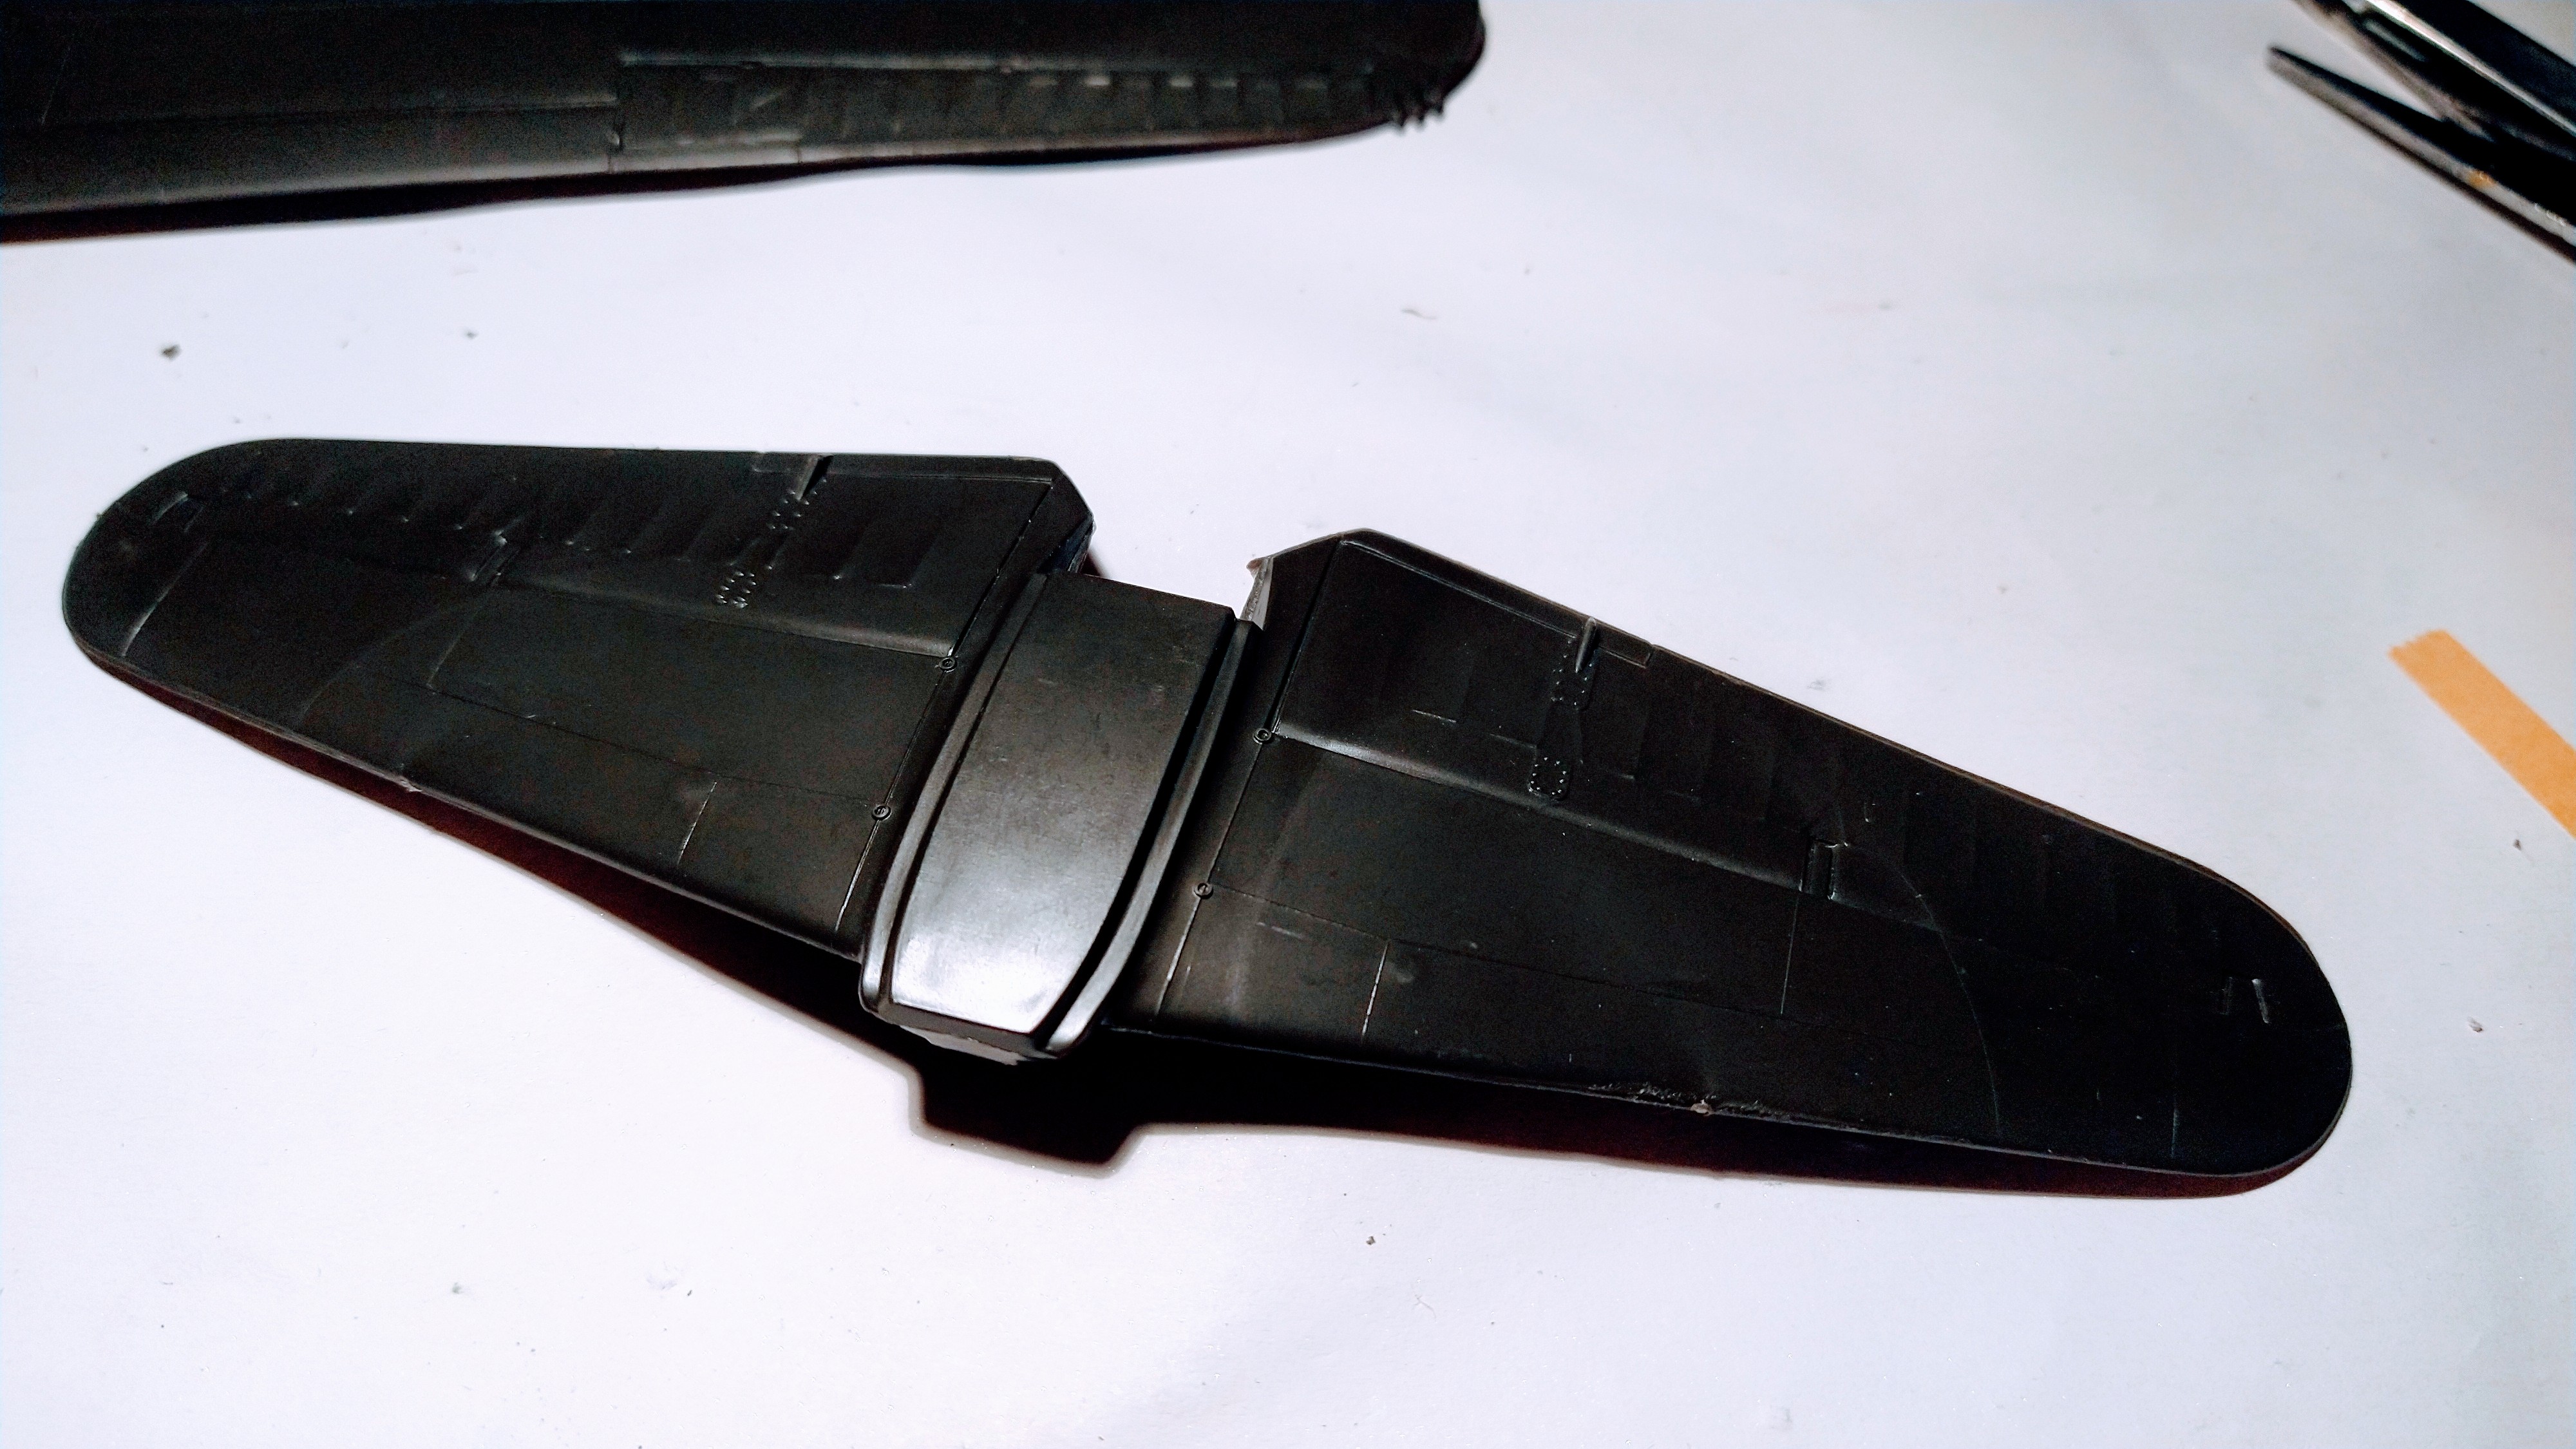
The wings have been glued in sections with extra thin cement. No gaps to be seen.

wp-1629287600461.jpg

wp-1629287600499.jpg

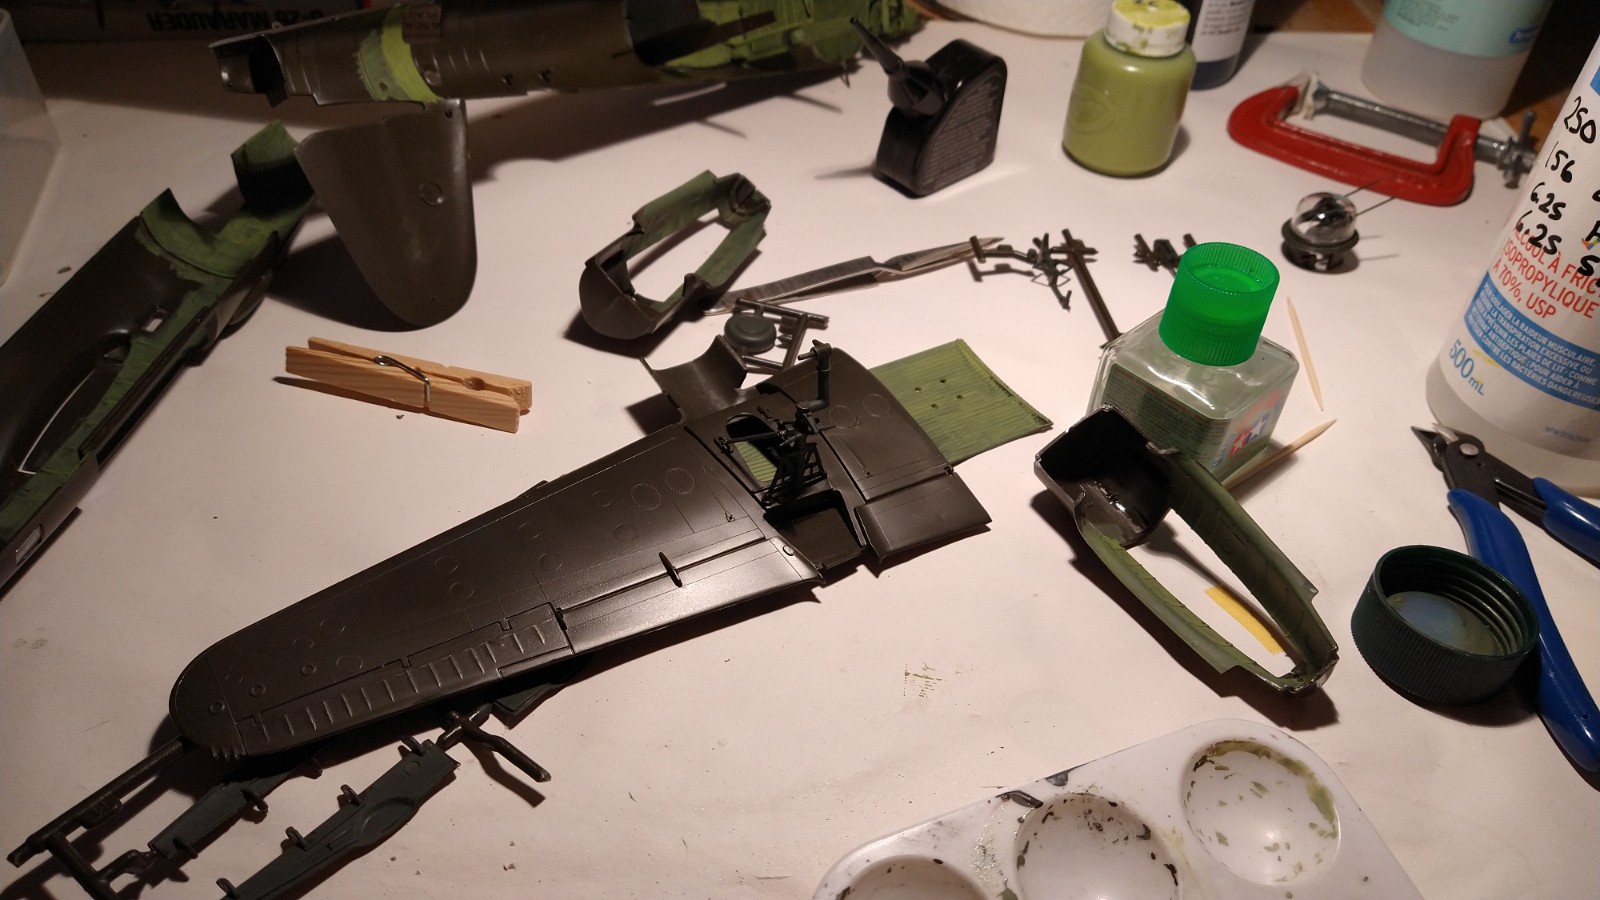
I did some dry fitting and noticed a gap on the starboard wing. I scraped a little plastic which was causing it. 

wp-1629287600400.jpg

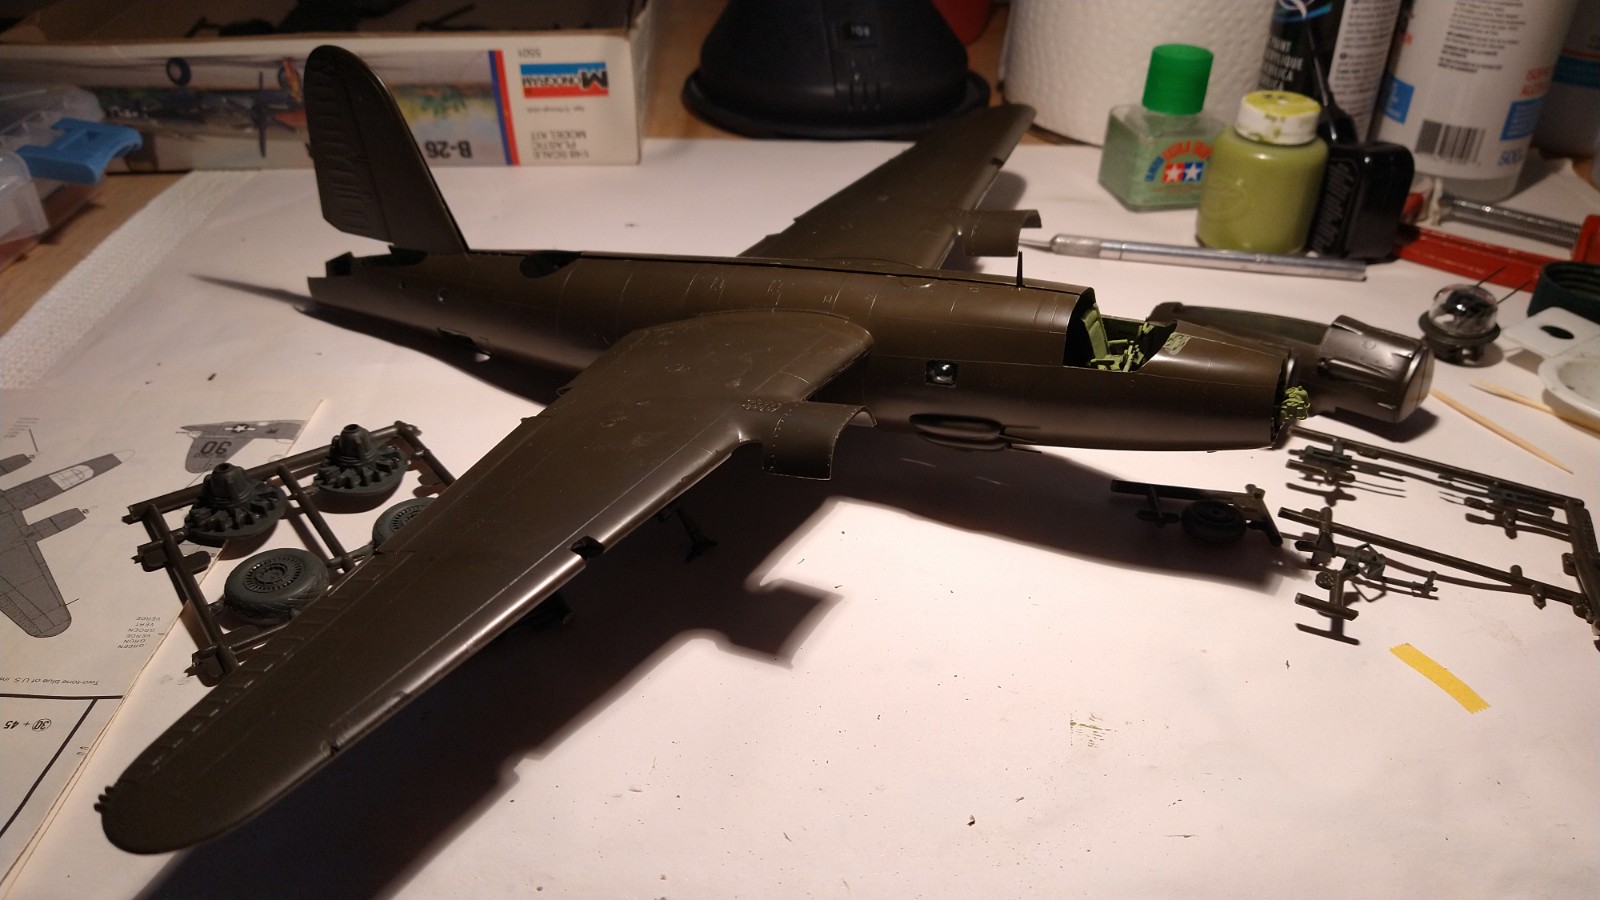
I will give a final coat of zinc chromate and paint the cockpit details. Next step should be mating the fuselage halves.

End of the intended post.


Monogram Martin B-26 Marauder – 98.3…

Note

98.3%, that’s how much I have uploaded on my 3GB upload limit on My Forgotten Hobby III. I will have to migrate sooner or later to My Forgotten Hobby IV.

I have updated my collection. The F-86 and the MiG-15 are now part of history so I only have 80 model kits in my collection.

wp-1620407217289.jpg


With this in mind I am moving a little faster now as I am waiting to start painting the interior.

wp-1629201024175.jpg

The main landing gears have been glued. The turret has been dry fitted.

wp-1629201024277..jpg

One wing has been glued in sections using extra thin cement.

wp-1629201024298..jpg

The other wing will receive the same treatment later.

I still have to encounter that “horrible” fit Plane Dave talked about, but I am vigilant, always dry fitting before glueing parts. Whatever happens I am willing to live with any unsightly gaps.

Next time, homemade interior green?

Monogram Martin B-26 Marauder – Small Steps…

Note

I have just realised this is post 351 and I have almost reached my 3 gigabytes upload limit. Don’t worry I have a solution…

About my collection of model kits


I am moving right along taking small steps as I am waiting to start painting the interior.

I prefer glueing small parts while they are still attached on the sprue.

wp-1629132120402.jpg

wp-1629134030625.jpg

I have learned to use my tweezers to hold small pieces while the glue sets. I have glued the .50 calibre guns since I won’t play with them. The same for the turret.

wp-1629133963425.jpg

wp-1629138519789..jpg

Yesterday the guns were glued from the inside using the locating pins.

wp-1629129898344.jpg

16291391087336547200902448247661

16291392317437829163697474078904

Again I am quite satisfied with the result but I am still tempted to start this…

16291393814285415983590287665982

I know I will be able to resist.

Monogram Martin B-26 Marauder – Intermission

wp-1628938974341..jpg

I am quite satisfied with the result.

Before…

wp-1628940418439..jpg

A quite noticeable gap could be seen between the nose and the front fuselage.

wp-1628940418417..jpg

After…

wp-1628940418394..jpg

wp-1628940418371..jpg

The machine gun will be glued at the end.

Something got in the way and I will start painting the interior later than expected. I could only manage this.

wp-1629129898344.jpg

As a footnote, I was thinking maybe I could start building this…

Screenshot 2021-08-15 10.09.05

I will hit the pause button for awhile although this project is quite tempting.

P39Q_08

P39Q_10

Intermission – Monogram P-39

Screenshot 2021-08-15 10.09.05

Box top image taken on Scalemates

https://www.scalemates.com/fr/kits/monogram-pa227-p-39-airacobra–1151309#

I bought Monogram’s P-39 in 1969 and I bought it again out of nostalgia in the 1990s. It’s still in the secret vault.

wp-1628079455246.jpg

But not for long as Inch High Guy was again inspirational. He likes to walk around…

https://inchhighguy.wordpress.com/2021/08/15/bell-p-39-airacobra-walk-around/

Instruction sheet for the P-39 is here…

176149-81-instructions


Intermission – Tamiya Focke Wulf Fw 190D 9

Updated 15 August 2021

My grandson was spending the day with his grandfather yesterday so I had no time to paint anything. However Inch High Guy is starting new builds.

https://inchhighguy.wordpress.com/2021/08/13/focke-wulf-fw-190d-9-comparison-build-part-i/

He got me reflecting again on my collection.

Tamiya Fw 190D-9

My first encounter with the Fw 190 D was in 1960 while reading Le Grand Cirque written in 1948 by Pierre Clostermann.

wp-1628967262279.jpg

There was an image I still vividly recall, well almost.

I thought it was this one found on Wikipedia.

190D9-1

I was wrong.

Here’s what’s inside the book.

wp-1628967262366.jpg

wp-1628967262401.jpg

wp-1628967262331.jpg

This recollection led me to buy this model kit before the pandemic.

Tamiya Fw 190D-9

I remember building Fujimi’s 1/48 scale Fw 190 D in the 70s.

https://www.scalemates.com/kits/fujimi-5a14-300-focke-wulf-fw190-d-9–326131

The instructions are down here…

326131-96-instructions

Some reviews can be found on the Internet.

I know I should start building this model instead but I know it won’t be a piece of cake.

20201027_121740

Eduard Hawker Tempest instructions

Monogram Martin B-26 Marauder – Home Sweet Workbench

wp-1628938974341..jpg

Welcome back.

If you recall…

The cockpit assembly was too far in front so I moved it back and glued it.

This is what I got when I dry fitted the nose this Saturday morning.

wp-1628940418439..jpg

A quite noticeable gap between the nose and the front fuselage.

wp-1628940418417..jpg

I guessed the machine gun was protruding to far so…

wp-1628940418394..jpg

I snapped it off and it will be glued after. This is what I have now.

wp-1628940418371..jpg

Perfect fit and a happy modeler reuniting with his workbench.

Next time I will be starting painting the interior which is what I like to do best.

Monogram Martin B-26 Marauder – Horrible fit?

I am not there yet. I am 200 kilometers from my workbench.

But I got a little preview with the first problem before I left.

IMG_20210809_063516700~2

That’s what I left behind.

The locating pins with these parts were let’s say minimal if not laughable to get a nice fit.

Screenshot_20210812-191739-640.png

I had used masking tape to glue the nacelles in sections.

Next the elevators were glued and clothespins were used to insure a proper fit. The more the better.

IMG_20210809_063636360~2IMG_20210809_063700742~2

Before leaving for a three-day vacation I have checked how the nose would fit over the Norden bombsight and the machine gun.

Screenshot_20210812-191834-240.png

Cockpit assembly

The cockpit assembly was too far in front so I moved it back and glued it.

Next time I will dry fit everything and see how the nose will blend with the fuselage.