ICM He 111-H3 – Day 13

Friday the 13th on My Forgotten Hobby III…

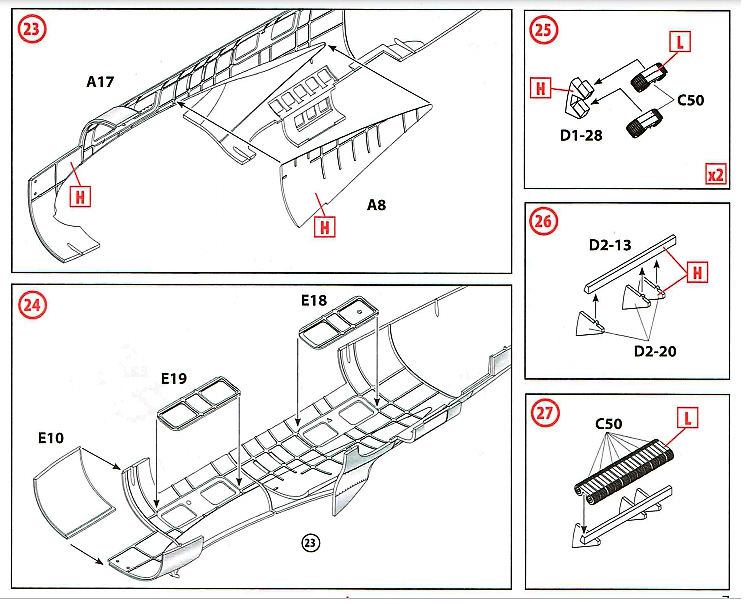
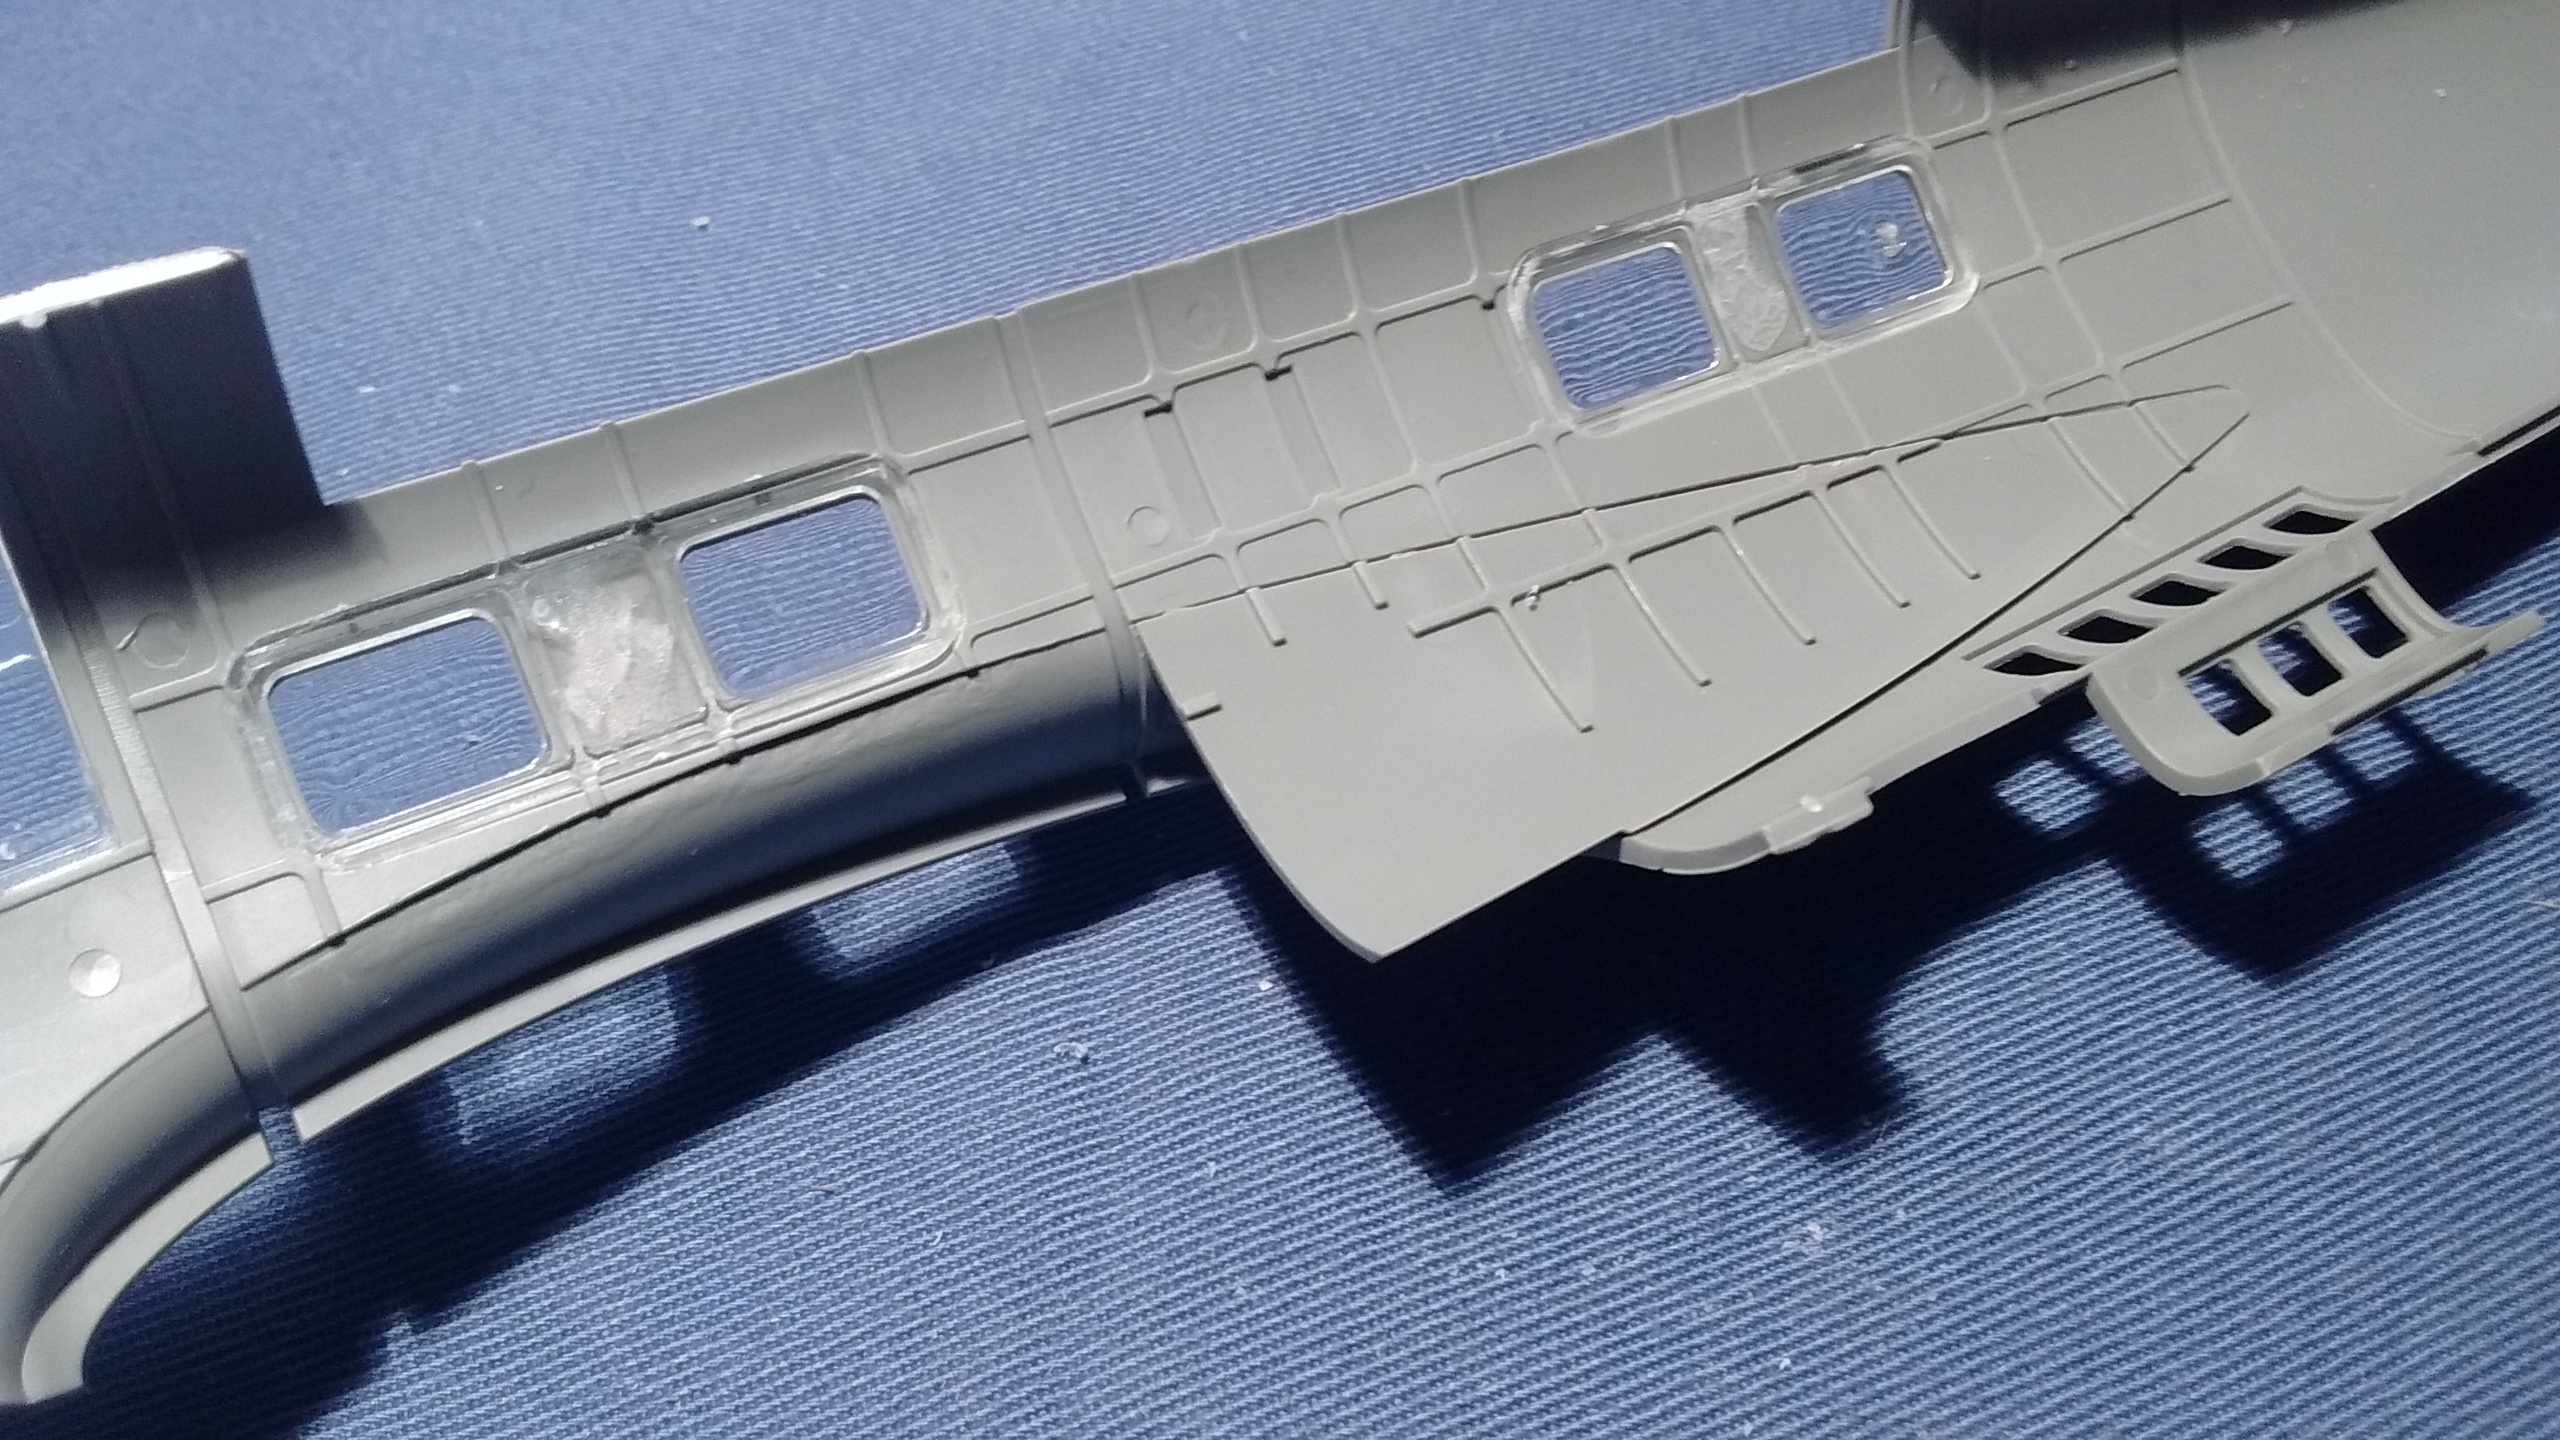
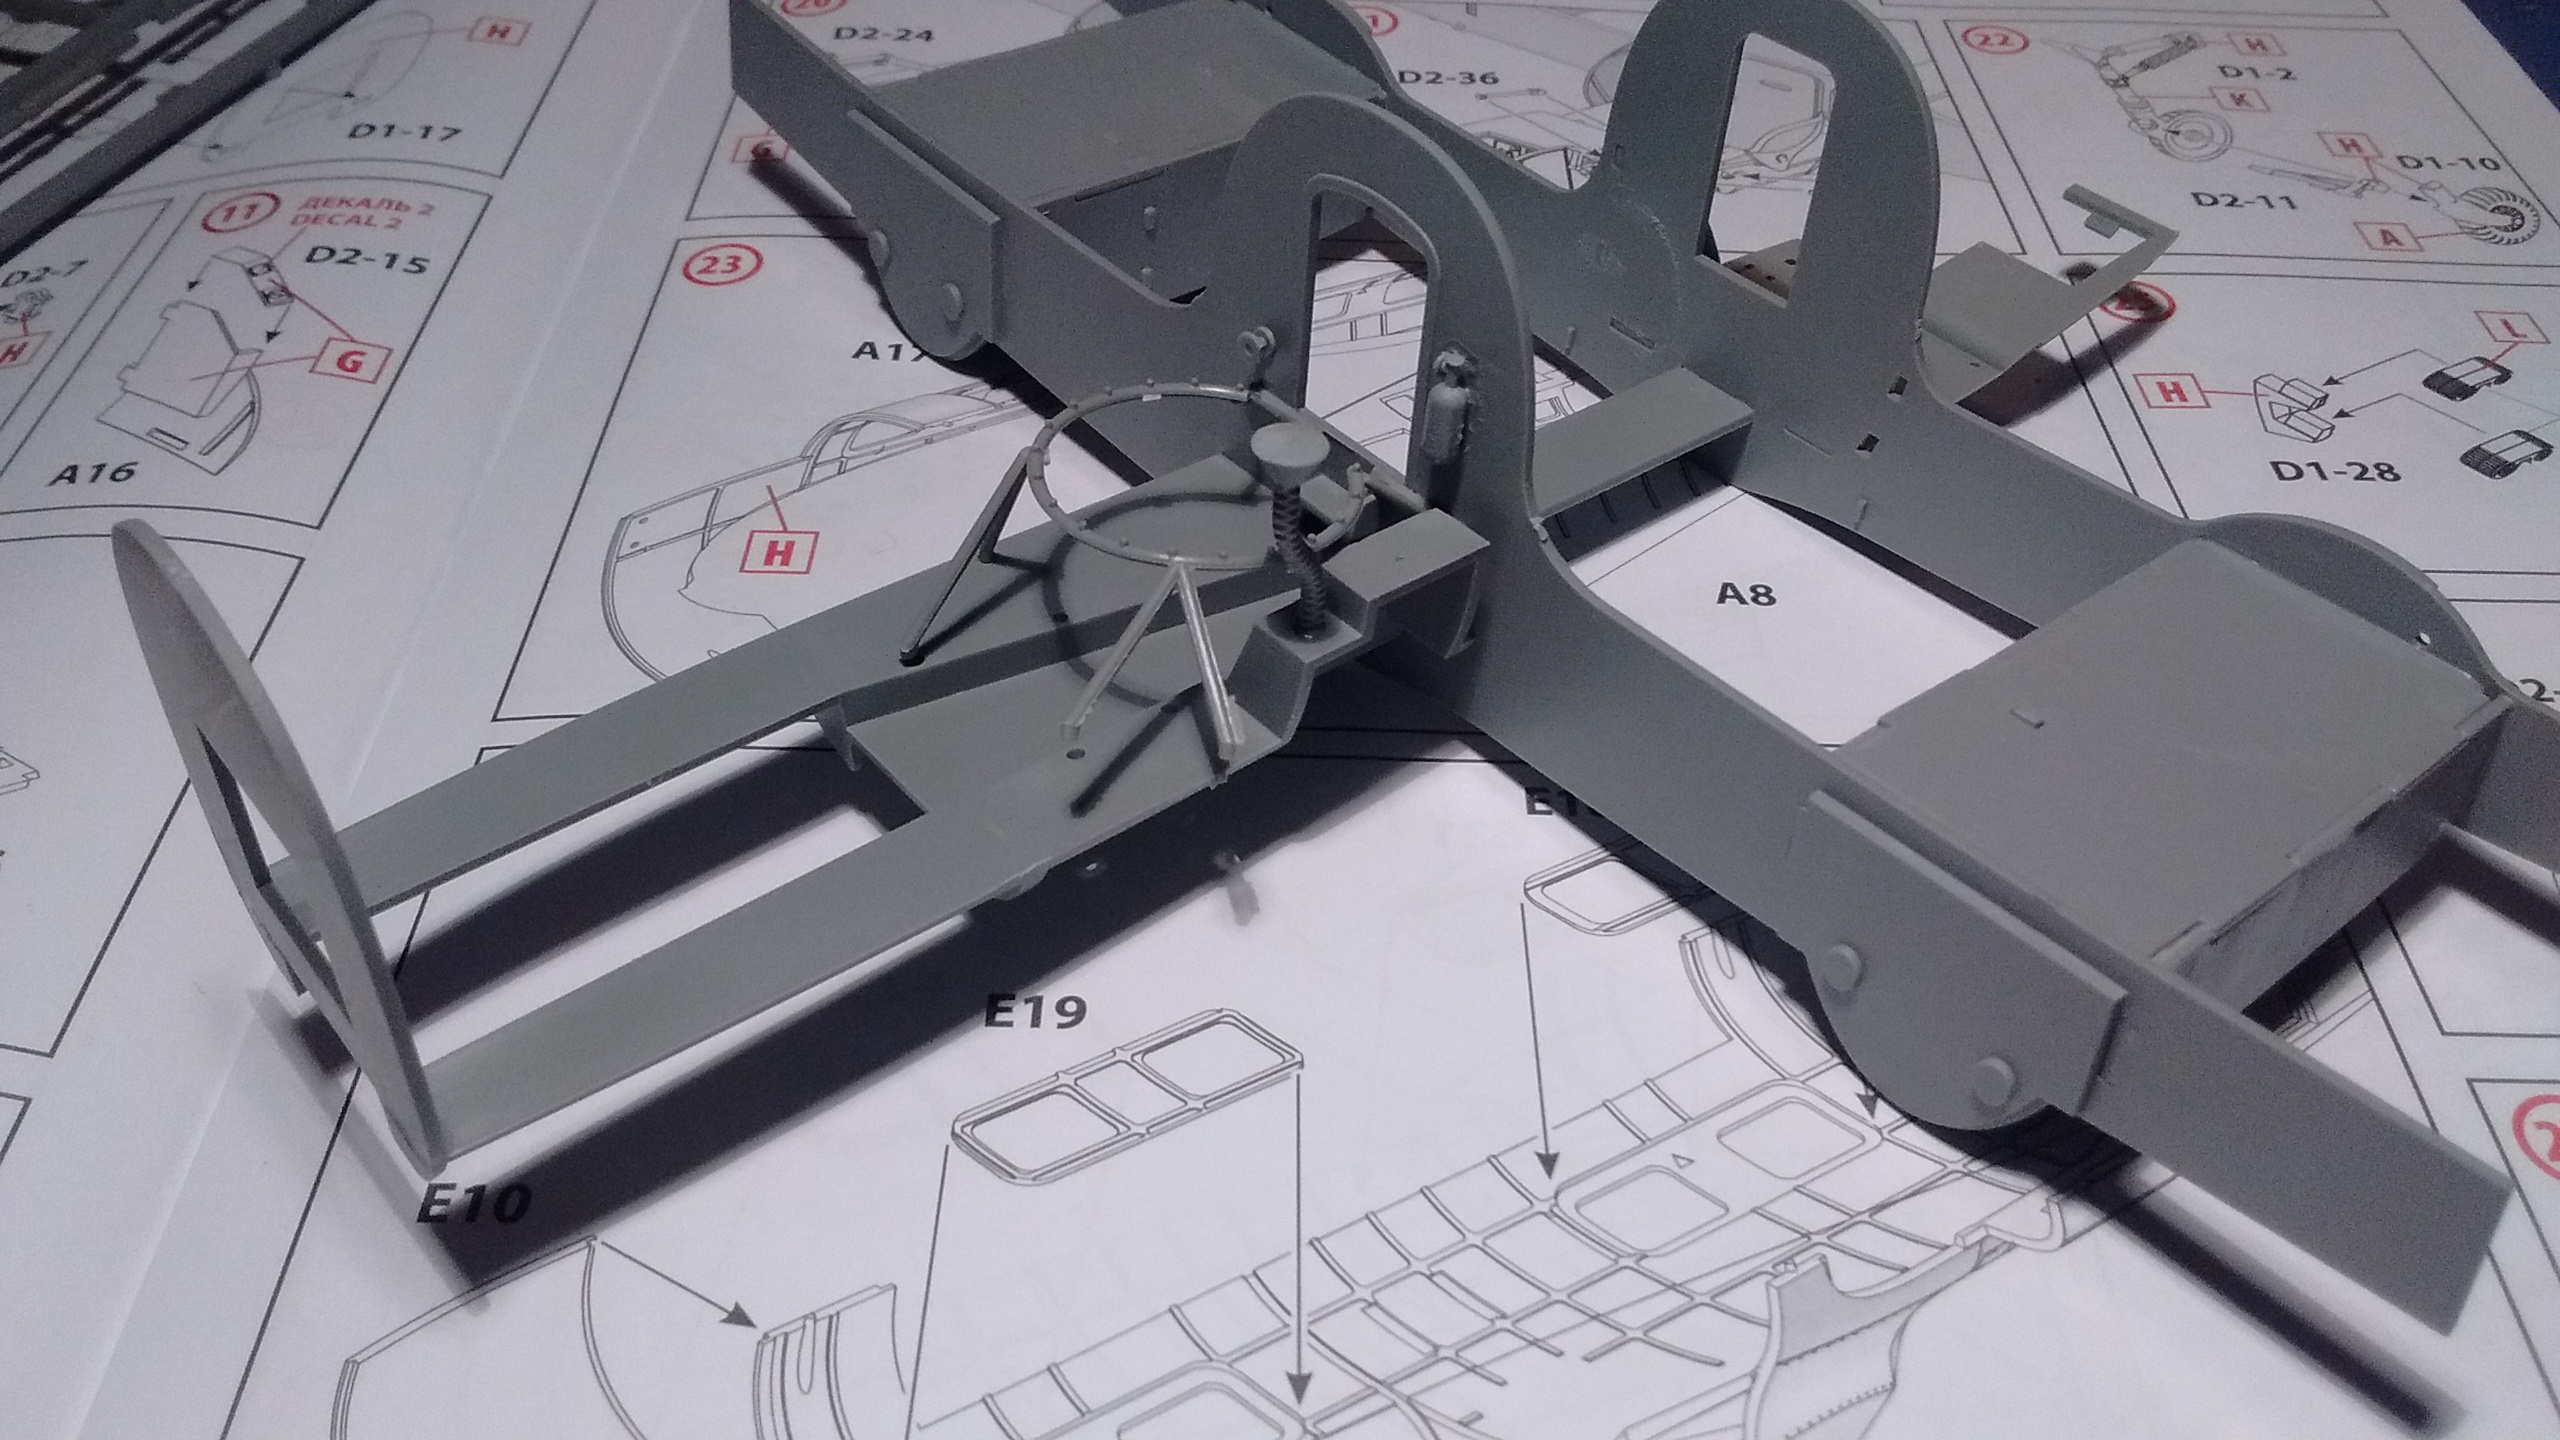
I am not superstitious but I won’t follow the instructions…

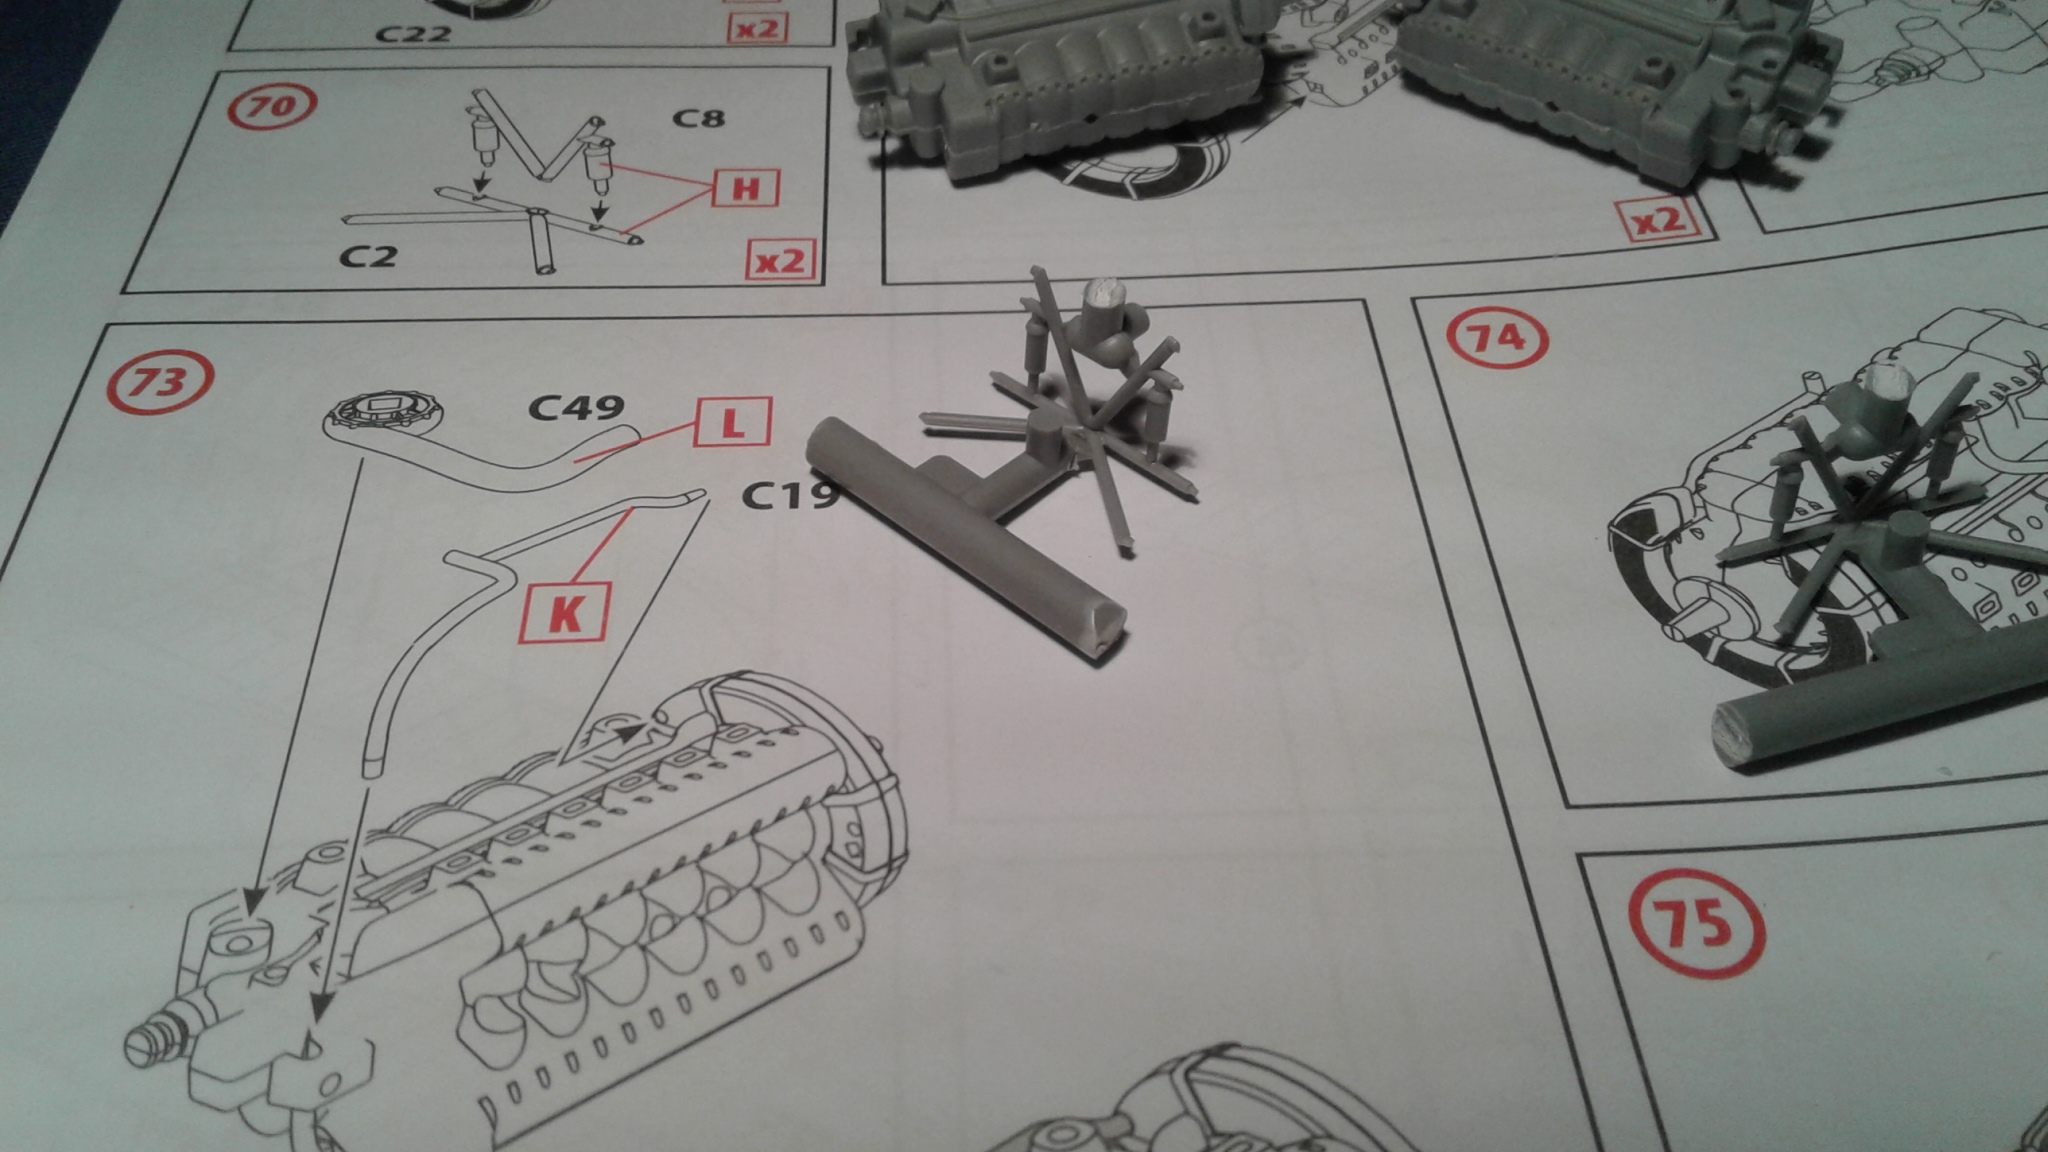
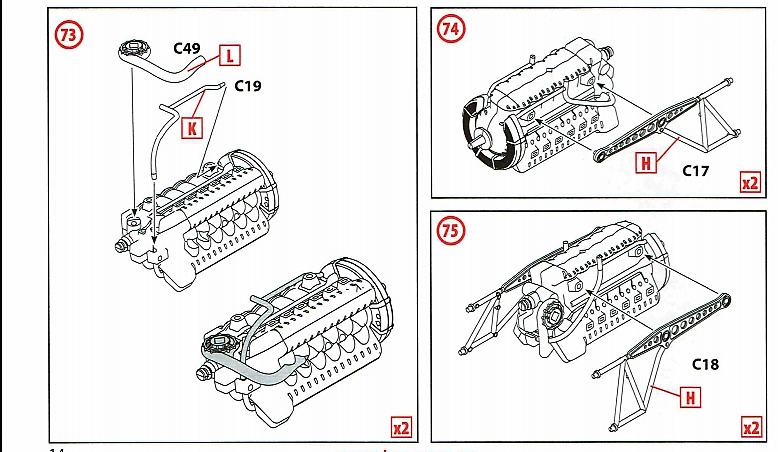
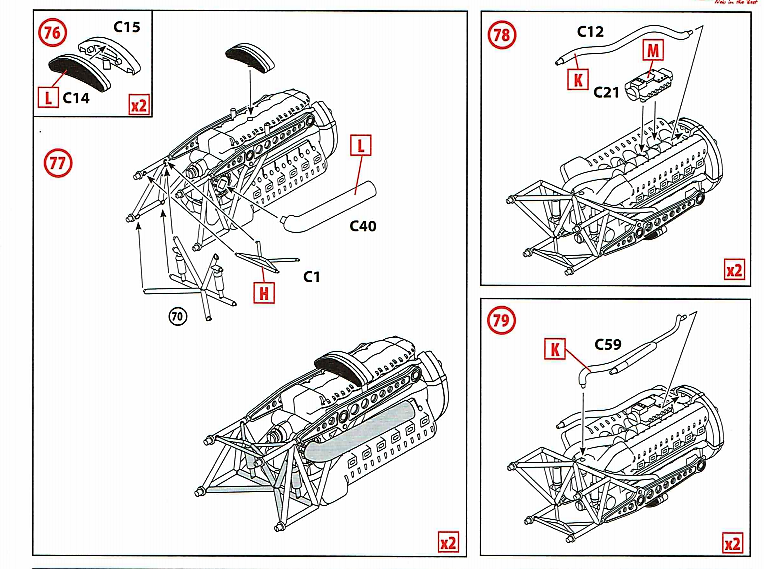
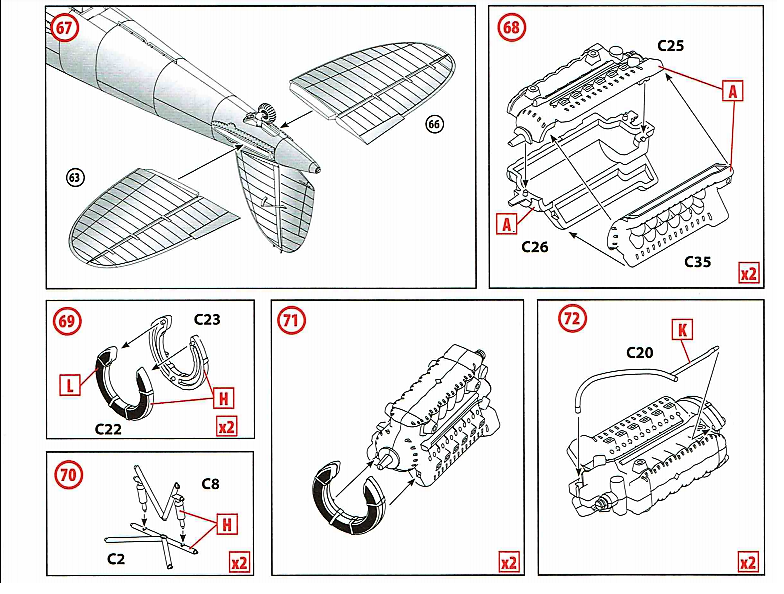
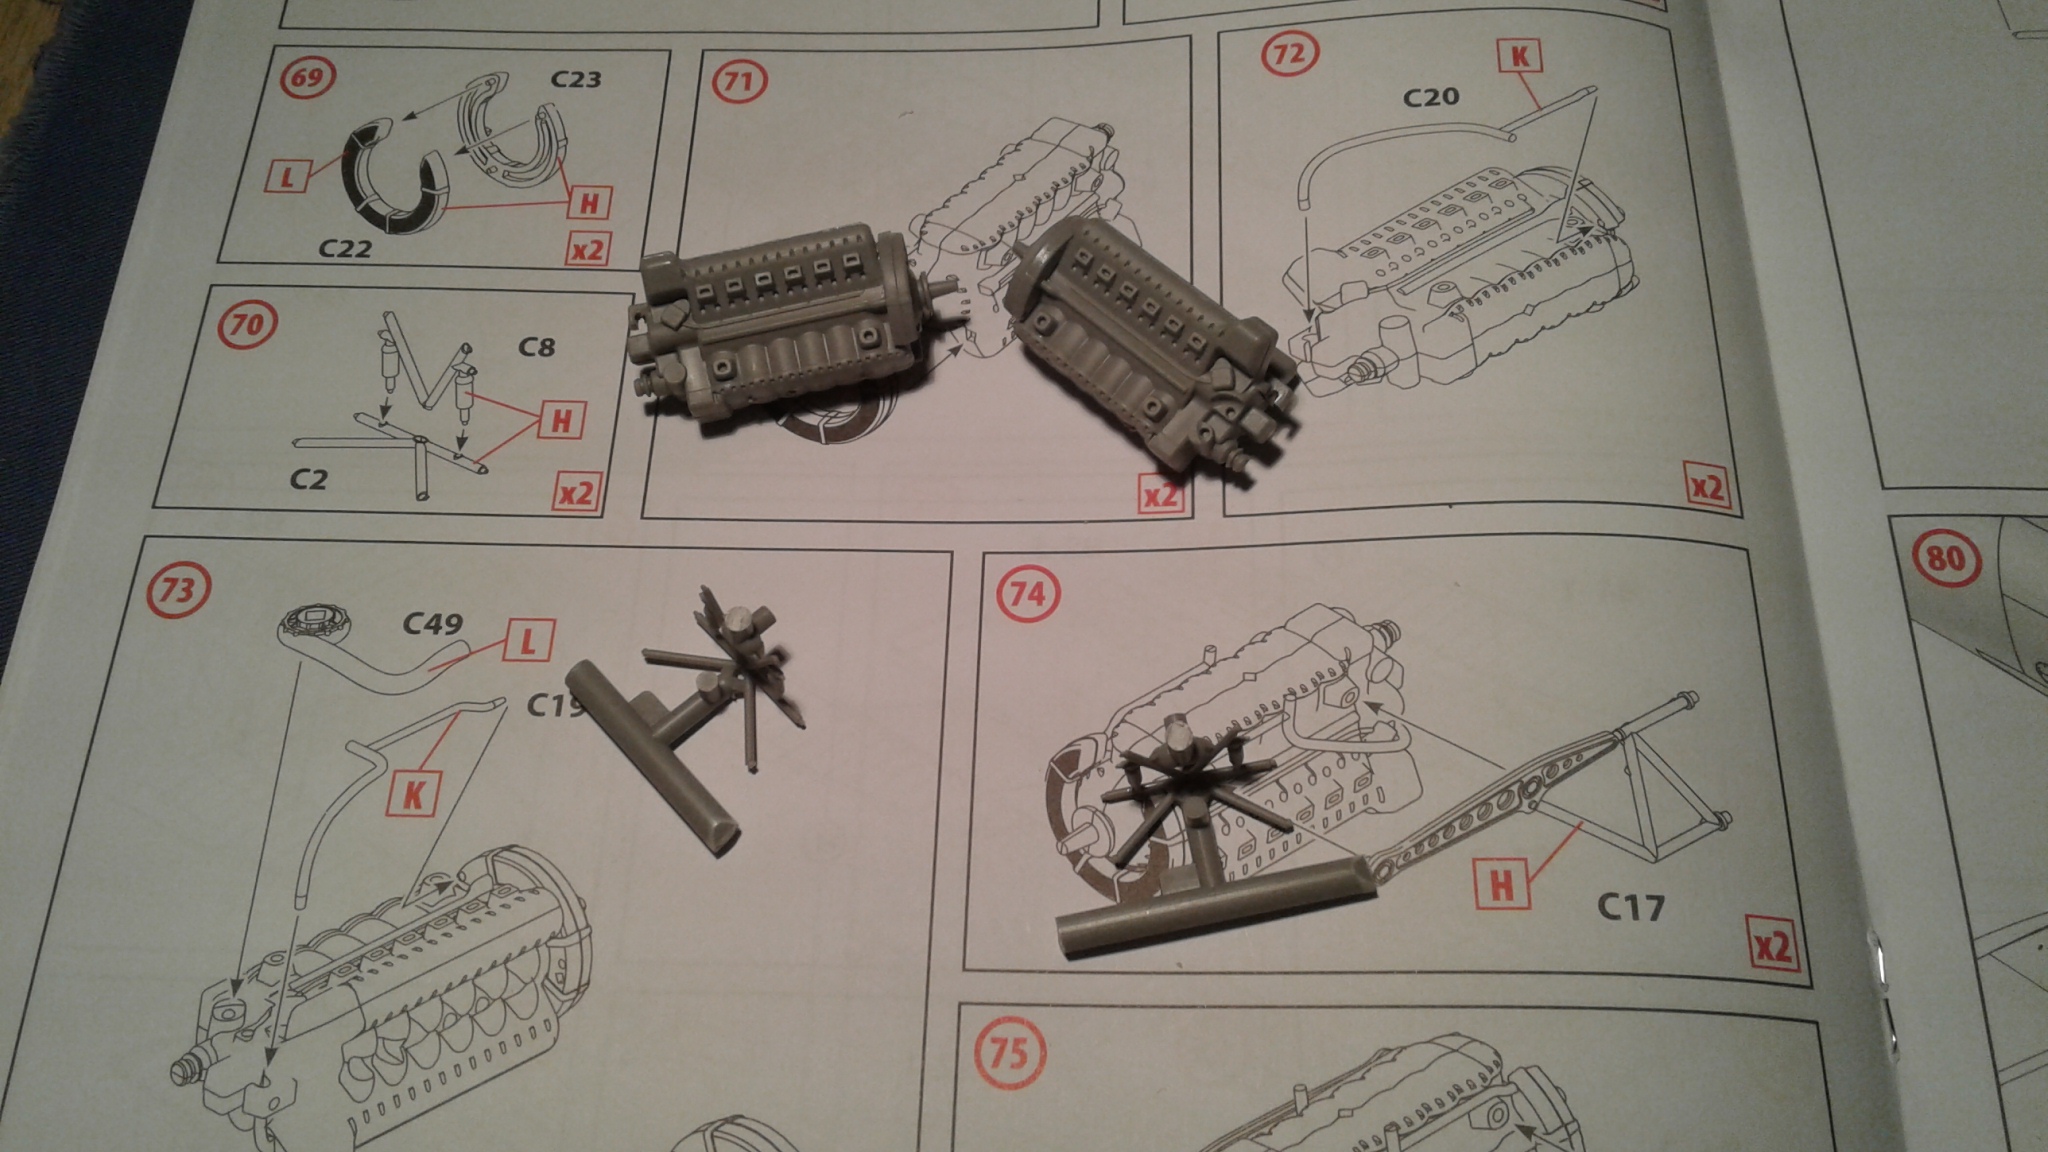
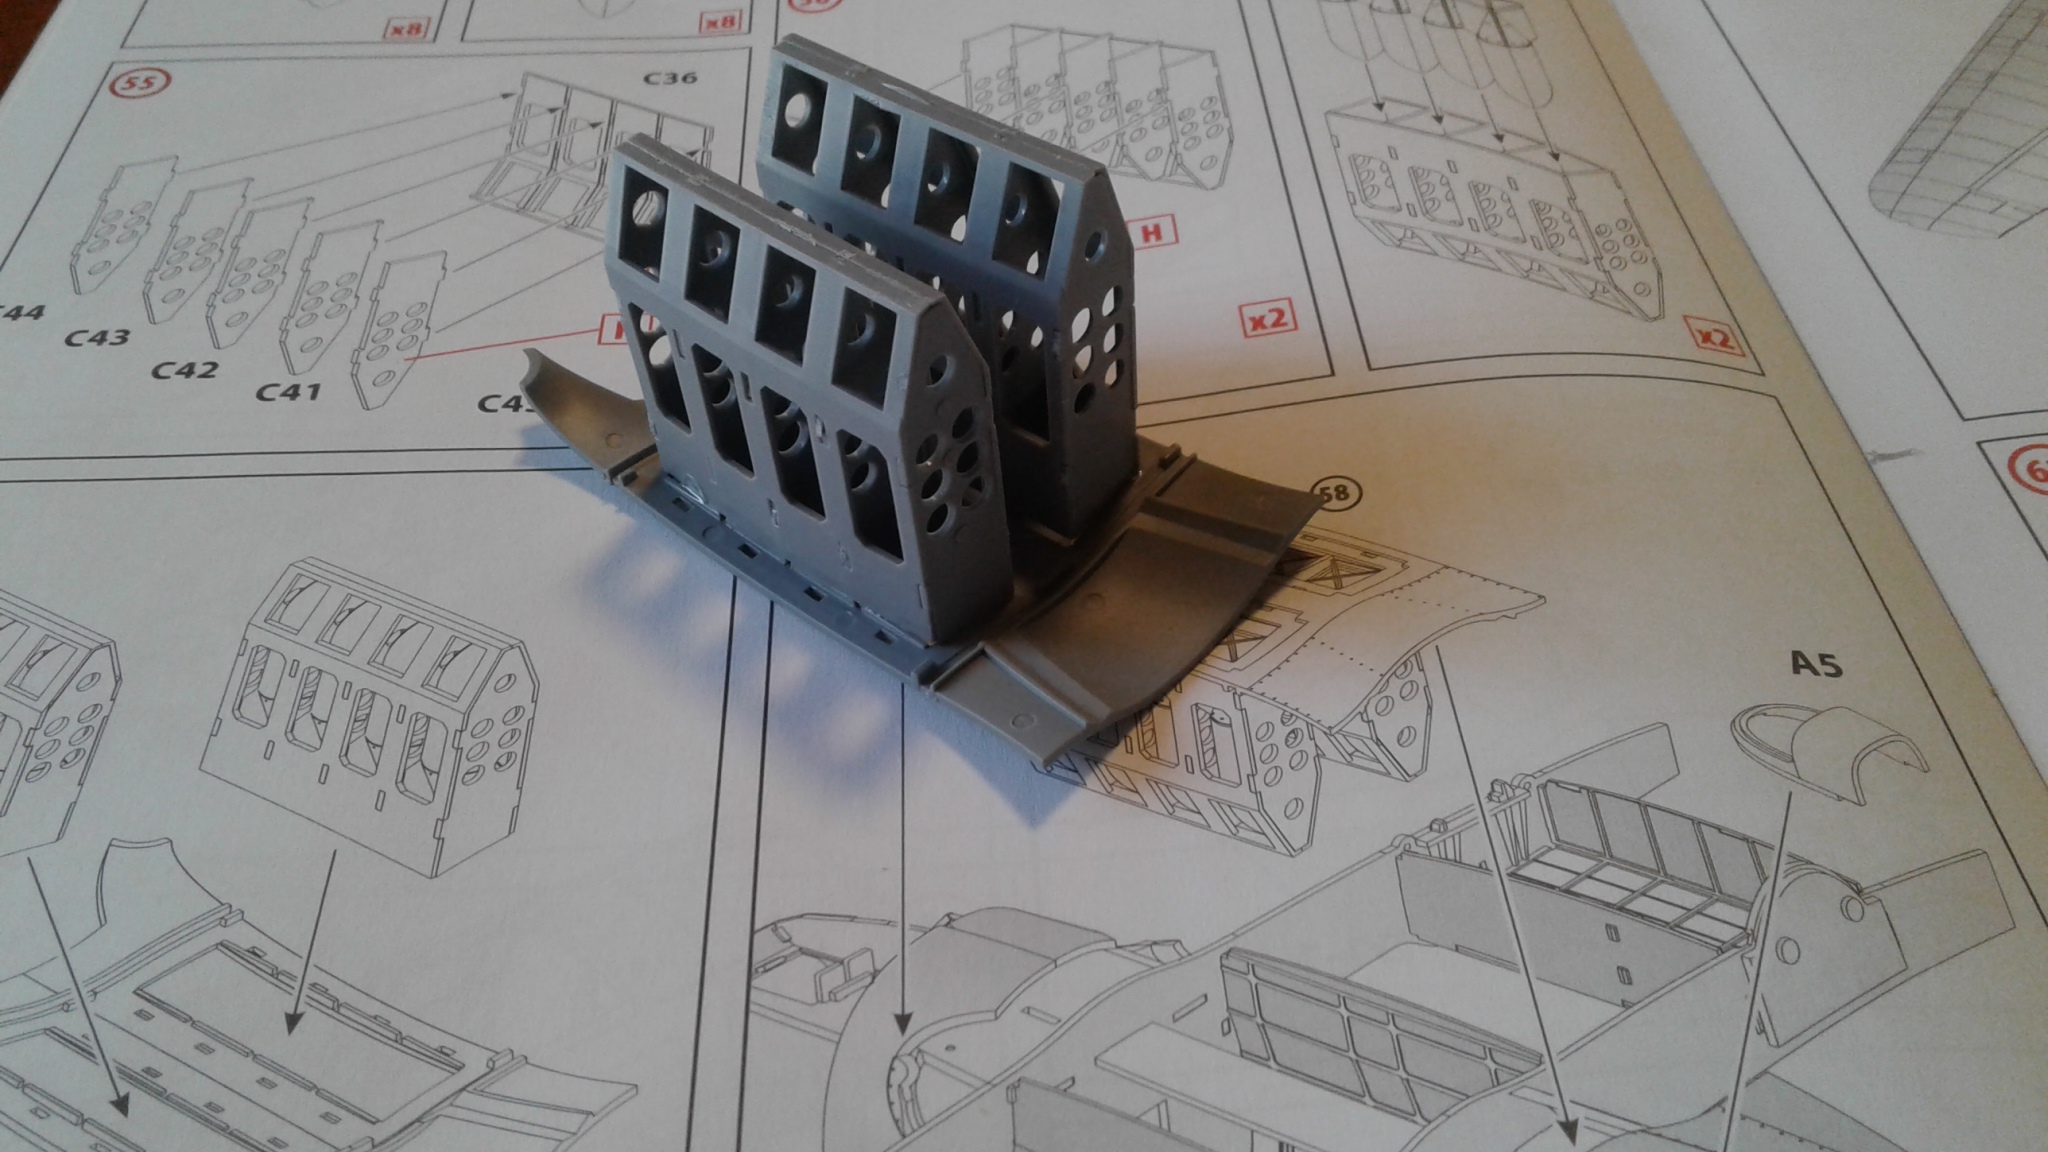
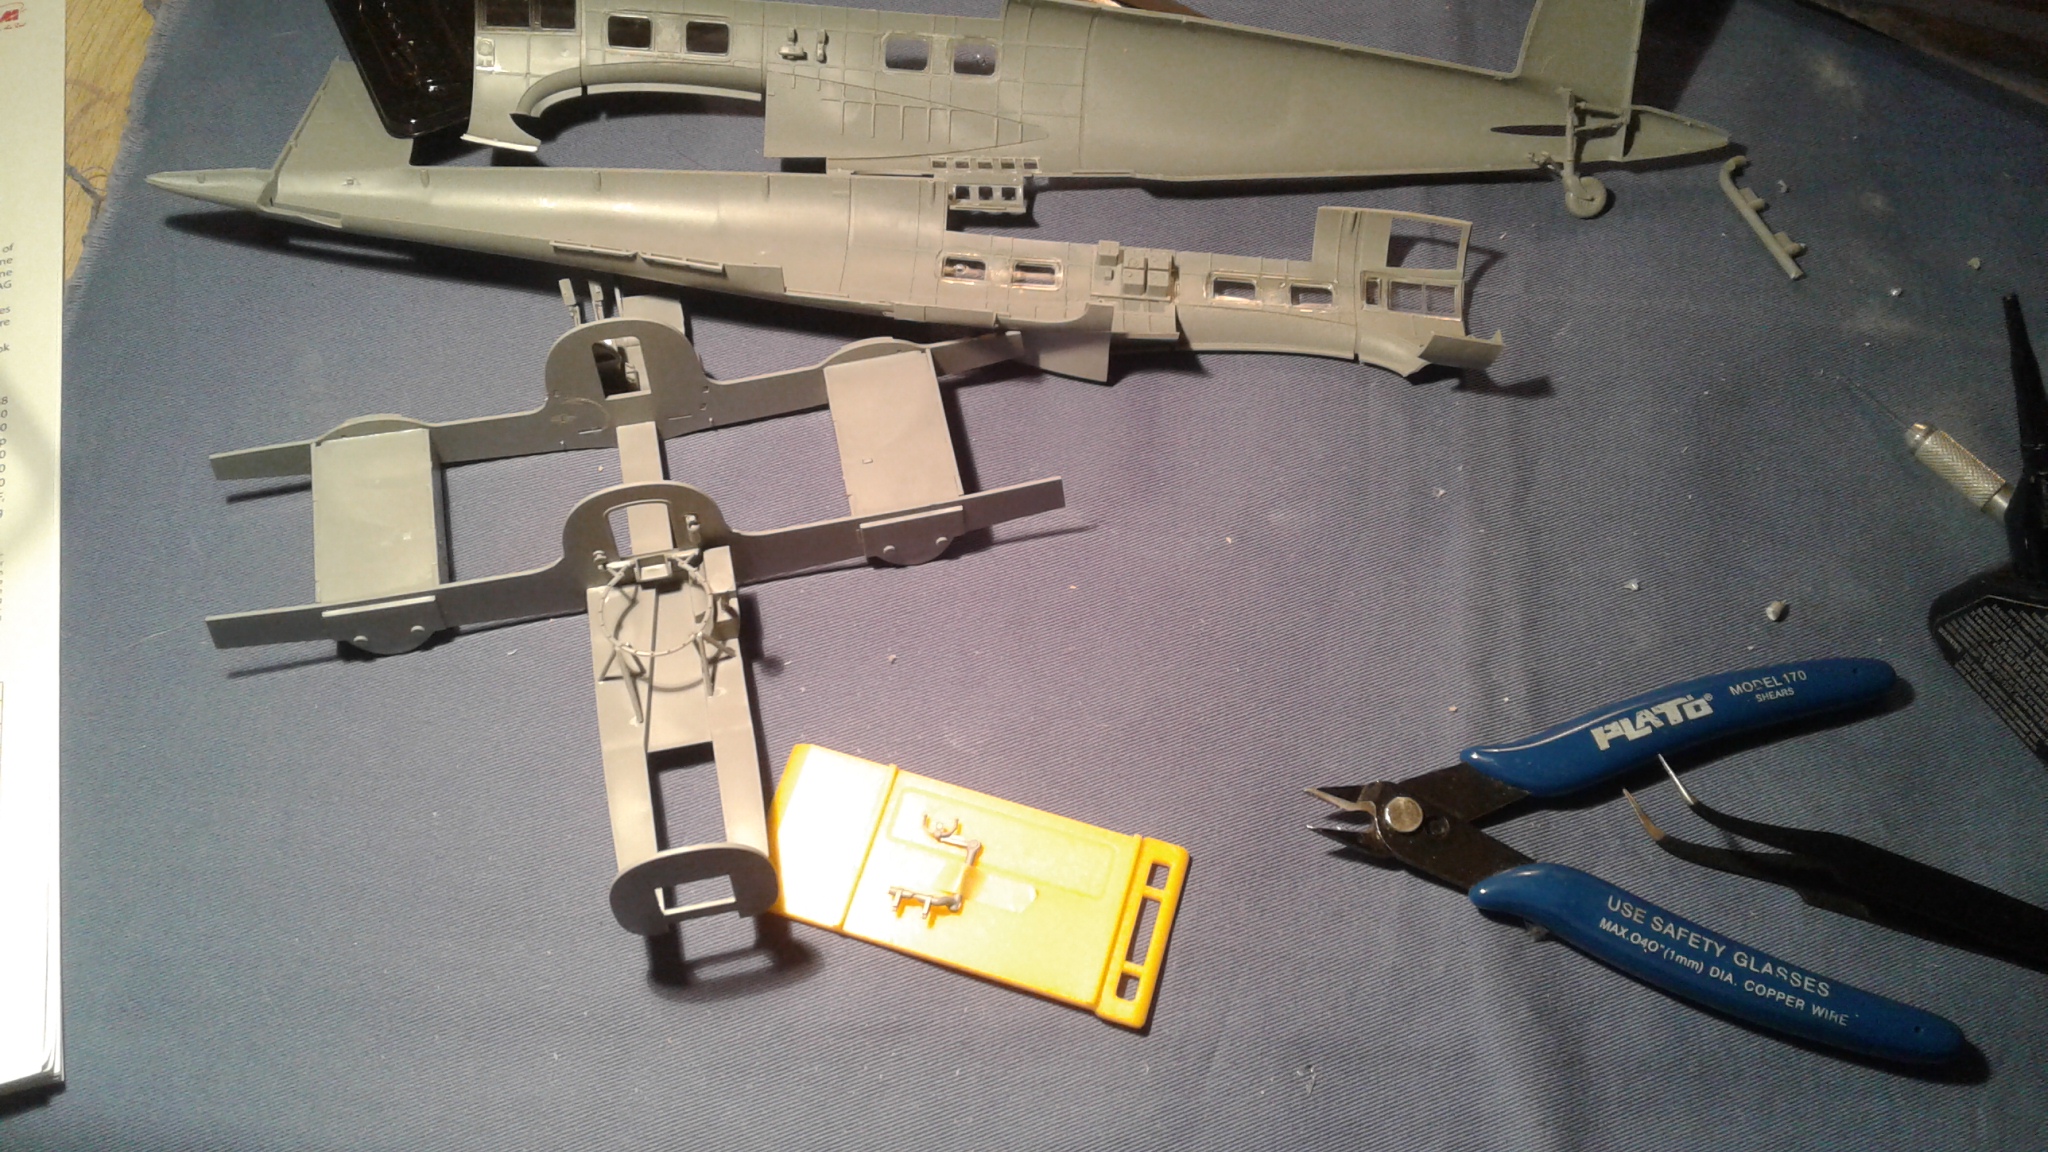
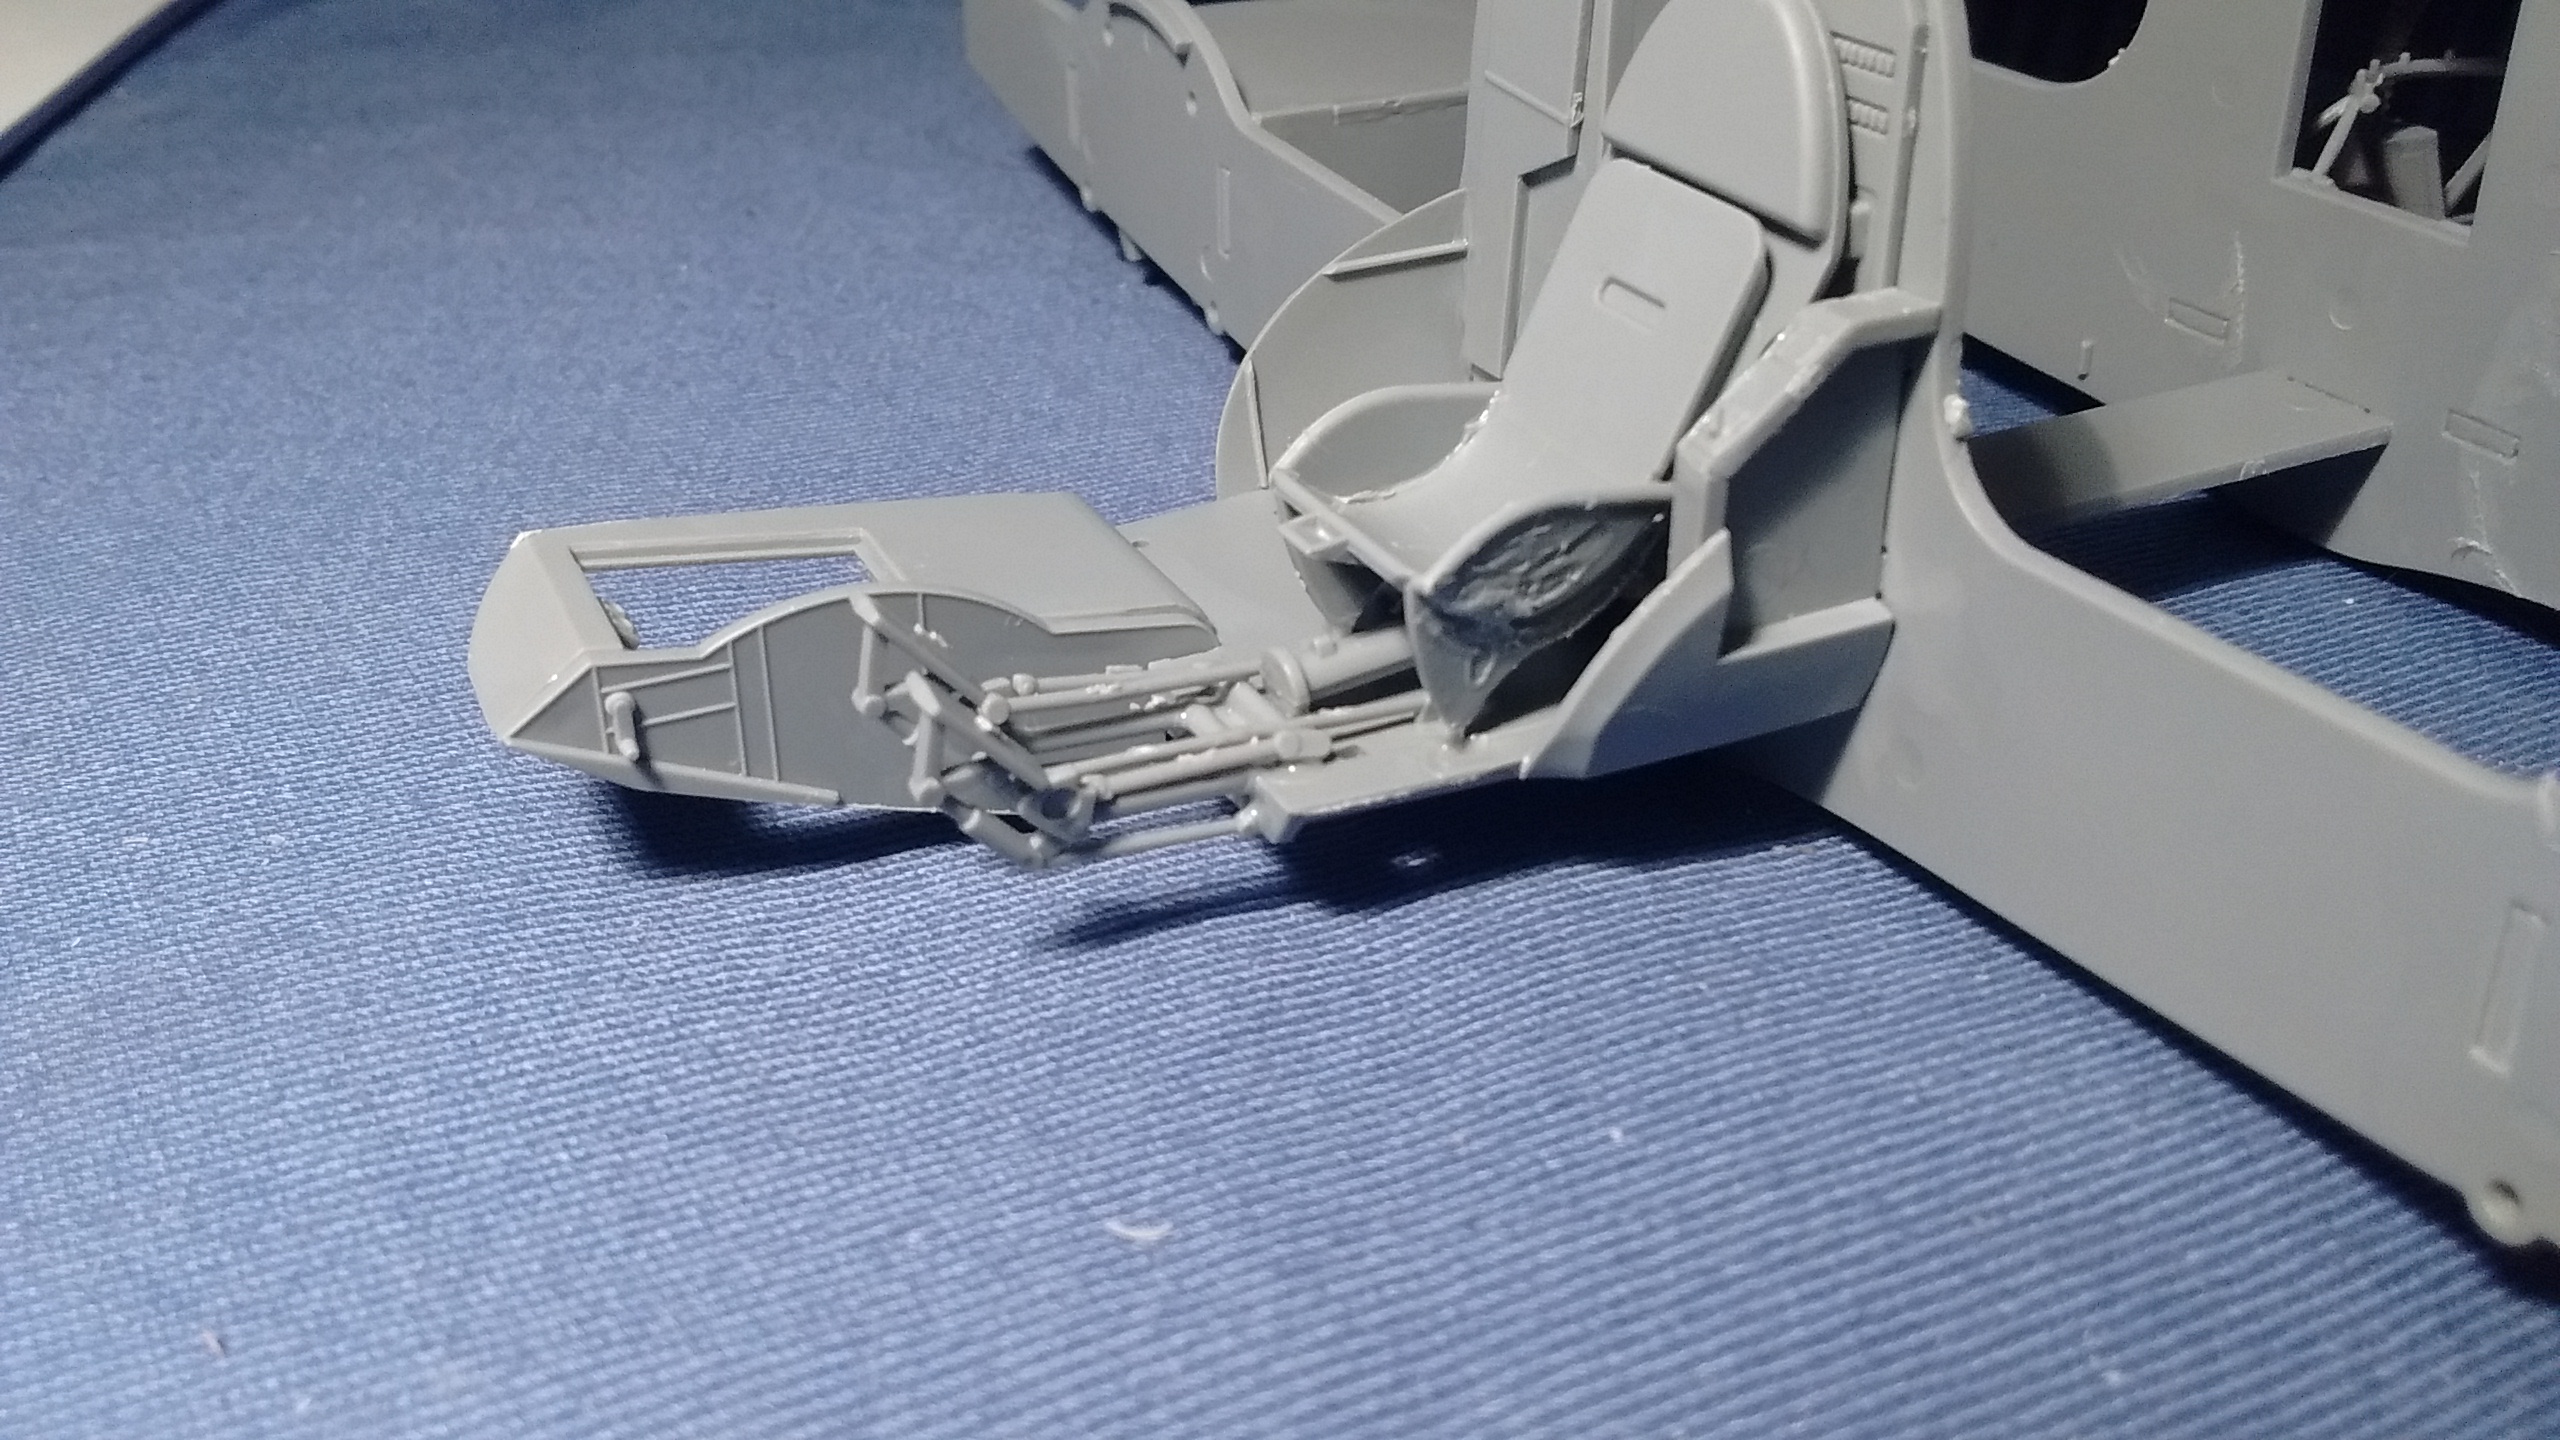
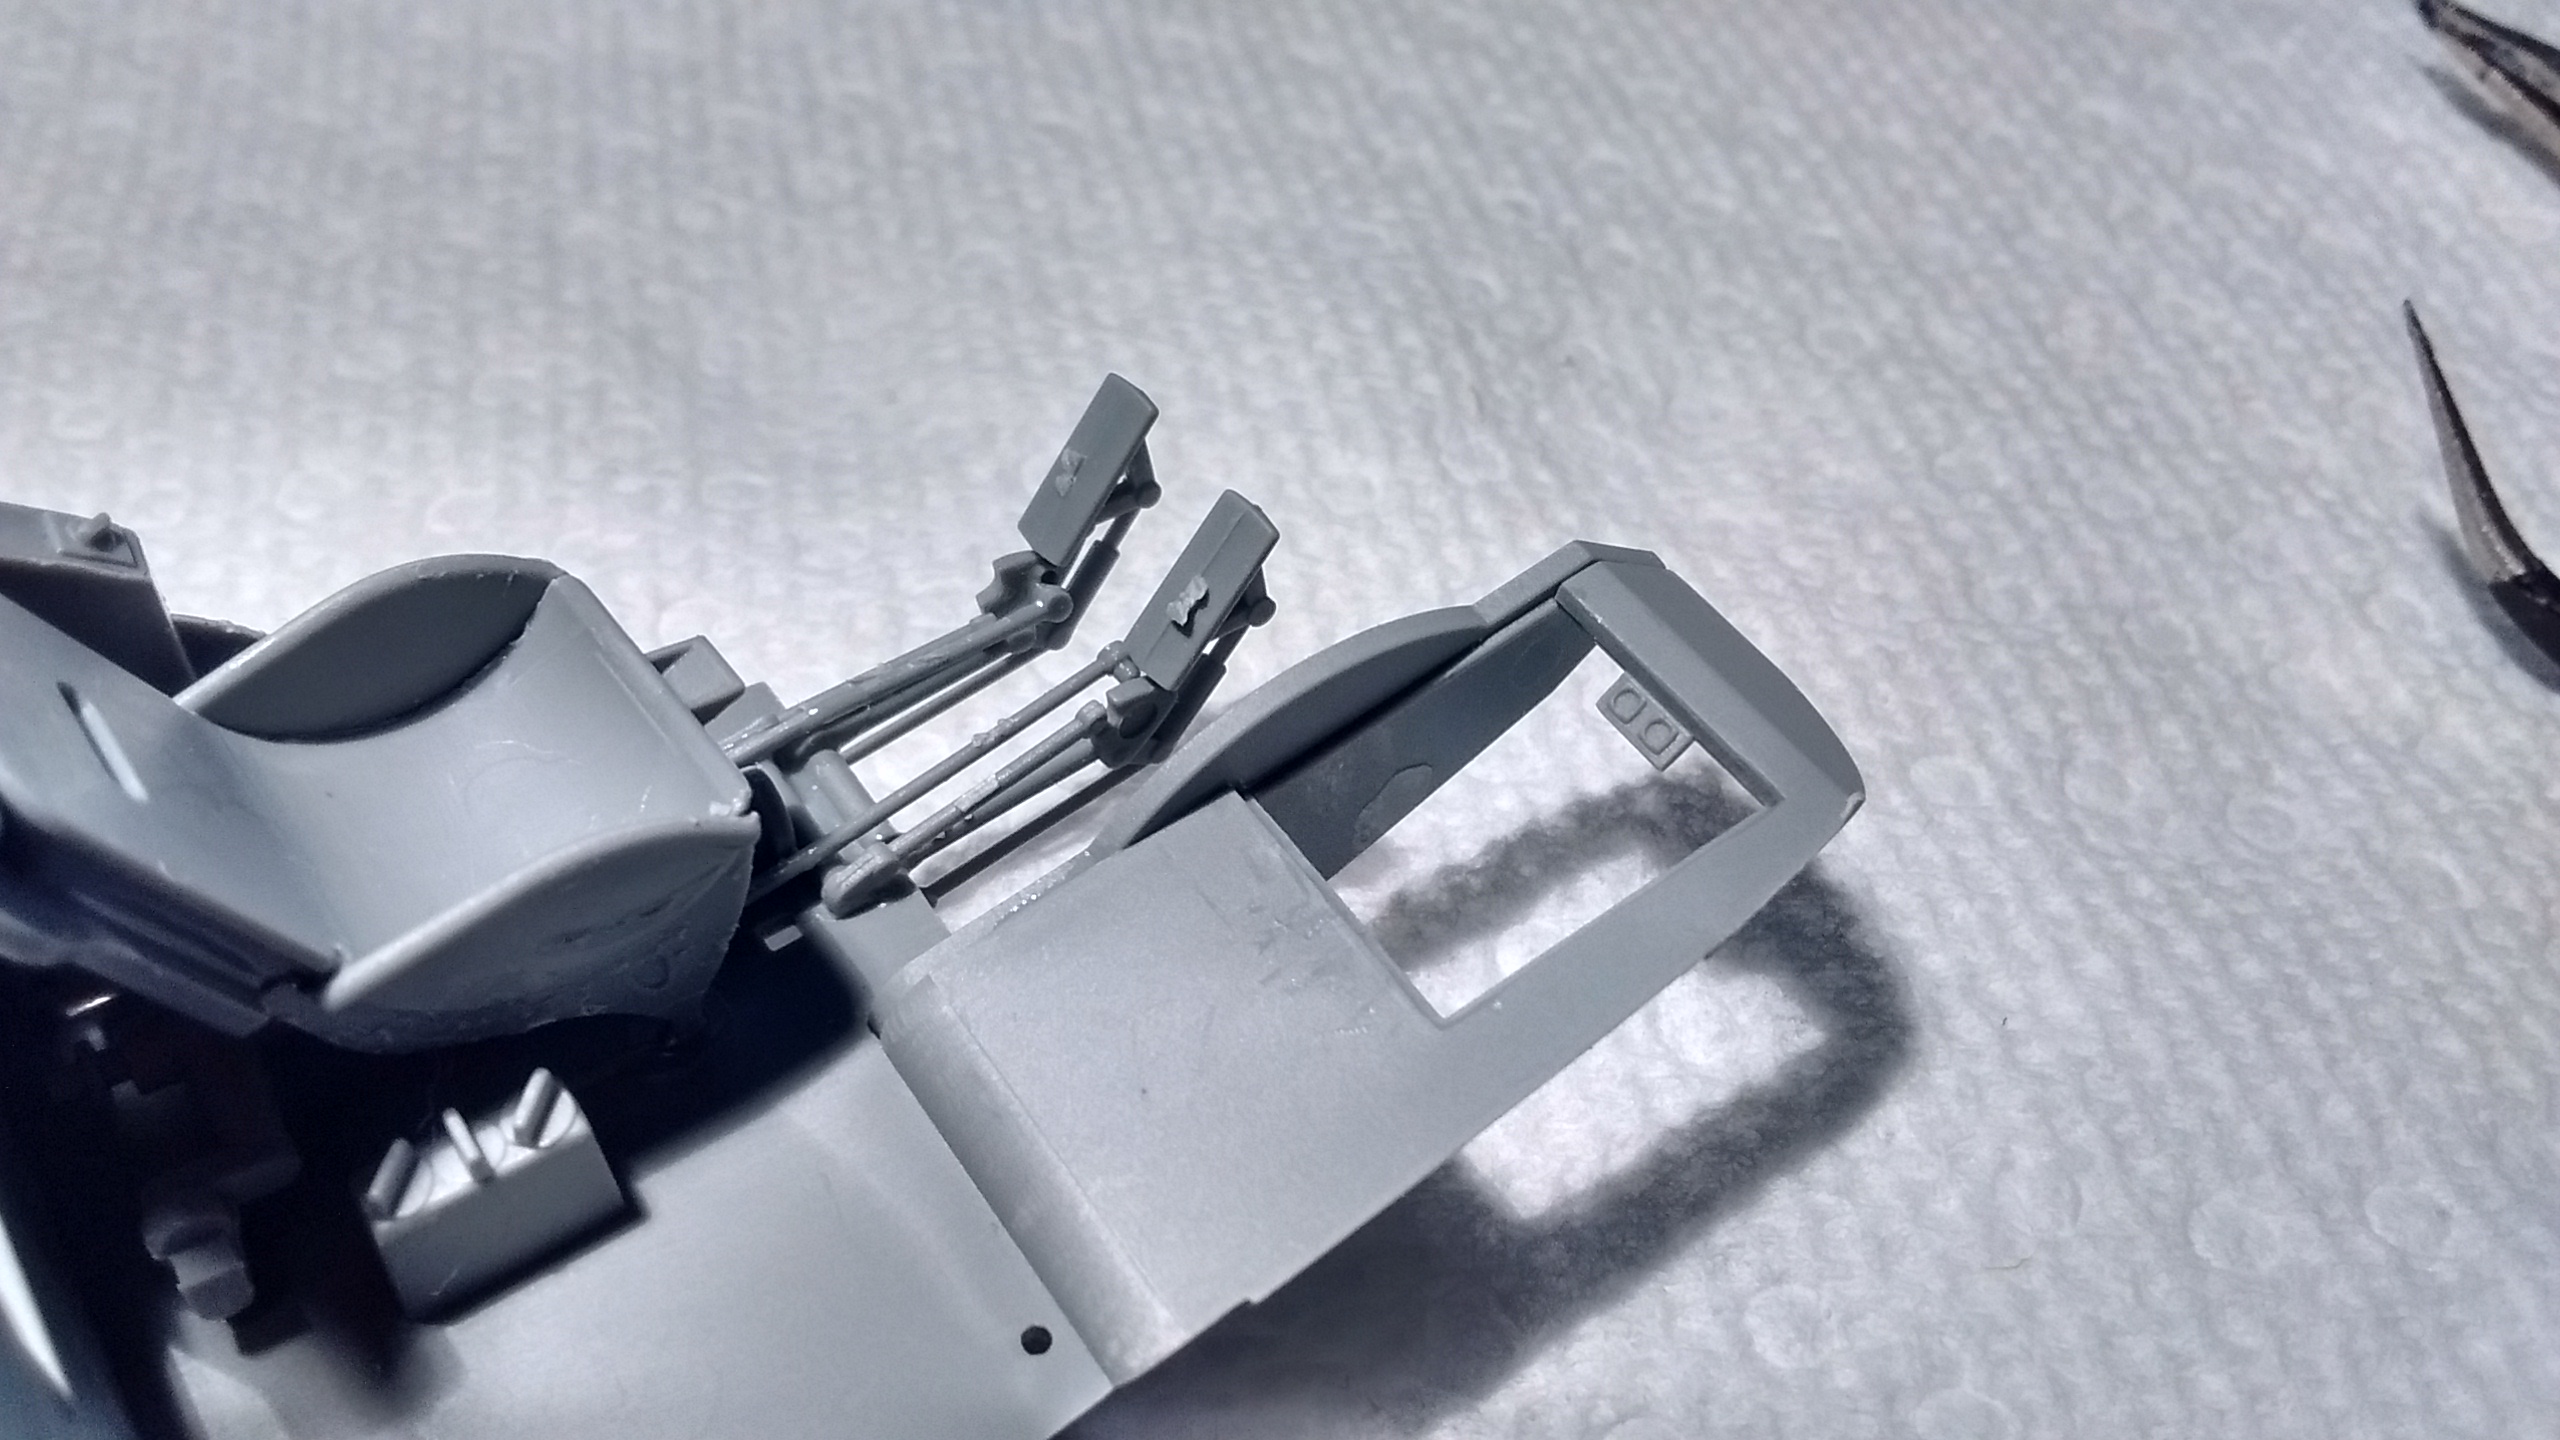
There is no way I will be glueing the engines right now with these fragile attachment points.

With the warm temperature we were having outside since last week in Quebec, I was thinking of using my airbrush outdoors one more time. However that window of opportunity just closed this morning with a minus 2 degree Celsius.

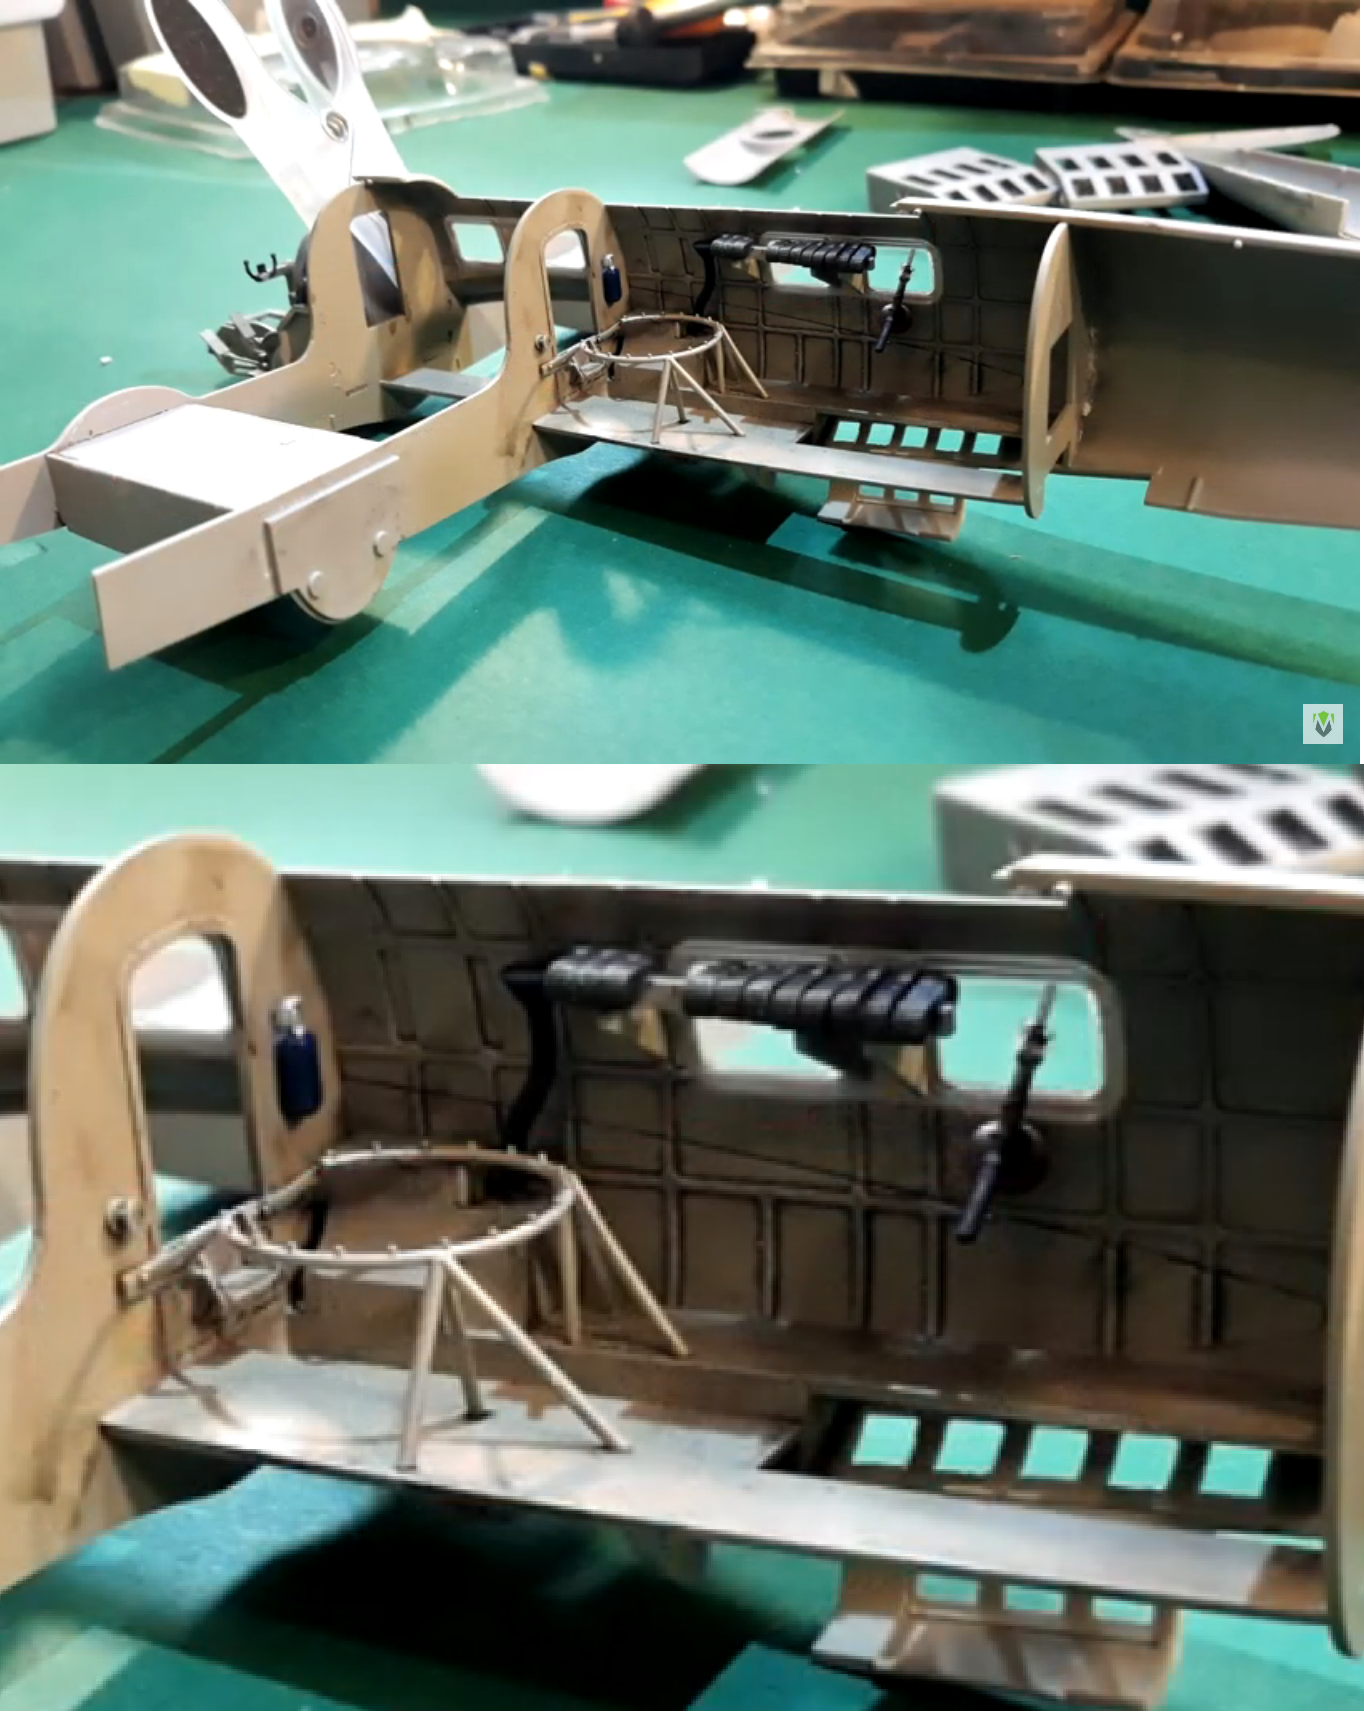
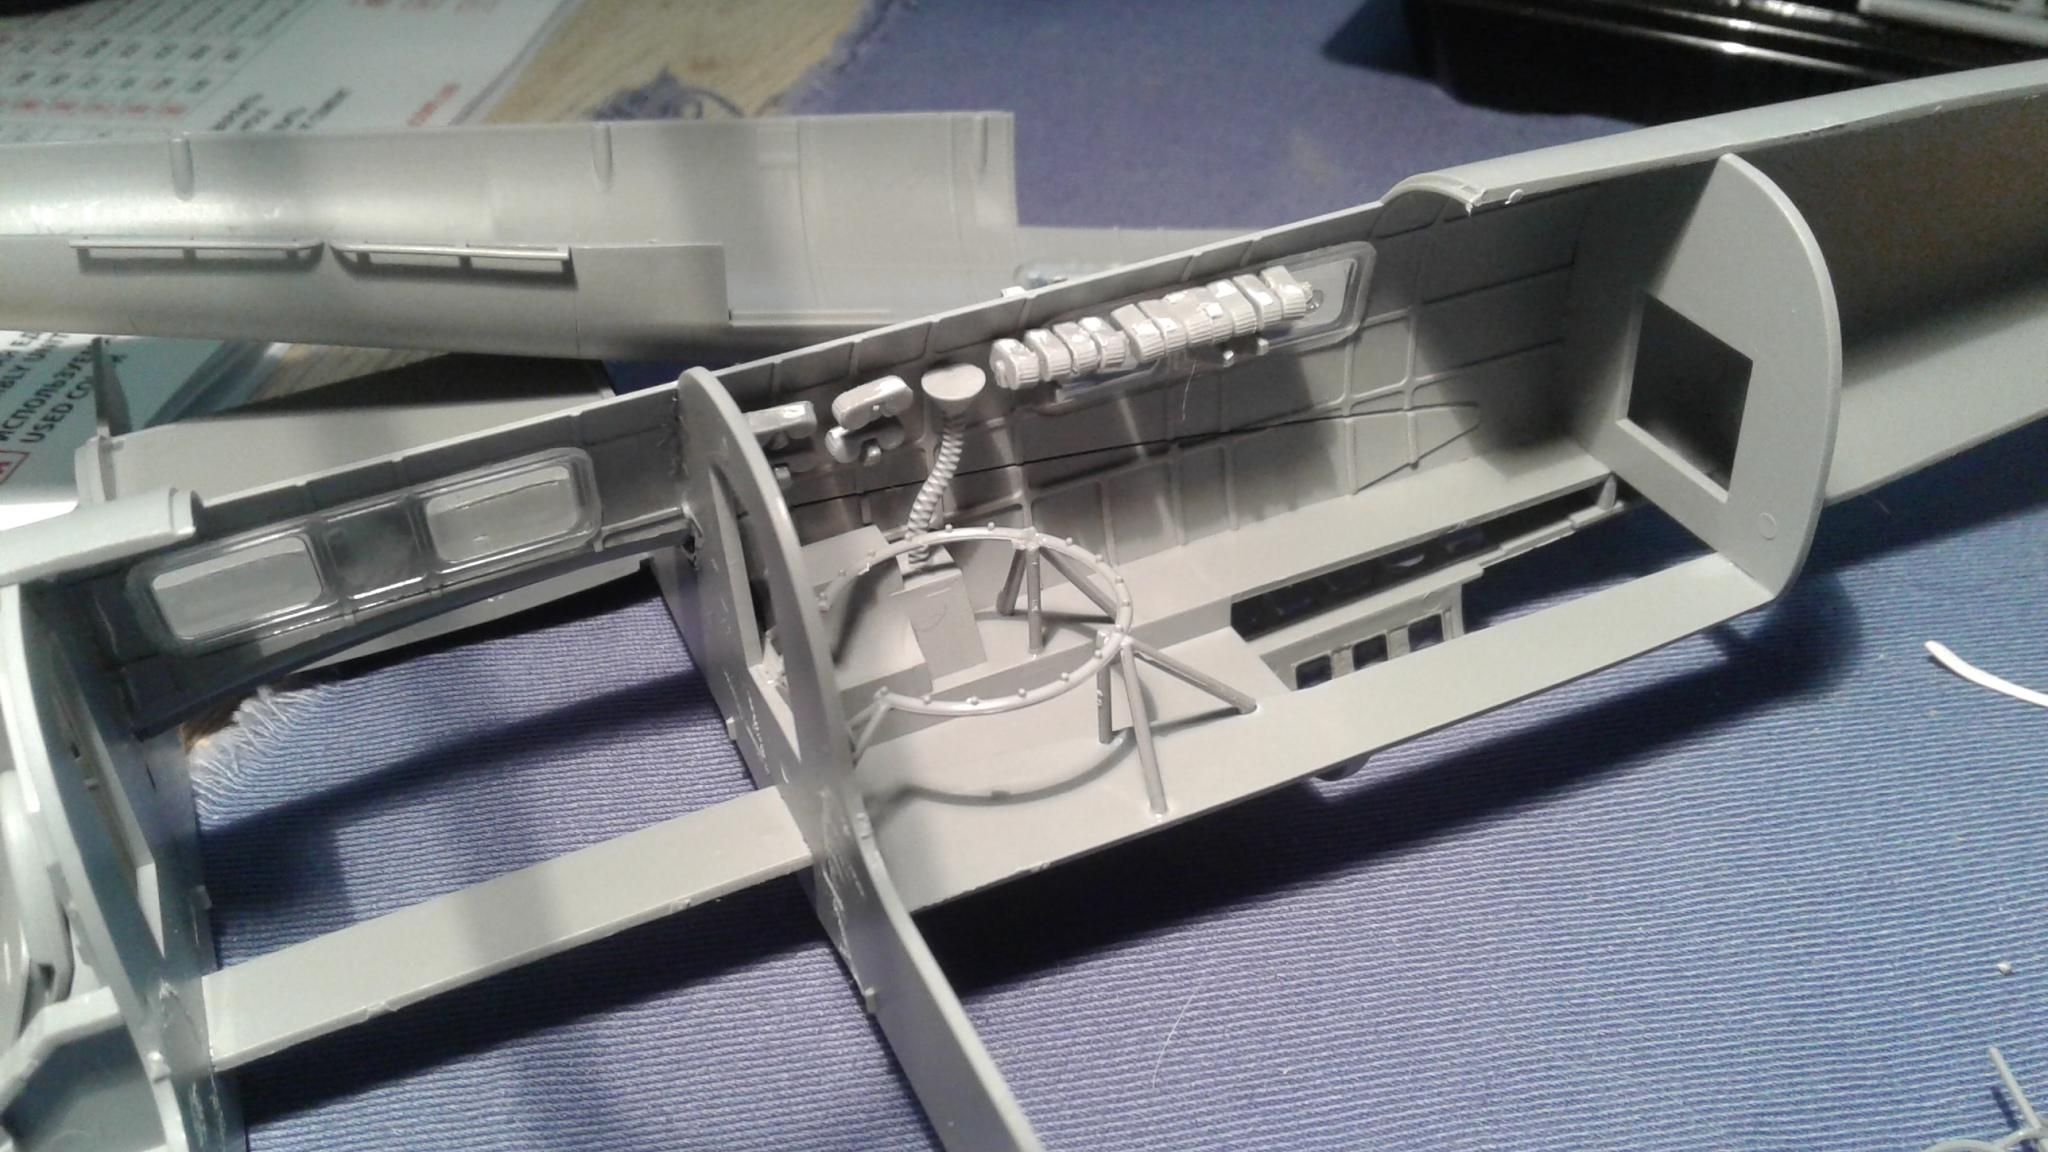
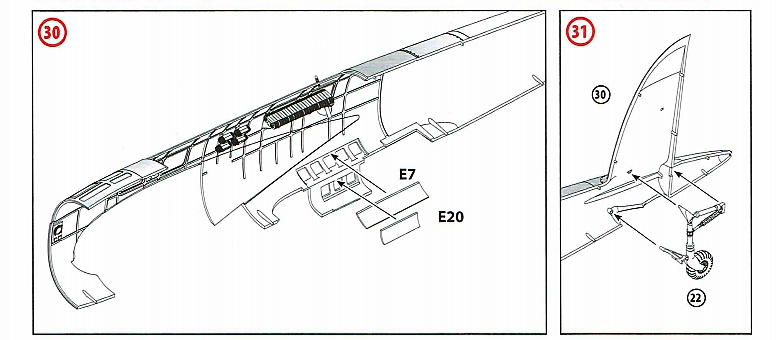
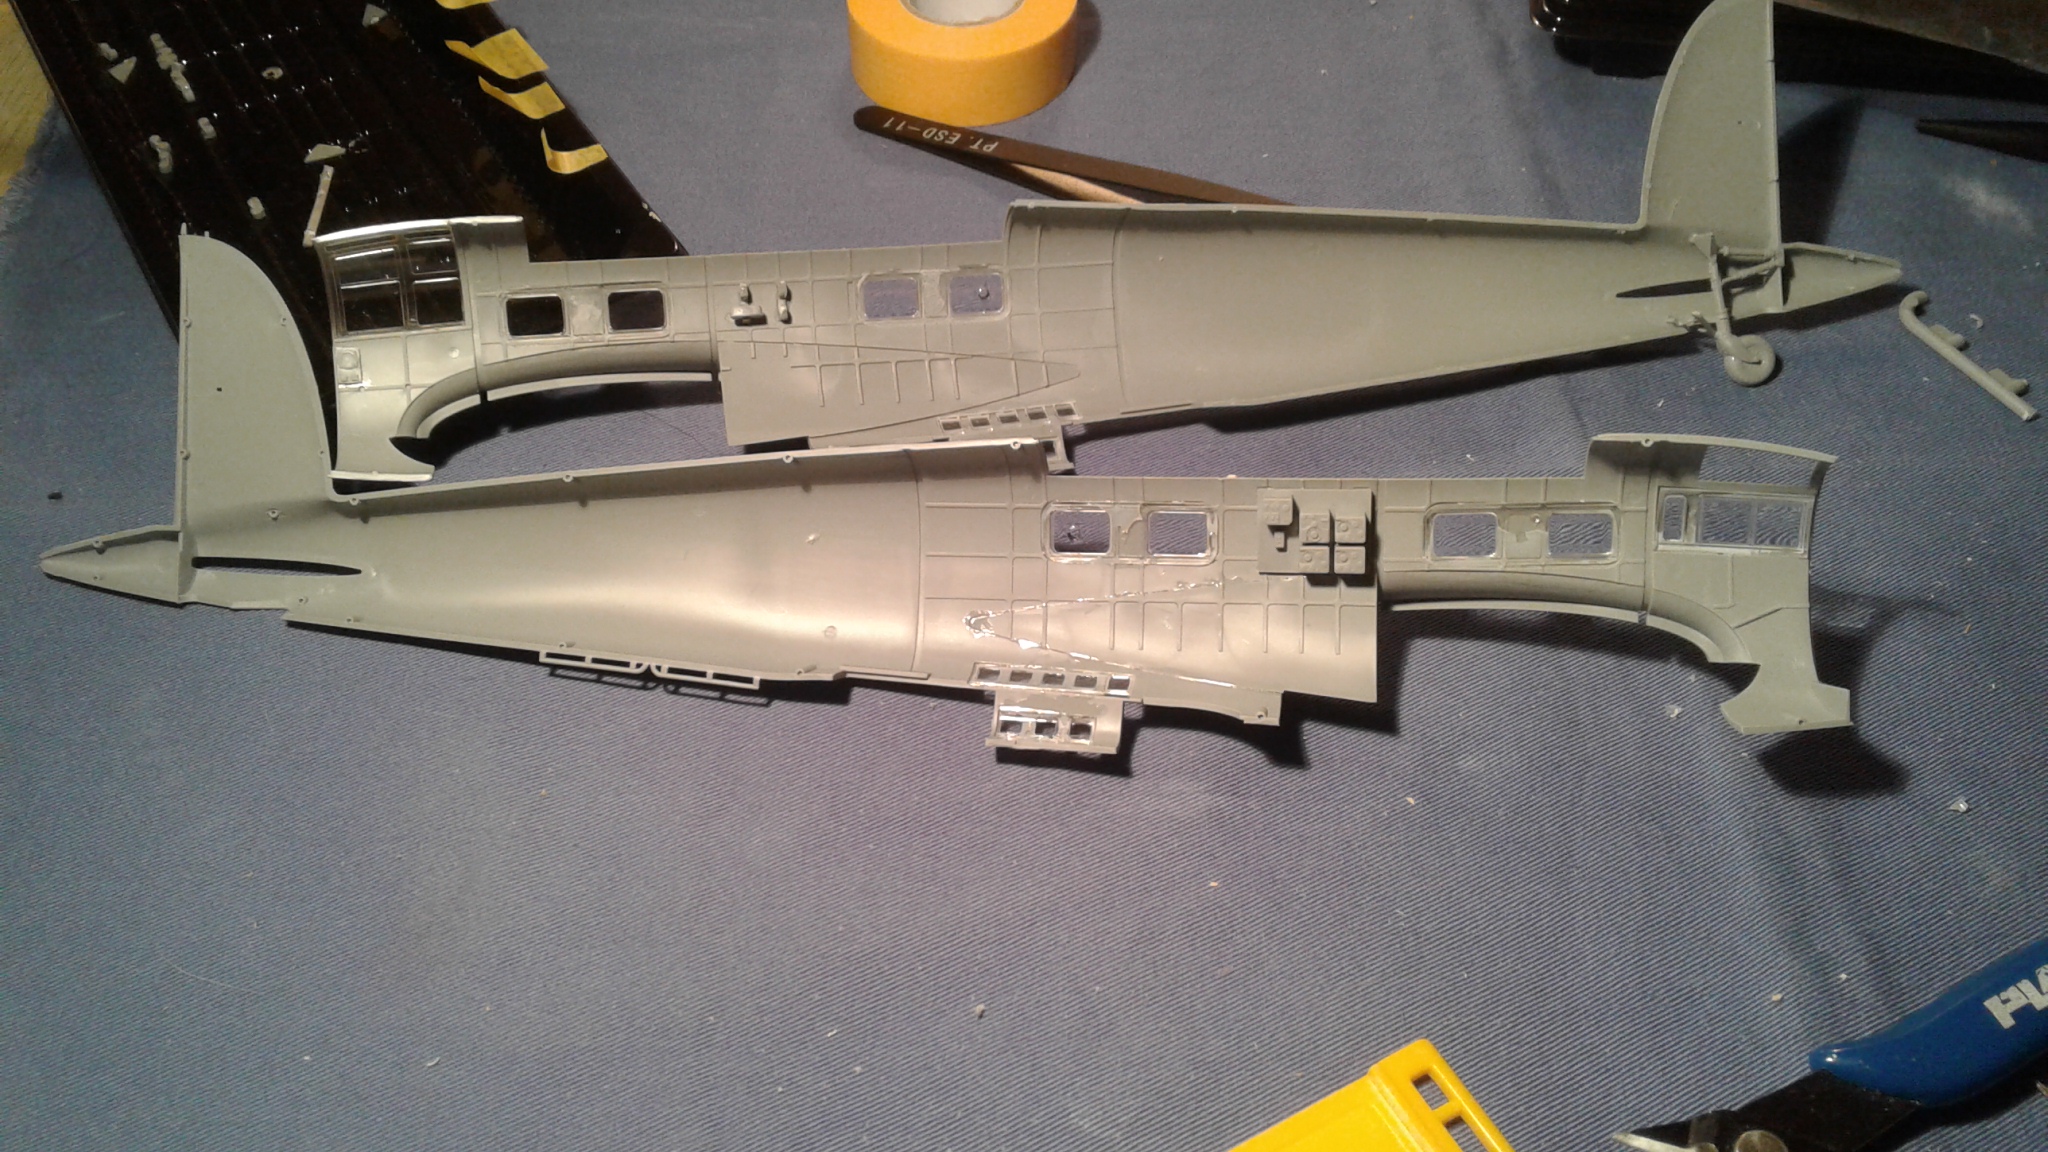
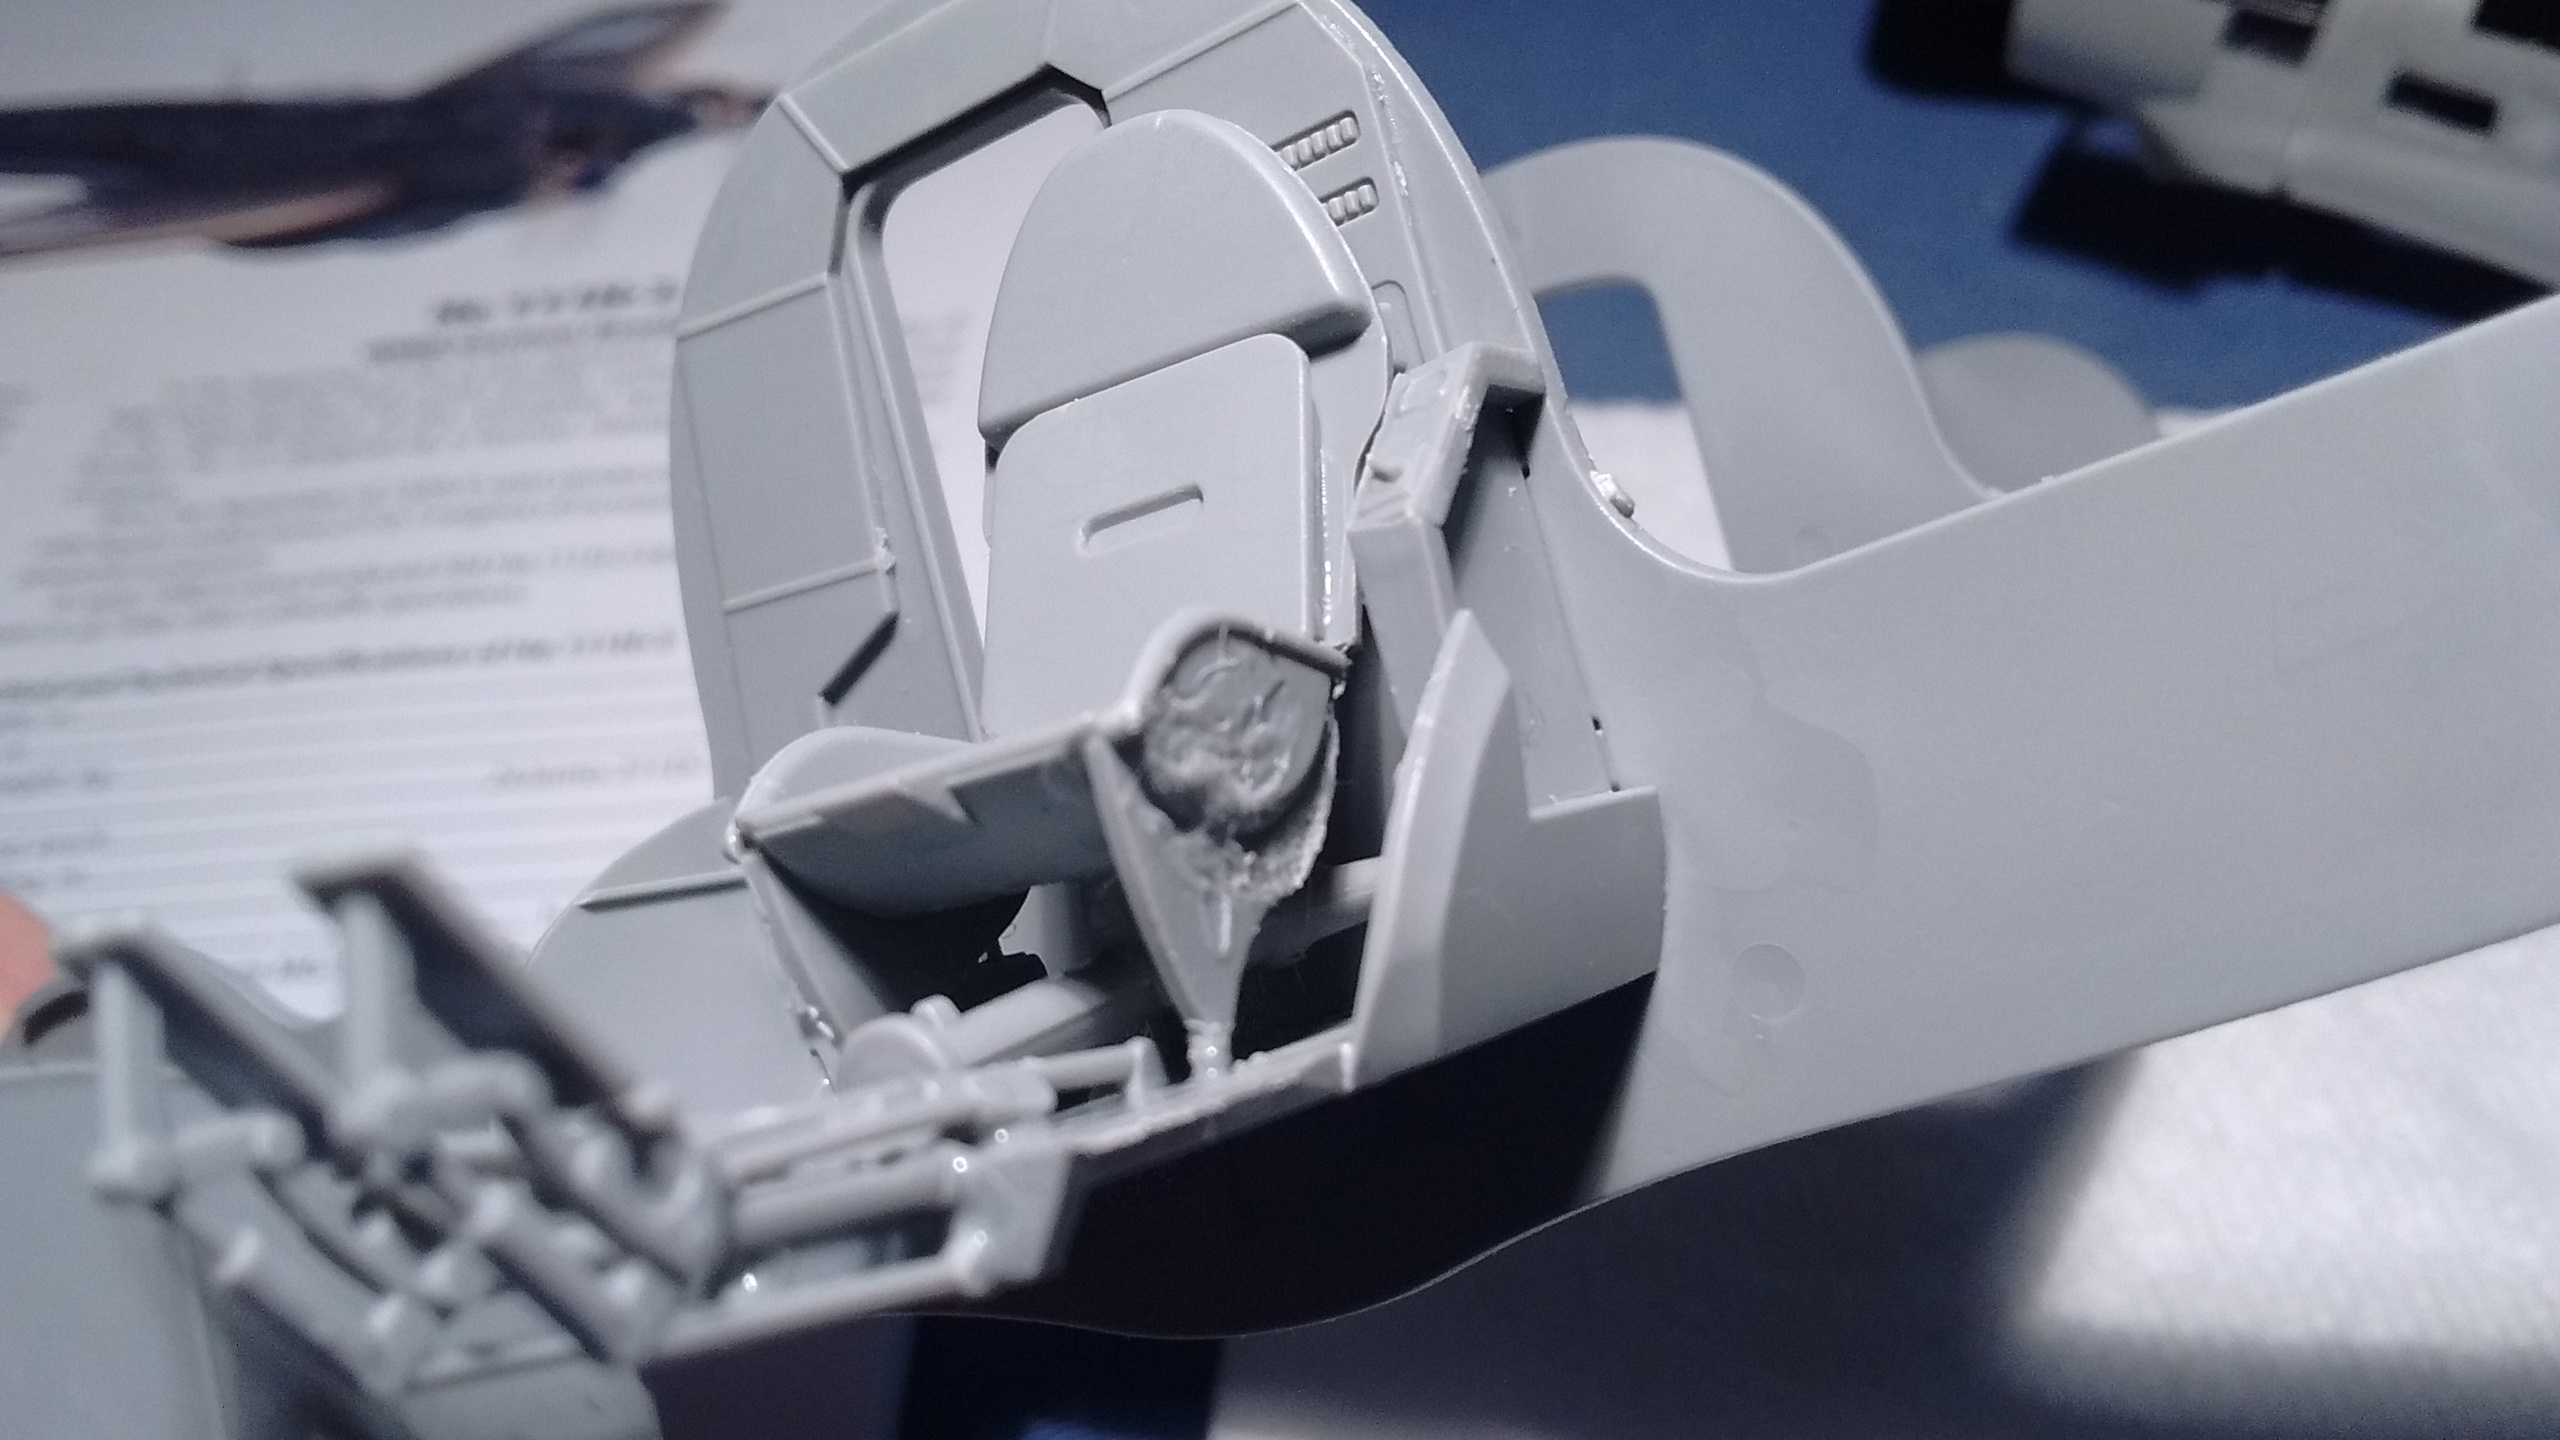
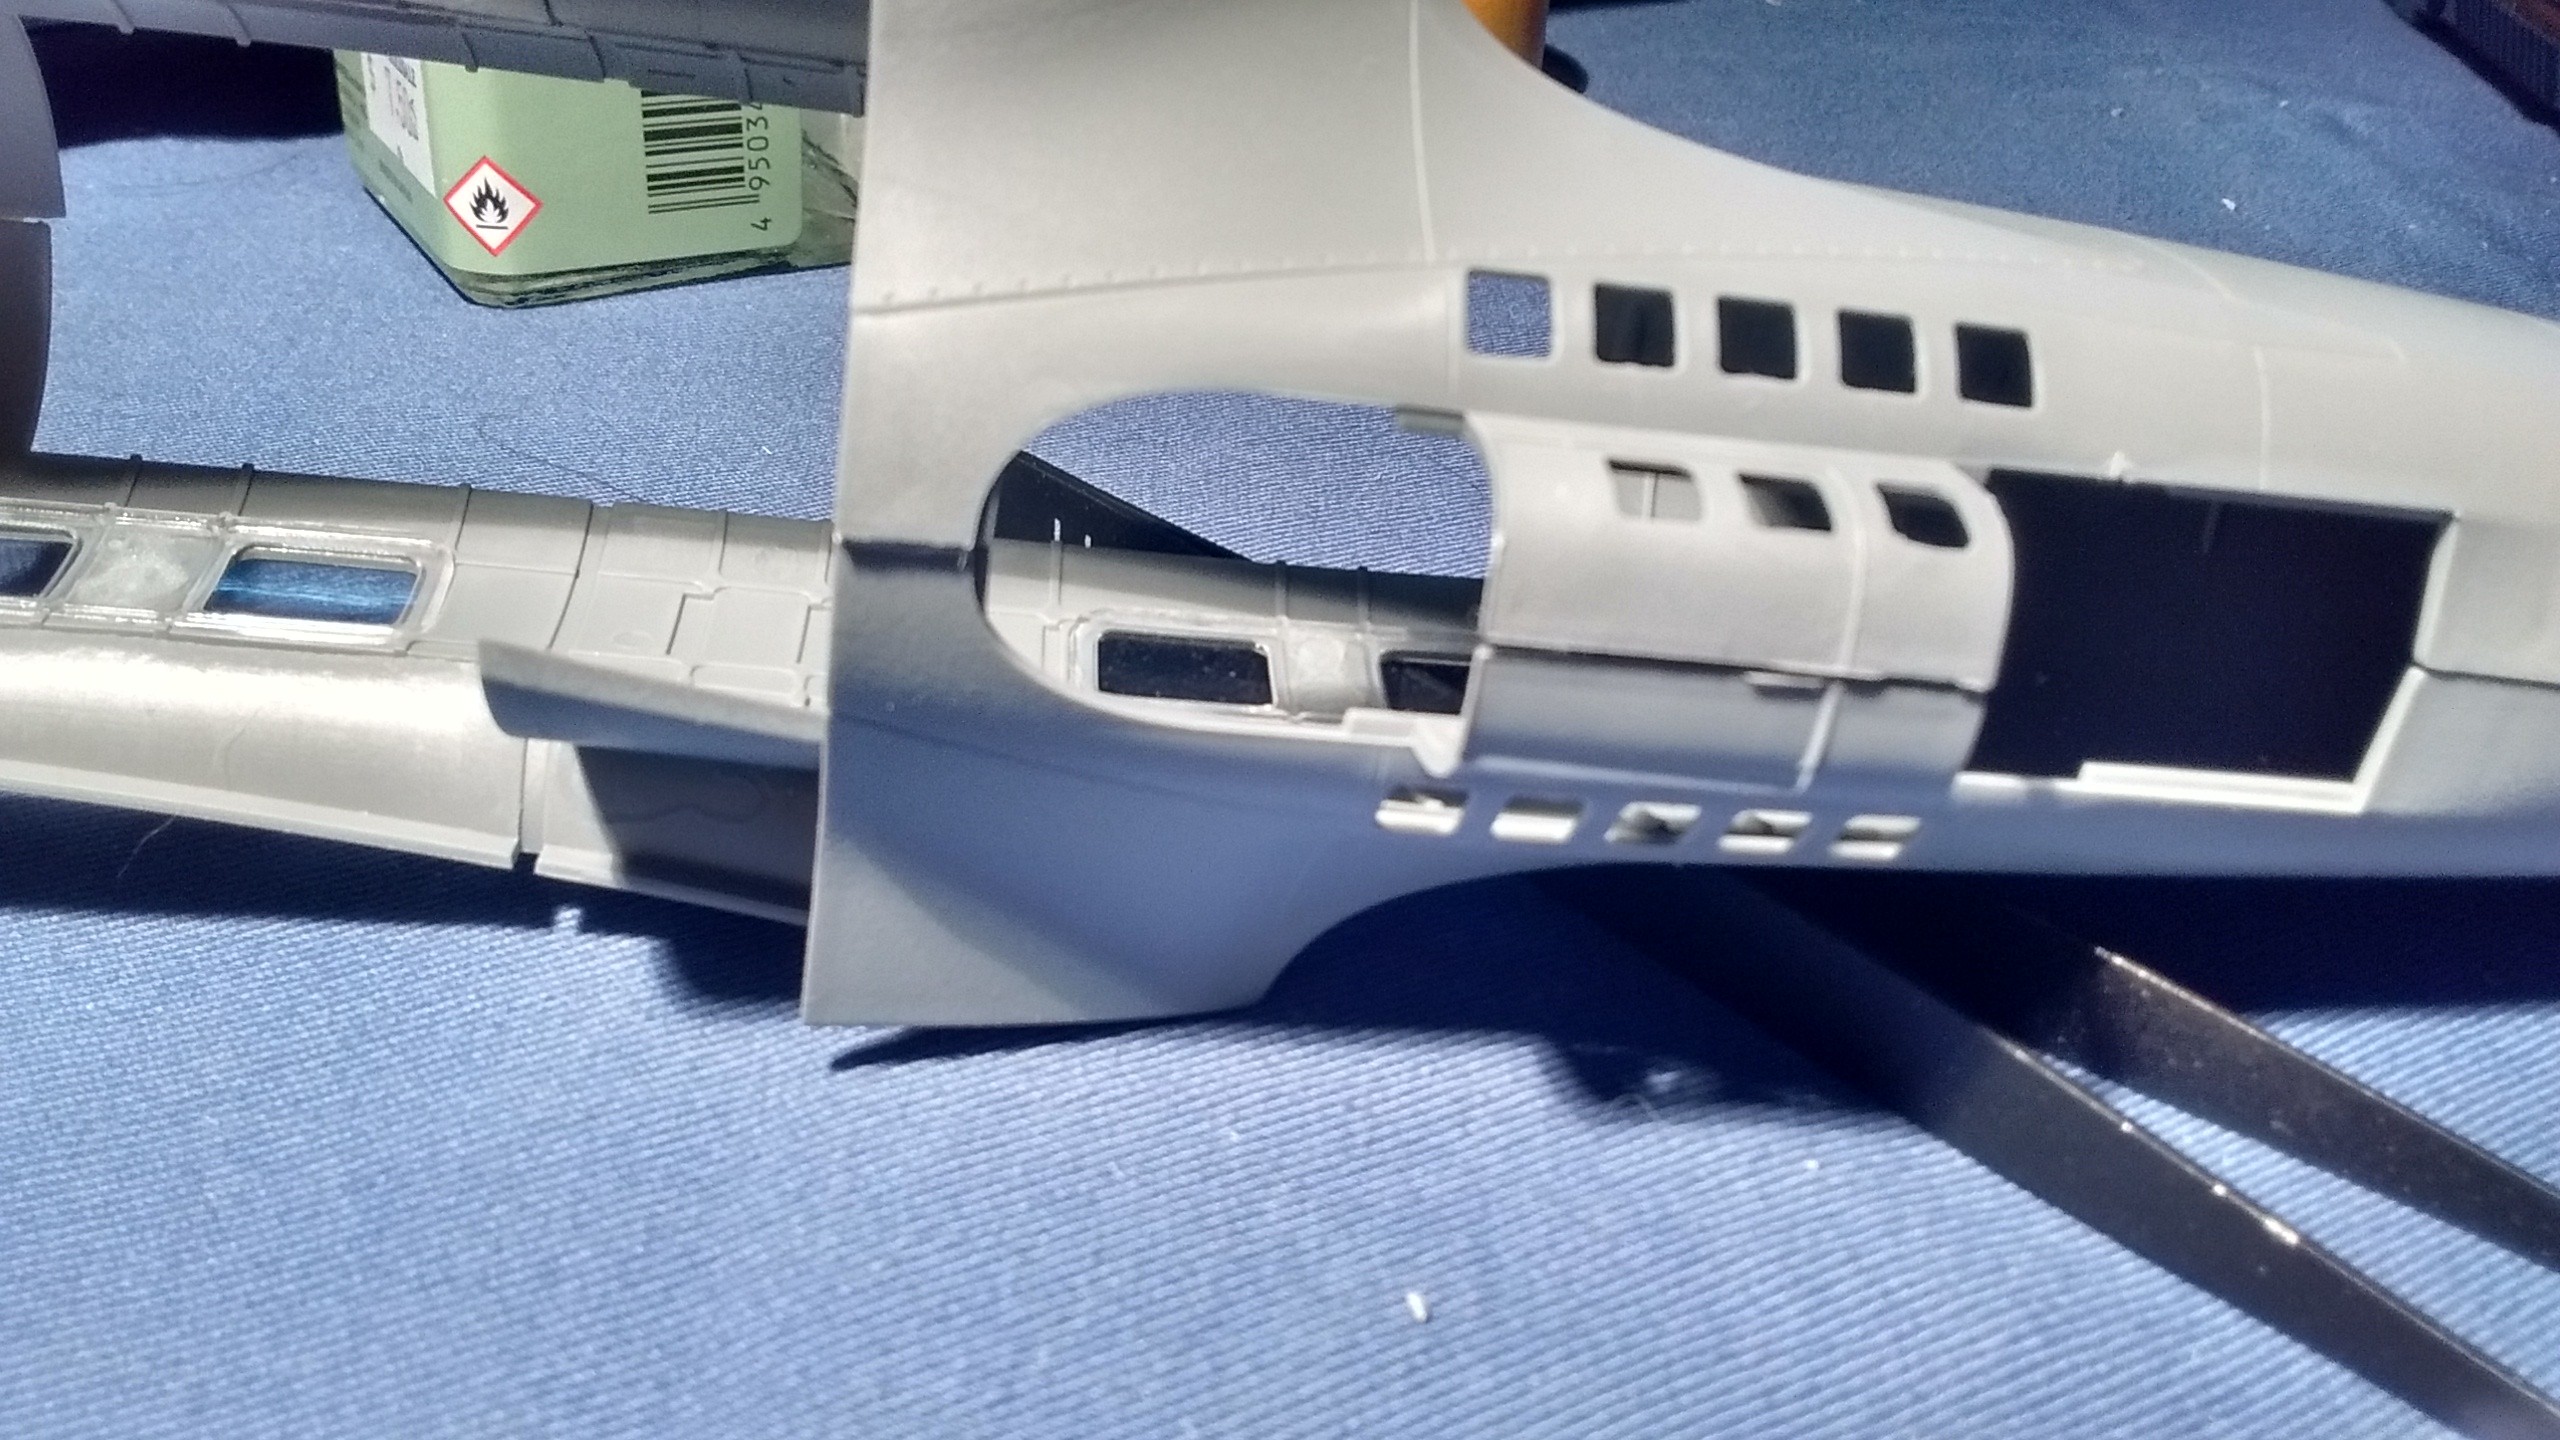
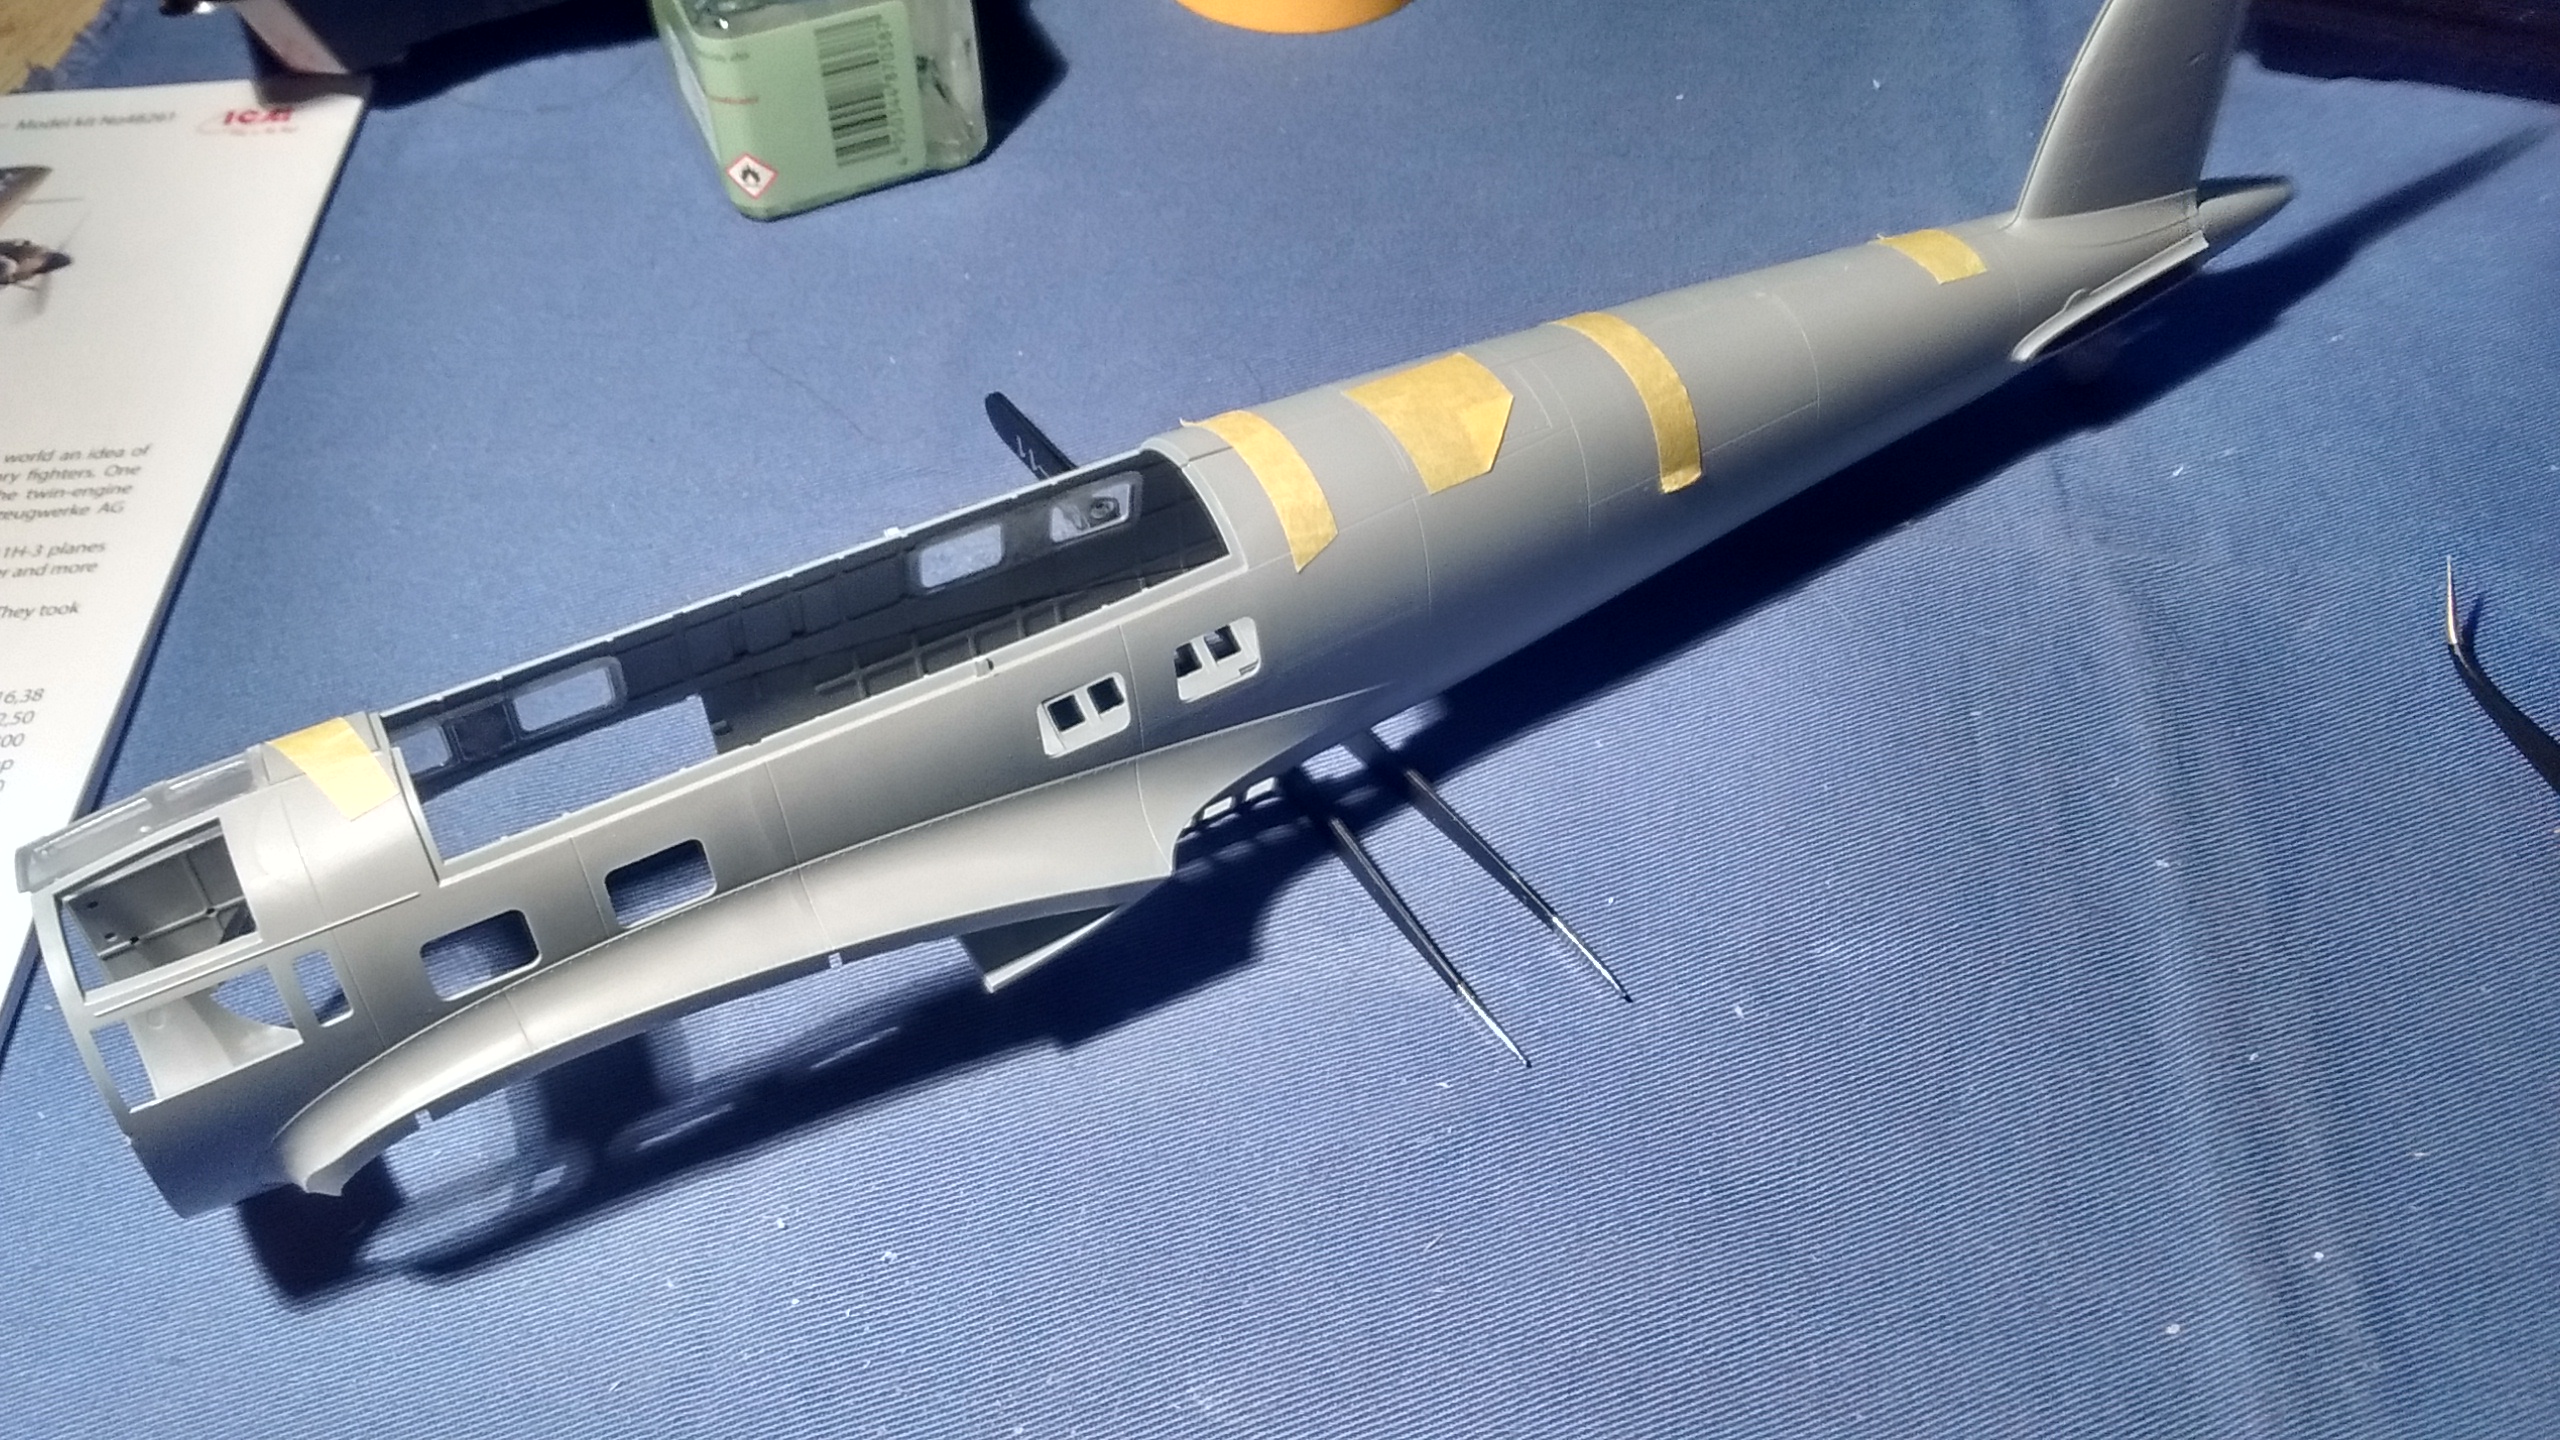
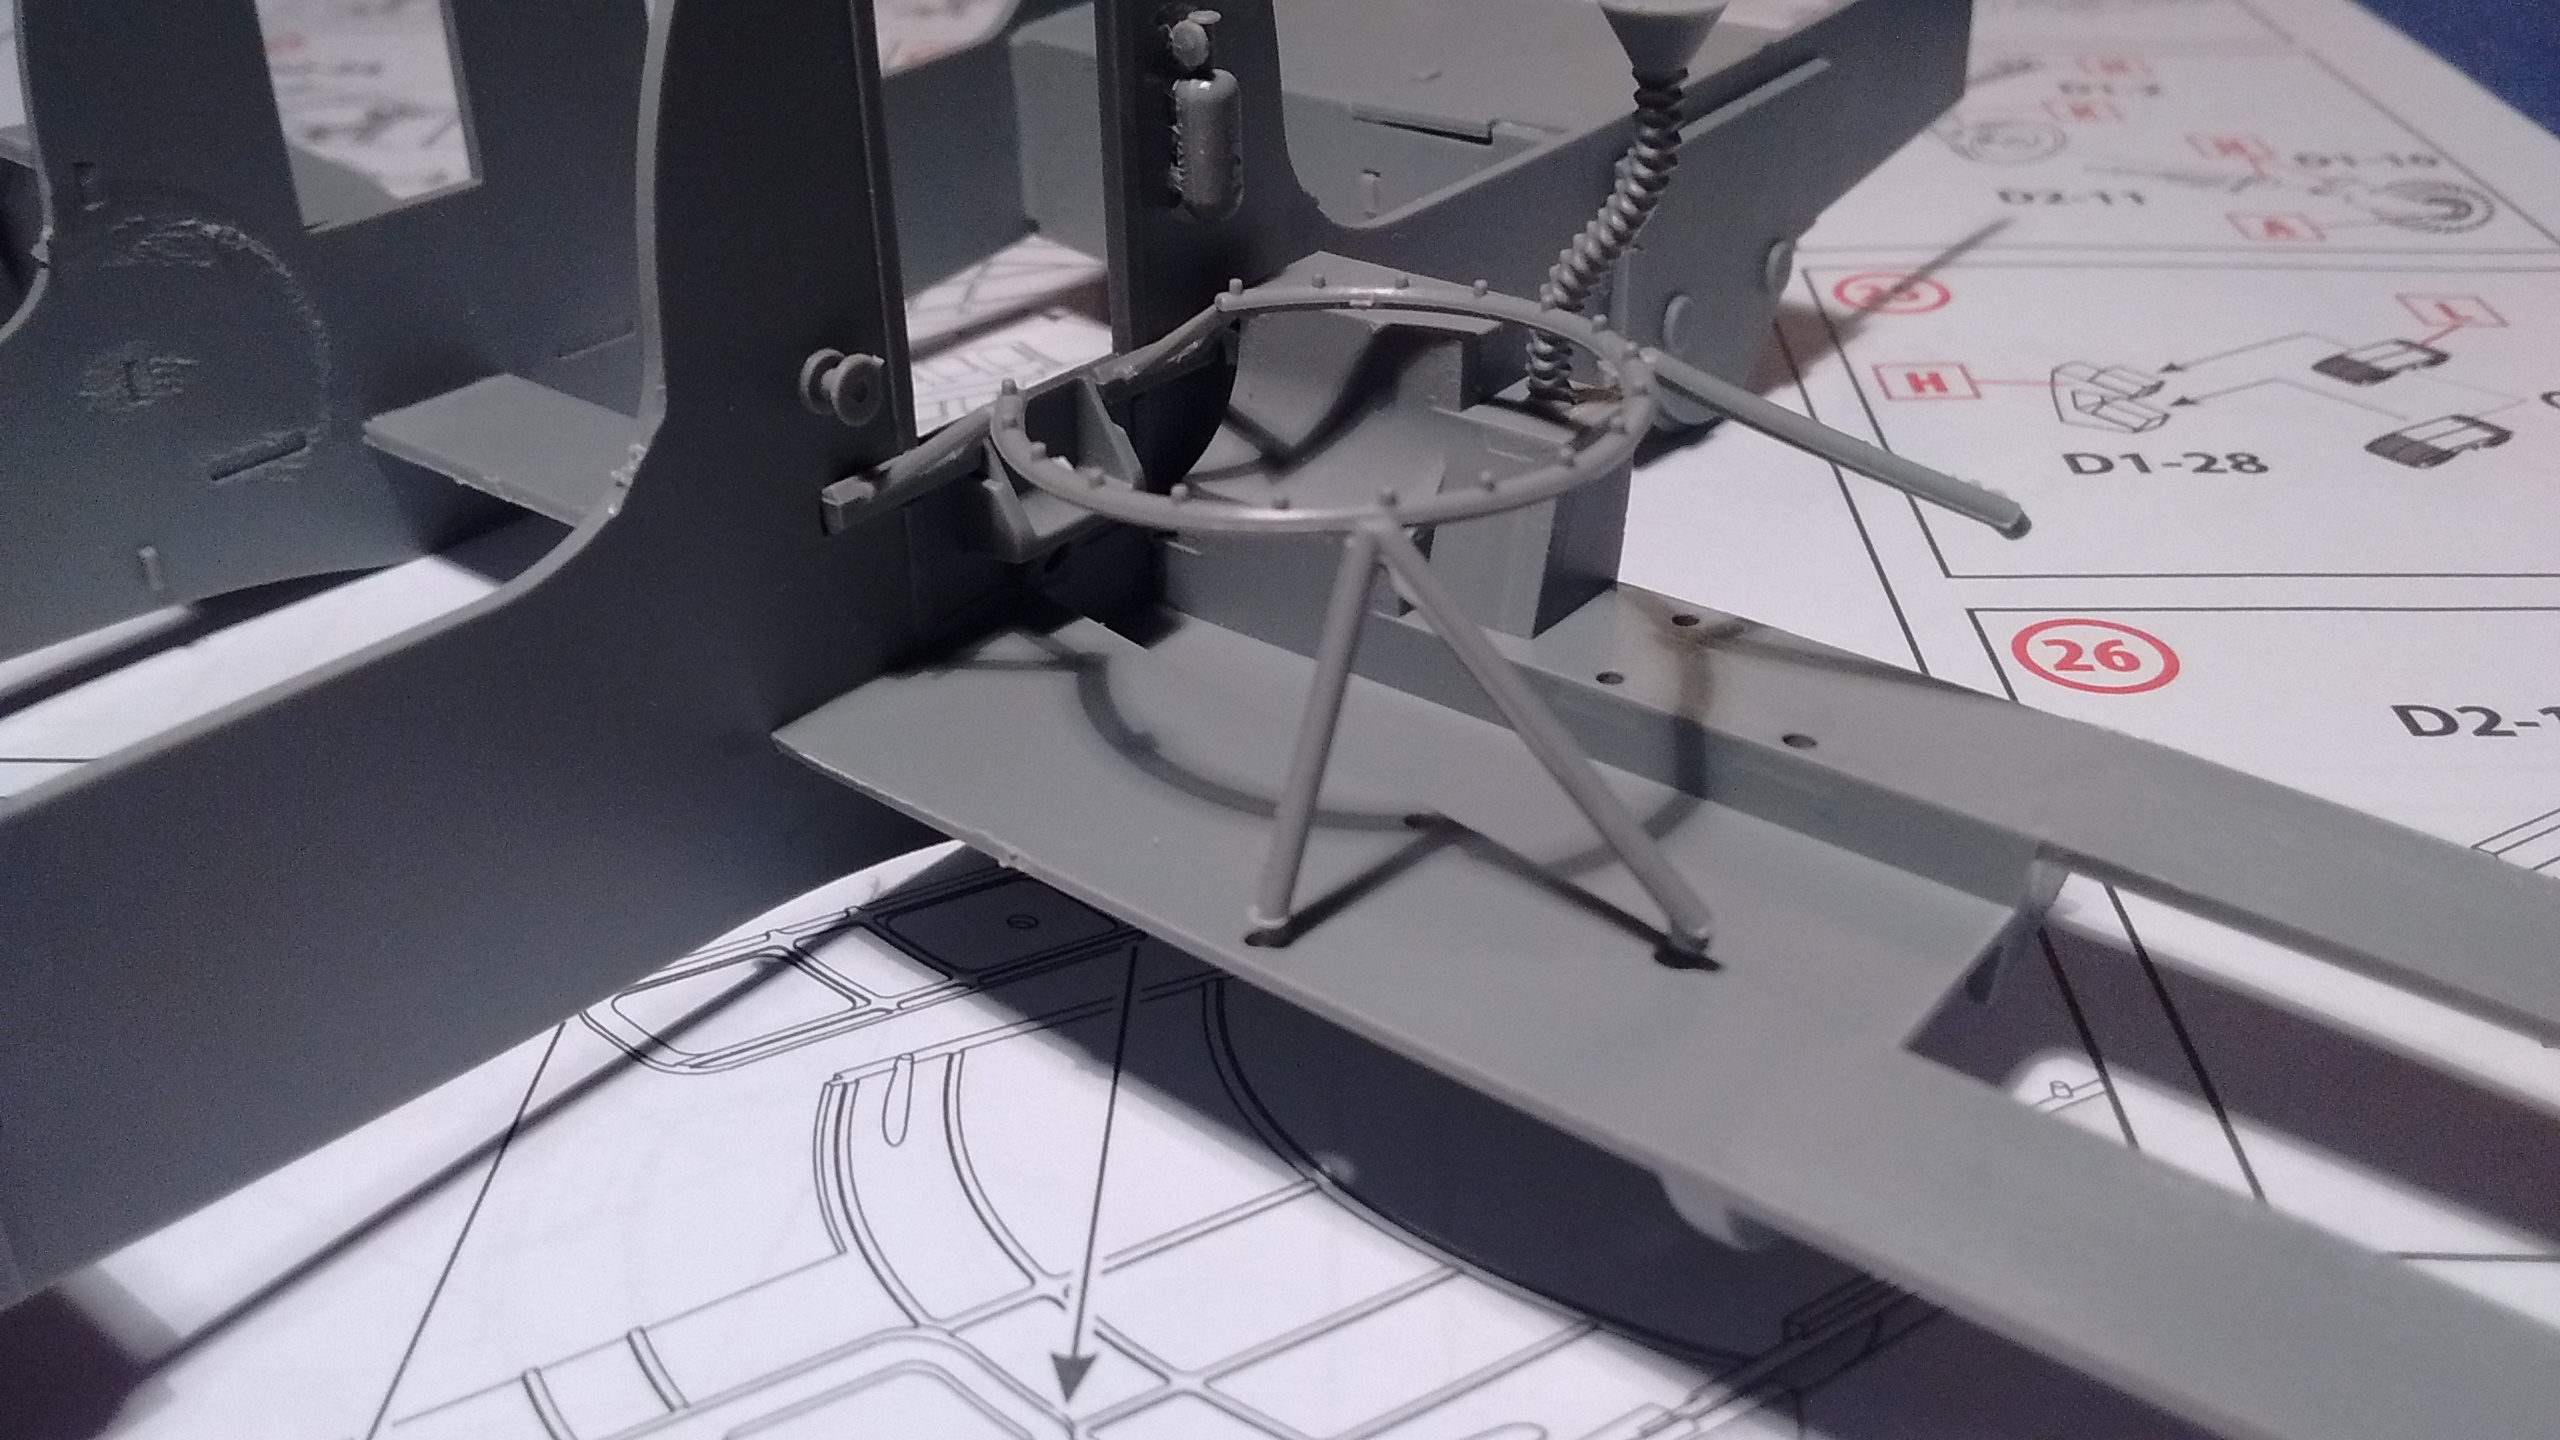
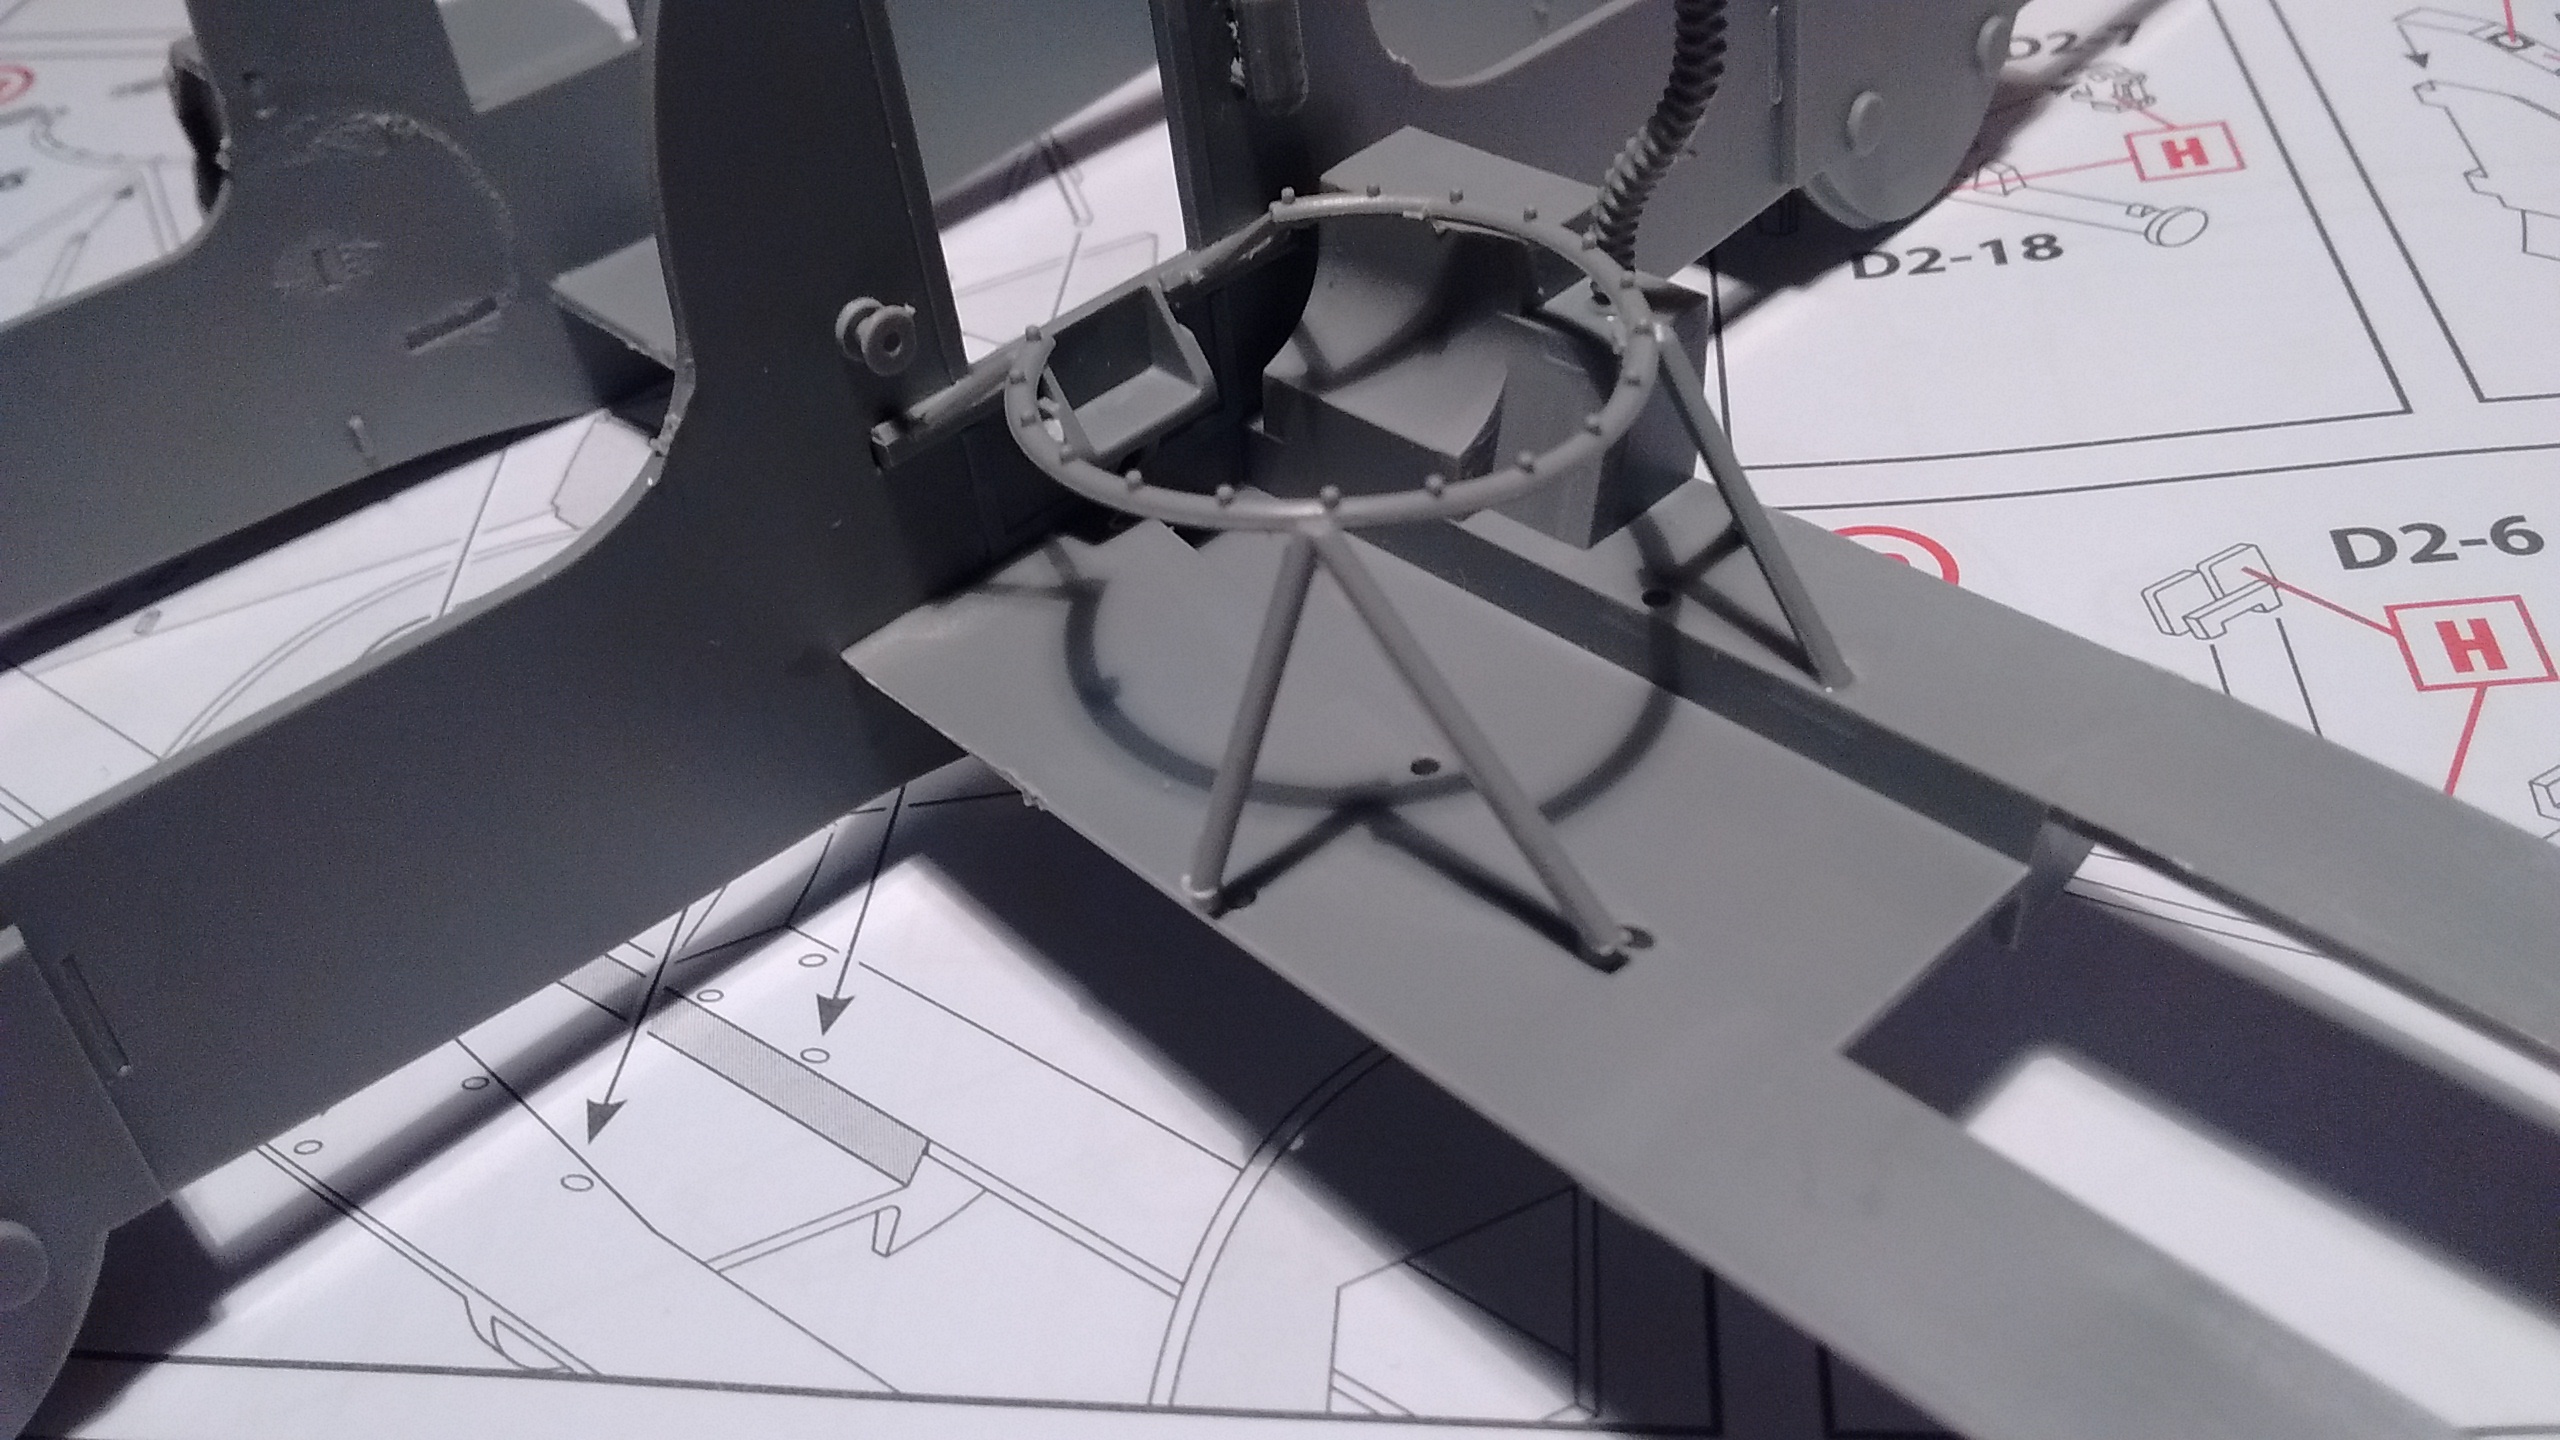
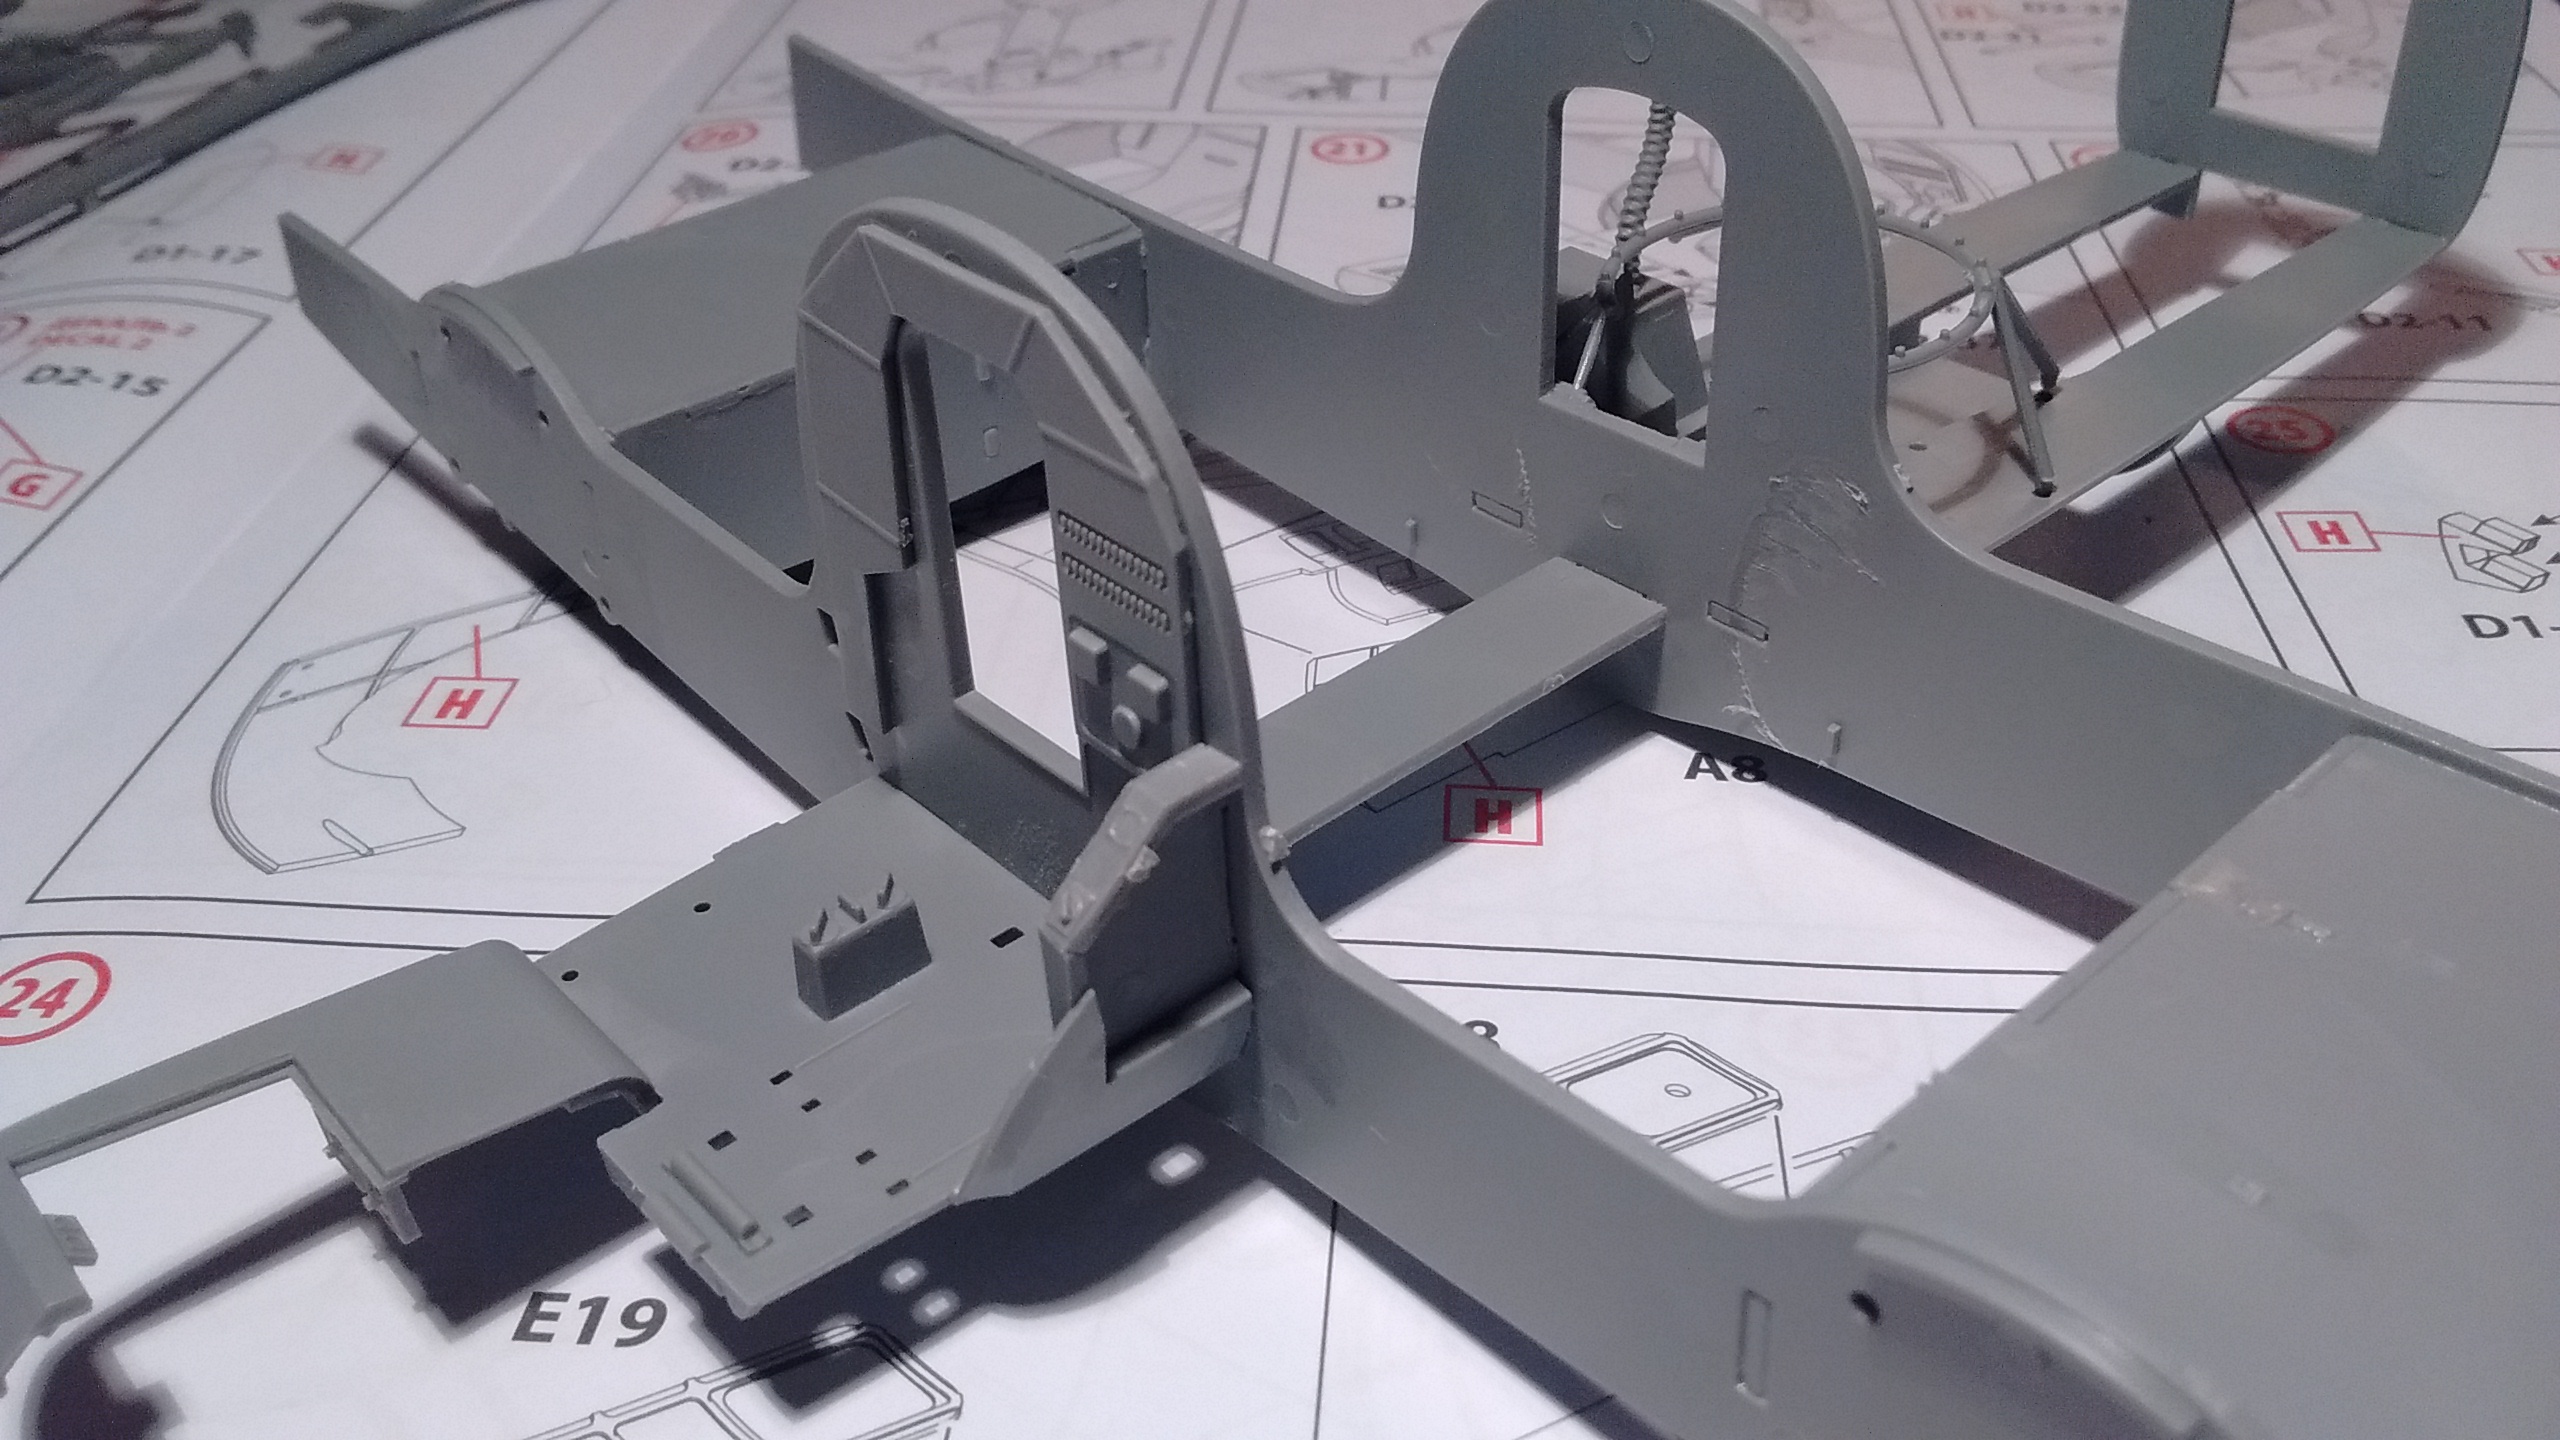
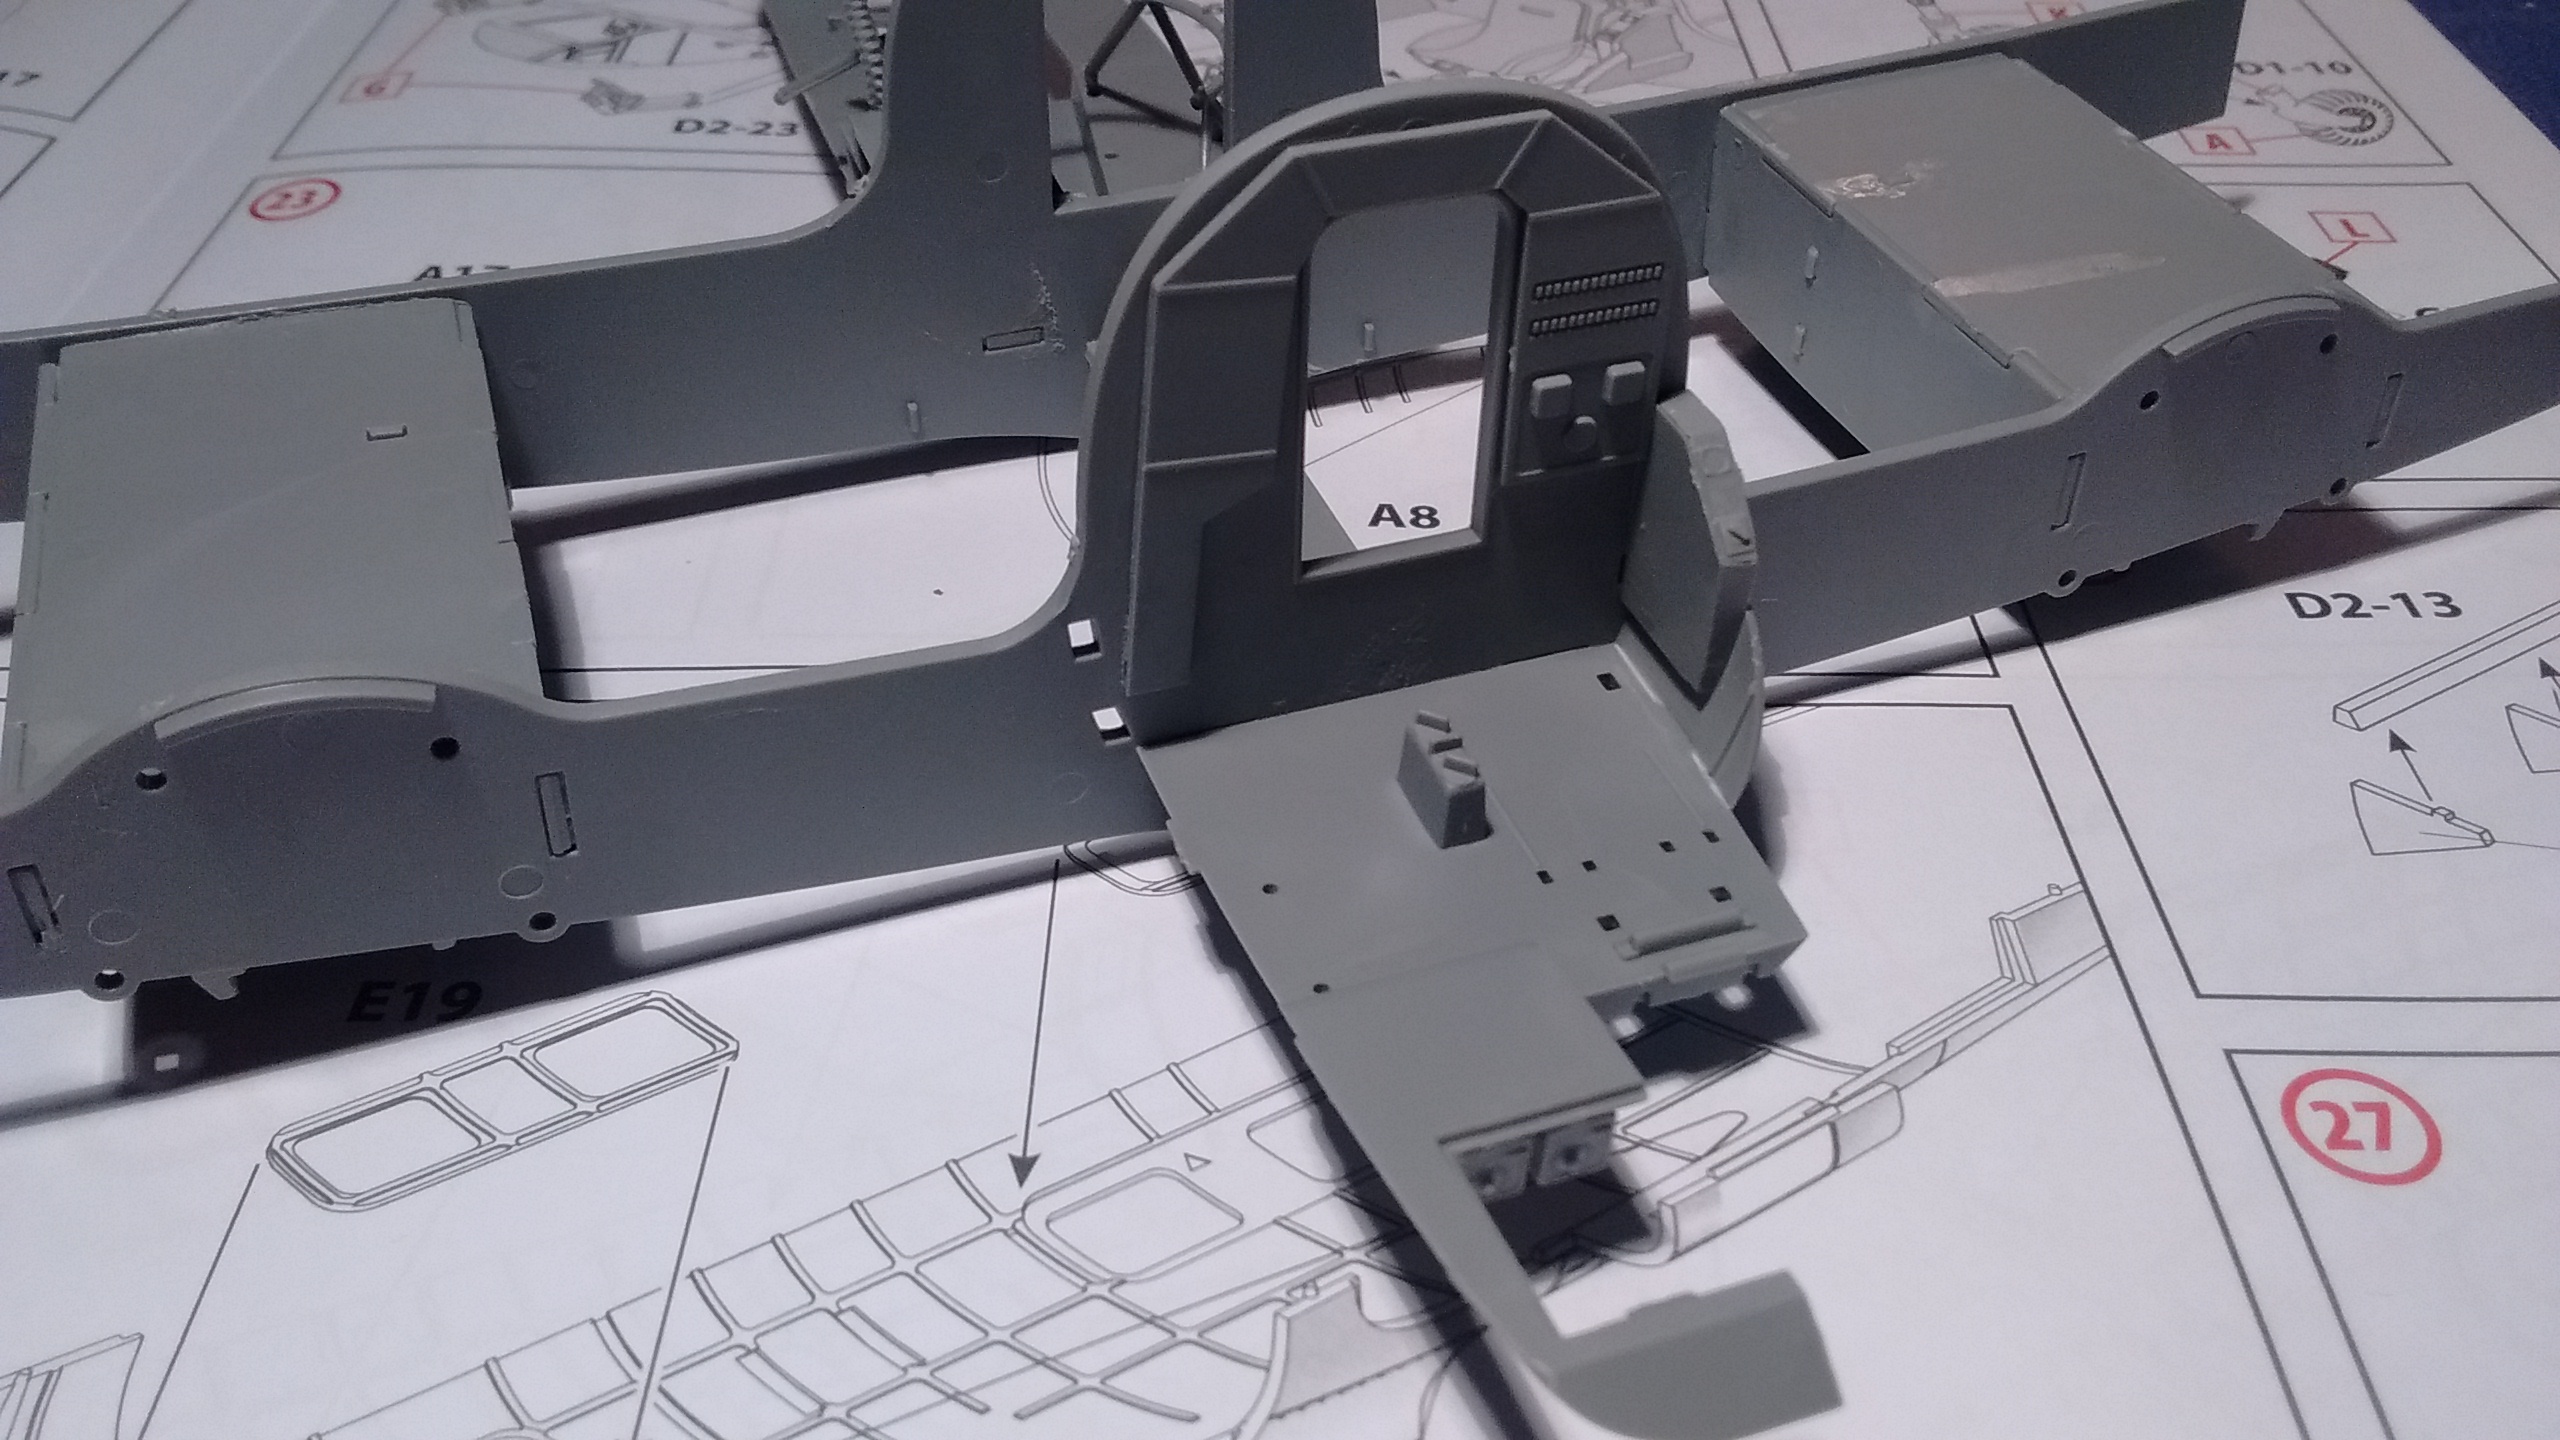
Last night I had mixed some leftover paint for painting the interior and I had used a brush.

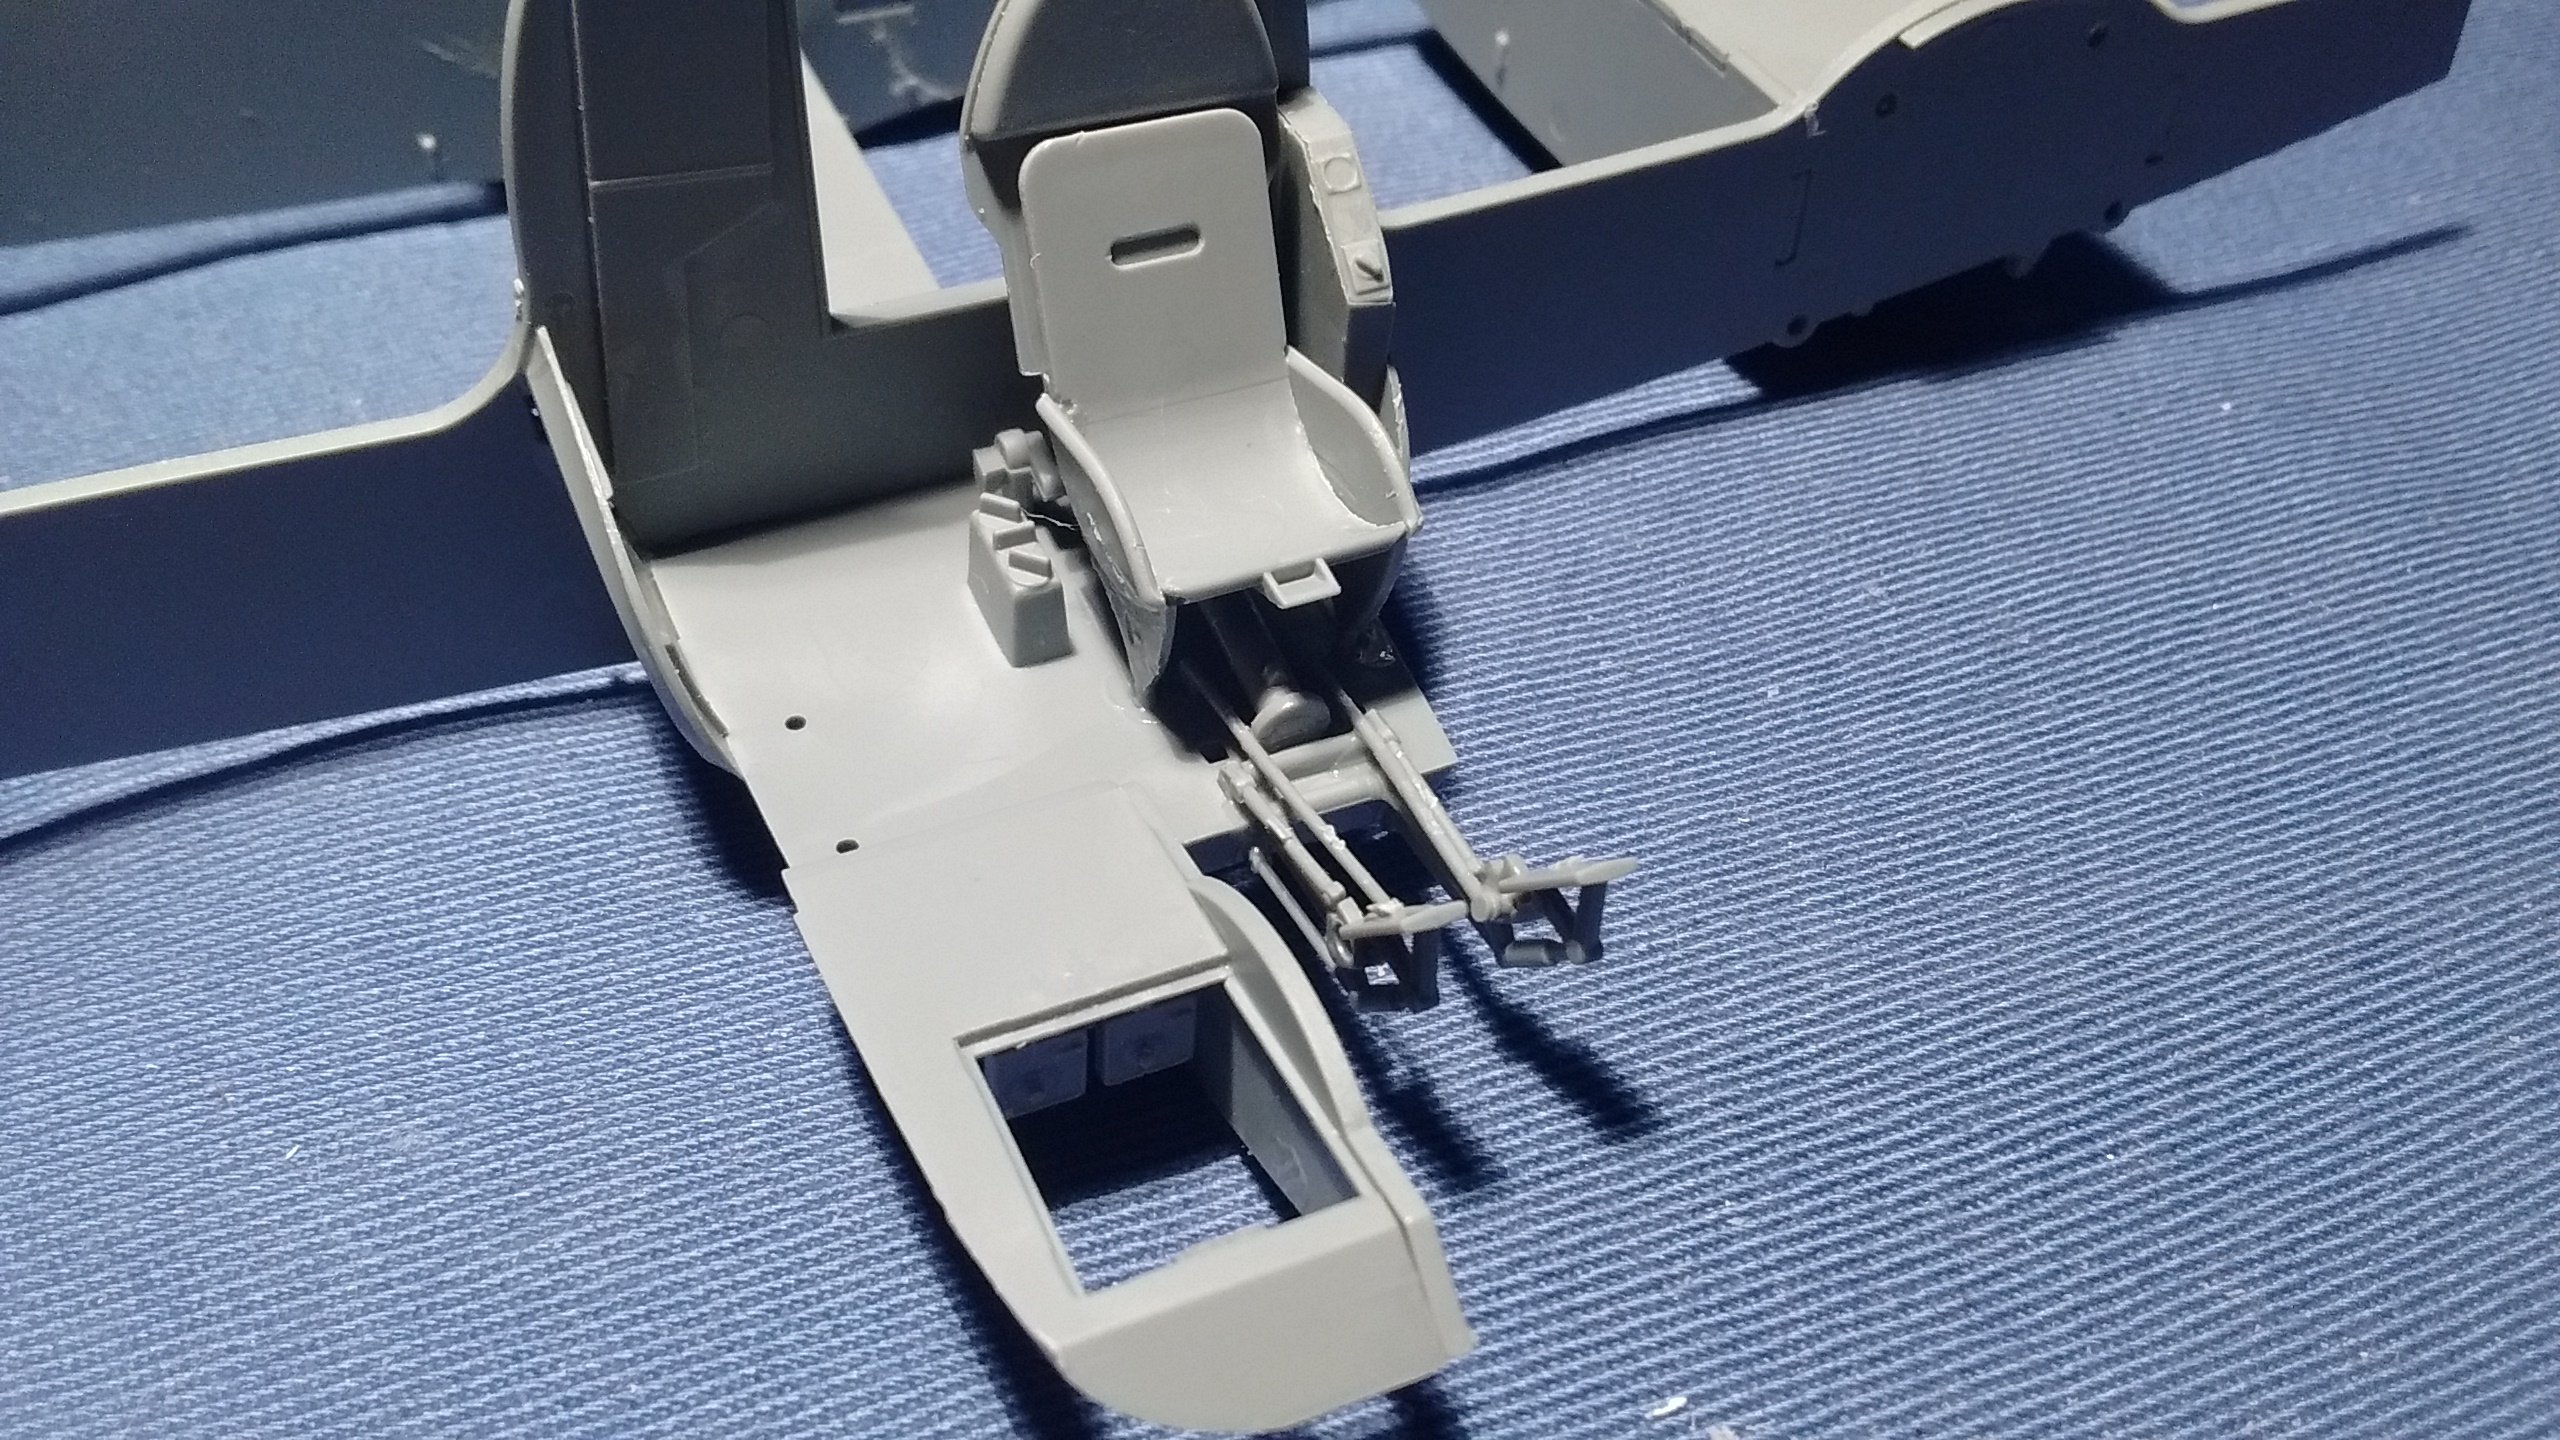
But this morning I have mixed feeling about the interior colour I had used.

It was too gray.

So I went on Google…

https://www.britmodeller.com/forums/index.php?/topic/235031374-another-he-111-cockpit-colour-question/

It was about painting the interior with either RLM 02 or RLM 66. Still confused, I then searched a little more…and started getting dizzier.

http://www.aviationofjapan.com/2010/12/colour-of-rlm-02-grau-grey.html

At least now I know just a little more about RLM 02 which is kind of interesting but still confusing.

ICM He 111-H3 – Day 12

My Forgotten Hobby III, just like My Forgotten Hobby and My Forgotten Hobby II, is more of a diary where I write about how I sometimes procrastinate or often struggle with building some model kits.

ICM He 111-H3, or is it ICM He 111H-3, is the first time I am building something from ICM. I have to say that I am quite impressed by it just like Plane Dave was.

I wonder if Plane Dave had the same problems with the fragile parts. Luckily I found a way. I am leaving some parts on the sprues before snapping them off.

It worked perfectly.

Steps 73 to 79 have been done and will be set aside.

 
Painting the interior will be next once I have researched how to paint it properly. 
 

This is the right place to start…

Here…

and here…

ICM He 111-H3 – Days 9 – 10 – 11

Late again on My Forgotten Hobby III but for a very good reason. Record breaking temperature here in Quebec since last Sunday was conducive for washing eight windows in my house which explains how I was late for posting on my progress. First I was still trying to fix this with super glue on Sunday, Monday and Tuesday. 

I then have started assembling the engines and I will continue on this afternoon.  
Then there was step 70. I had decided to keep the sprues on yesterday so it could be easier to snap the parts off.
This is just did a few minutes ago.
Quite a successful delicate operation!
Tomorrow I should definitely start painting the interior. 

ICM He 111-H3 – Day 8

Day 8 is a little late.

I still have not decided yet if I will paint the interior of the He 111 but I have a feeling I will. 

The chair can’t be assembled right now as well as the rudder.

I like how I fixed the broken part.

I will probably start assembling the engines tomorrow which have lots of parts and some fragile looking one.

As always we’ll see what happens…

In the meantime…


ICM He 111-H3 – Day 7

Mating the fuselage halves will still be on hold since I have this feeling sense I will be encountering some problems with the fit and I have not decided yet if I will paint the interior of the He 111. The chair has already been assembled as well as the rudder but both will be added later. So what happened since yesterday when I tried to fix the broken part replacing it with a wire?

This is how it looks for now.

Steps 45 and 46 are on hold. 

Part D2-28 was broken and will be replaced by a wire even if it won’t ever be seen. I have assembled the bombs and the bomb crates.

The parts in the tail section were assembled.

I will give the engines a go next time and probably decide to paint the interior since painting is what I like the best. We’ll see what happens…

ICM He 111-H3 – Day 6

Thank God for YouTube where I found where to put my tiny pieces in step 29.

Not bad if I say so myself.

I still need to mate the fuselage halves, but this will have to wait since I sense I will encounter some problems.

Even if I took every precaution this is what had happened two days ago.

Trying to glue the broken part was not an option so I decided to use this instead.

I will adjust it when the glue has dried.


In the meantime I will have to tidy up the workbench and move to the next steps.


ICM He 111-H3 – Day 4

Progress on Day 4 went well after my eye exam for a cataract.

I have had second thoughts about steps 25, 26 and 27.

I have decided to fix these steps and add these little pieces later. I am not sure I will be adding the waist machine gun.

Clear parts for steps 30 and 31 were glued using clear parts cement from Testors.


Step 36 was also done and tomorrow step 37 will be next. 


ICM He 111-H3 – Day 3

Day 3 had its share of frustration.

First frustration was with steps 15 and 16 when, contrary to the instructions, I had decided to glued parts D1-22 and D1-23 directly on the floor and then slide the pilot’s seat in between.

Bad idea!

I had also inverted D1-22 and D1-23 and had to pry them off, glue them back on the seat and wait for the glue to set.

Parts D2-32 and D2-33 came in next and I managed to break part D2-31 in the process of handling the front section of the He 111H-3.

Step 22 and steps 20 to 24 went well.

However steps 25, 26 and 27 made me realize I should have checked more than three times before assembling such tiny pieces which will never be seen by anyone.

Which brings me to this… if you don’t see it, why bother. Is it best to skip steps which only slow down your progress and lead to more frustration?

Feeling frustrated I then checked how the fuselage halves would mate. The plastic is very thin and the locating pins won’t fit in the location holes leaving a gap.

I cut the pins off and dry fitted the fuselage halves to see if it was a good idea.

Great idea!

Next time on Day 4…

Skipping step 29 and moving on to step 30 and beyond…


!

ICM He 111-H3 – Day 2

Day 2, and taking lots of photos? That’s the only way I have found to get going on My Forgotten Hobby III… posting each and every day on how I am progressing with ICM He 111H-3.

With step 7 I had decided to omit parts D2-35 and D2-34 and proceeded with steps 10 and 11.

Parts D2-35 and D2-34 will be inserted later as part D2-26 was posing a problem.

Part D2-26 would not sit in all the location holes as you can see here…

and here…

and here…

I have glued two legs and will glue the others after the glue sets.

Waiting for the glue to set I had continued with step 13 and glued part D1-26 which made more sense than waiting to glue it in step 18.

Confused? Locating where to glue part A16 was confusing enough in the instructions in step 13!


Part A14 was then glued upside down with a little dab of extra thin cement.

Which will leave steps 20, 21 and 22 for another day…

With parts all waiting in a sushi tray…