ICM He 111-H3 – Day 15

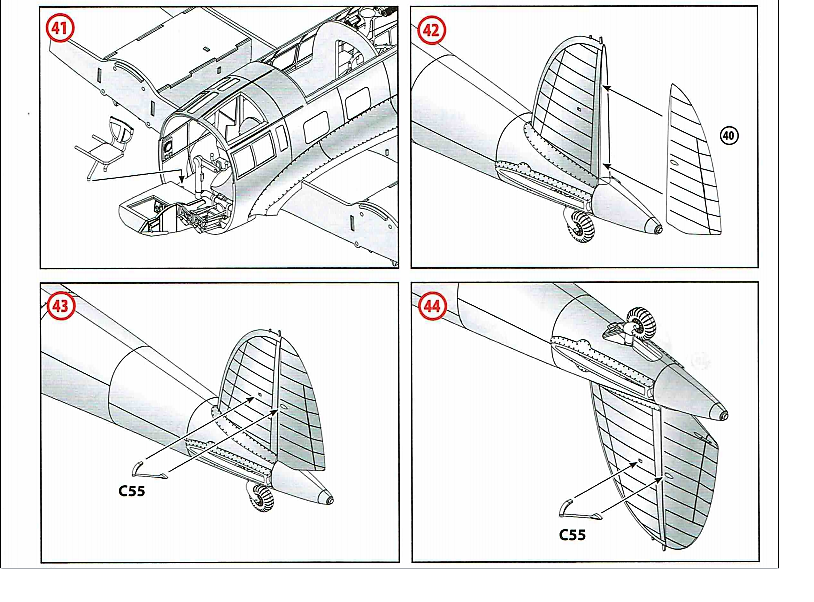
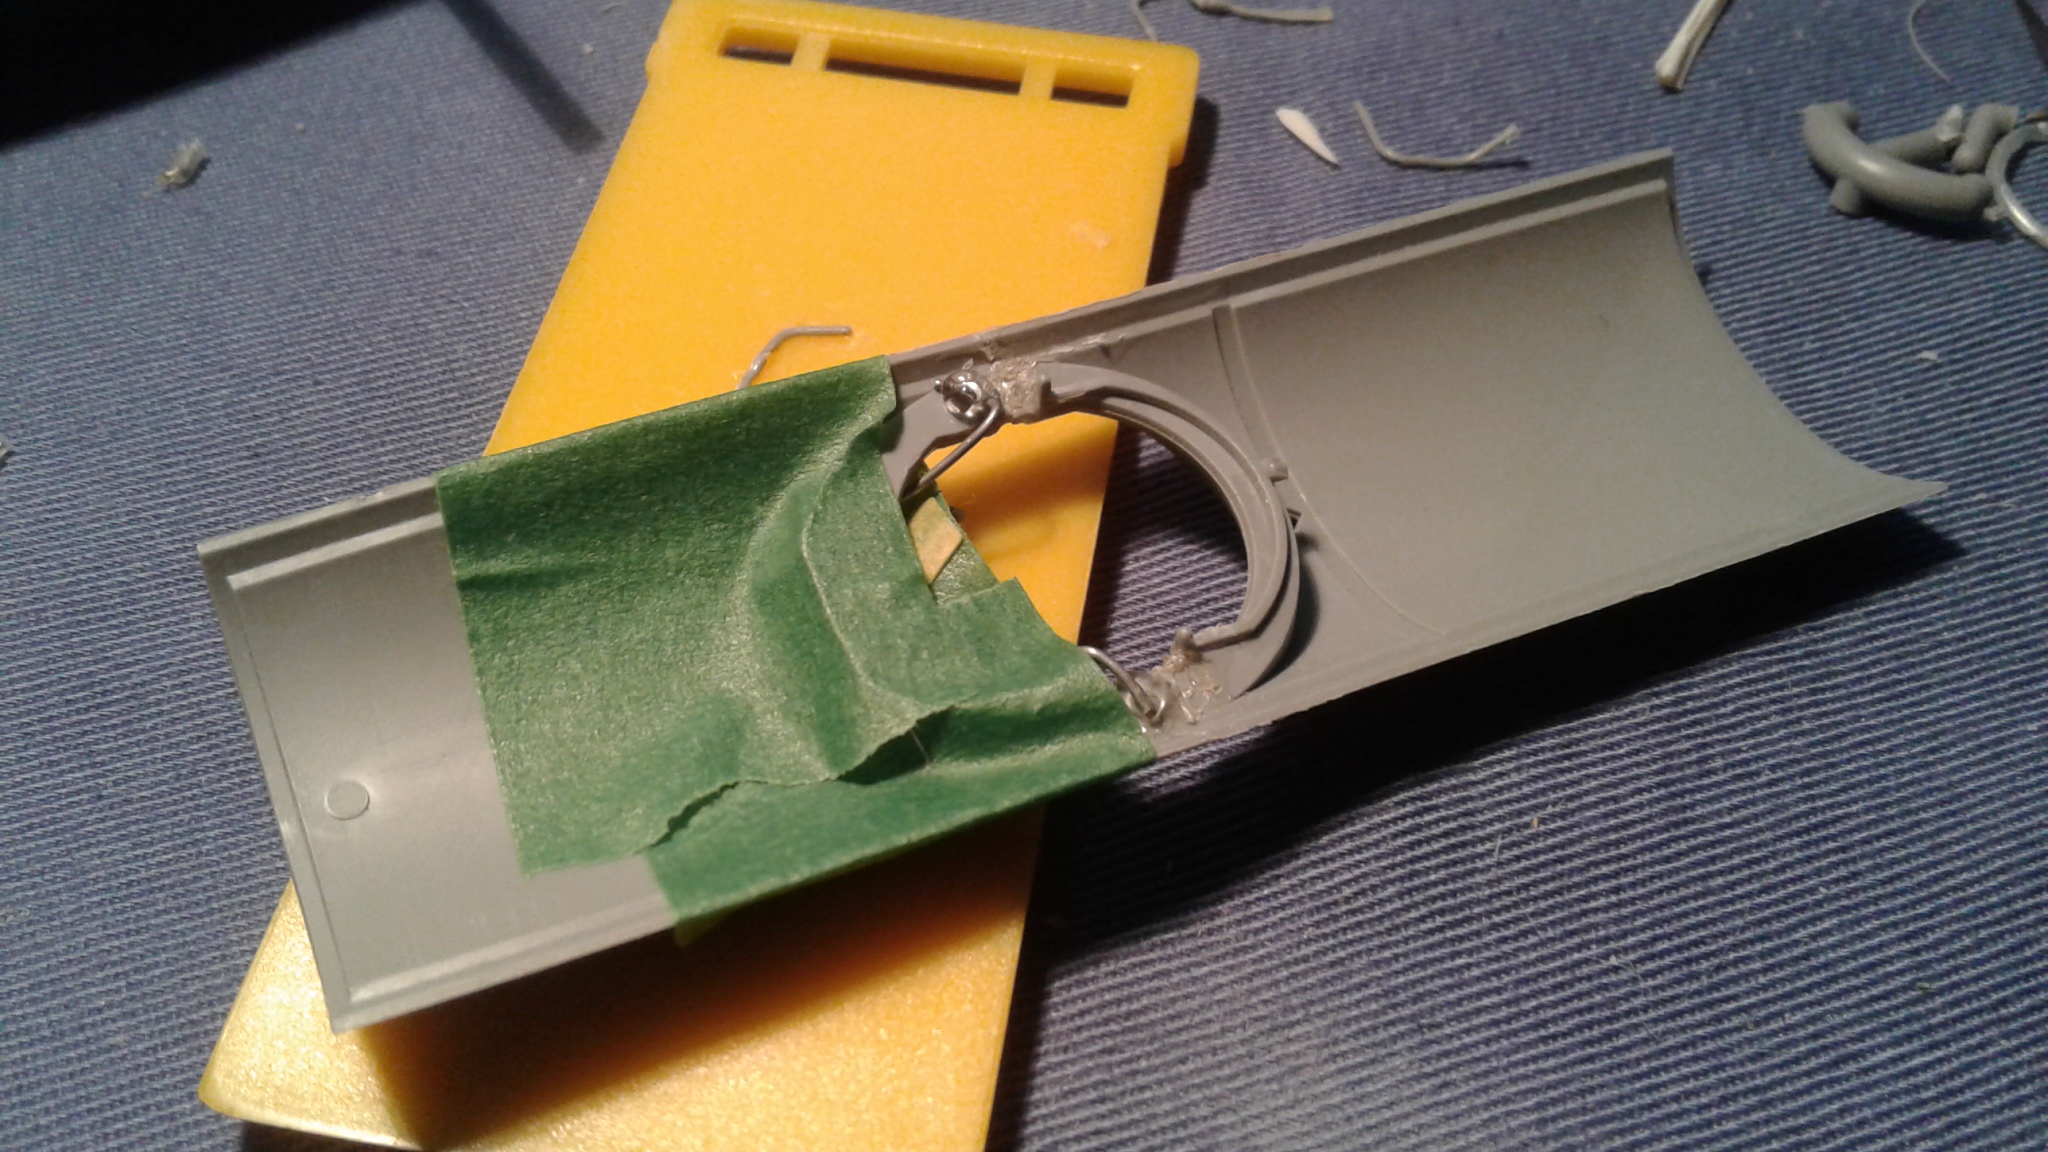
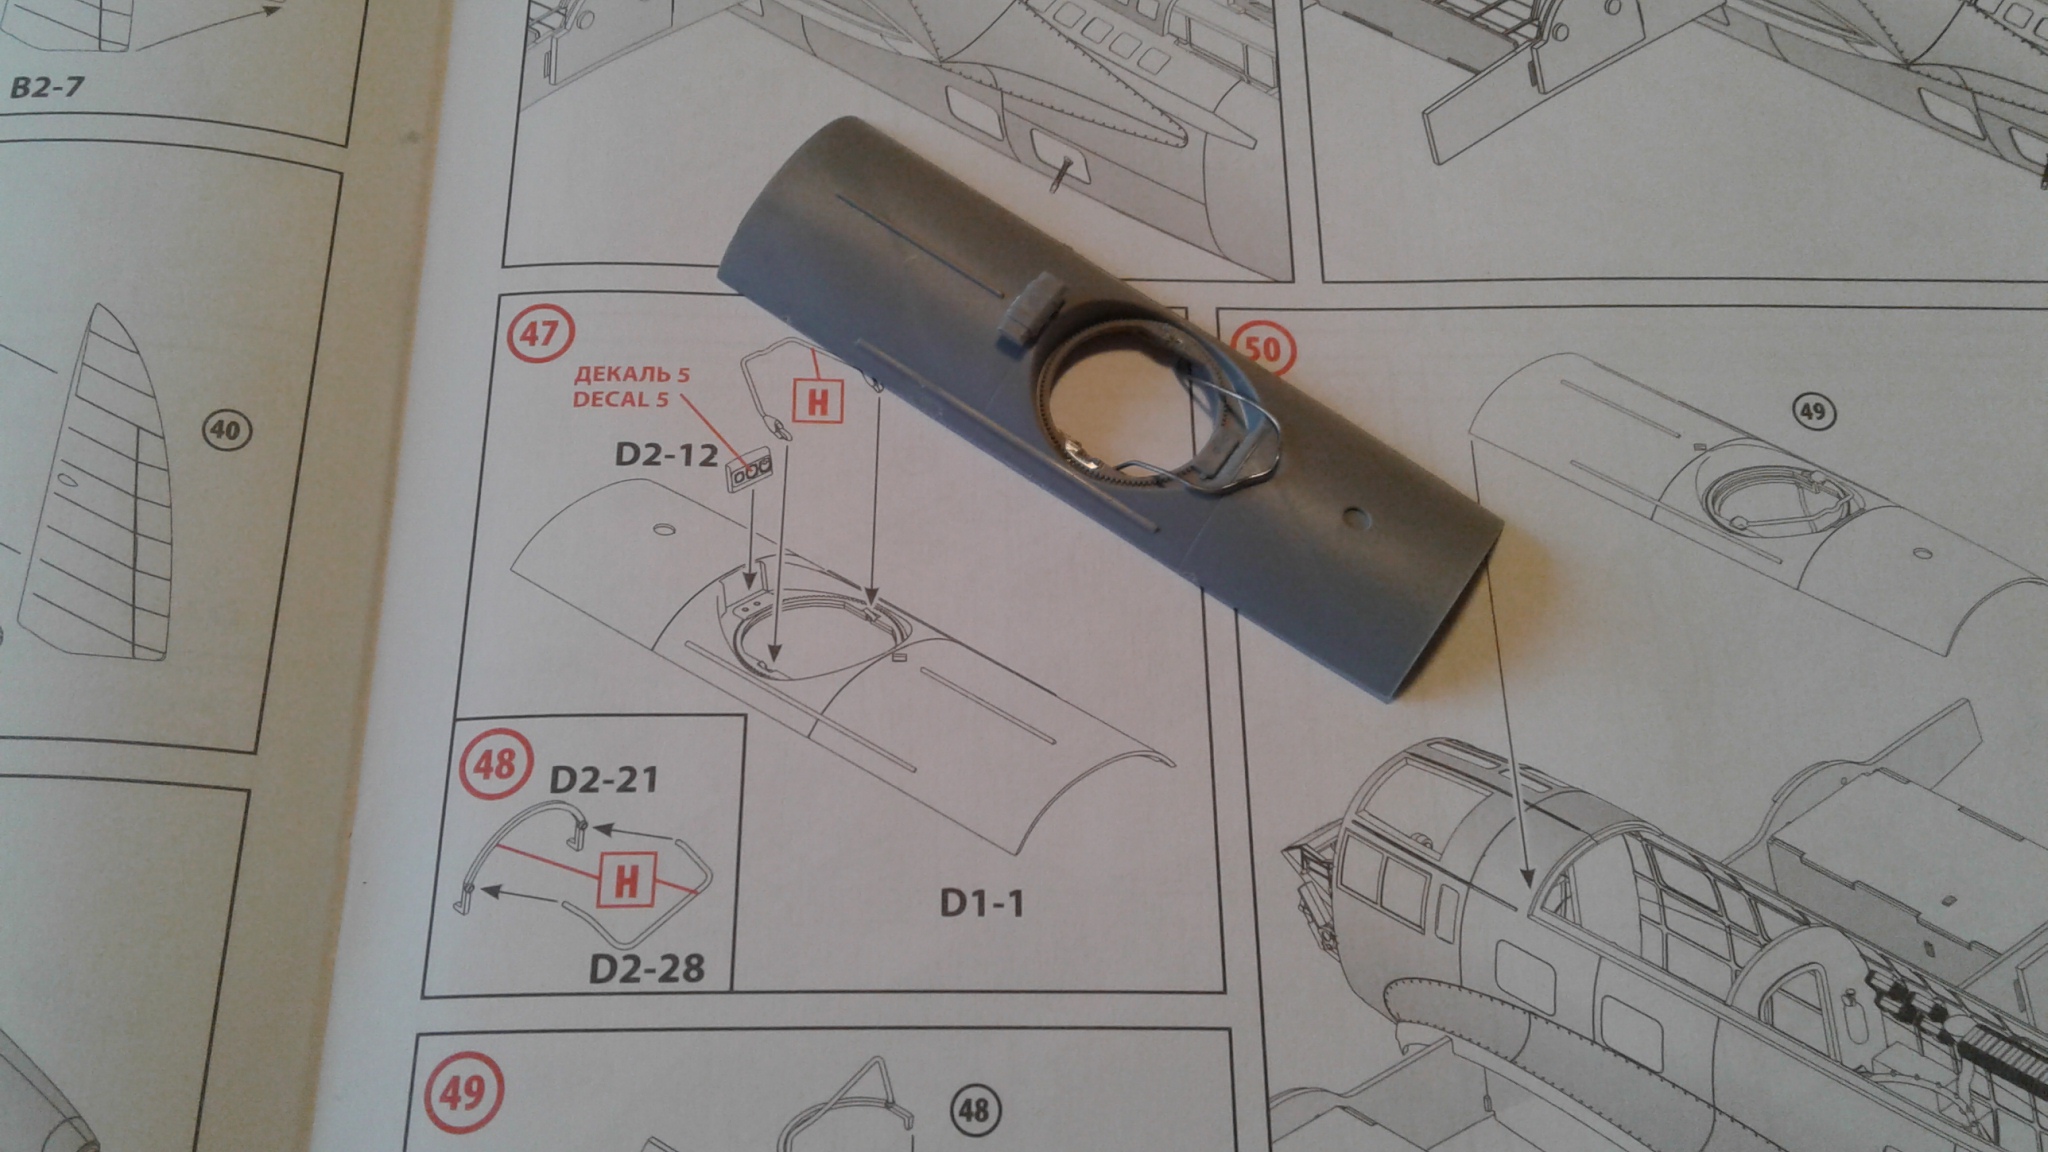
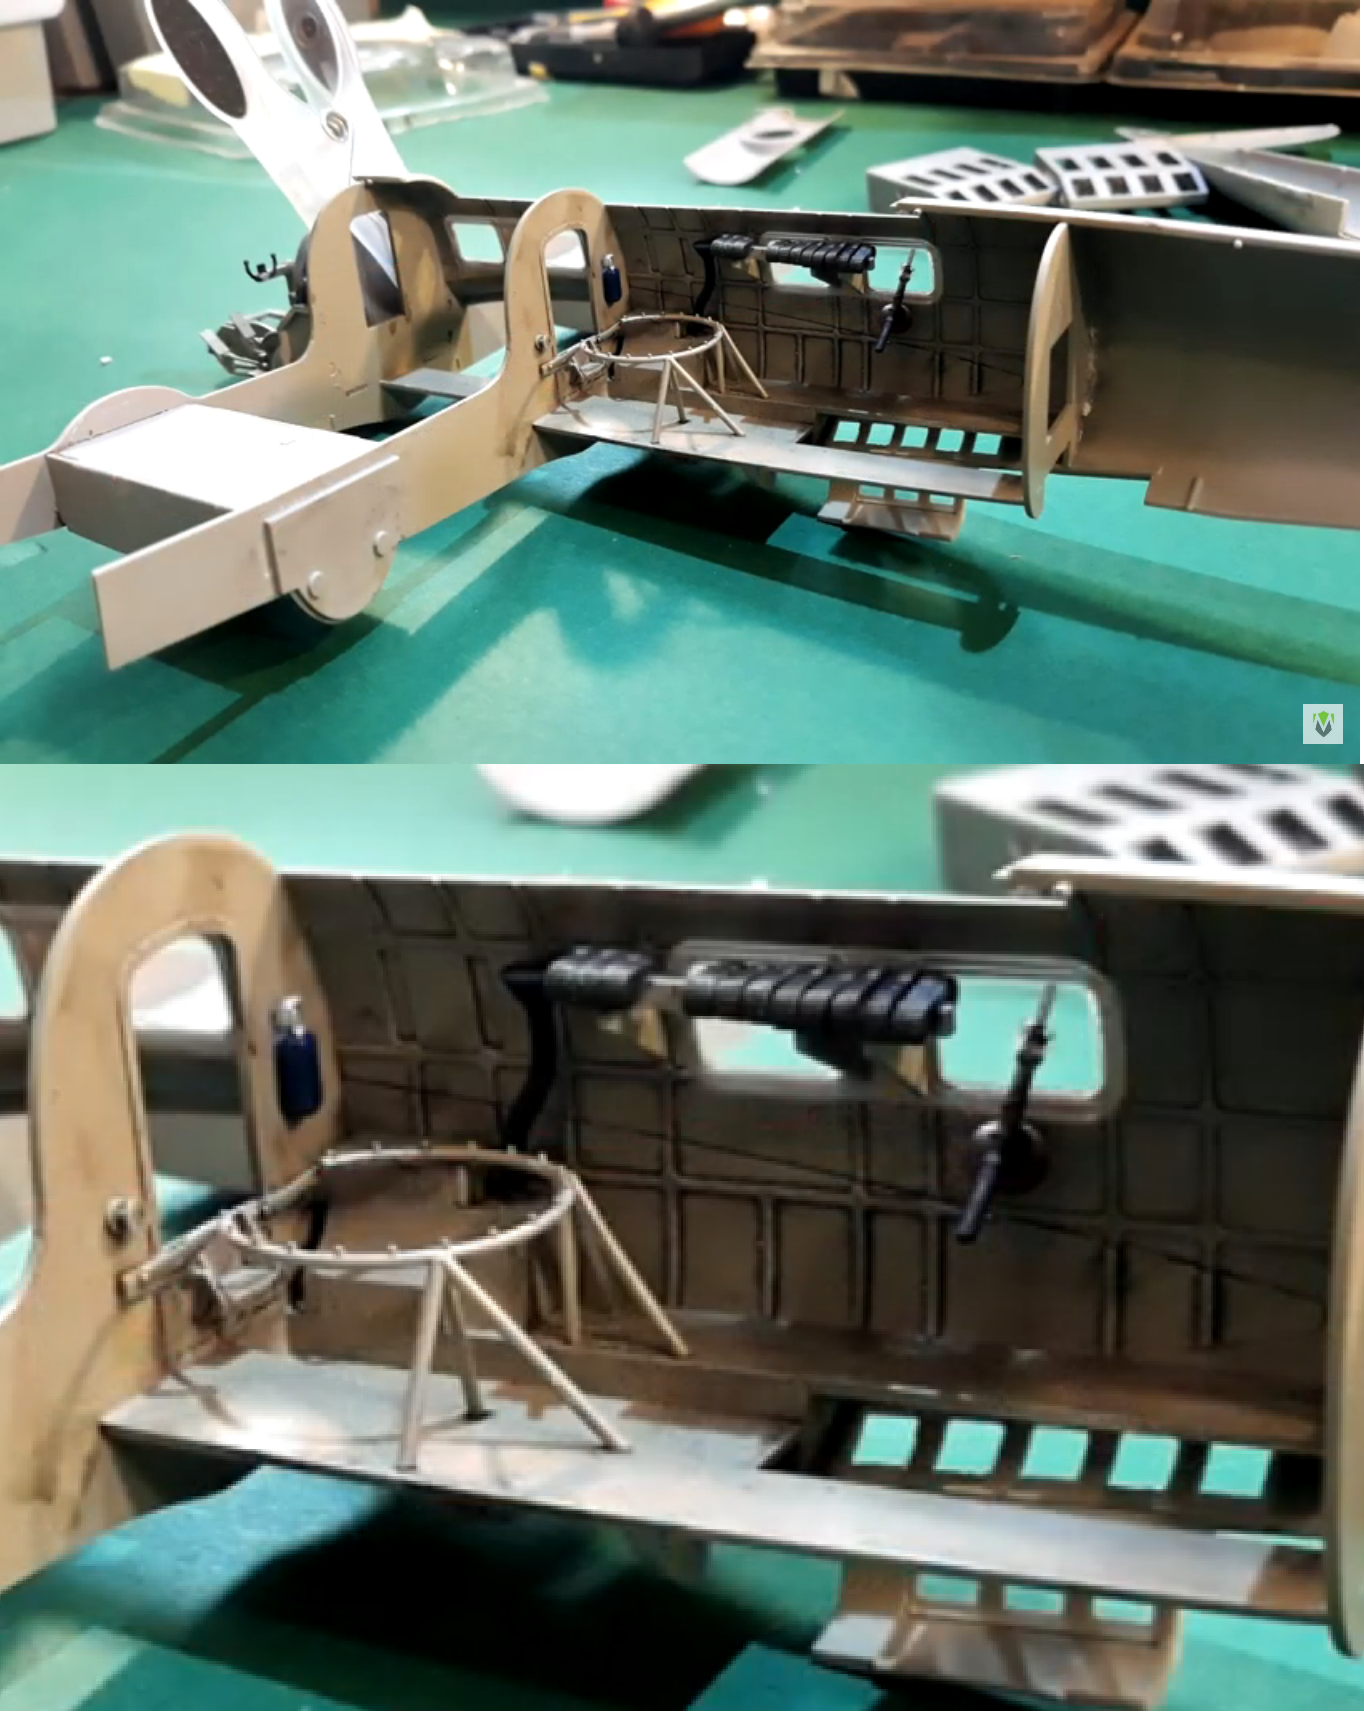
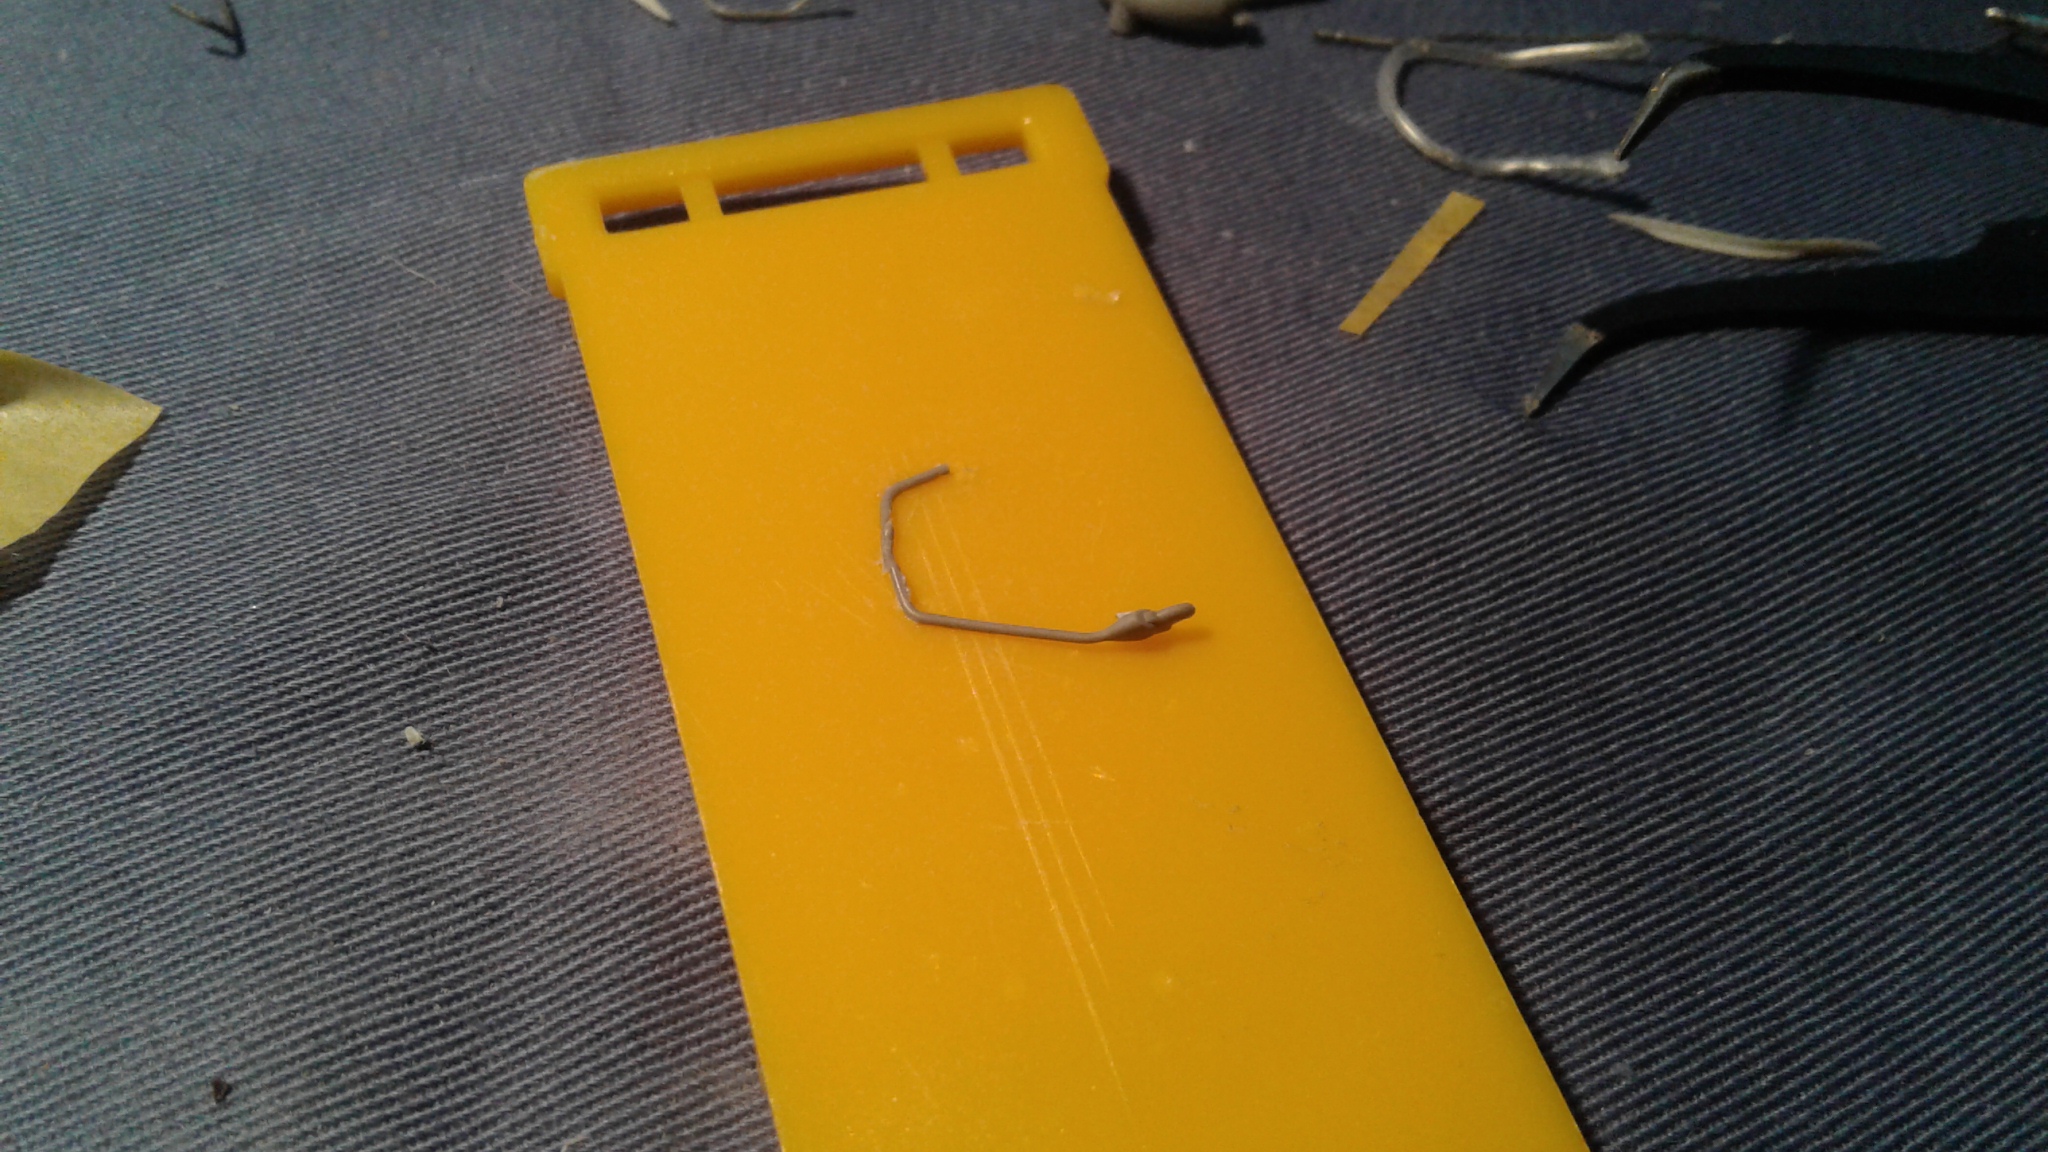
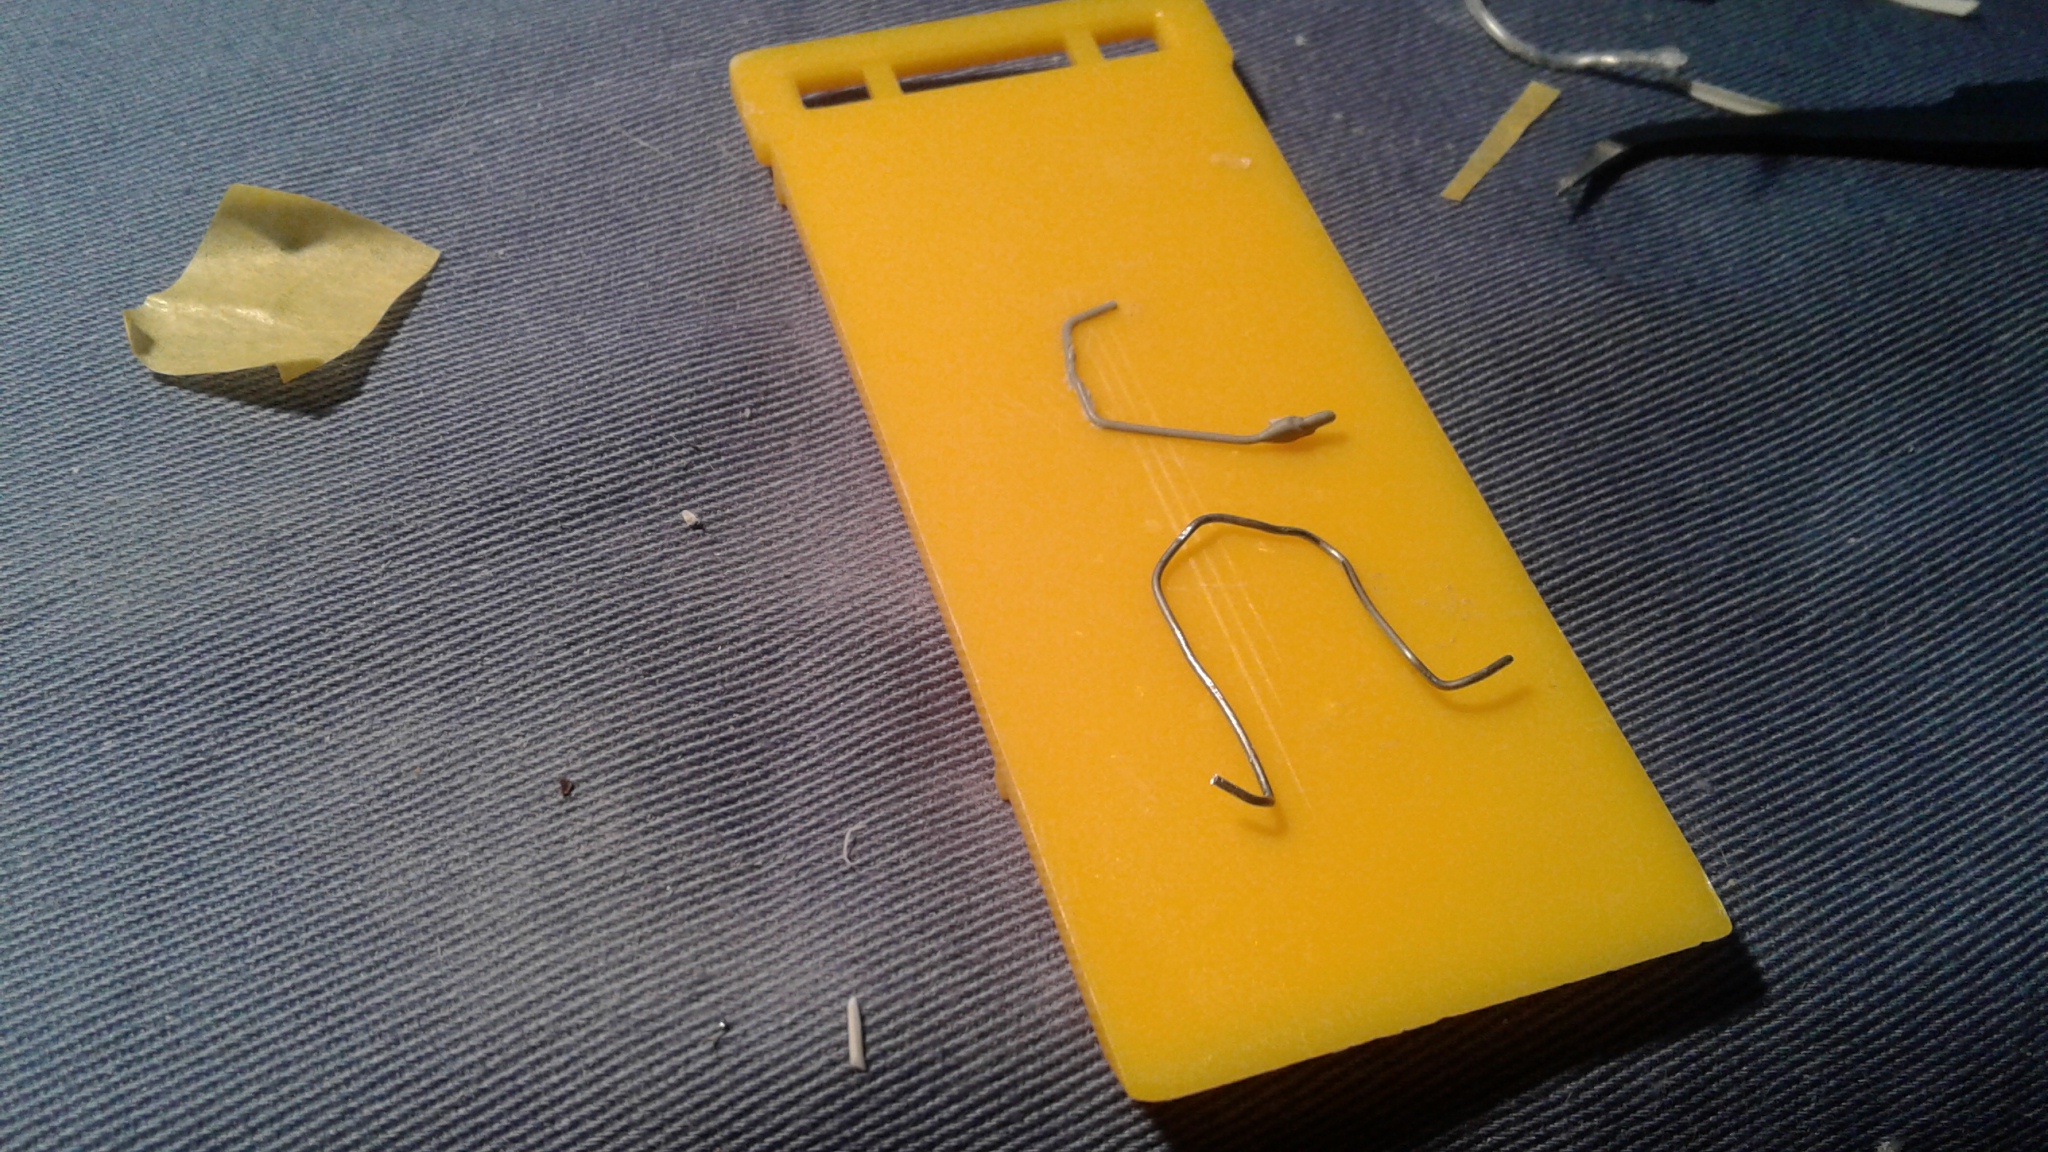
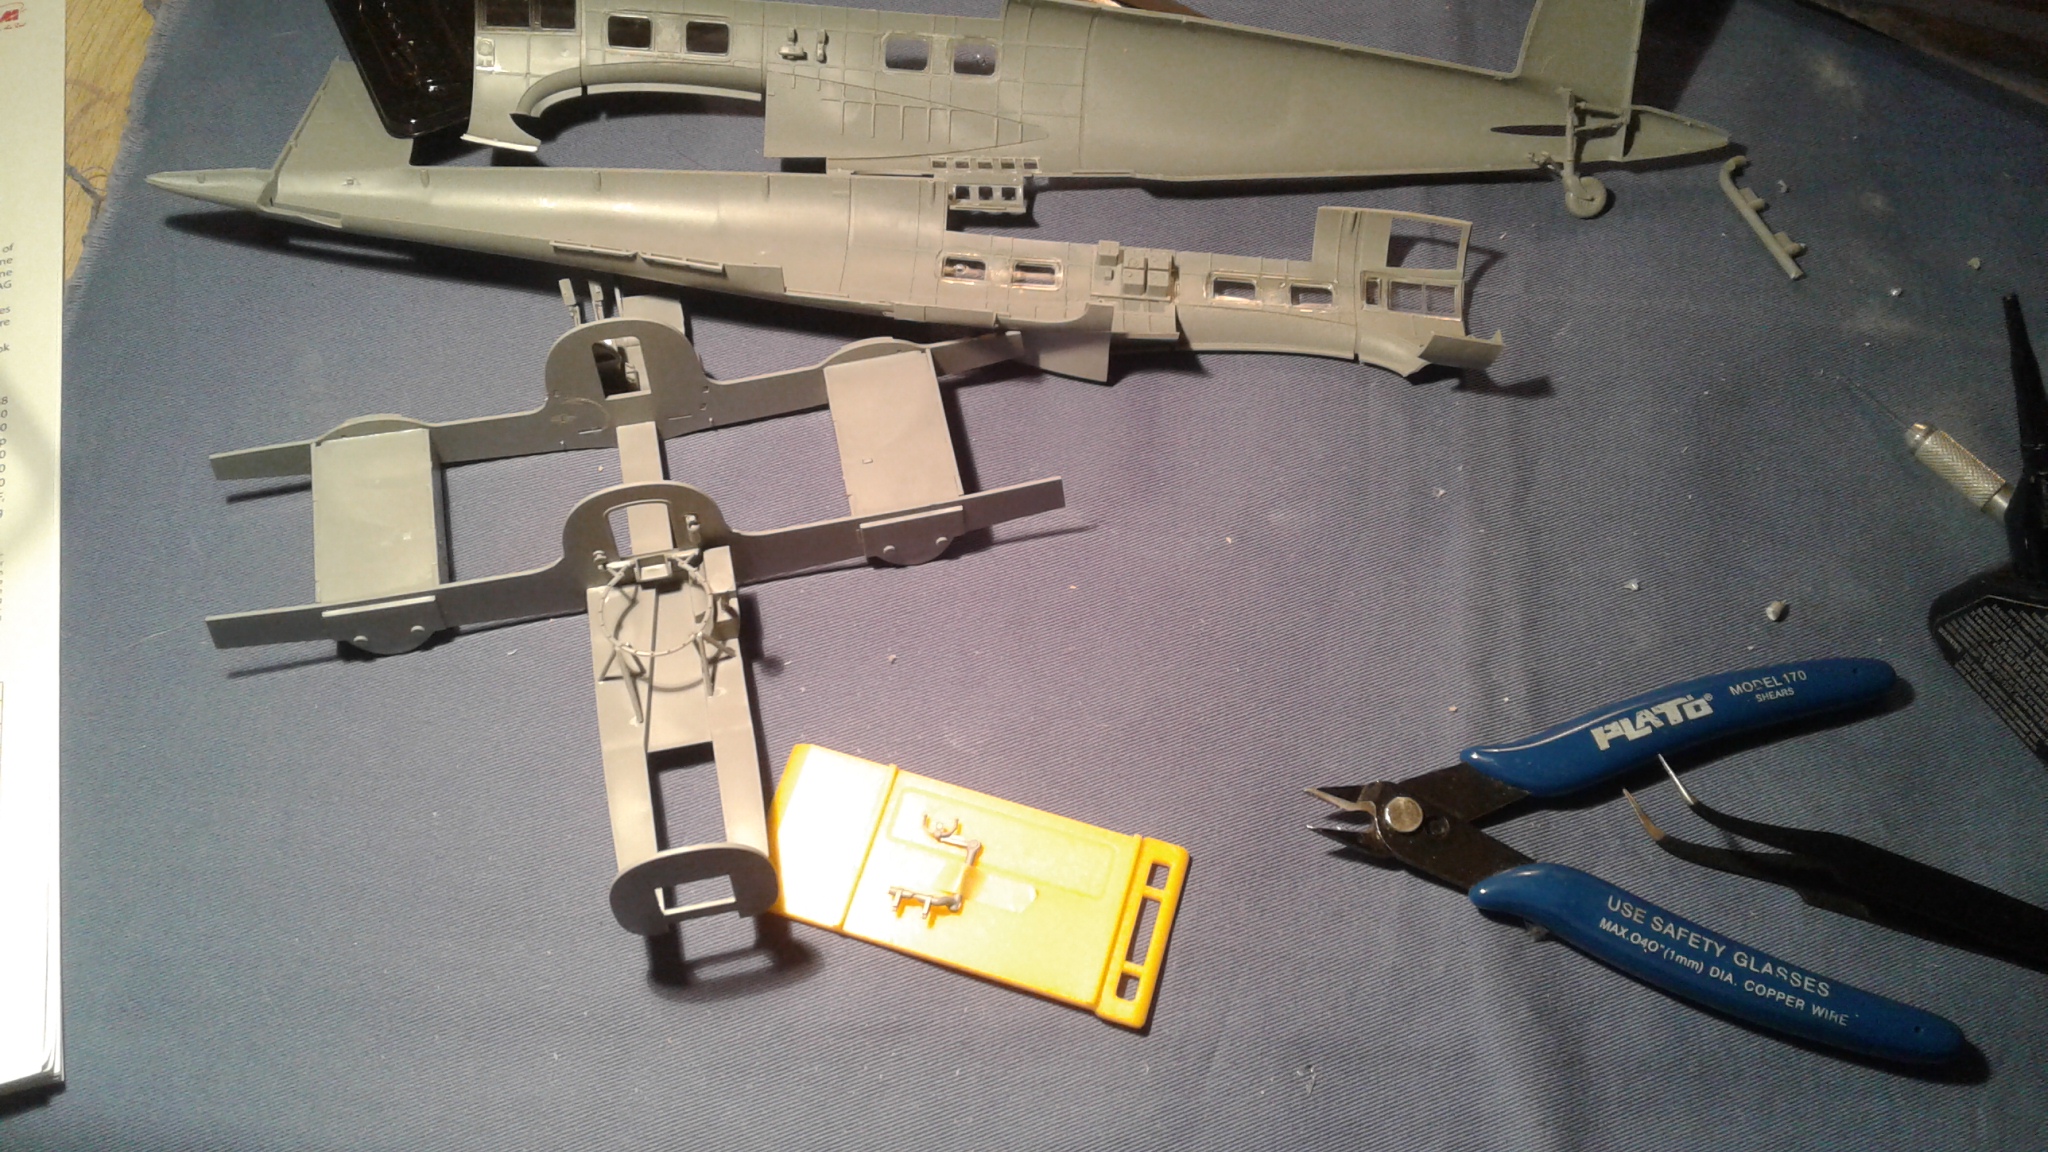
This is how I replaced the broken part using the same kind of wire I had used for the broken gun ring.

I have learned to improvise.

Both homemade parts will be visible. I have to say they look good.

Not perfect but few people will notice the difference unless they compare it with these.

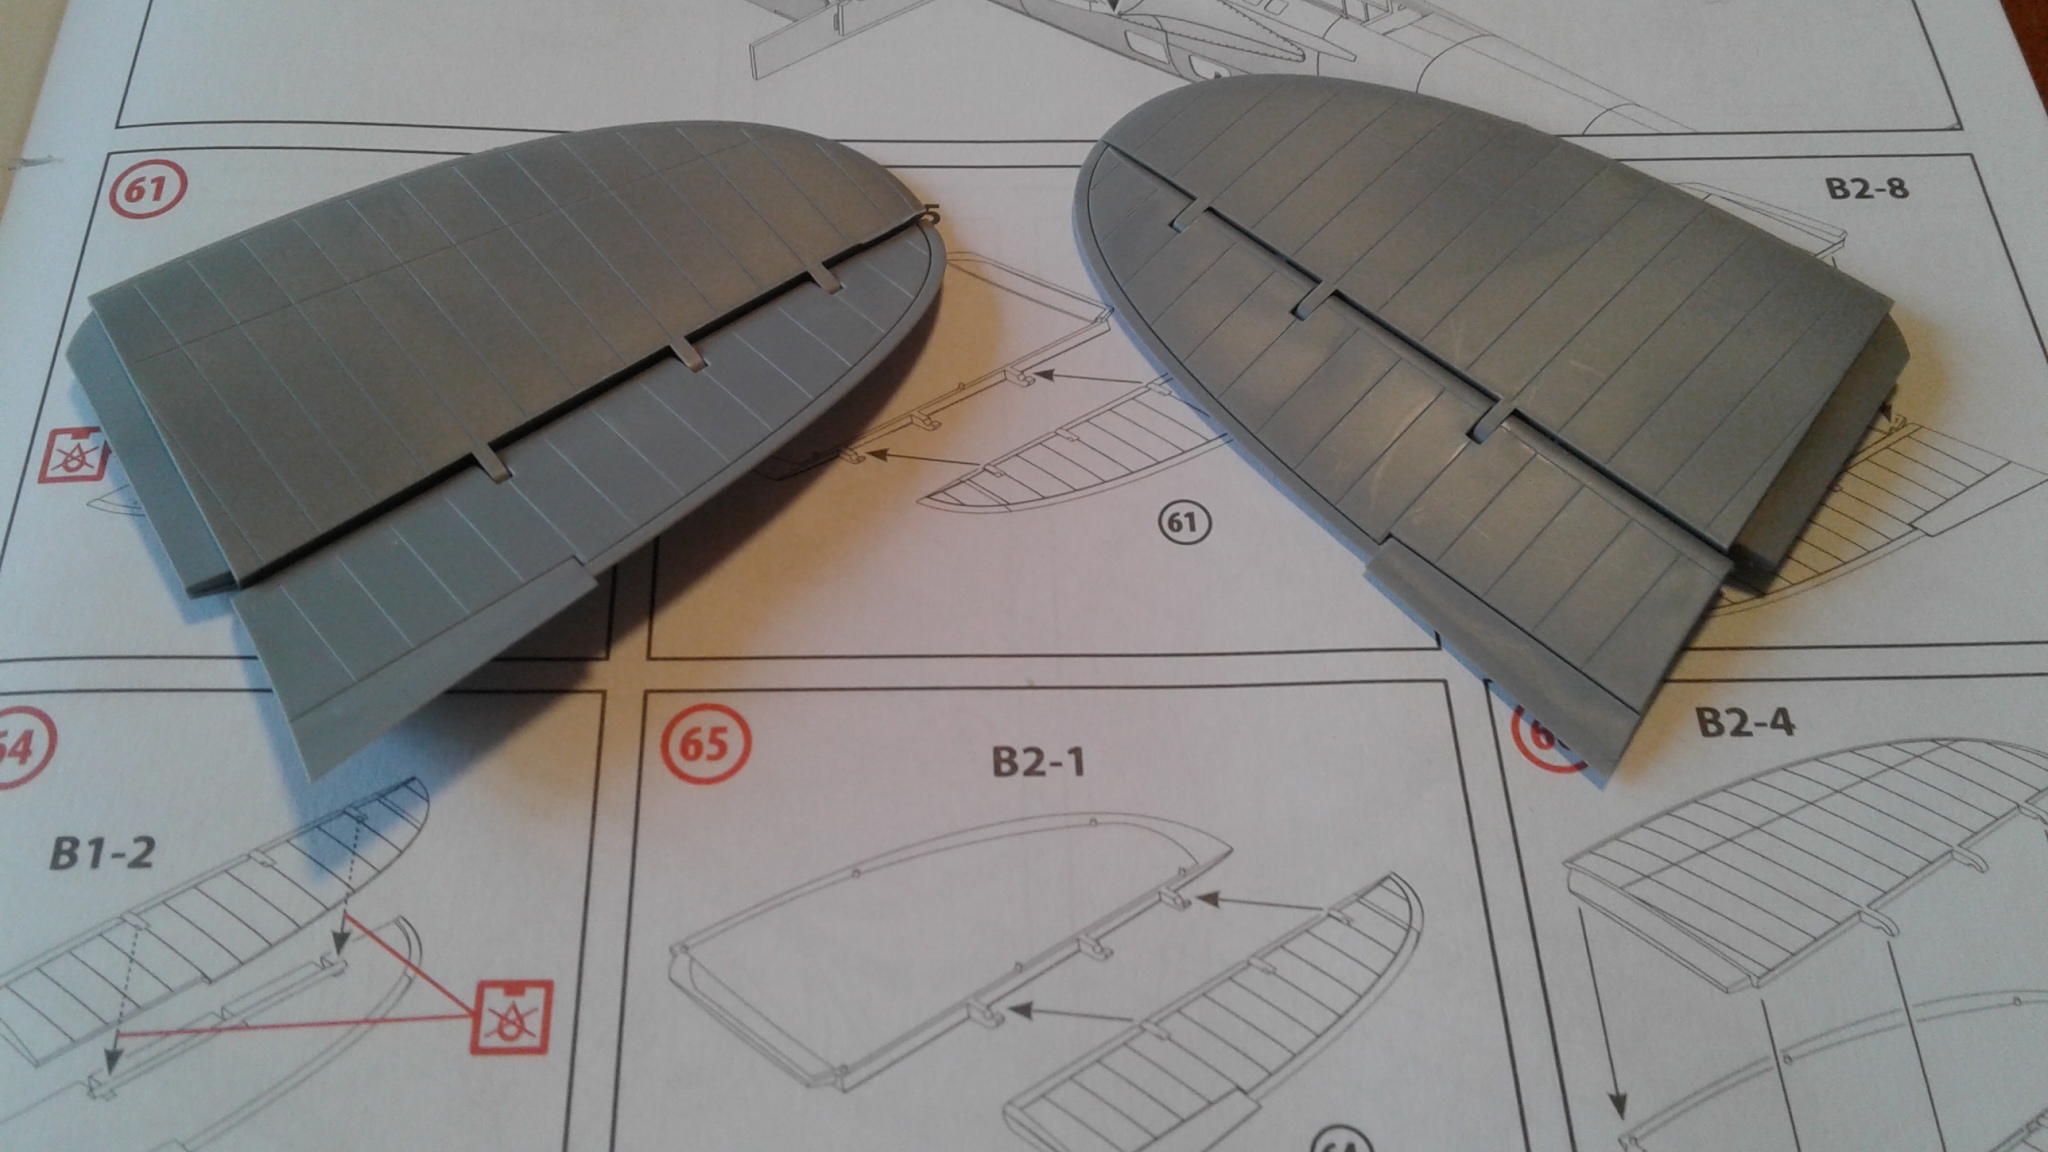
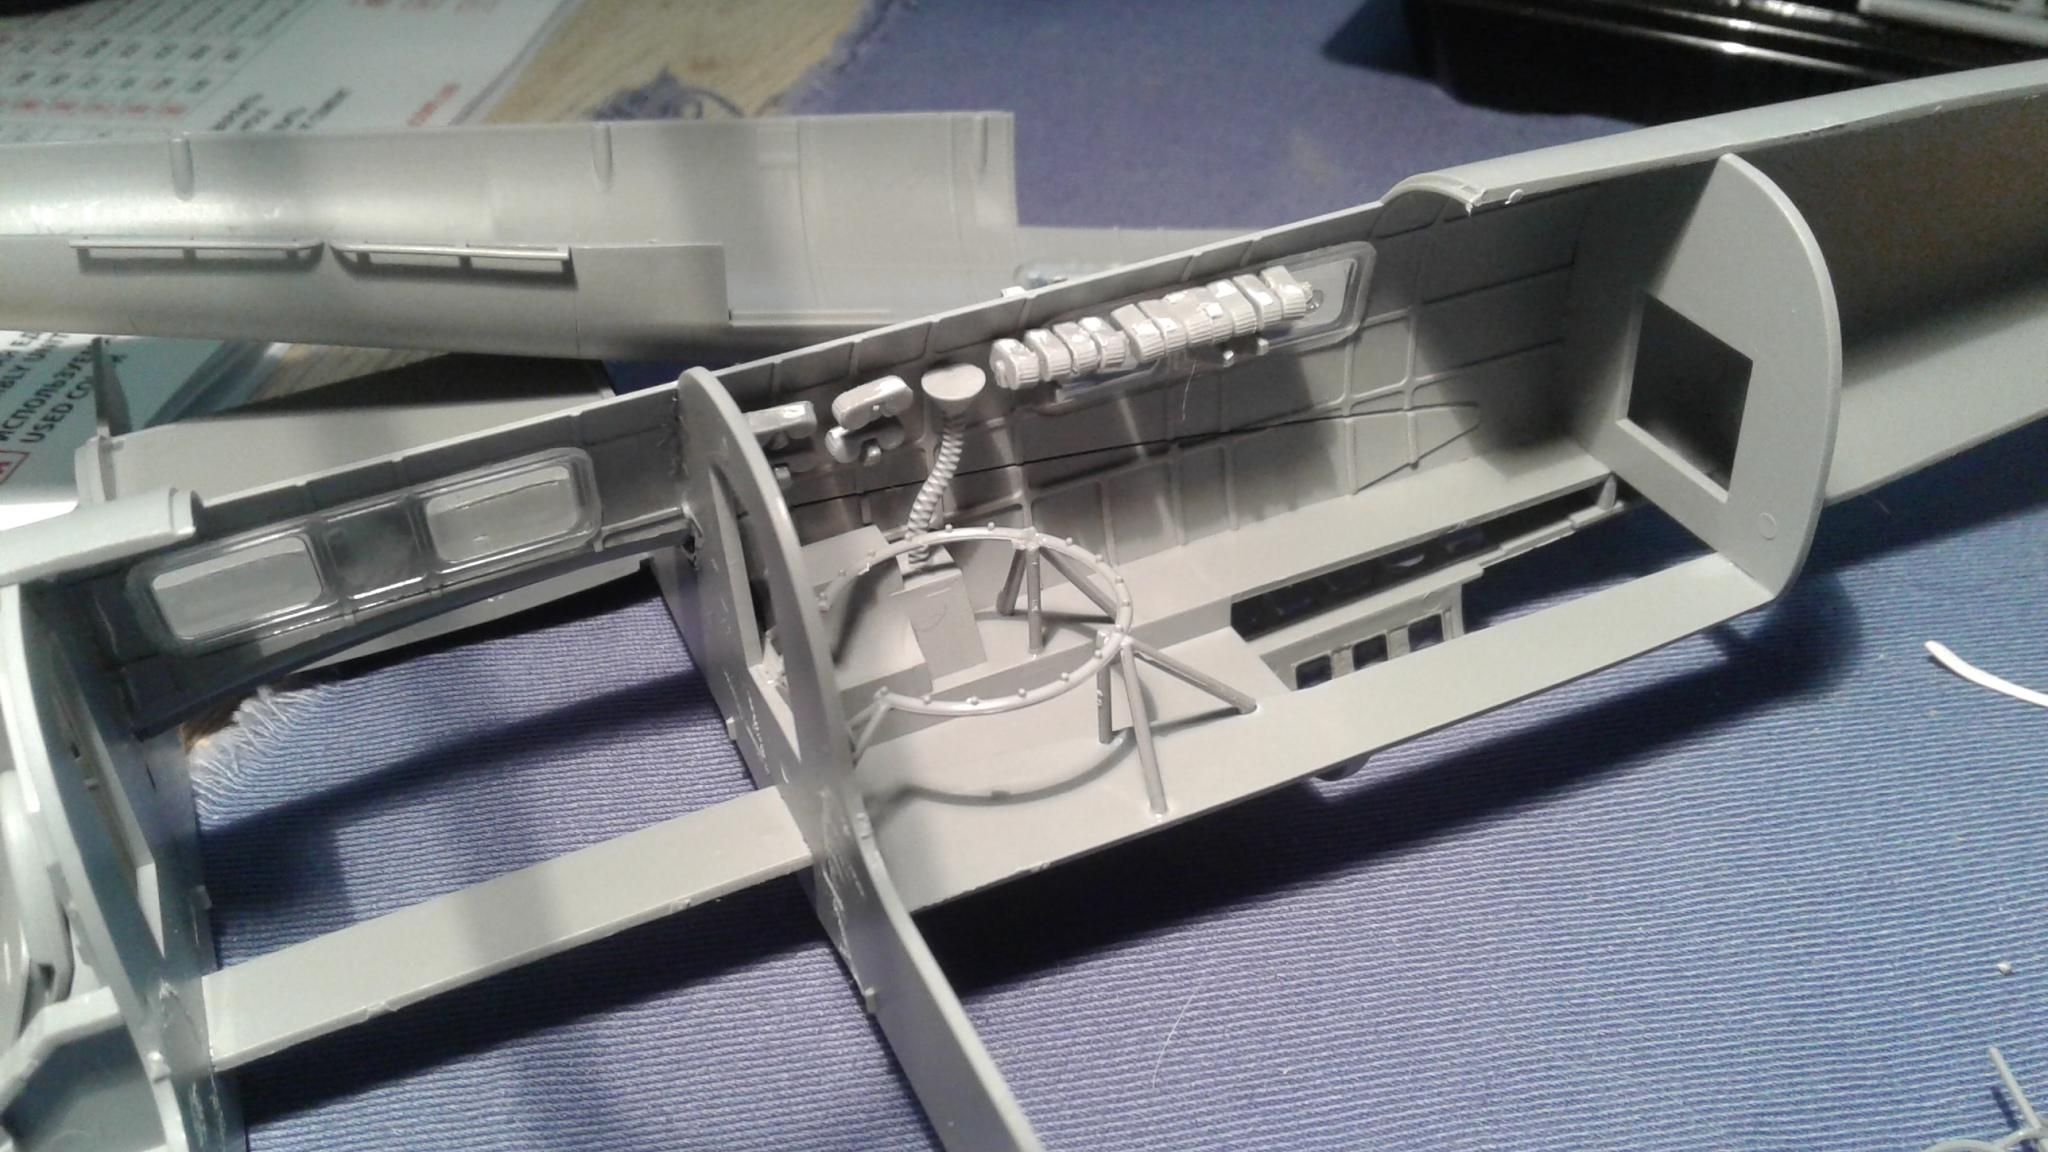
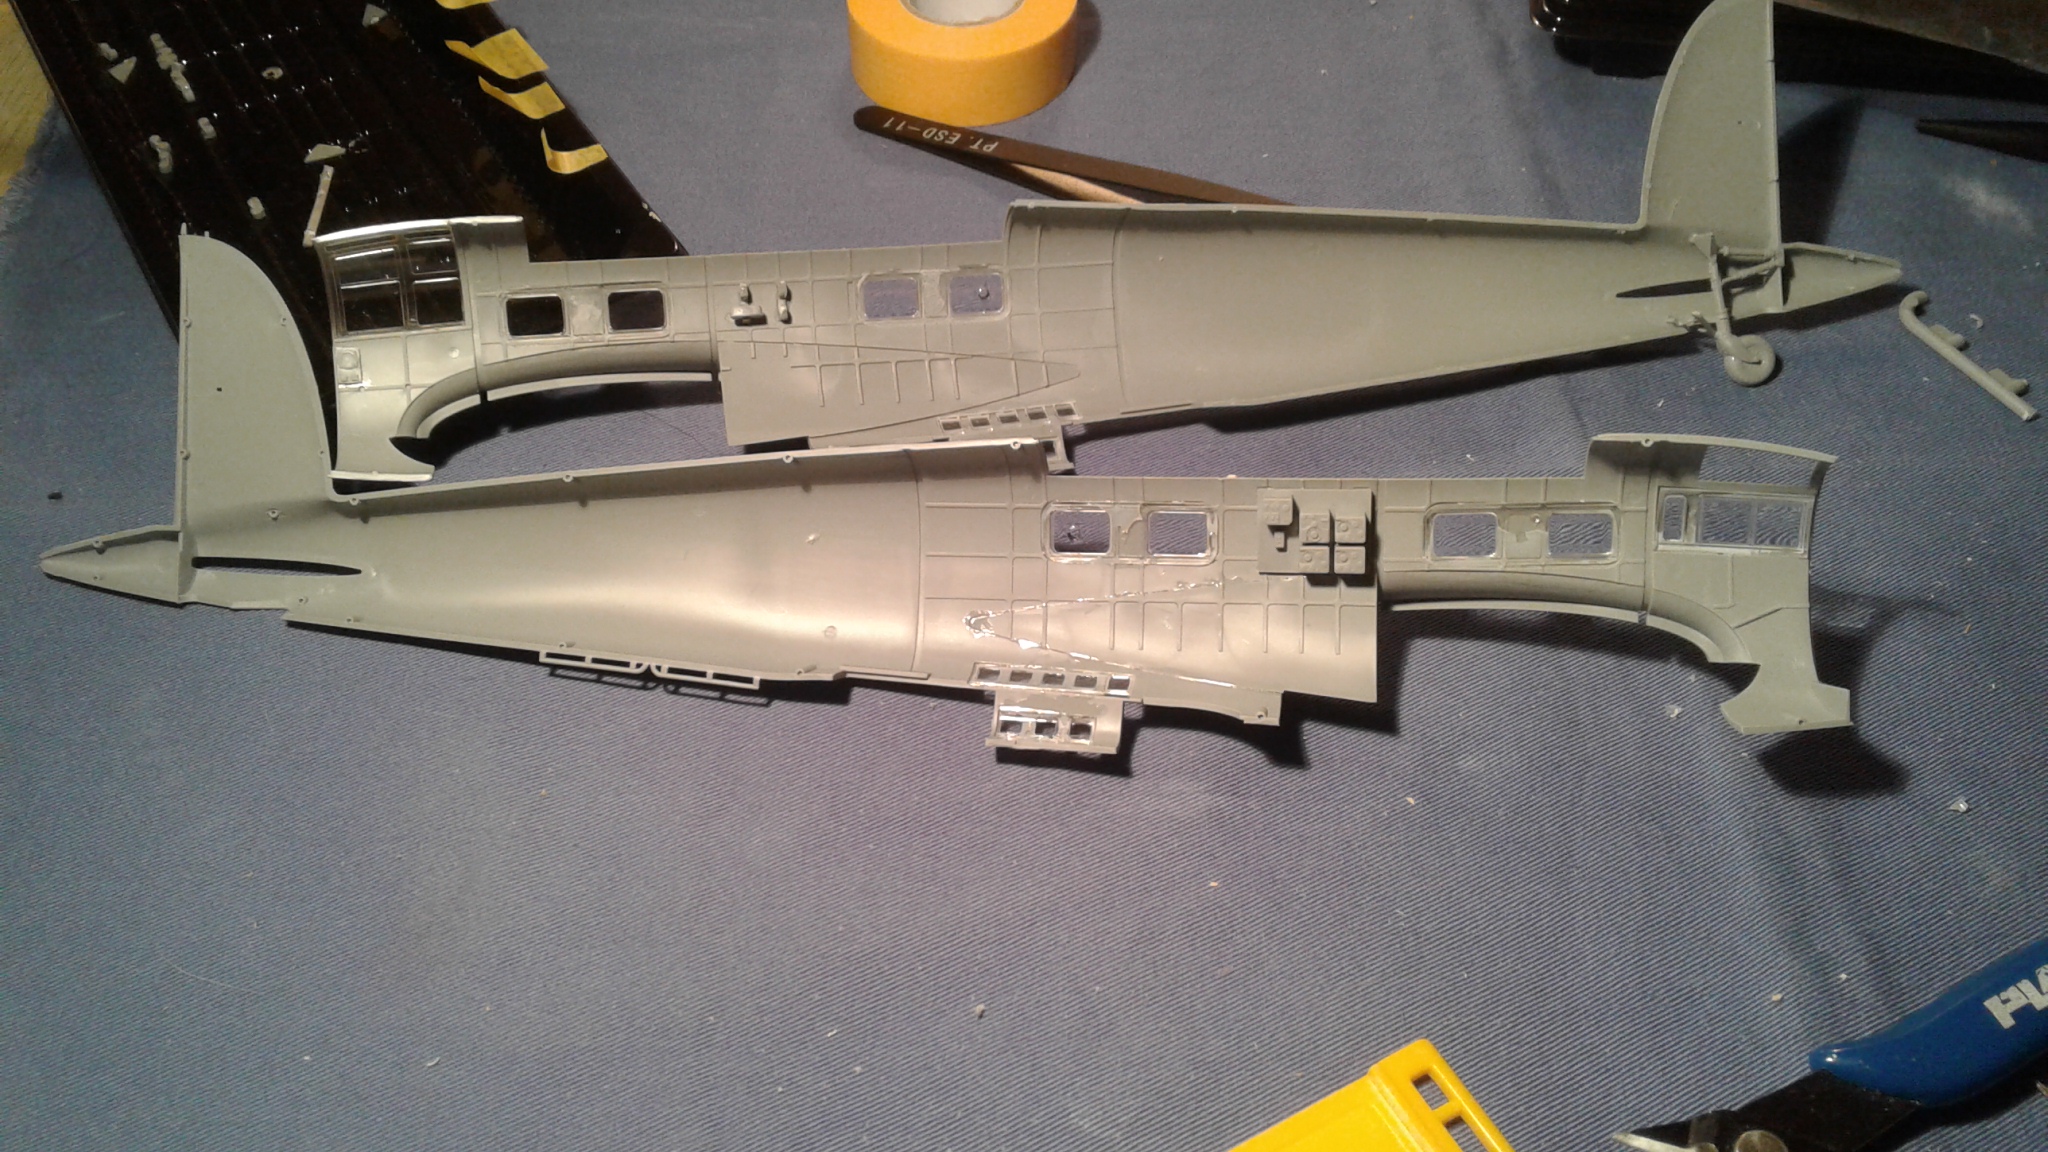
I have succeeded to glue the warped fuselage parts using extra-thin cement and Tamiya tape.

A little filing is all that will be needed.

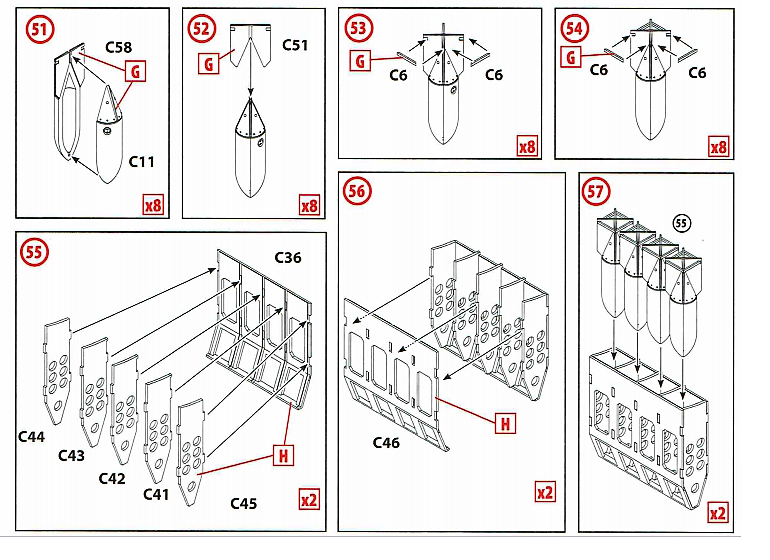
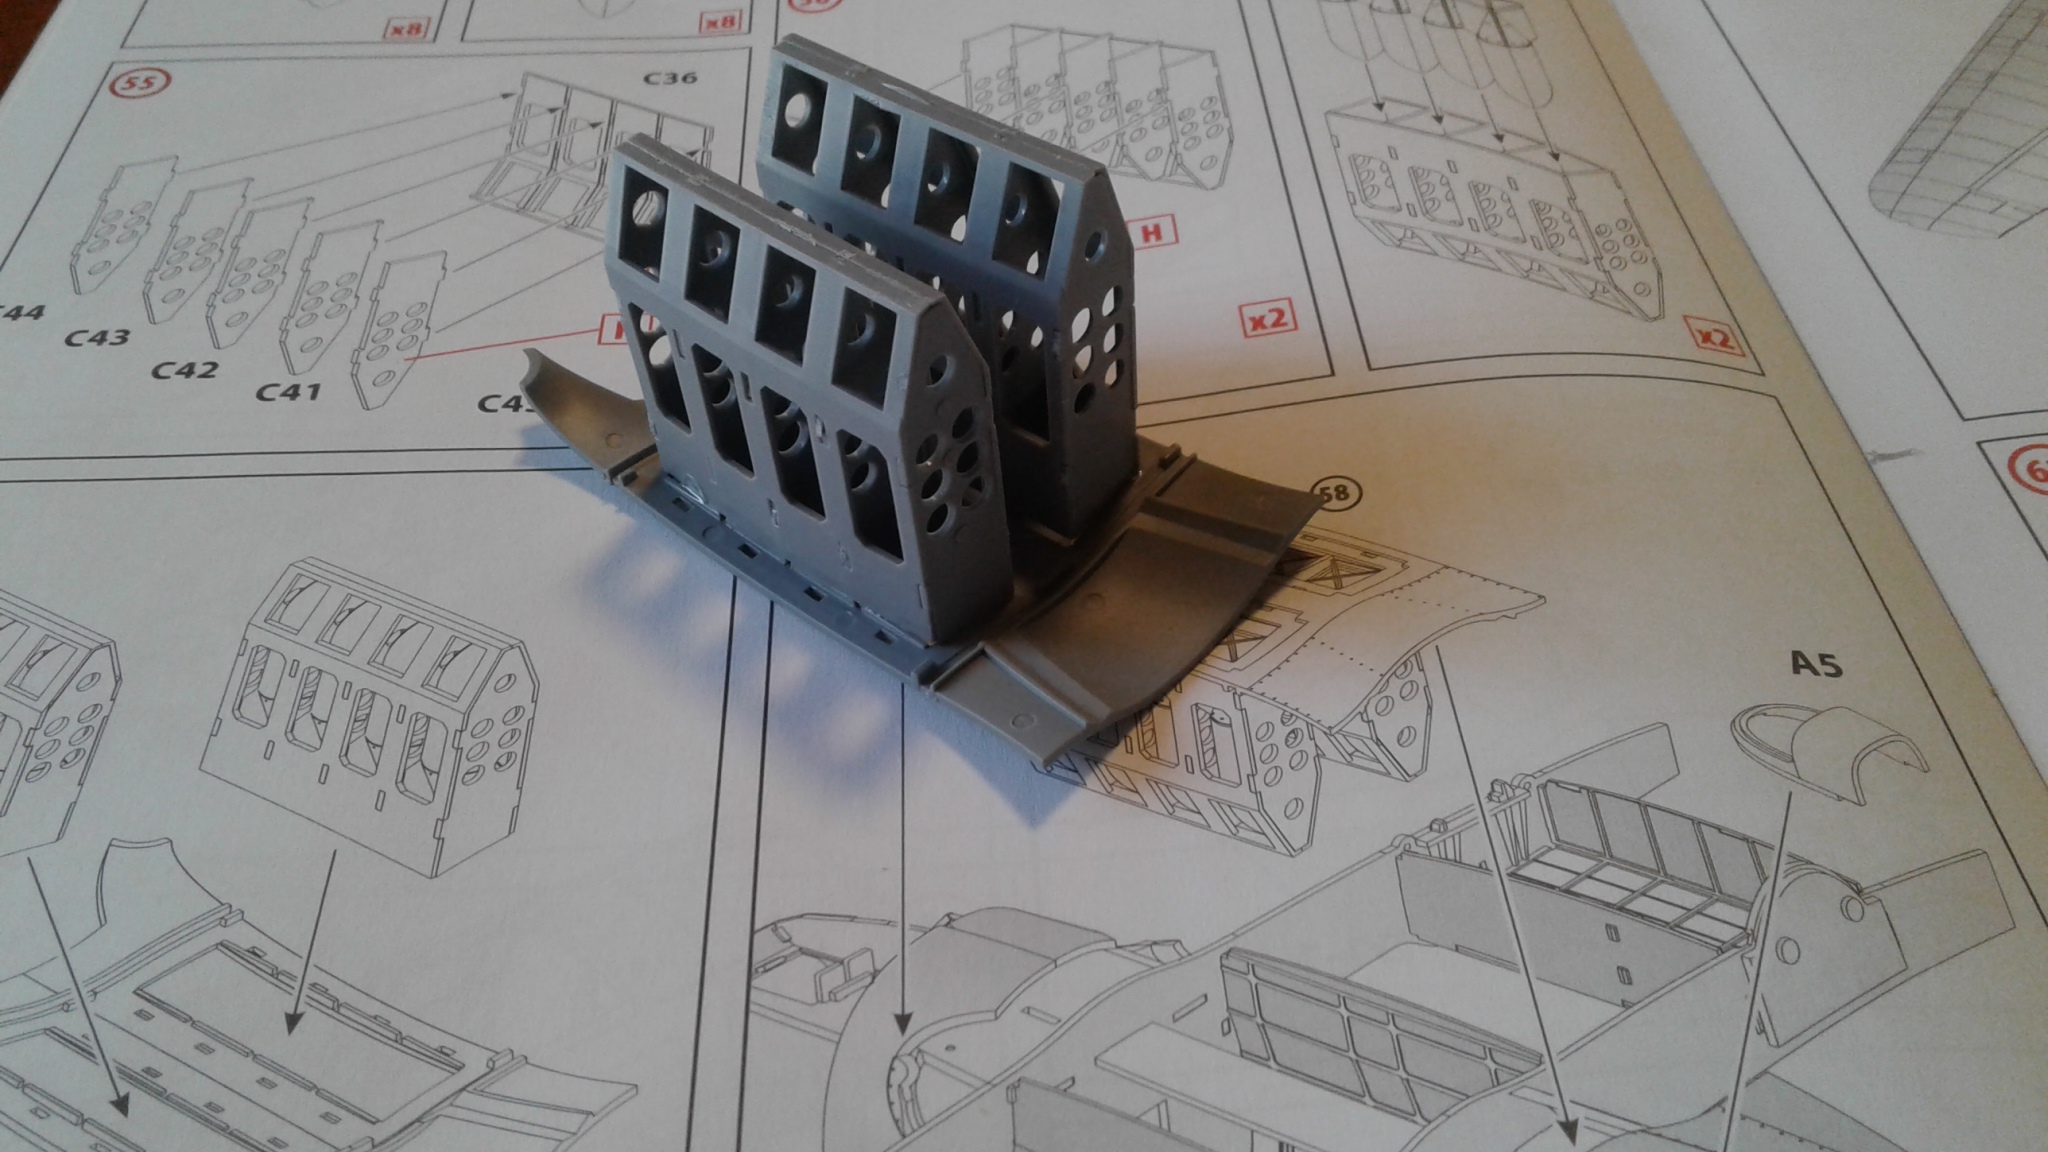
I then encountered this problem. The bomb rack would not fit it so I had to cut away some plastic.

Again no one will notice…

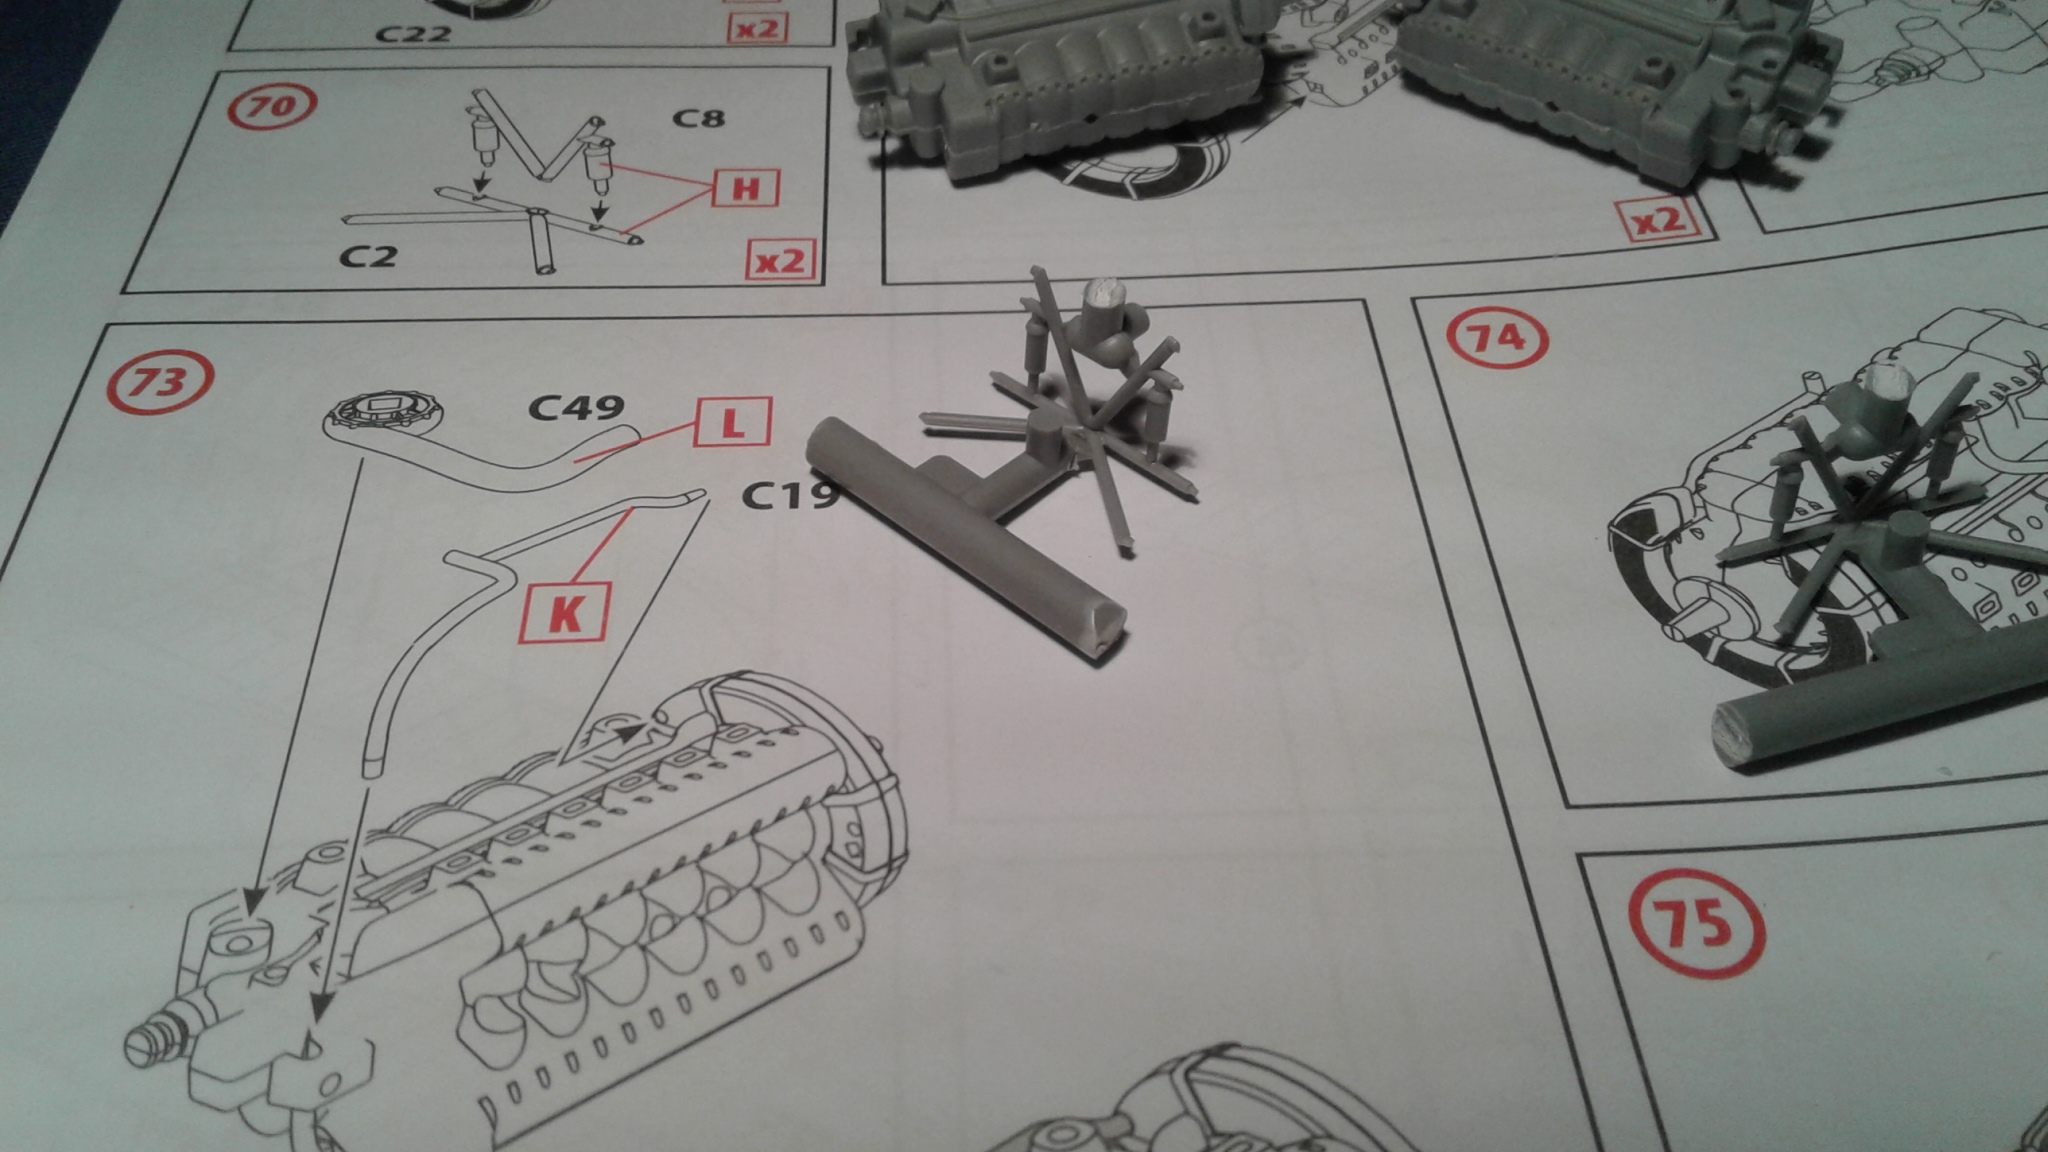
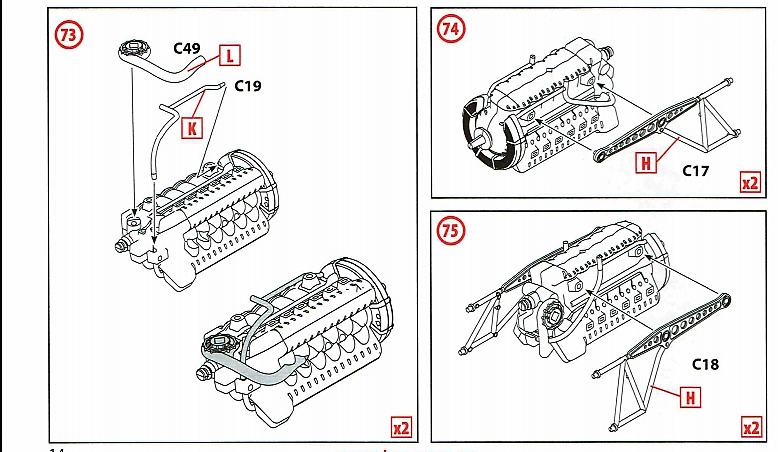
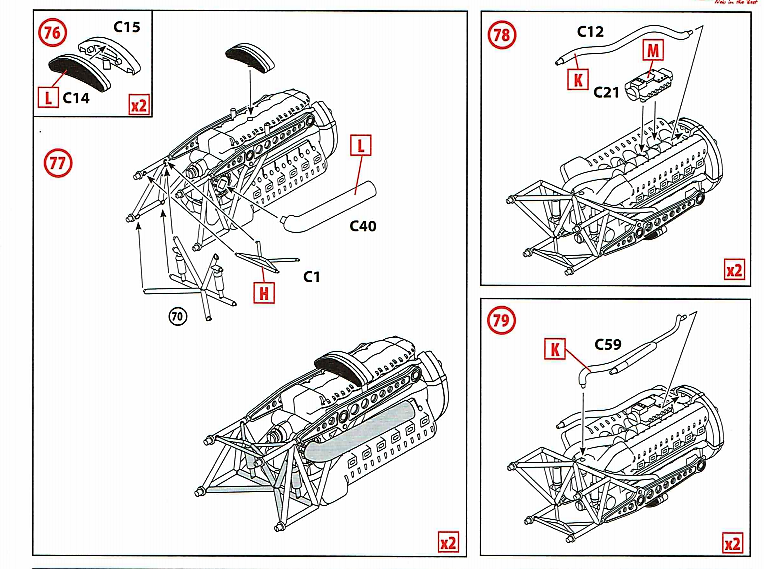
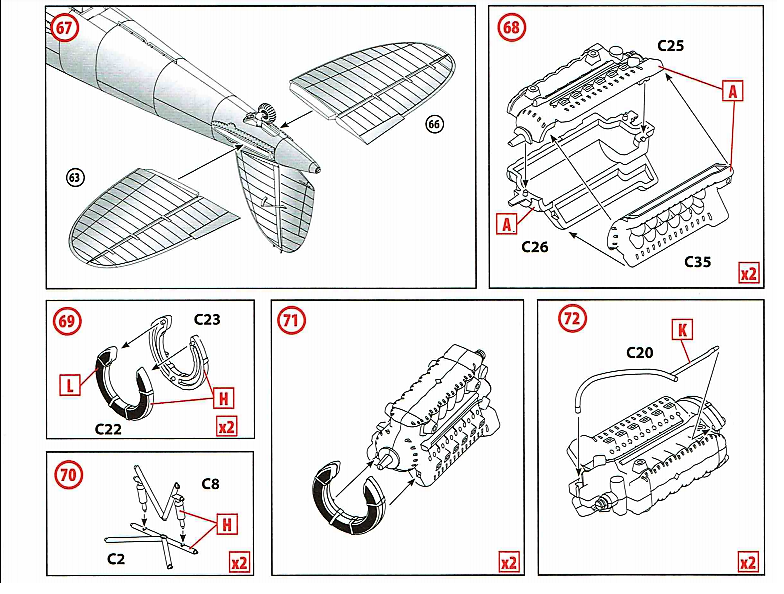
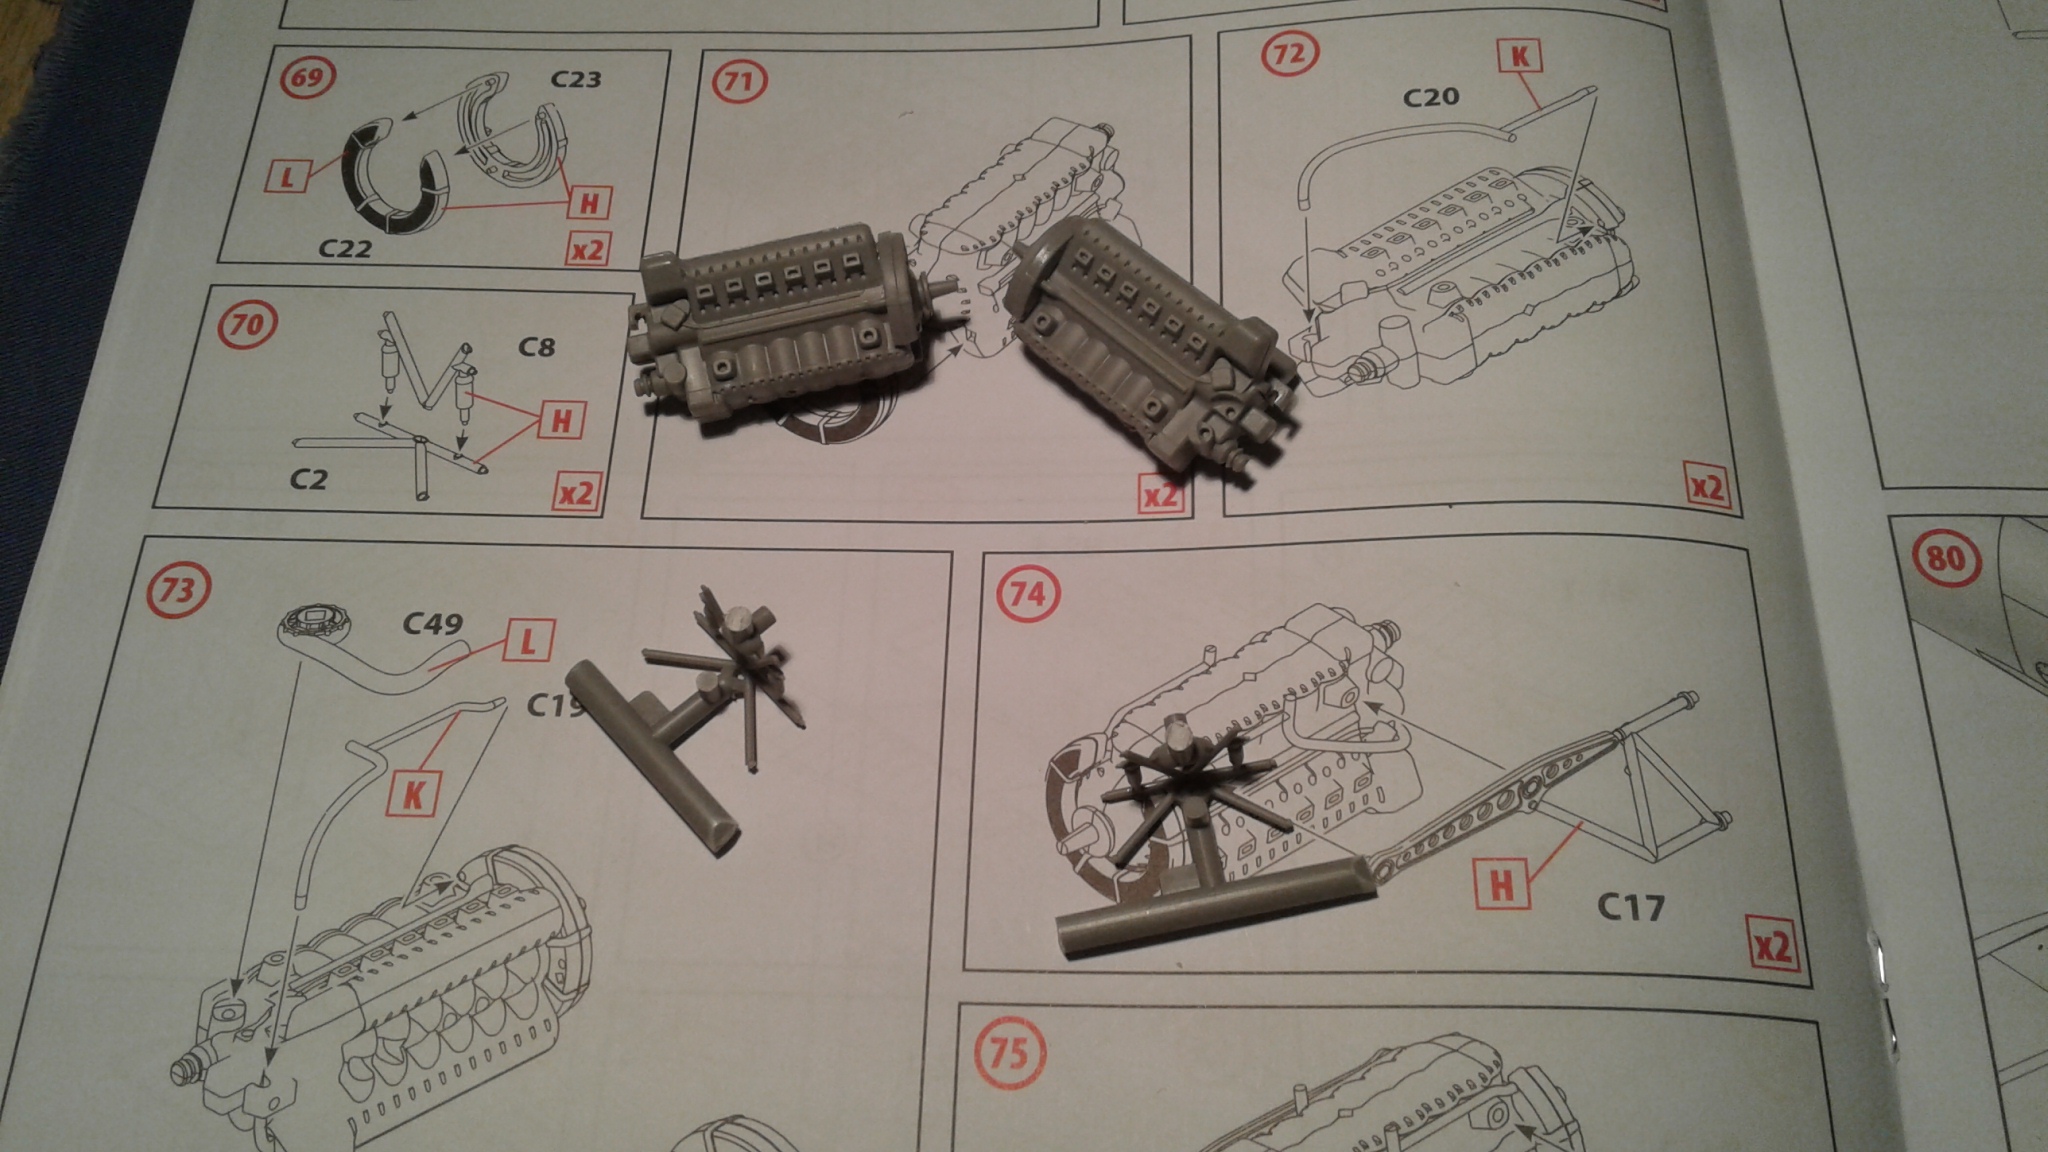
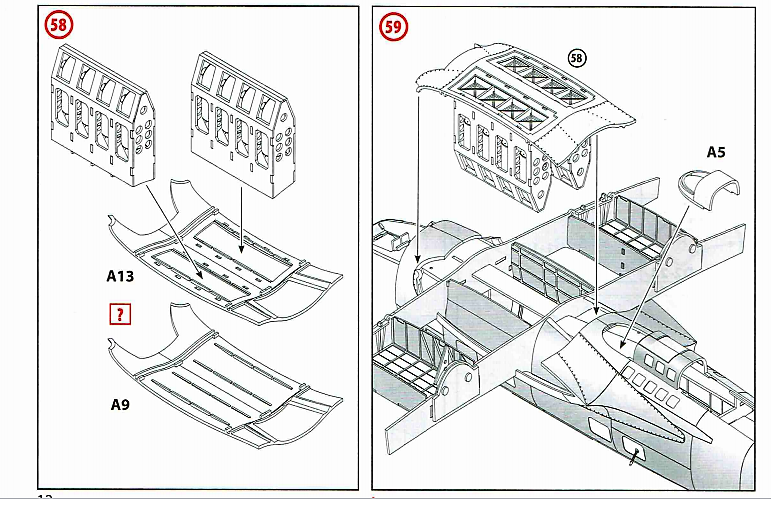
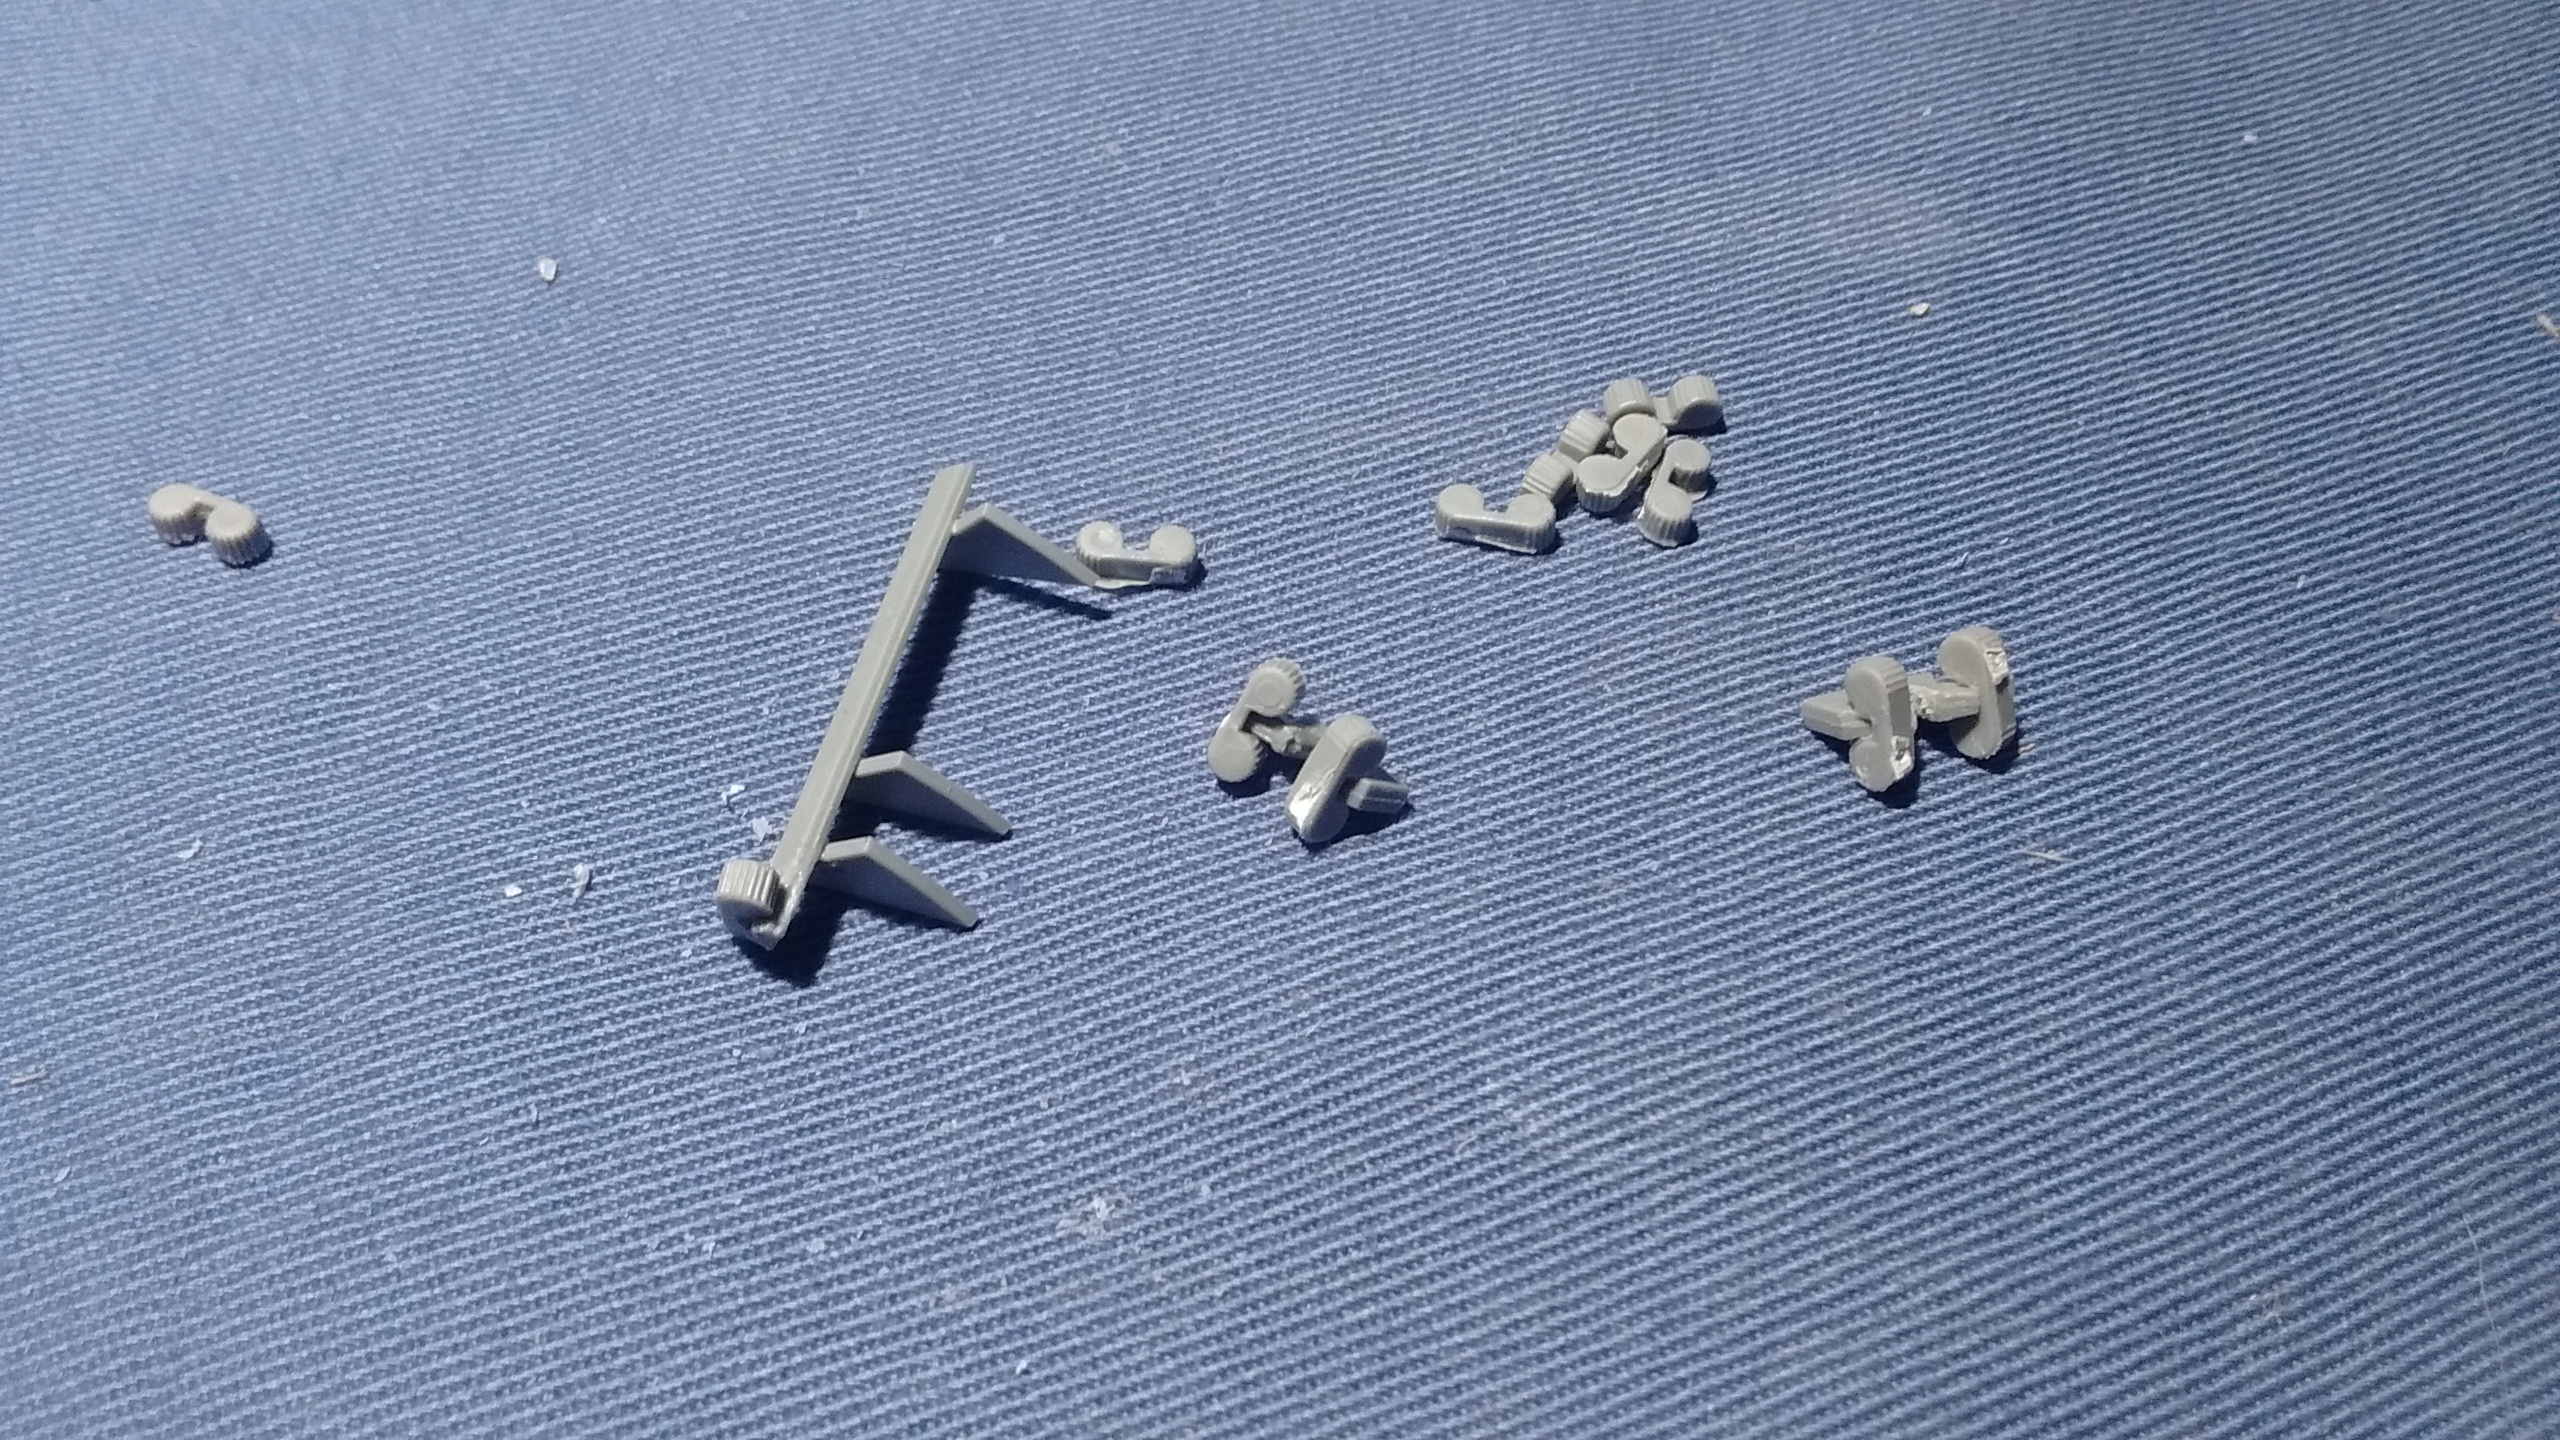
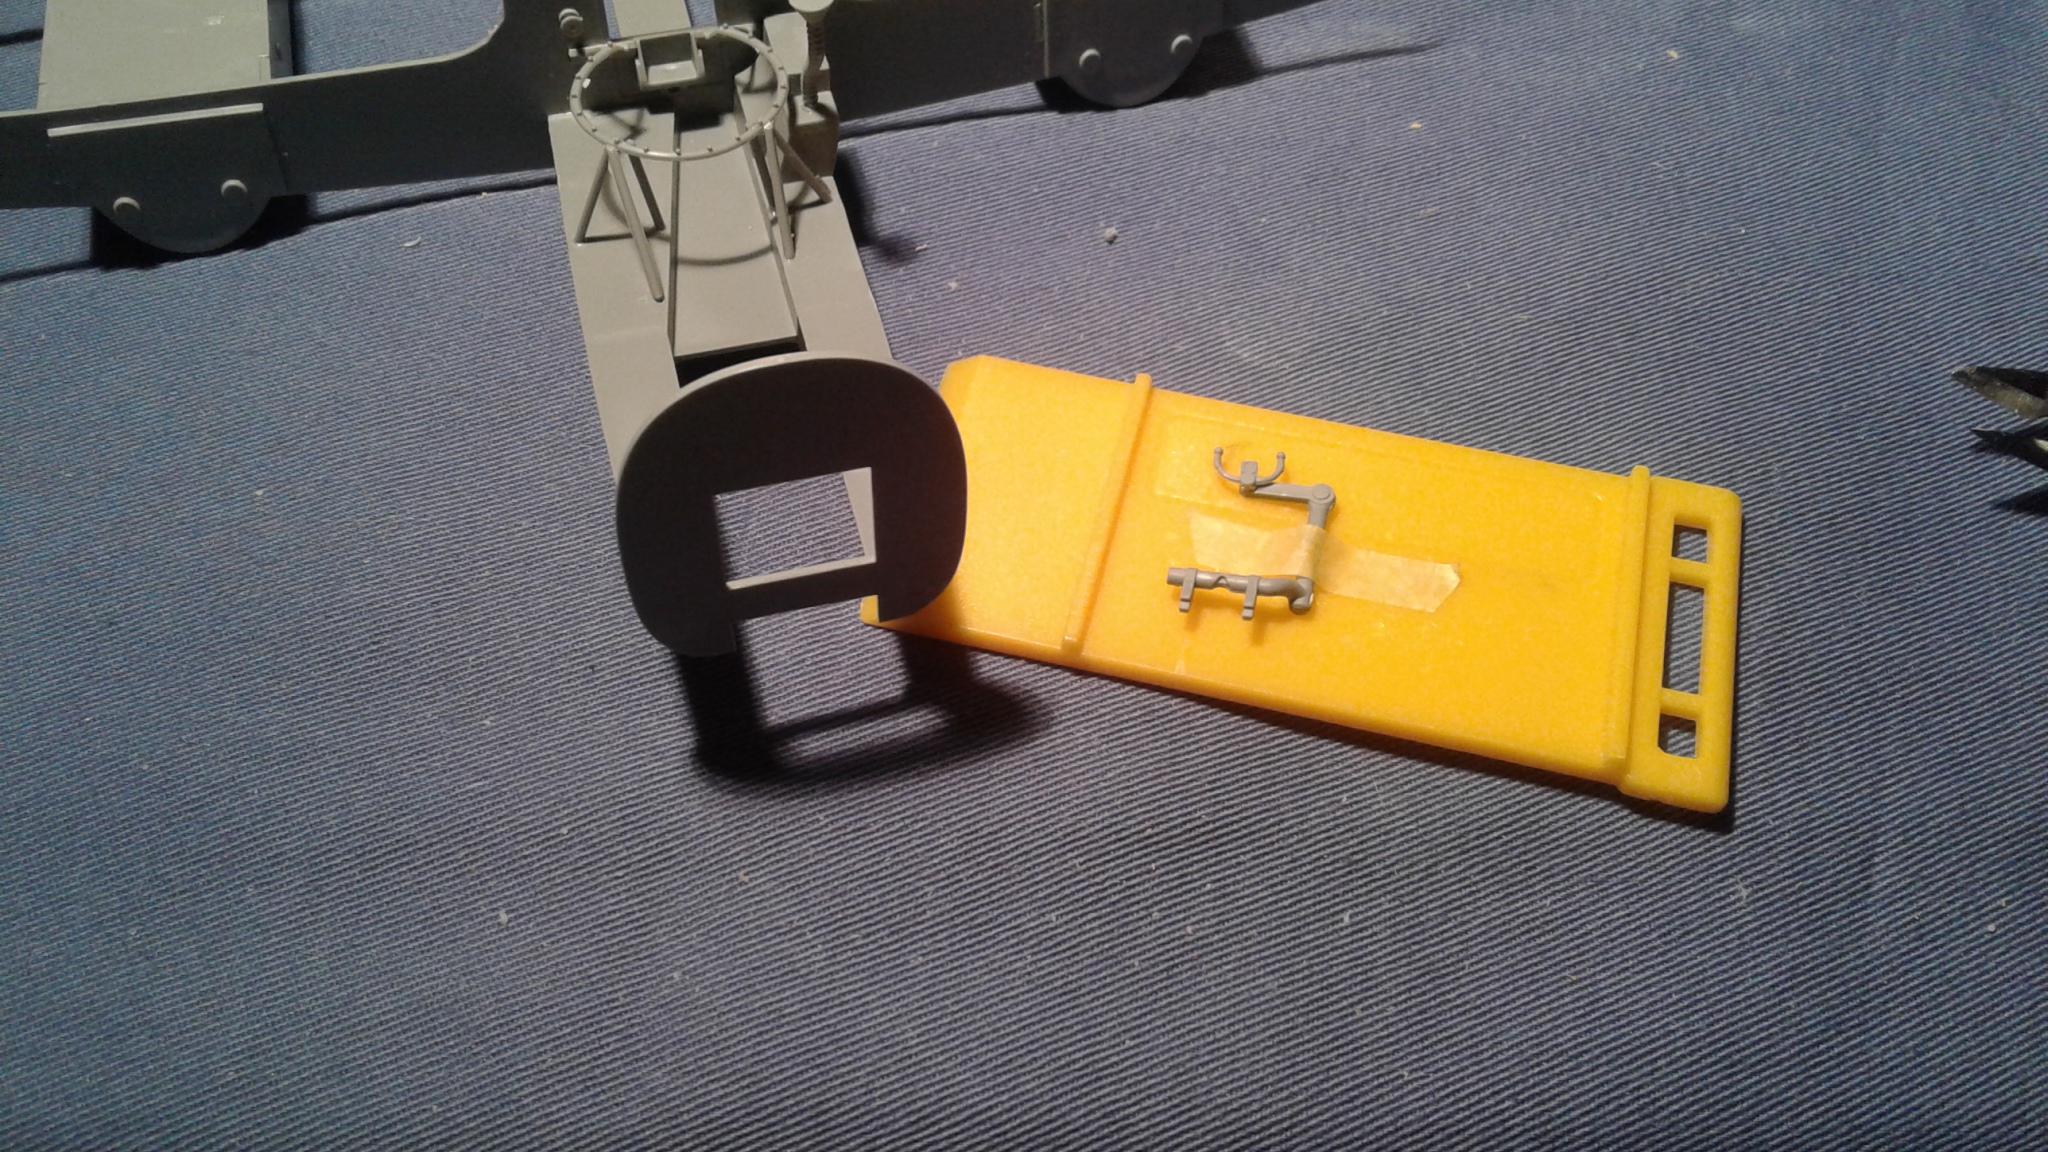
Which brings me to these steps.


I followed the instructions, but step 77 should have come before step 75. It was almost impossible to attach these parts.


I will fix it later but again no one will never know.


ICM He 111-H3 – Day 14

Updated 14 November 2020 – 9:00

Sometimes you have to let it go…

I have glued the fuselage parts yesterday afternoon after painting the interior with another homemade mix of RLM 02 or was it RLM 66…?

I have glued just part of the fuselage halves because of some warping mostly in the front.


The He 111 is taking shape more and more and I am enjoying the build. Enjoyment is what it’s all about on My Forgotten Hobby.

Learning that you have to let it go sometimes is what I have to do. I have learned a lot since I started My Forgotten Hobby in December 2014.

I met fellow modelers who were my motivators.

The first motivator was Amateur Airplanes who has stopped writing about his hobby in 2018. Plane Dave was the next motivator, then came Inch High Guy even if Jeff is only into 1/72 scale model aircraft.

My collection is mostly 1/48 scale model aircraft although I have one 1/72 scale Wellington and a few model ships in different scales.

Now speaking about motivators, here is something I have watched on YouTube before. I had not noticed that both Revell and ICM had contributed to this model kit.

Watching it again will help me avoid unforeseen problems in the next steps. I should have watched it more carefully the first time.

I will surely be coming back to YouTube to help me with my next build once my broken canopy arrives in the mail.

ICM He 111-H3 – Day 13

Friday the 13th on My Forgotten Hobby III…

I am not superstitious but I won’t follow the instructions…

There is no way I will be glueing the engines right now with these fragile attachment points.

With the warm temperature we were having outside since last week in Quebec, I was thinking of using my airbrush outdoors one more time. However that window of opportunity just closed this morning with a minus 2 degree Celsius.

Last night I had mixed some leftover paint for painting the interior and I had used a brush.

But this morning I have mixed feeling about the interior colour I had used.

It was too gray.

So I went on Google…

https://www.britmodeller.com/forums/index.php?/topic/235031374-another-he-111-cockpit-colour-question/

It was about painting the interior with either RLM 02 or RLM 66. Still confused, I then searched a little more…and started getting dizzier.

http://www.aviationofjapan.com/2010/12/colour-of-rlm-02-grau-grey.html

At least now I know just a little more about RLM 02 which is kind of interesting but still confusing.

ICM He 111-H3 – Day 12

My Forgotten Hobby III, just like My Forgotten Hobby and My Forgotten Hobby II, is more of a diary where I write about how I sometimes procrastinate or often struggle with building some model kits.

ICM He 111-H3, or is it ICM He 111H-3, is the first time I am building something from ICM. I have to say that I am quite impressed by it just like Plane Dave was.

I wonder if Plane Dave had the same problems with the fragile parts. Luckily I found a way. I am leaving some parts on the sprues before snapping them off.

It worked perfectly.

Steps 73 to 79 have been done and will be set aside.

 
Painting the interior will be next once I have researched how to paint it properly. 
 

This is the right place to start…

Here…

and here…

ICM He 111-H3 – Days 9 – 10 – 11

Late again on My Forgotten Hobby III but for a very good reason. Record breaking temperature here in Quebec since last Sunday was conducive for washing eight windows in my house which explains how I was late for posting on my progress. First I was still trying to fix this with super glue on Sunday, Monday and Tuesday. 

I then have started assembling the engines and I will continue on this afternoon.  
Then there was step 70. I had decided to keep the sprues on yesterday so it could be easier to snap the parts off.
This is just did a few minutes ago.
Quite a successful delicate operation!
Tomorrow I should definitely start painting the interior. 

ICM He 111-H3 – Day 8

Day 8 is a little late.

I still have not decided yet if I will paint the interior of the He 111 but I have a feeling I will. 

The chair can’t be assembled right now as well as the rudder.

I like how I fixed the broken part.

I will probably start assembling the engines tomorrow which have lots of parts and some fragile looking one.

As always we’ll see what happens…

In the meantime…


ICM He 111-H3 – Day 7

Mating the fuselage halves will still be on hold since I have this feeling sense I will be encountering some problems with the fit and I have not decided yet if I will paint the interior of the He 111. The chair has already been assembled as well as the rudder but both will be added later. So what happened since yesterday when I tried to fix the broken part replacing it with a wire?

This is how it looks for now.

Steps 45 and 46 are on hold. 

Part D2-28 was broken and will be replaced by a wire even if it won’t ever be seen. I have assembled the bombs and the bomb crates.

The parts in the tail section were assembled.

I will give the engines a go next time and probably decide to paint the interior since painting is what I like the best. We’ll see what happens…

ICM He 111-H3 – Day 6

Thank God for YouTube where I found where to put my tiny pieces in step 29.

Not bad if I say so myself.

I still need to mate the fuselage halves, but this will have to wait since I sense I will encounter some problems.

Even if I took every precaution this is what had happened two days ago.

Trying to glue the broken part was not an option so I decided to use this instead.

I will adjust it when the glue has dried.


In the meantime I will have to tidy up the workbench and move to the next steps.


ICM He 111-H3 – Day 4

Progress on Day 4 went well after my eye exam for a cataract.

I have had second thoughts about steps 25, 26 and 27.

I have decided to fix these steps and add these little pieces later. I am not sure I will be adding the waist machine gun.

Clear parts for steps 30 and 31 were glued using clear parts cement from Testors.


Step 36 was also done and tomorrow step 37 will be next.