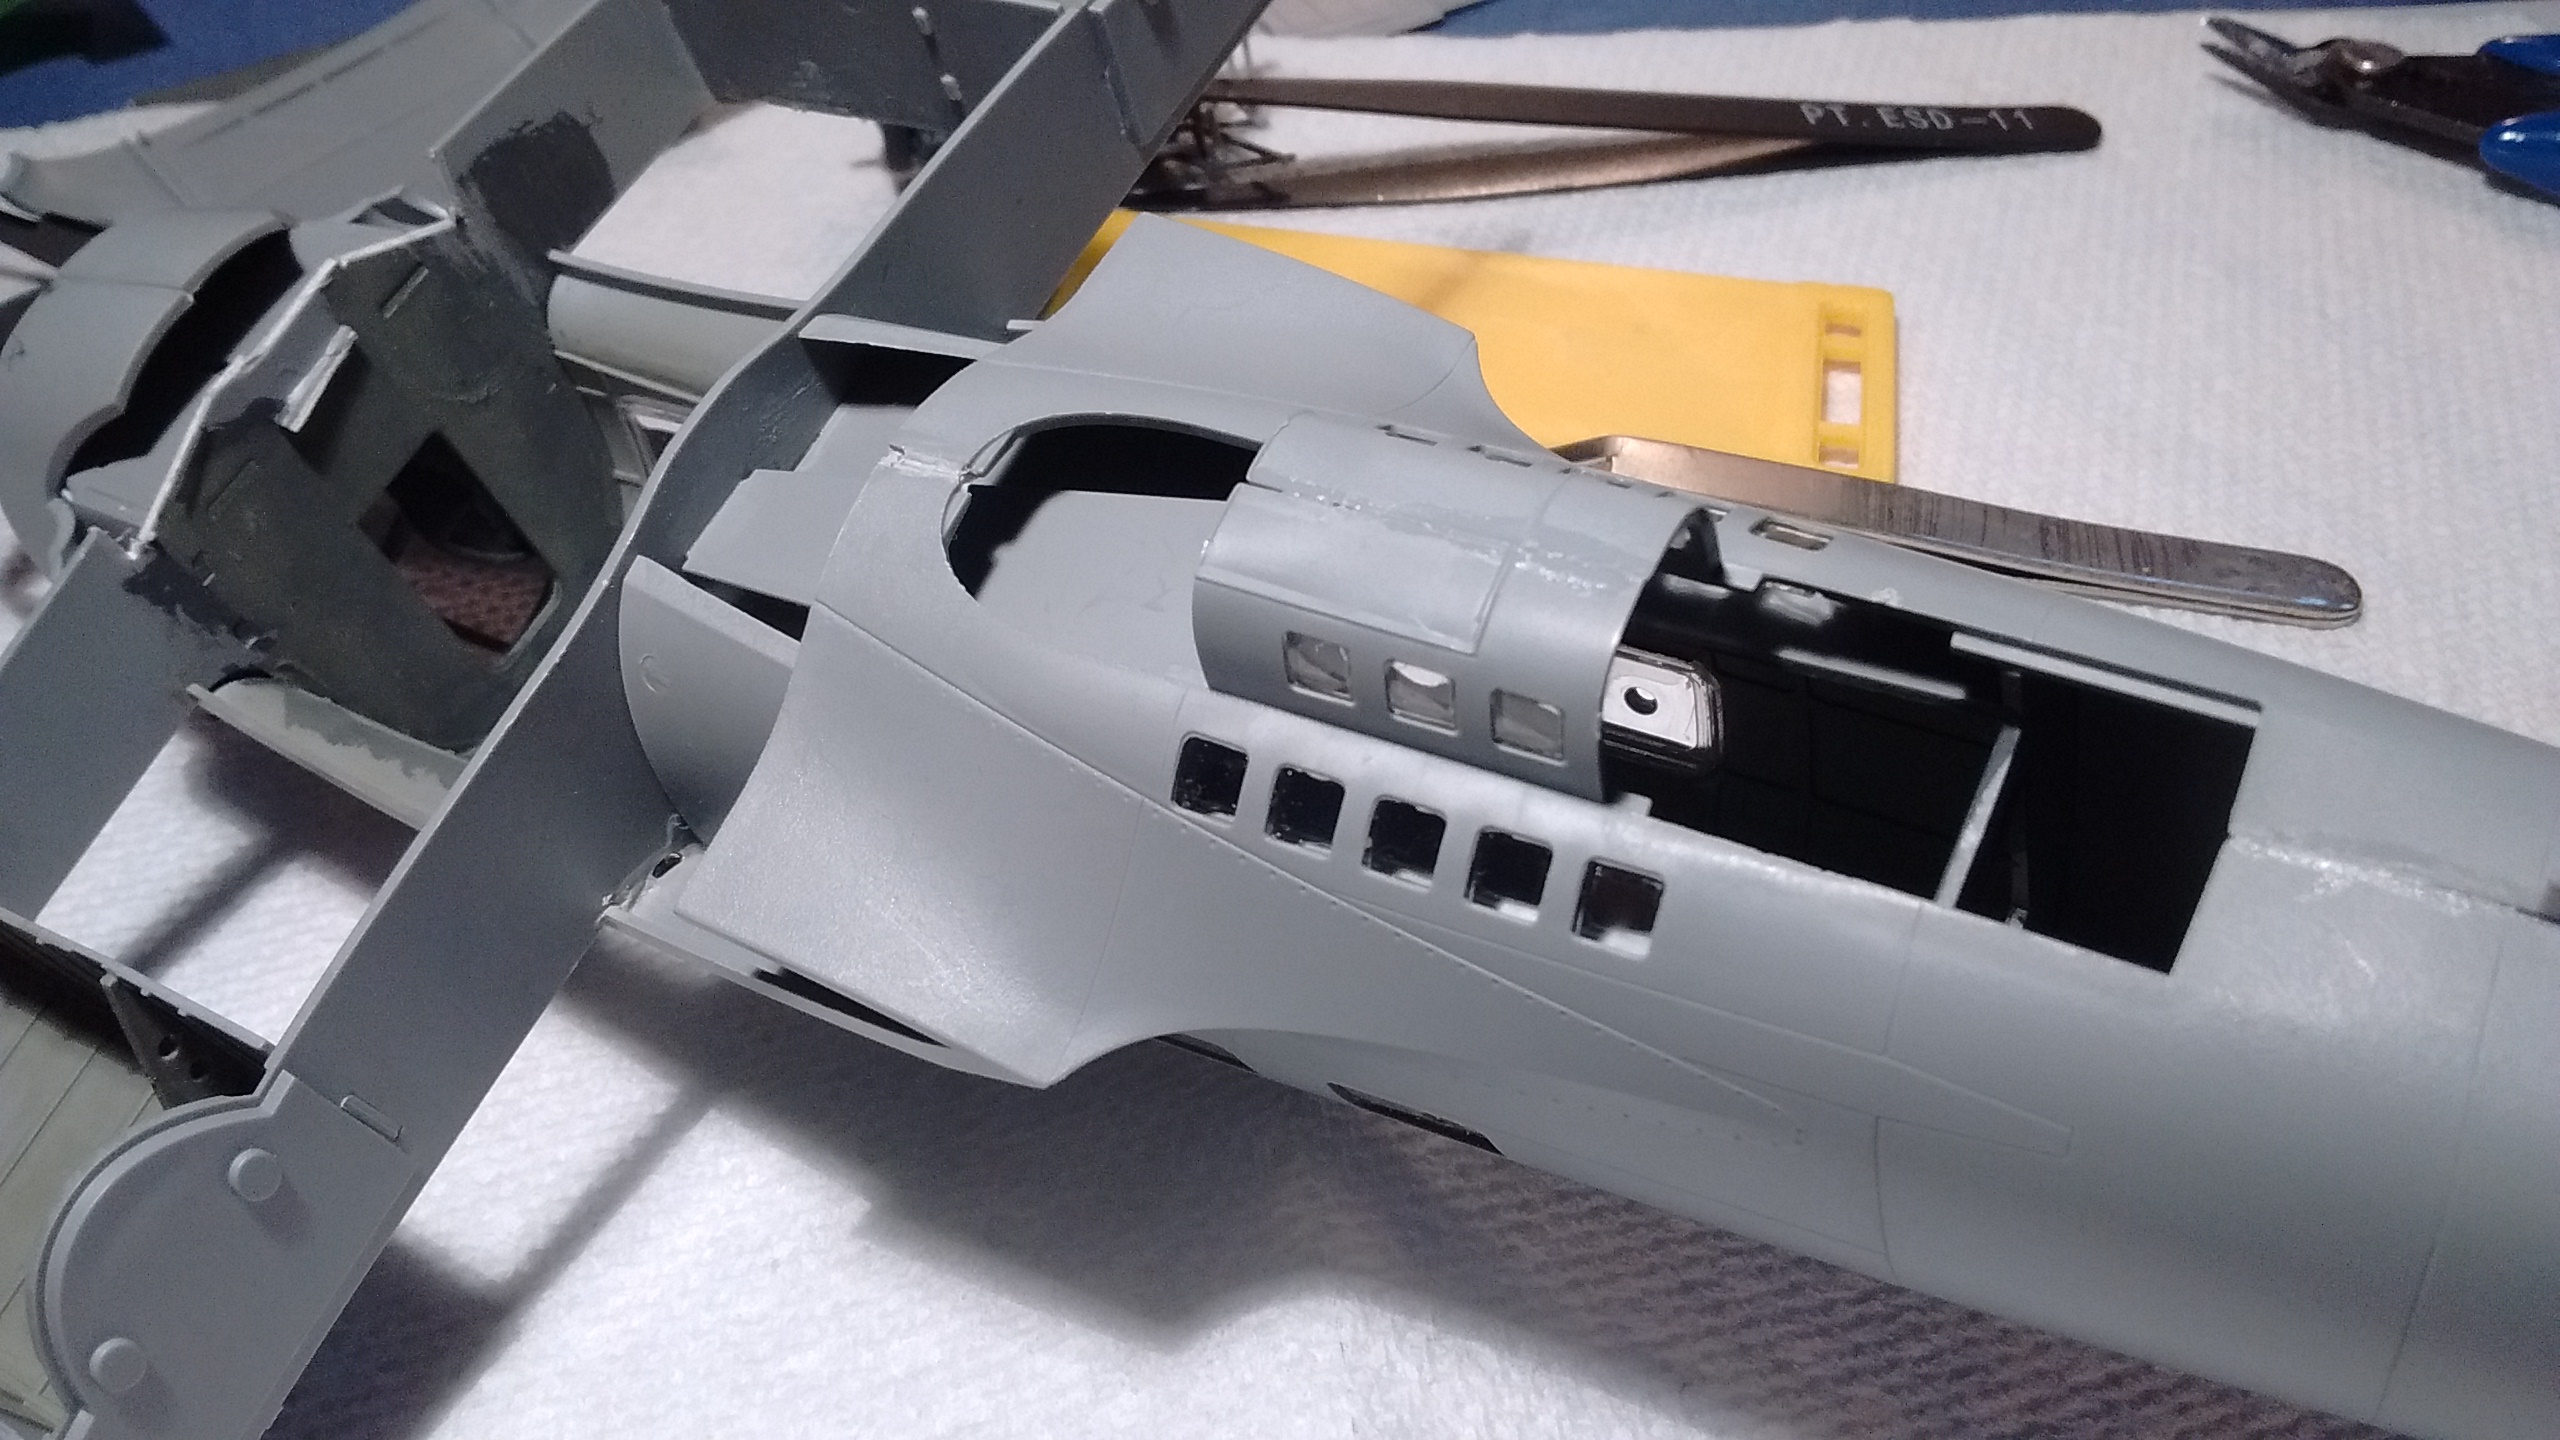
Thanks to Plane Dave’s advice I finally glued the engines in place yesterday afternoon.
I am glad I have been waiting that long because I would have broken something.
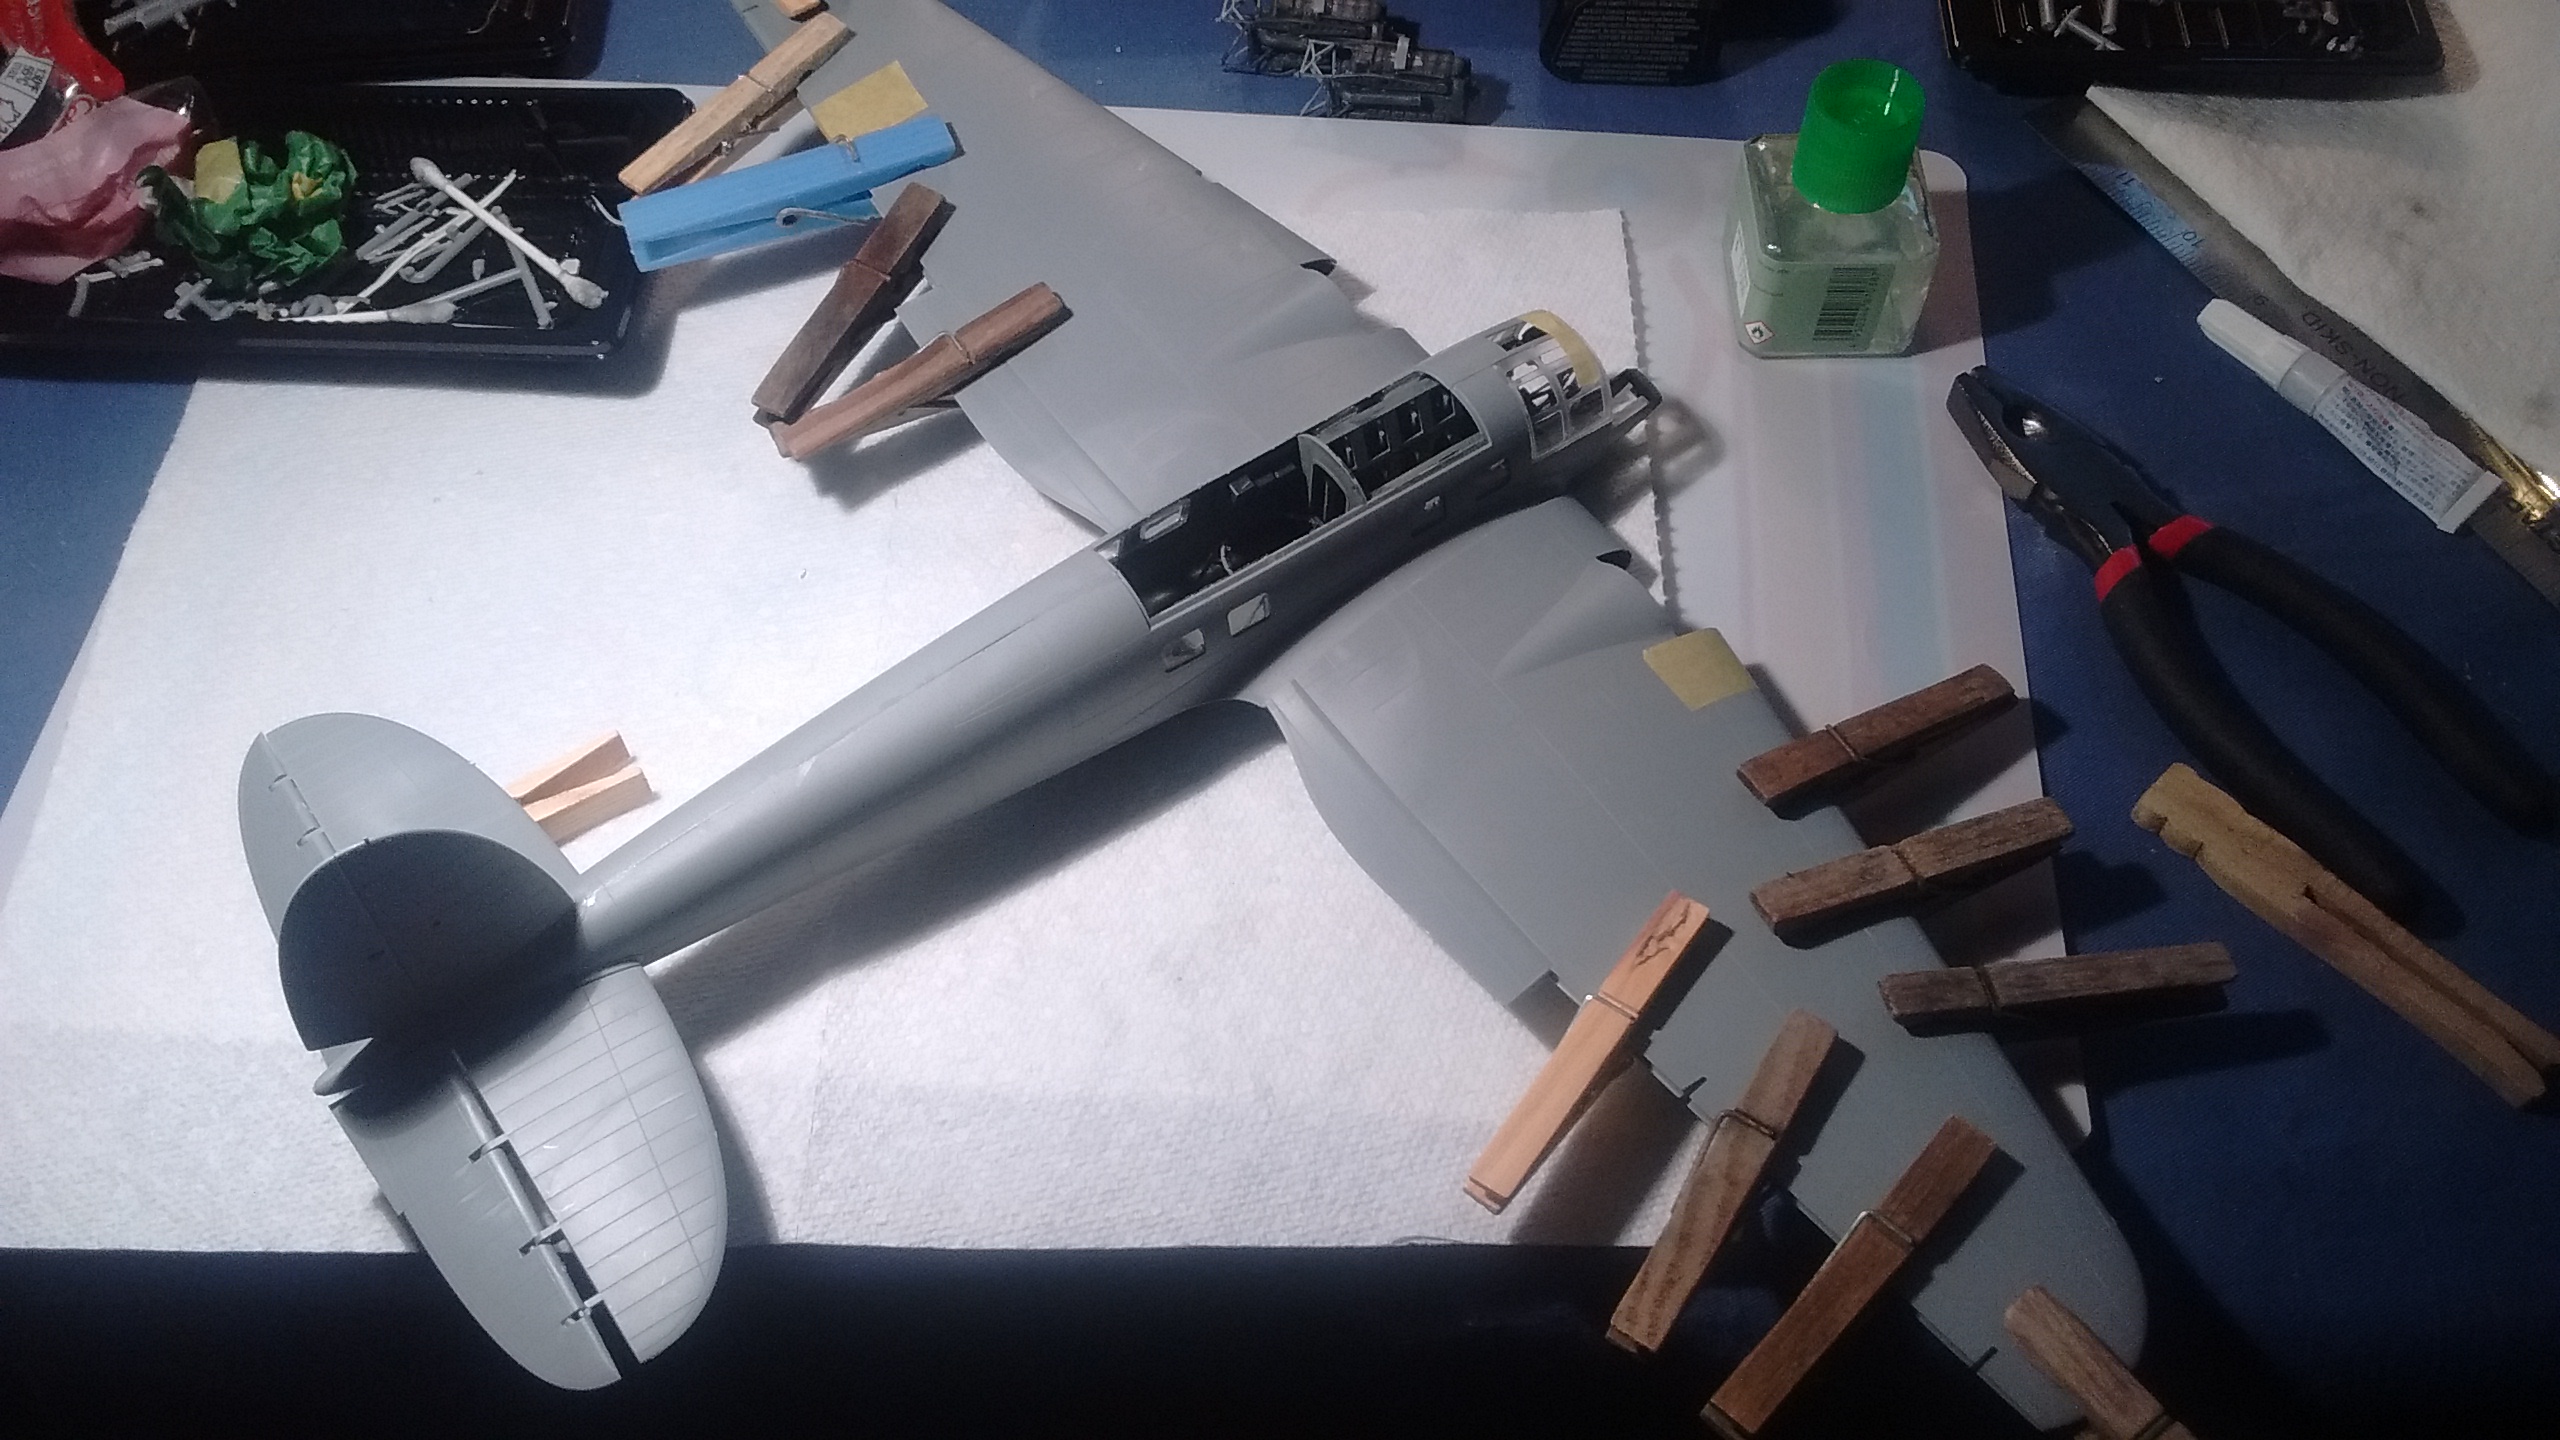
Step 82 will be next later today since my three year-old grandson is babysitting his grandfather. Steps 83 and 84 had already been done and parts glued to the wings.
Steps 85 to 92 will follow later this afternoon.
All clear parts will be set aside for painting in the spring.
Tomorrow I will show you pictures of where the project stands right now.
I have not been idle yesterday while I was waiting for the glue to dry.
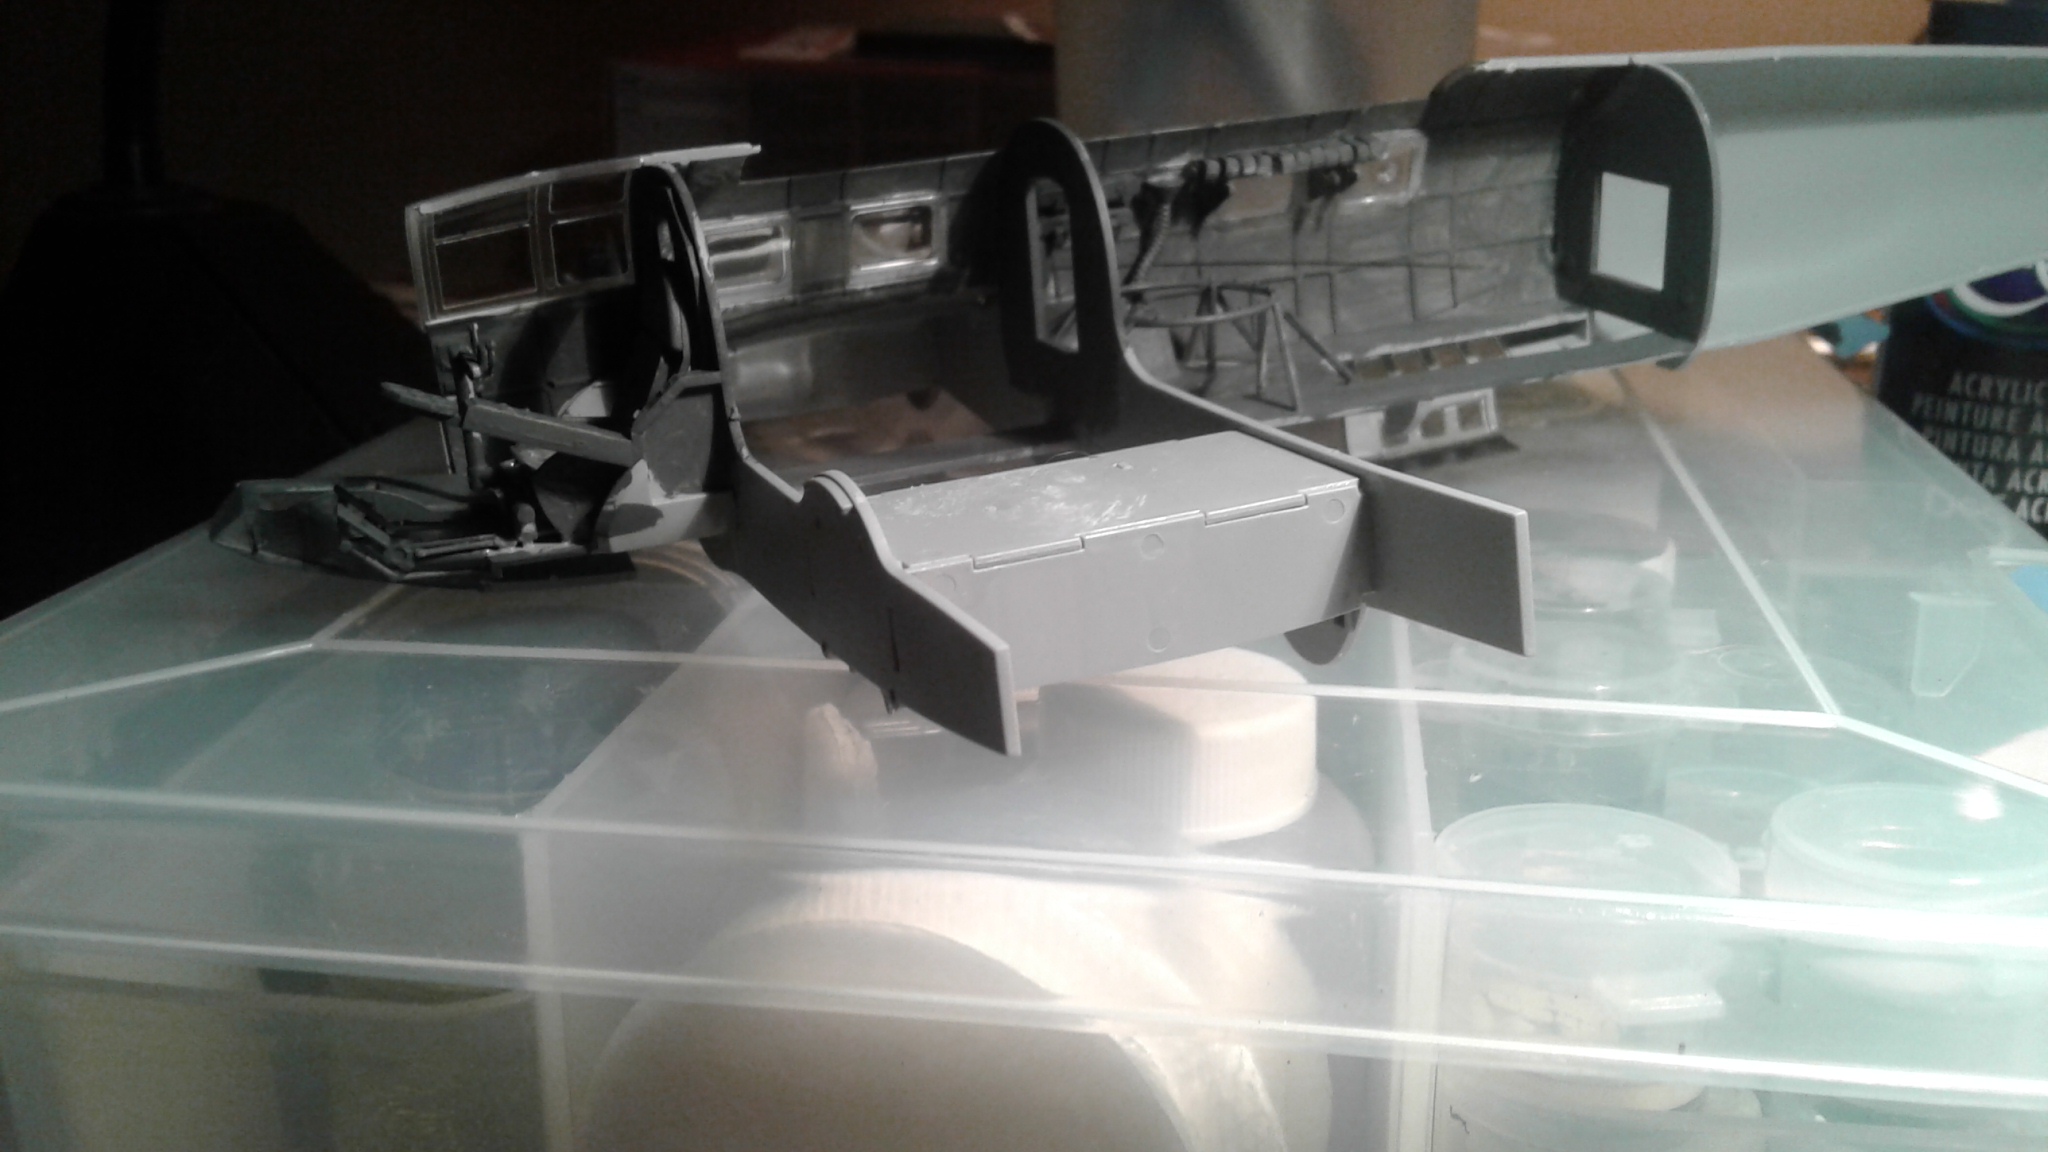
I glued more of the wings this morning.
Work still has to be done on the the wings before the engines are added. Also I have to decide if I will expose them in plain view.
All the clear parts will be added probably in December maybe even later in the spring when I can use my airbrush outside.
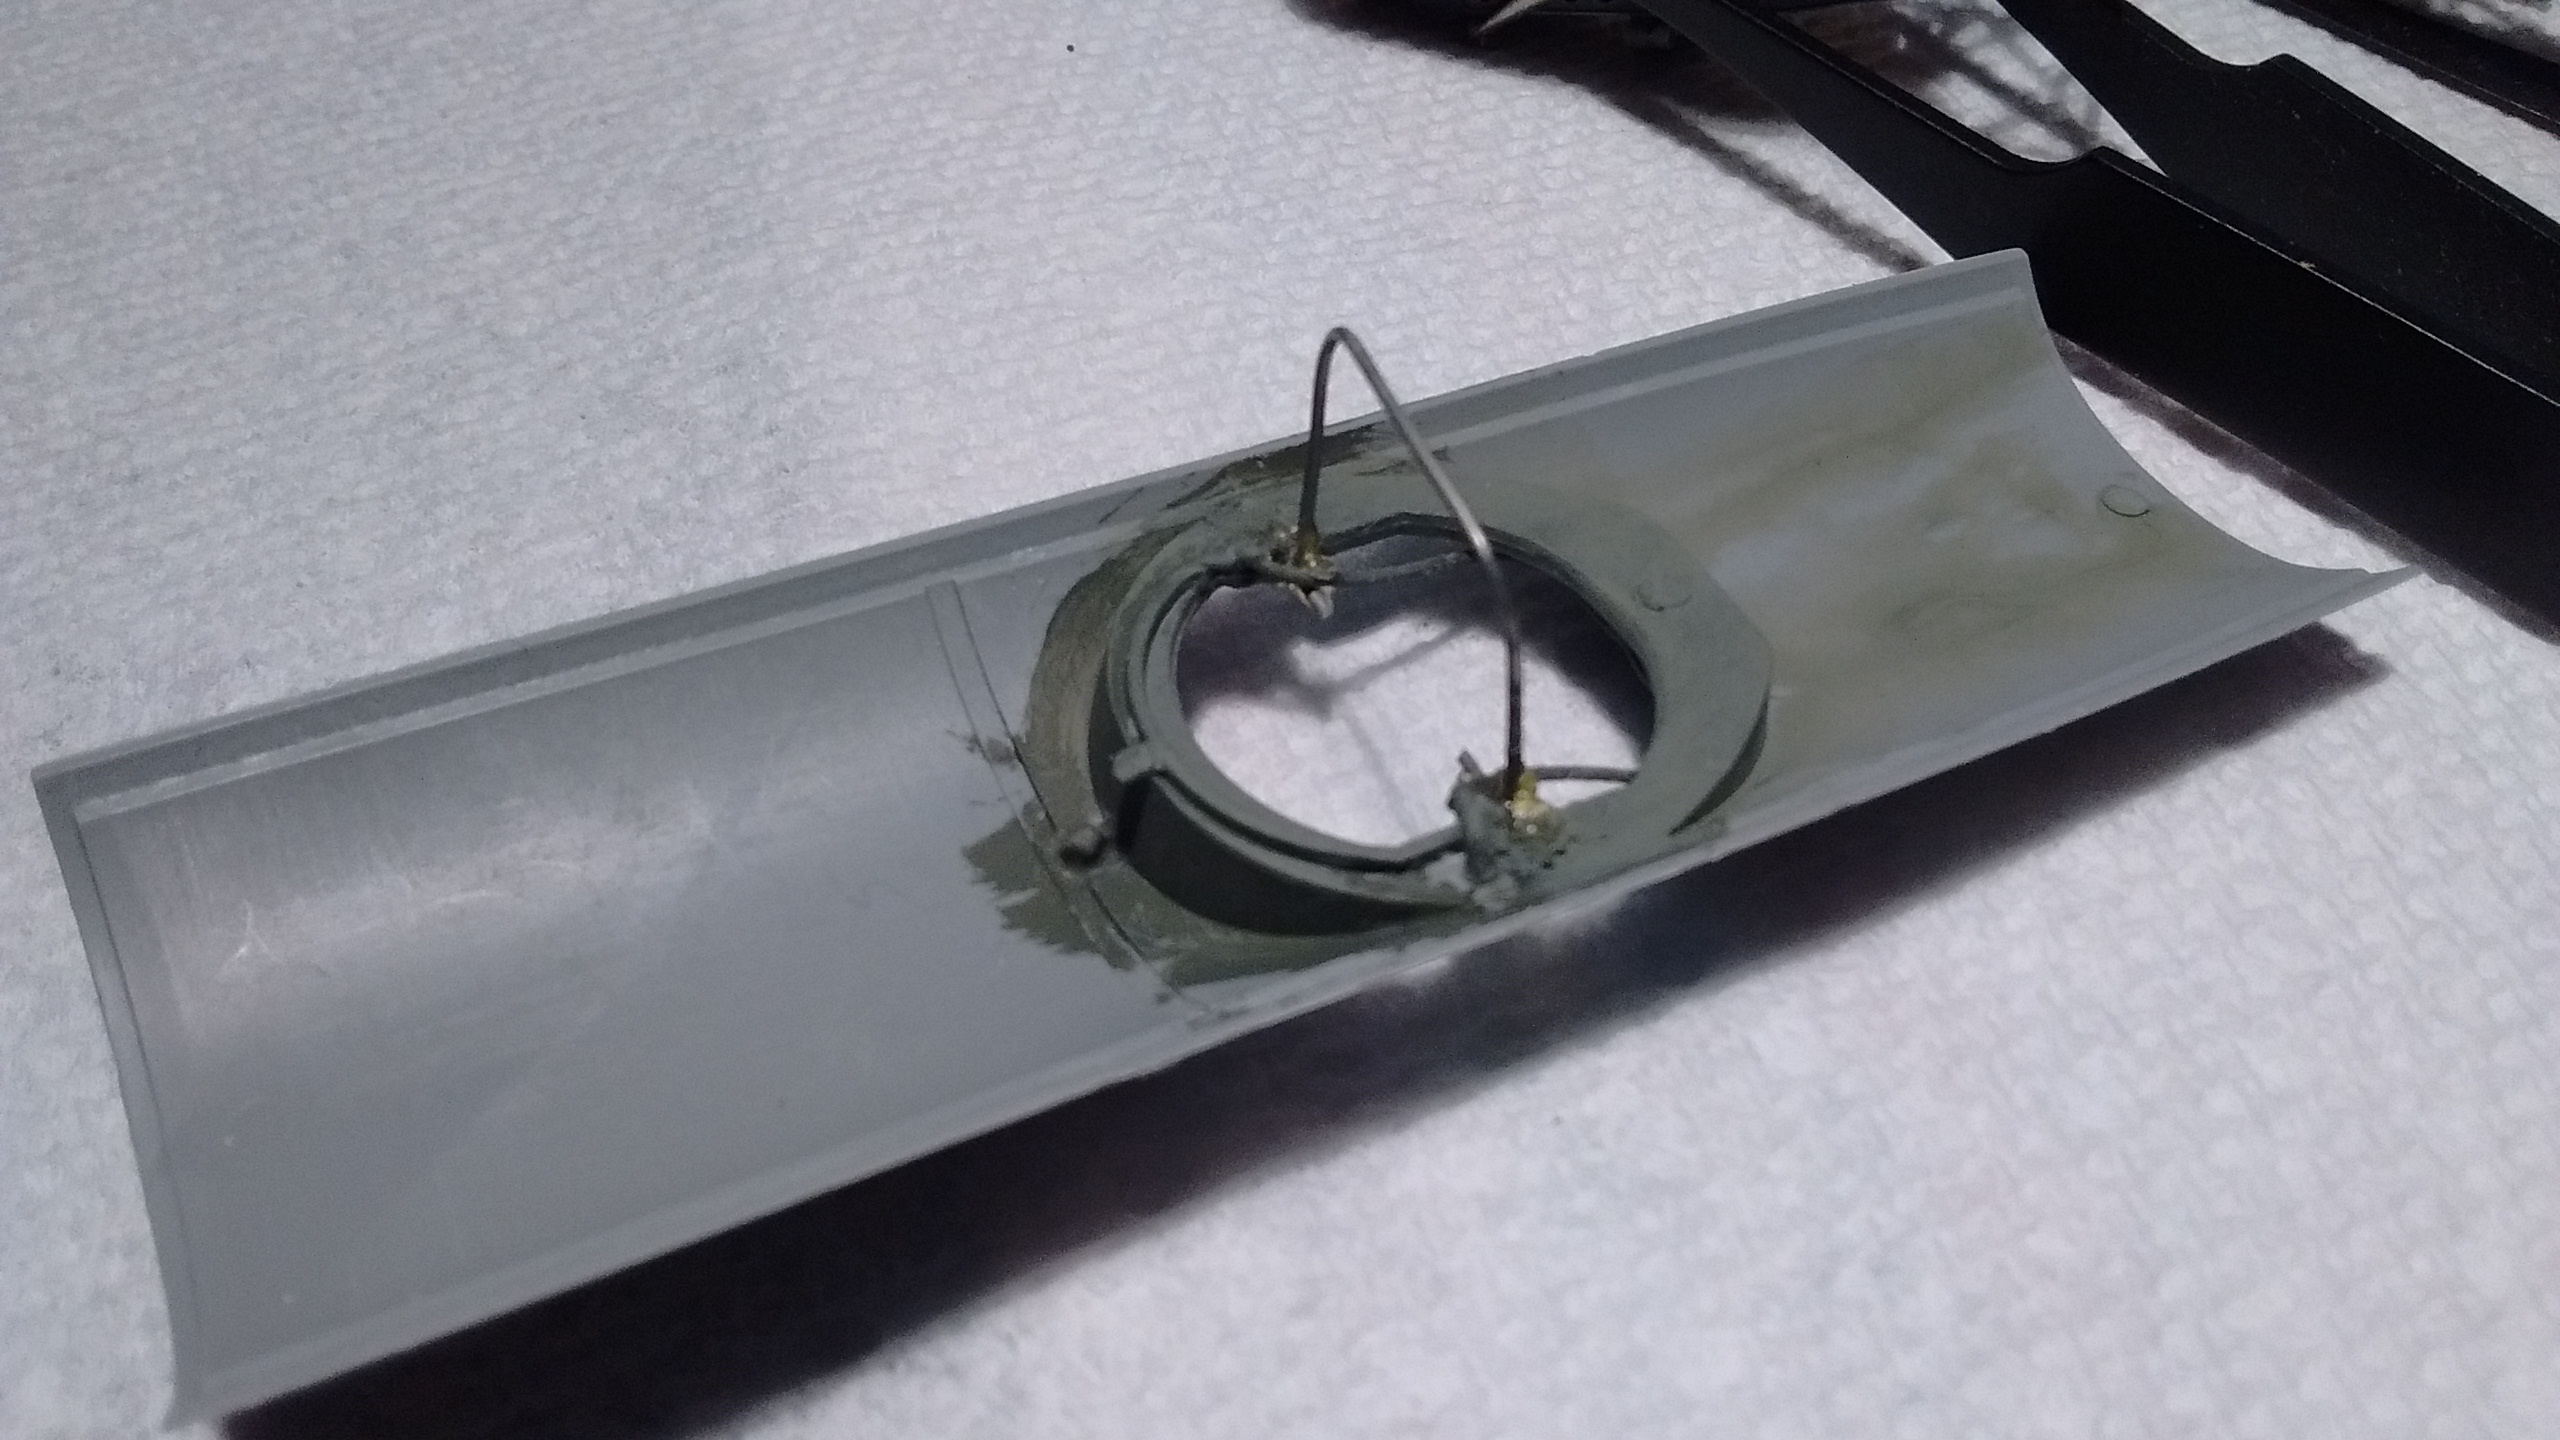
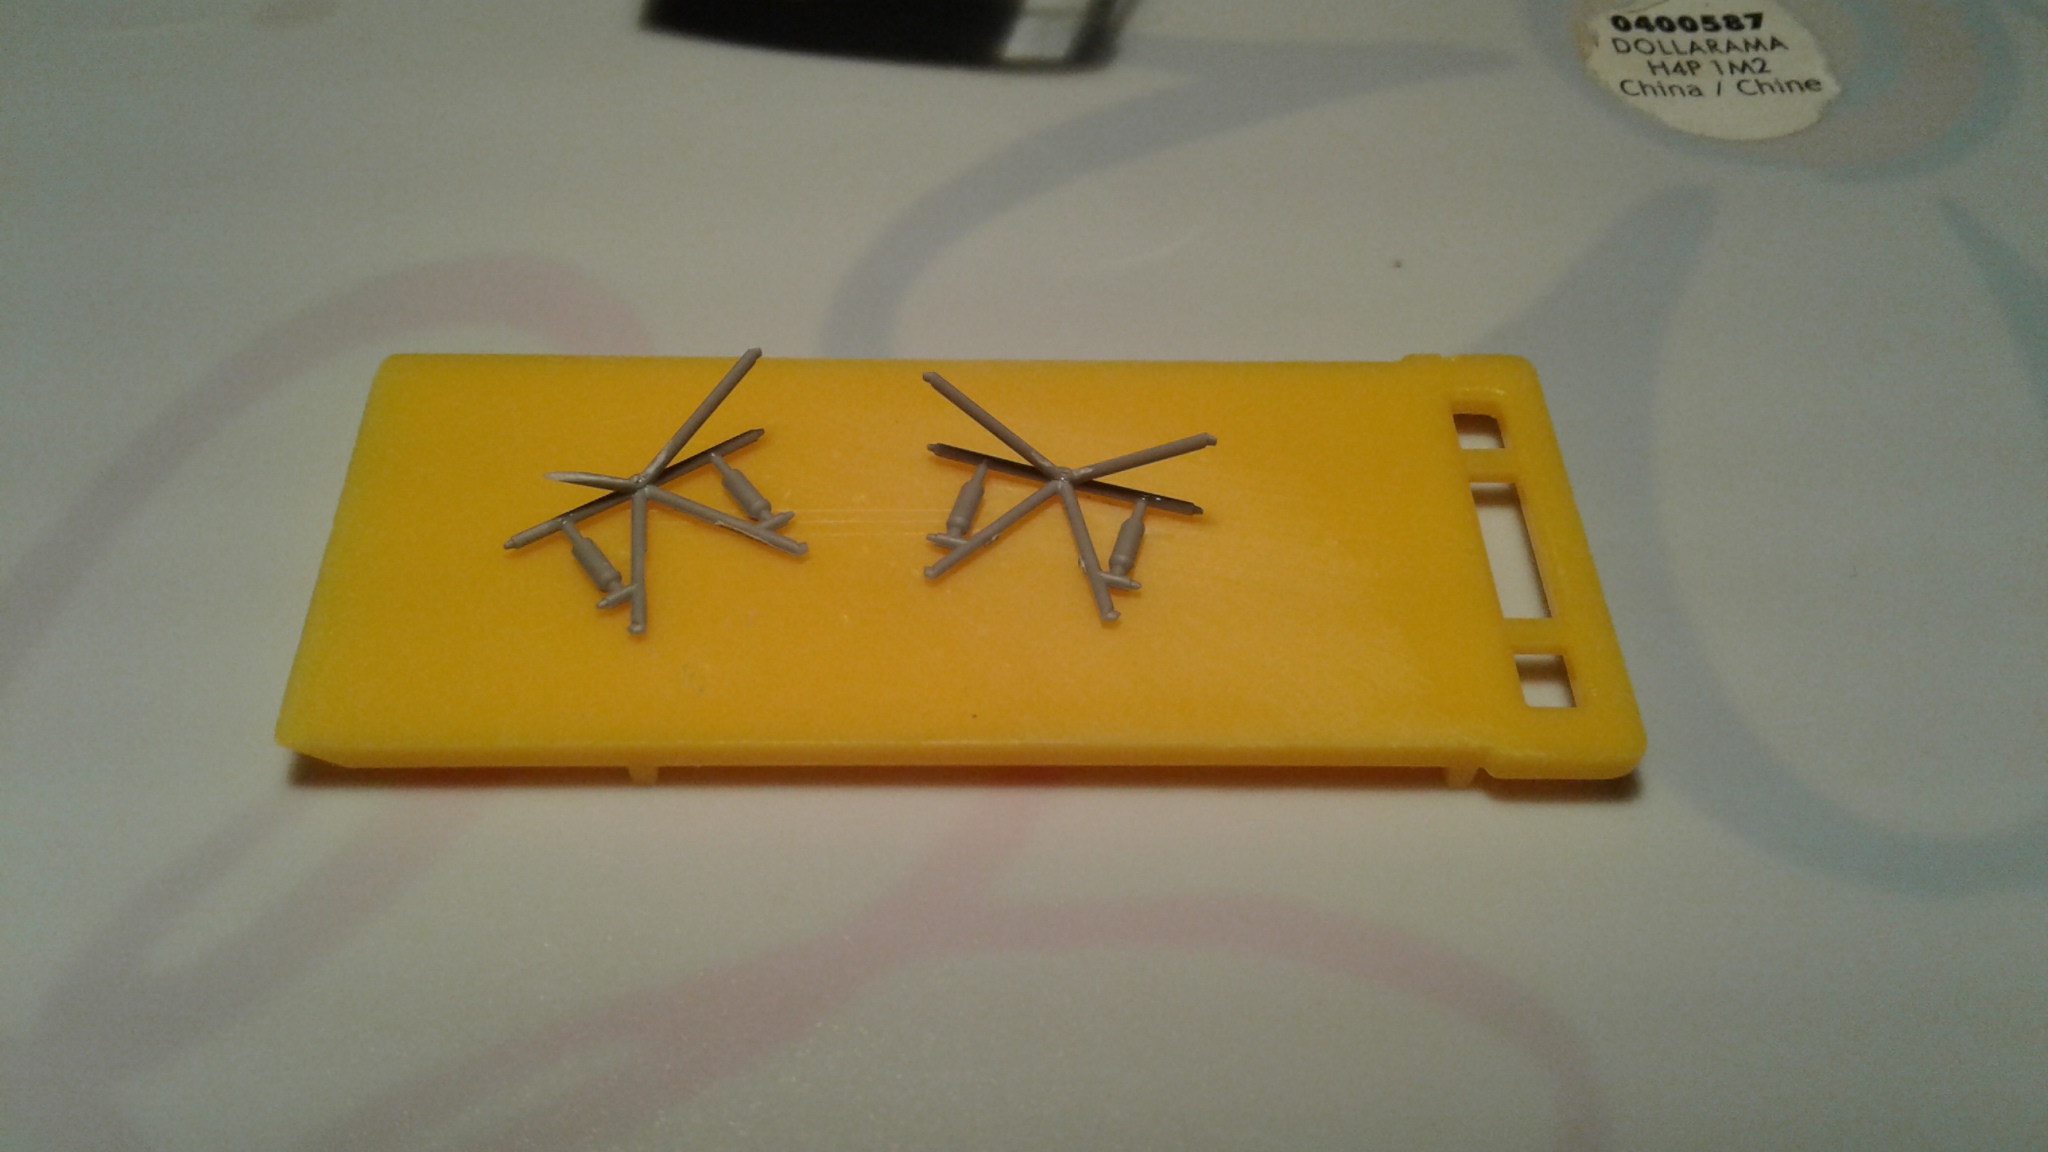
I have assembled the landing struts and the wheels.
If you look closely you will see I have fashioned a wire to replace one of the parts. Step 110 will be done much later because I don’t want the landing gear in the way.
Step 111 has been done.
Tomorrow I will glue the engines and we’ll see what happens.
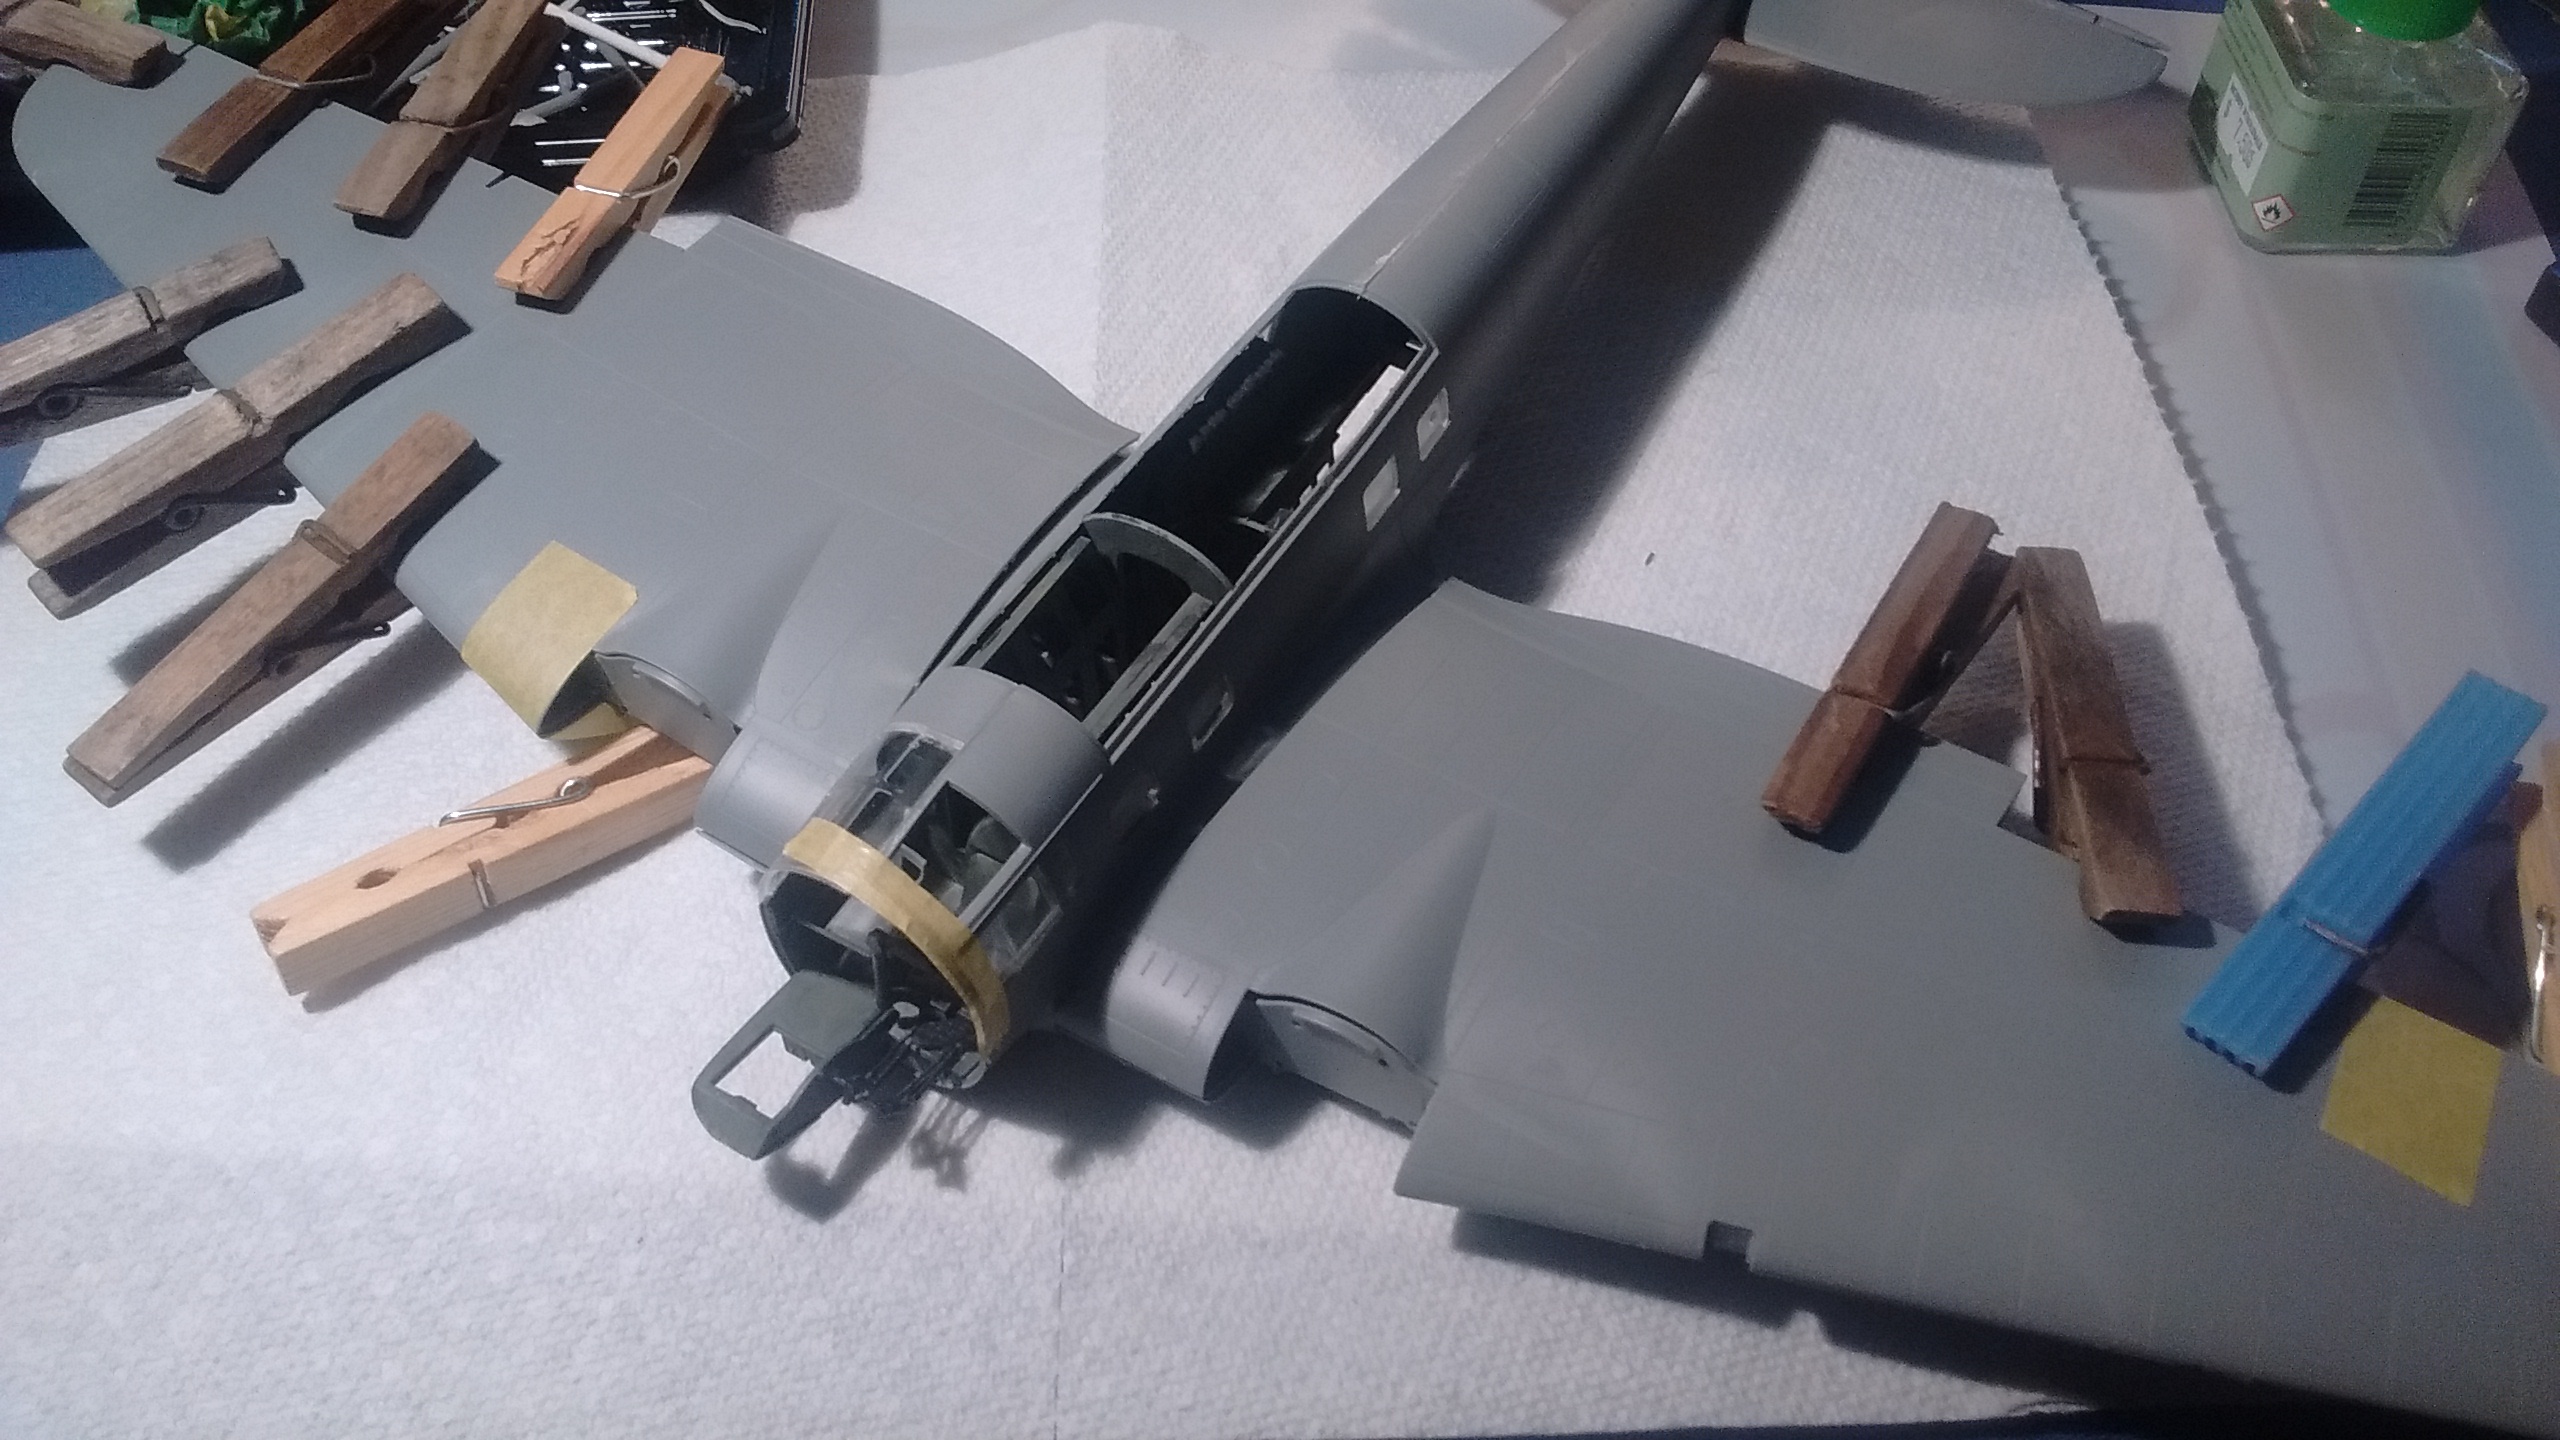
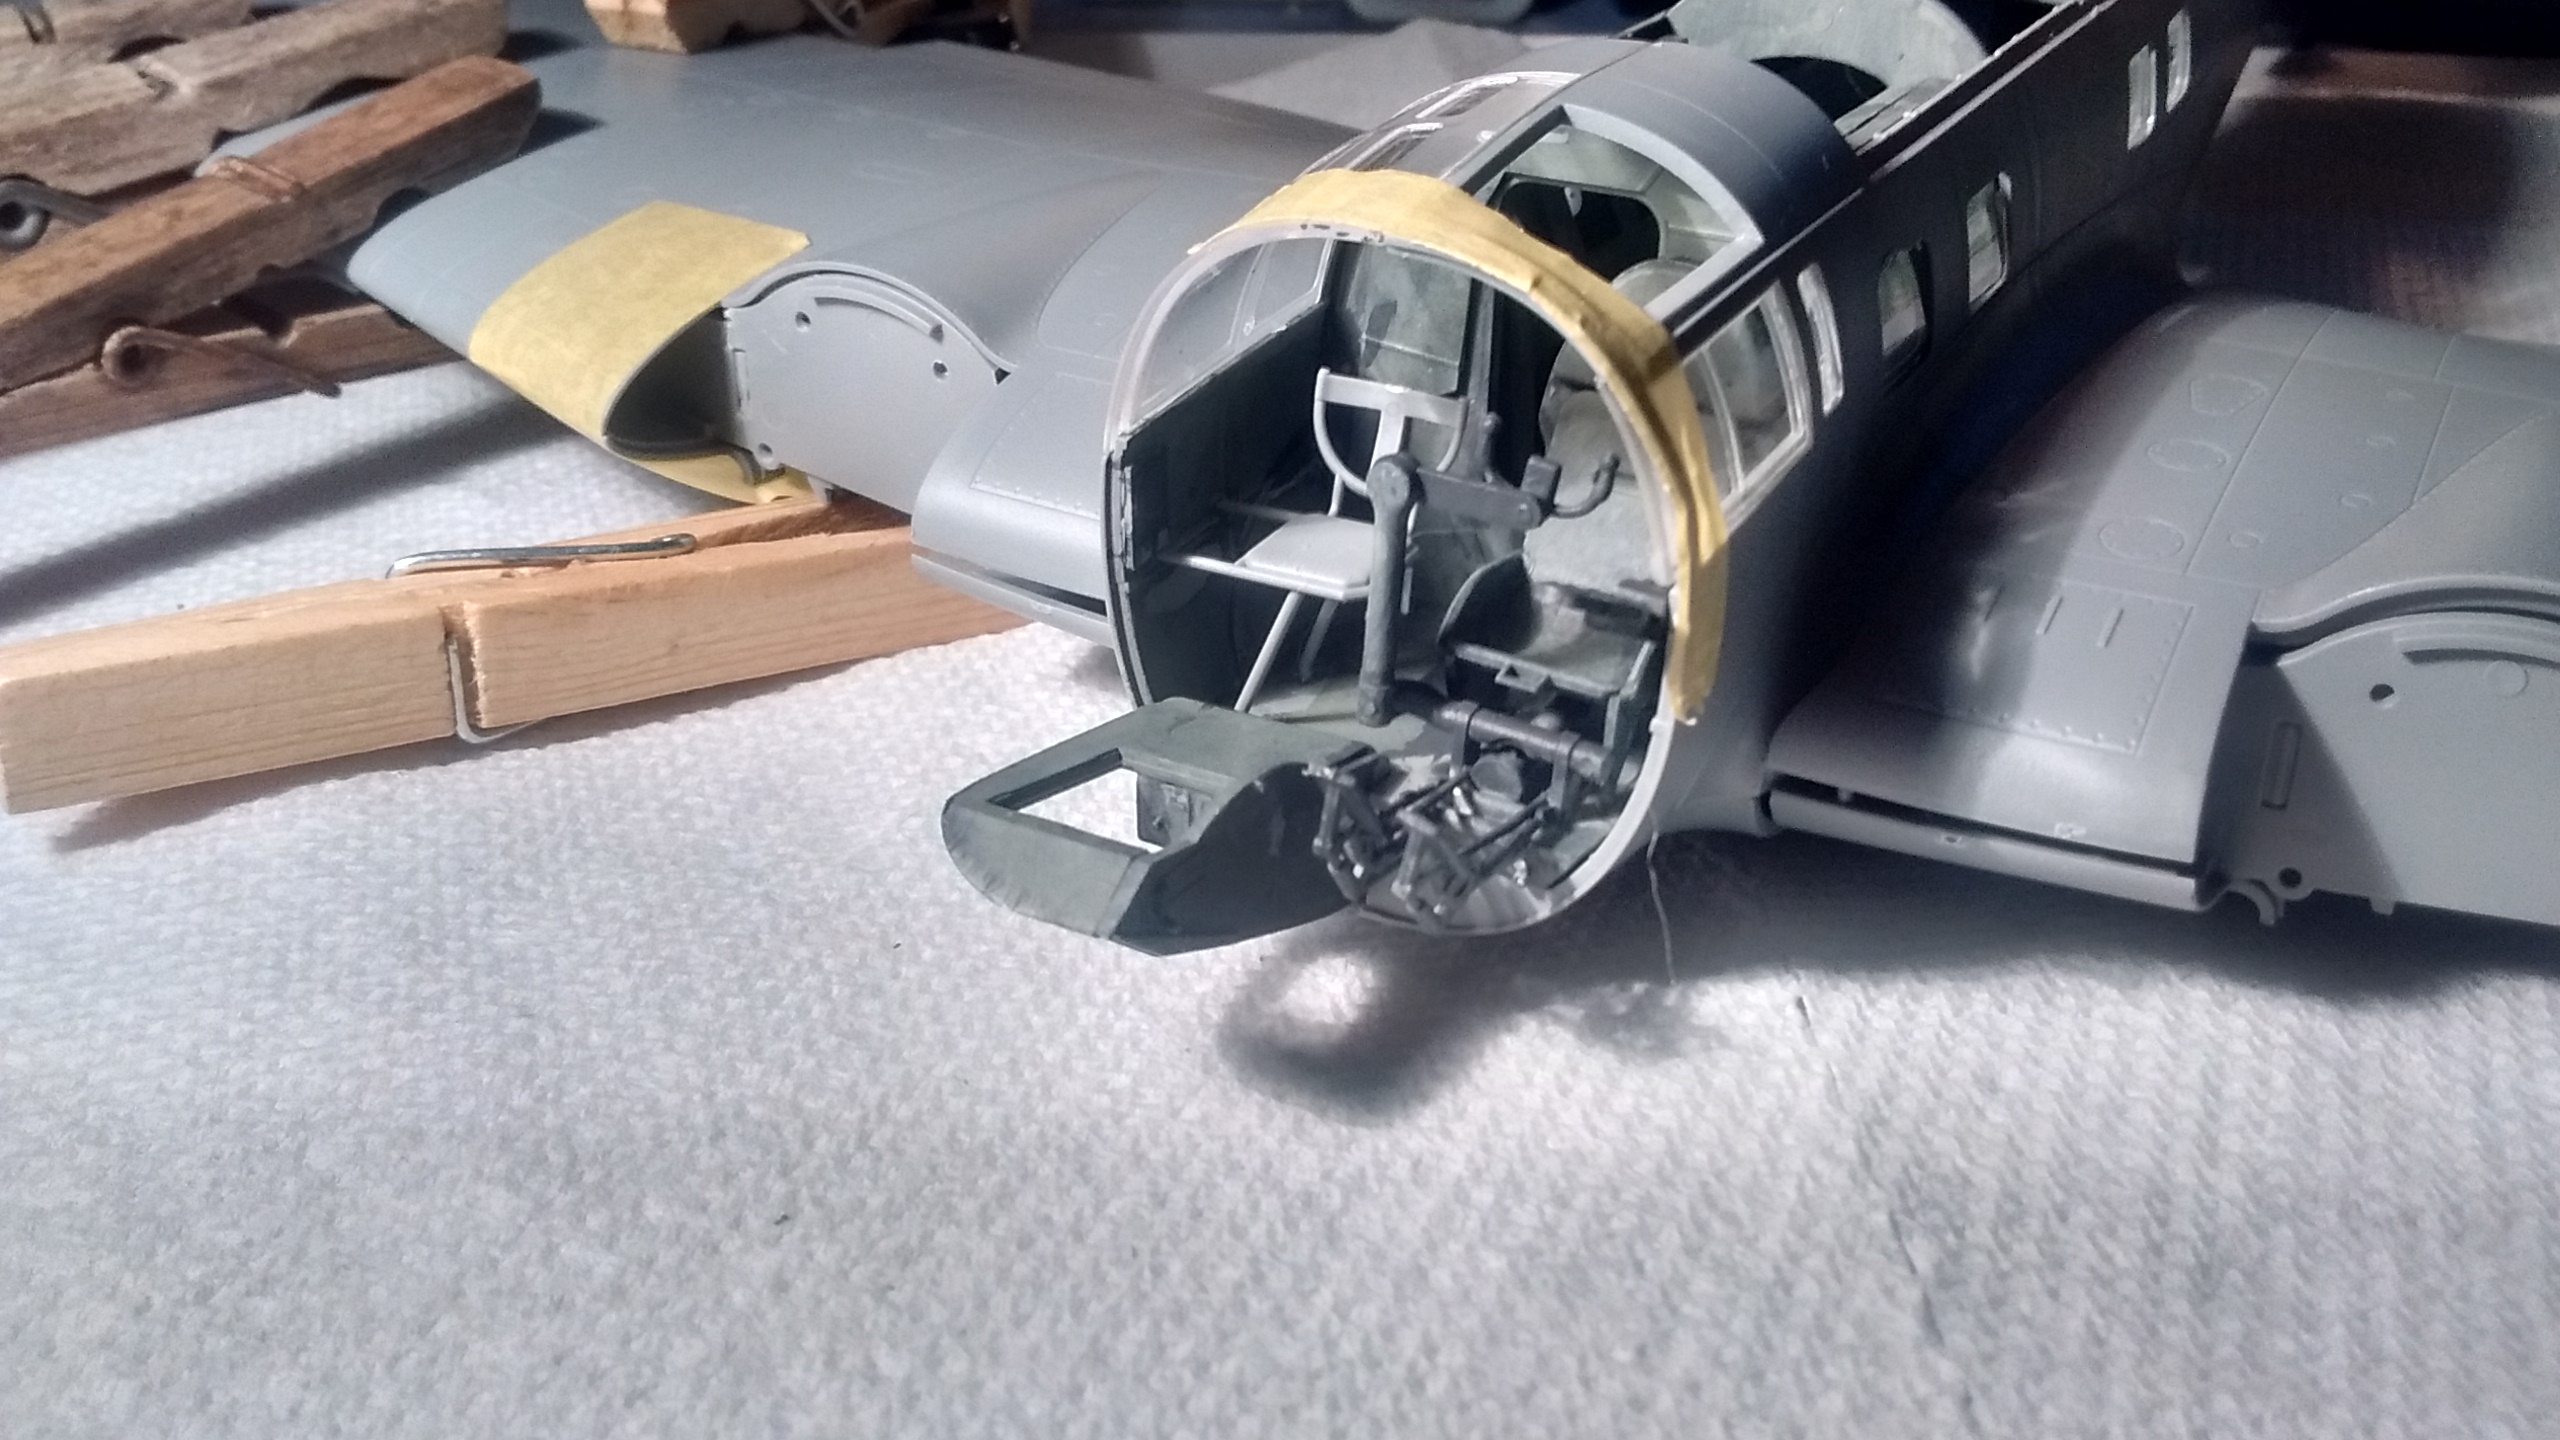
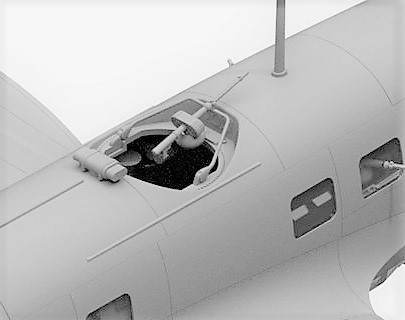
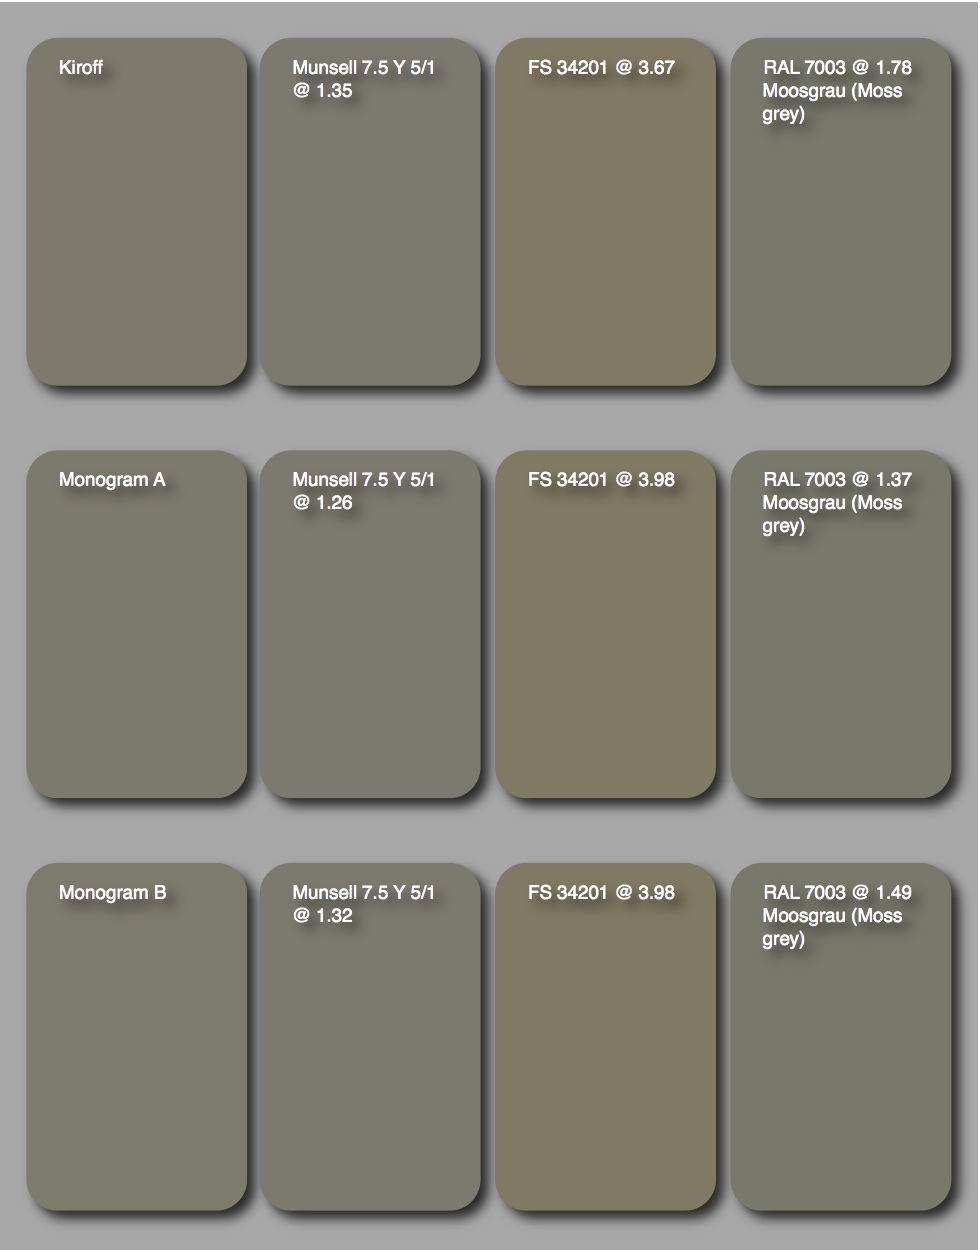
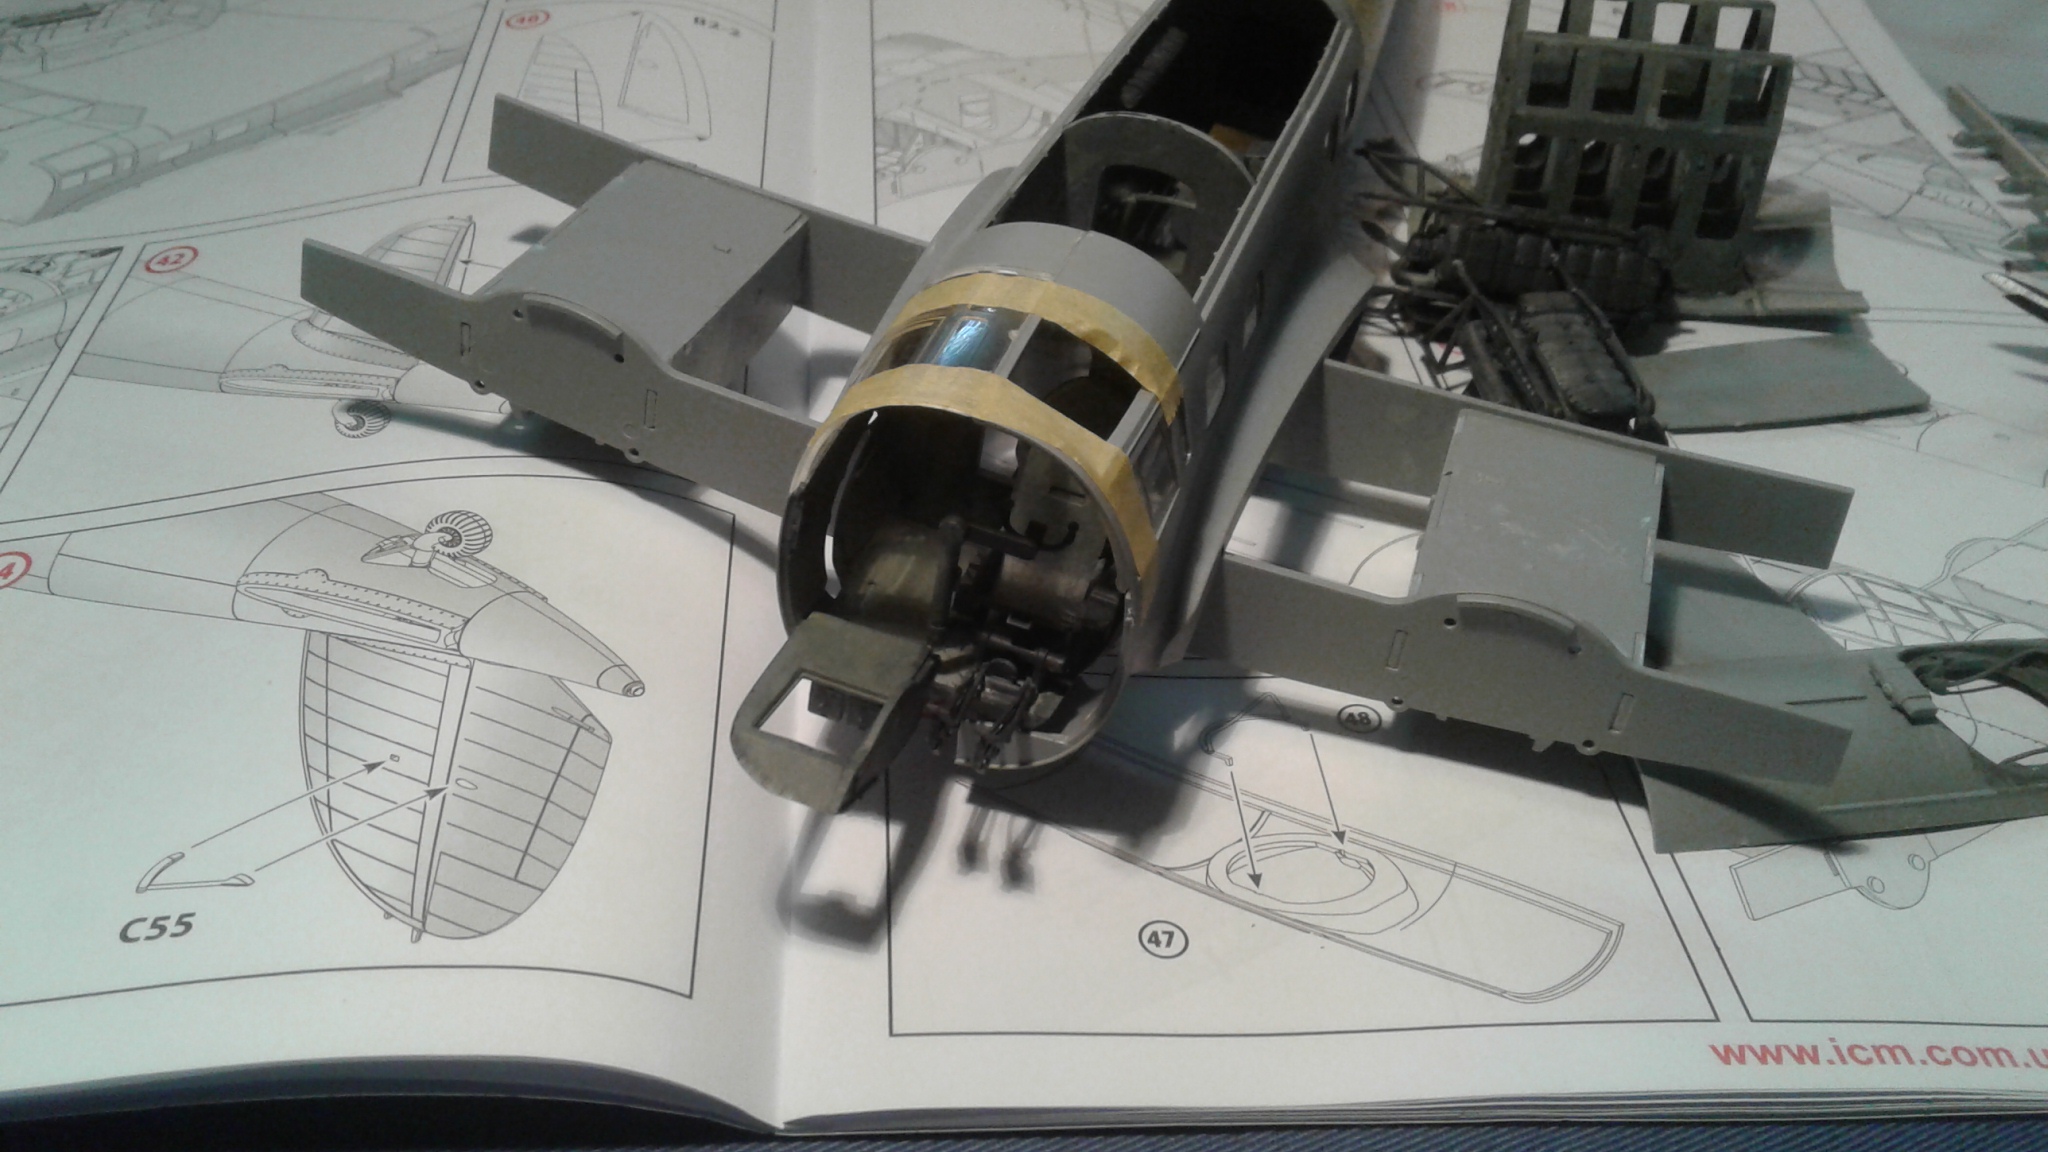
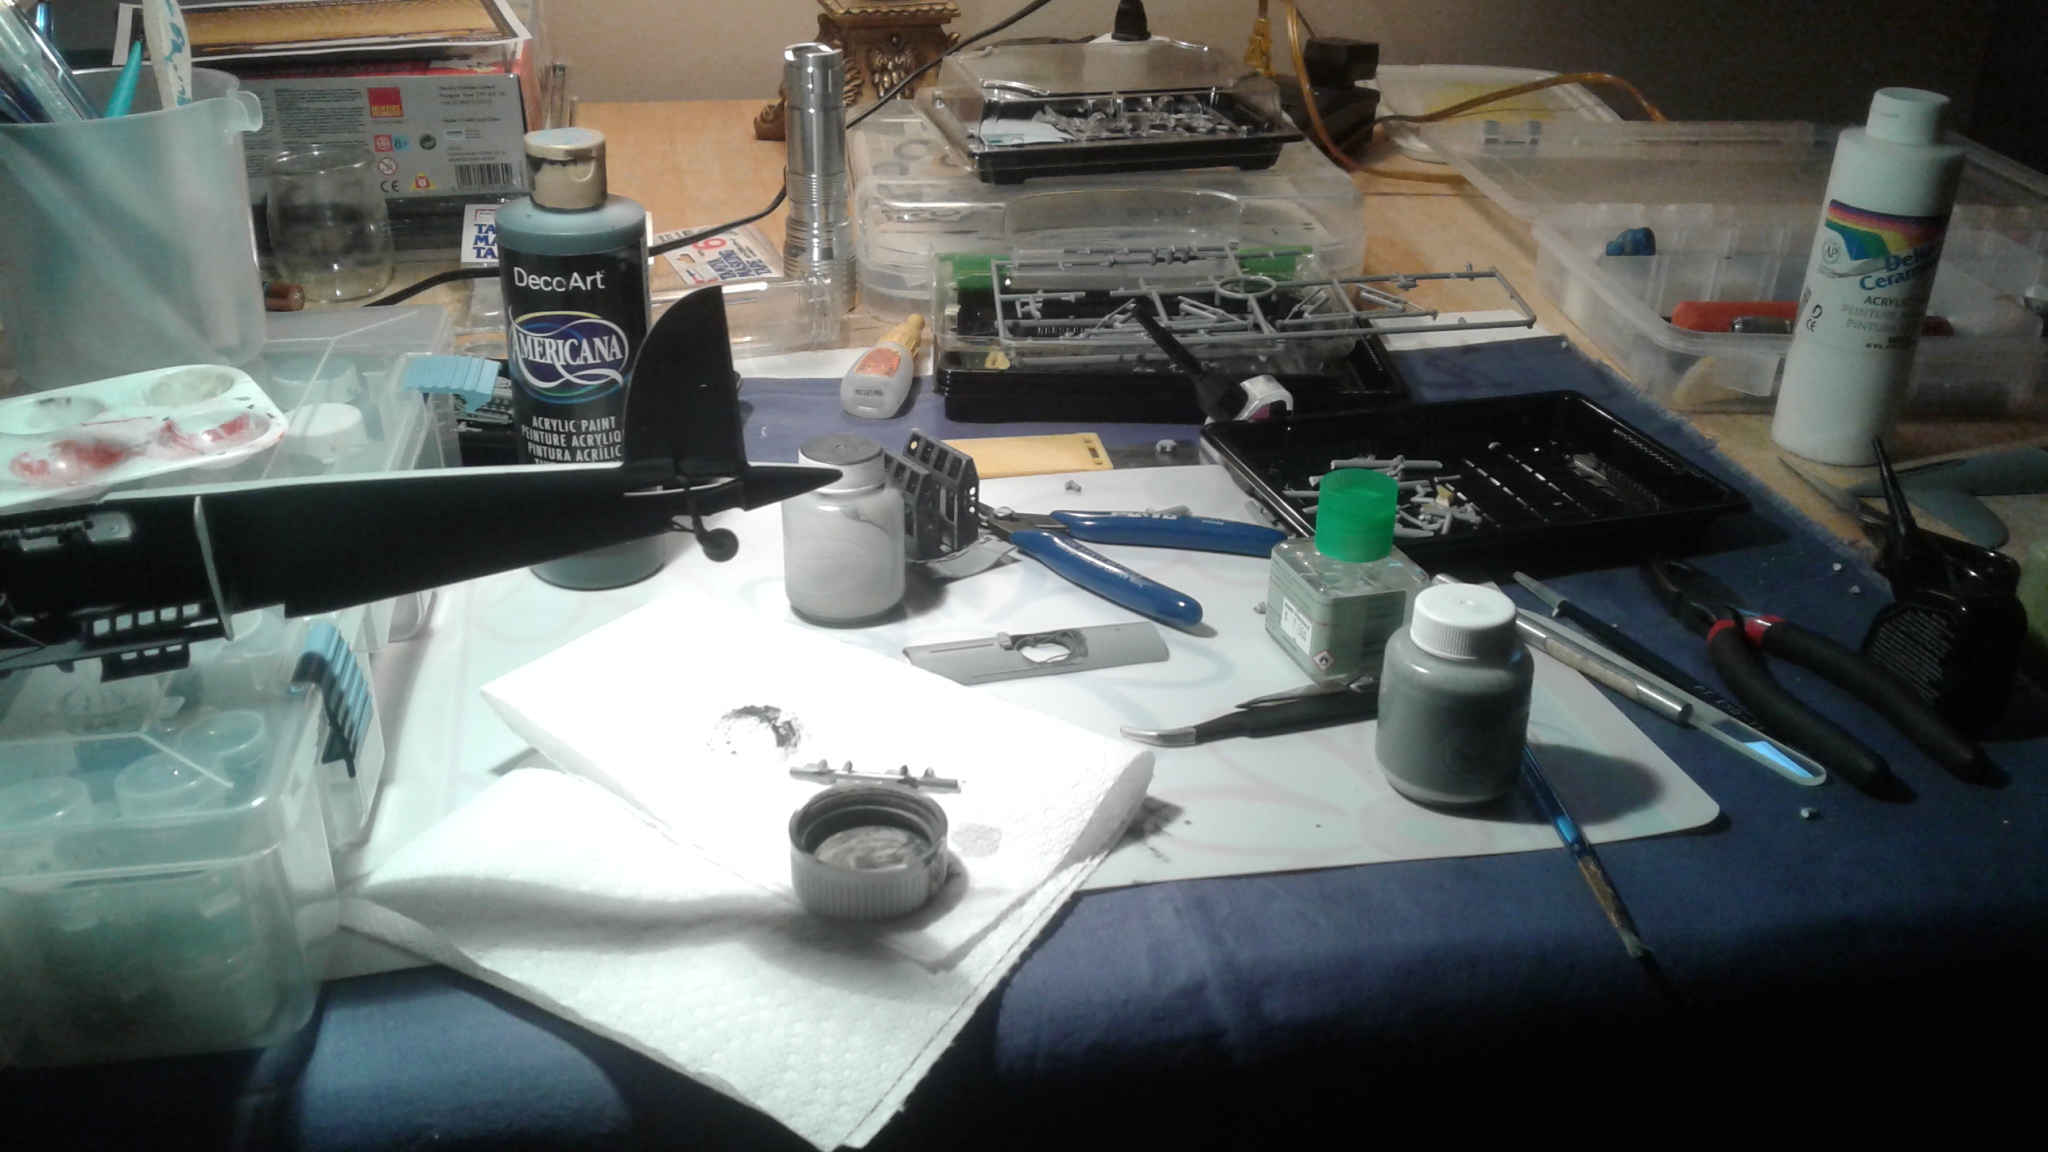
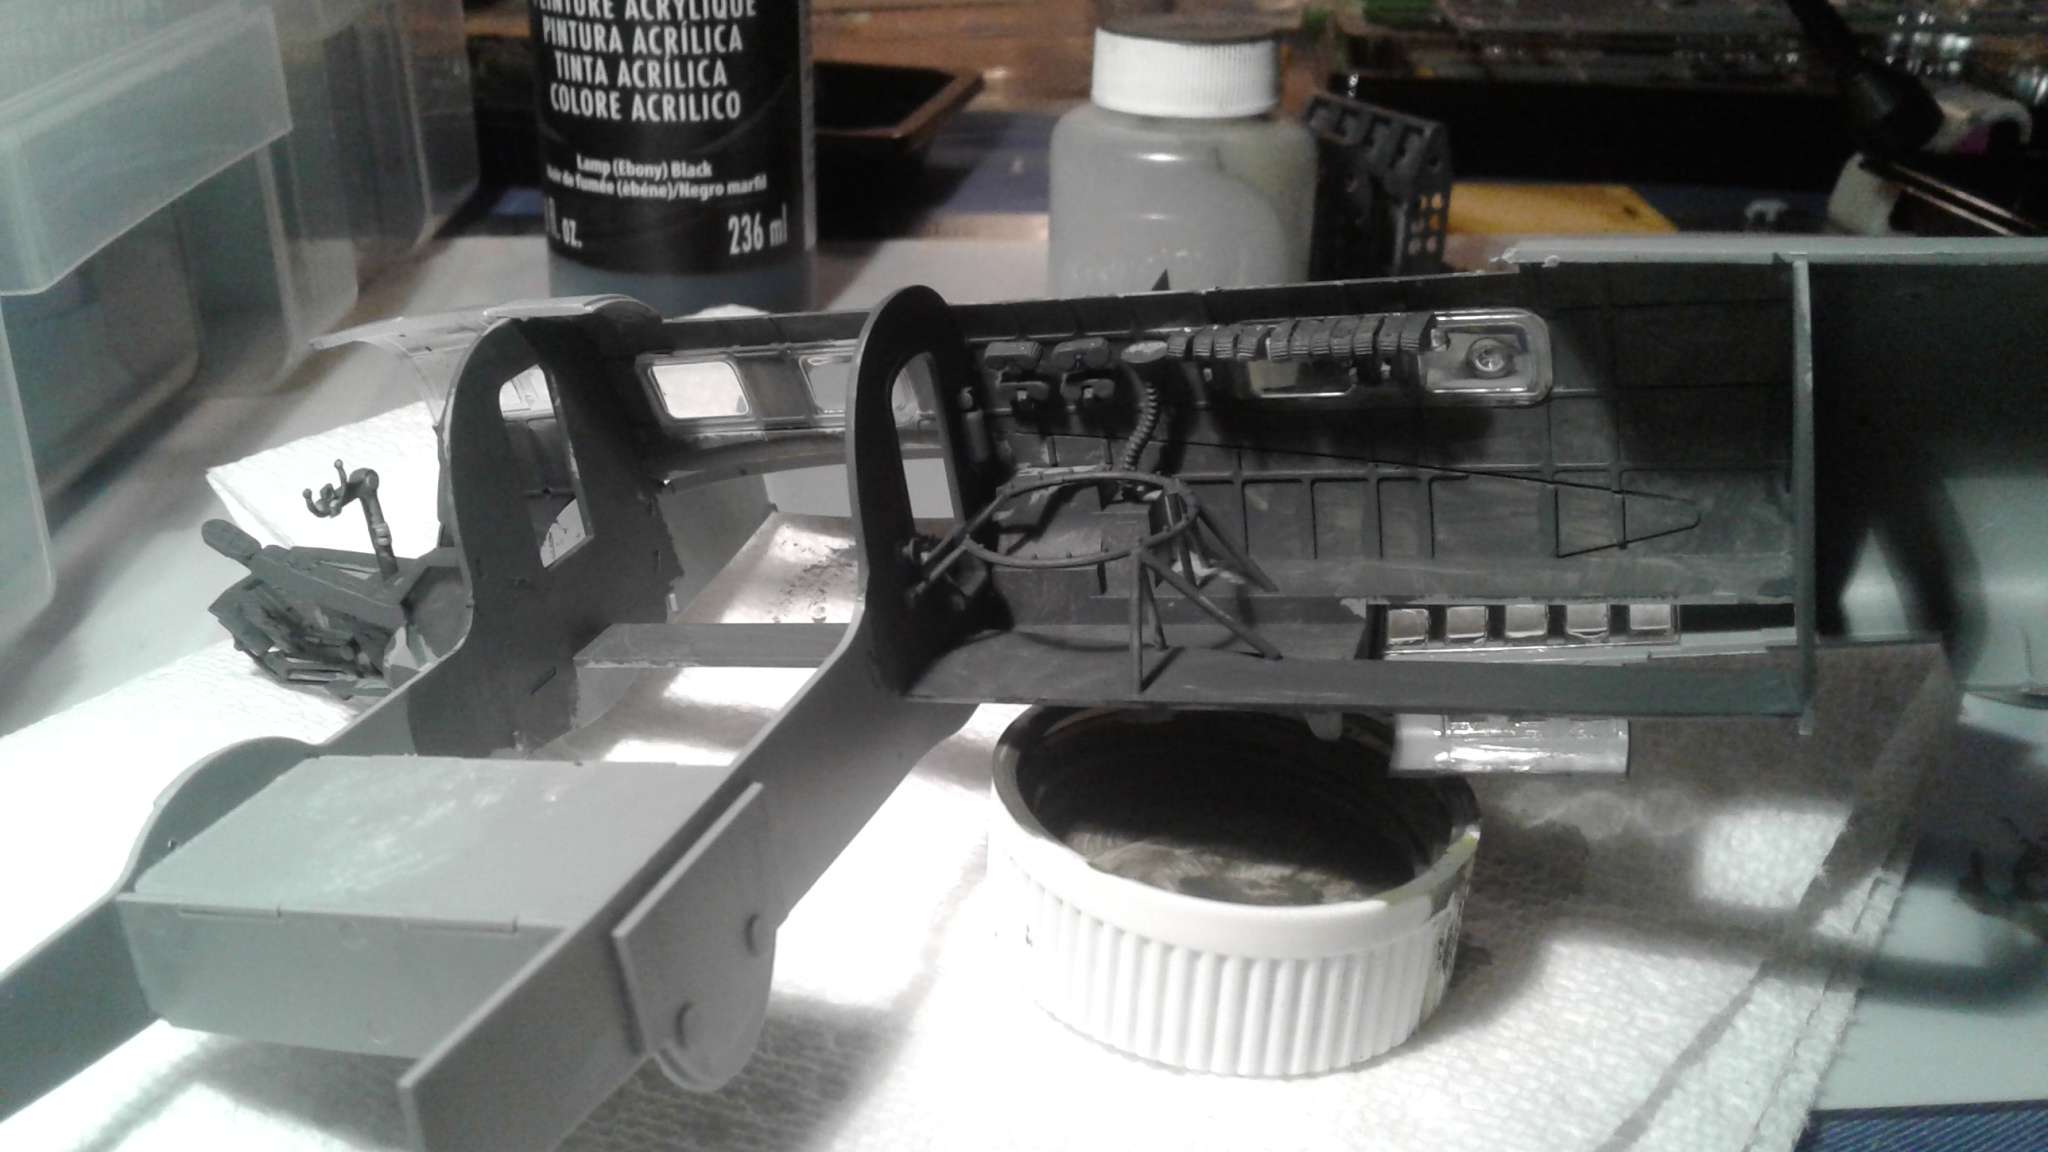
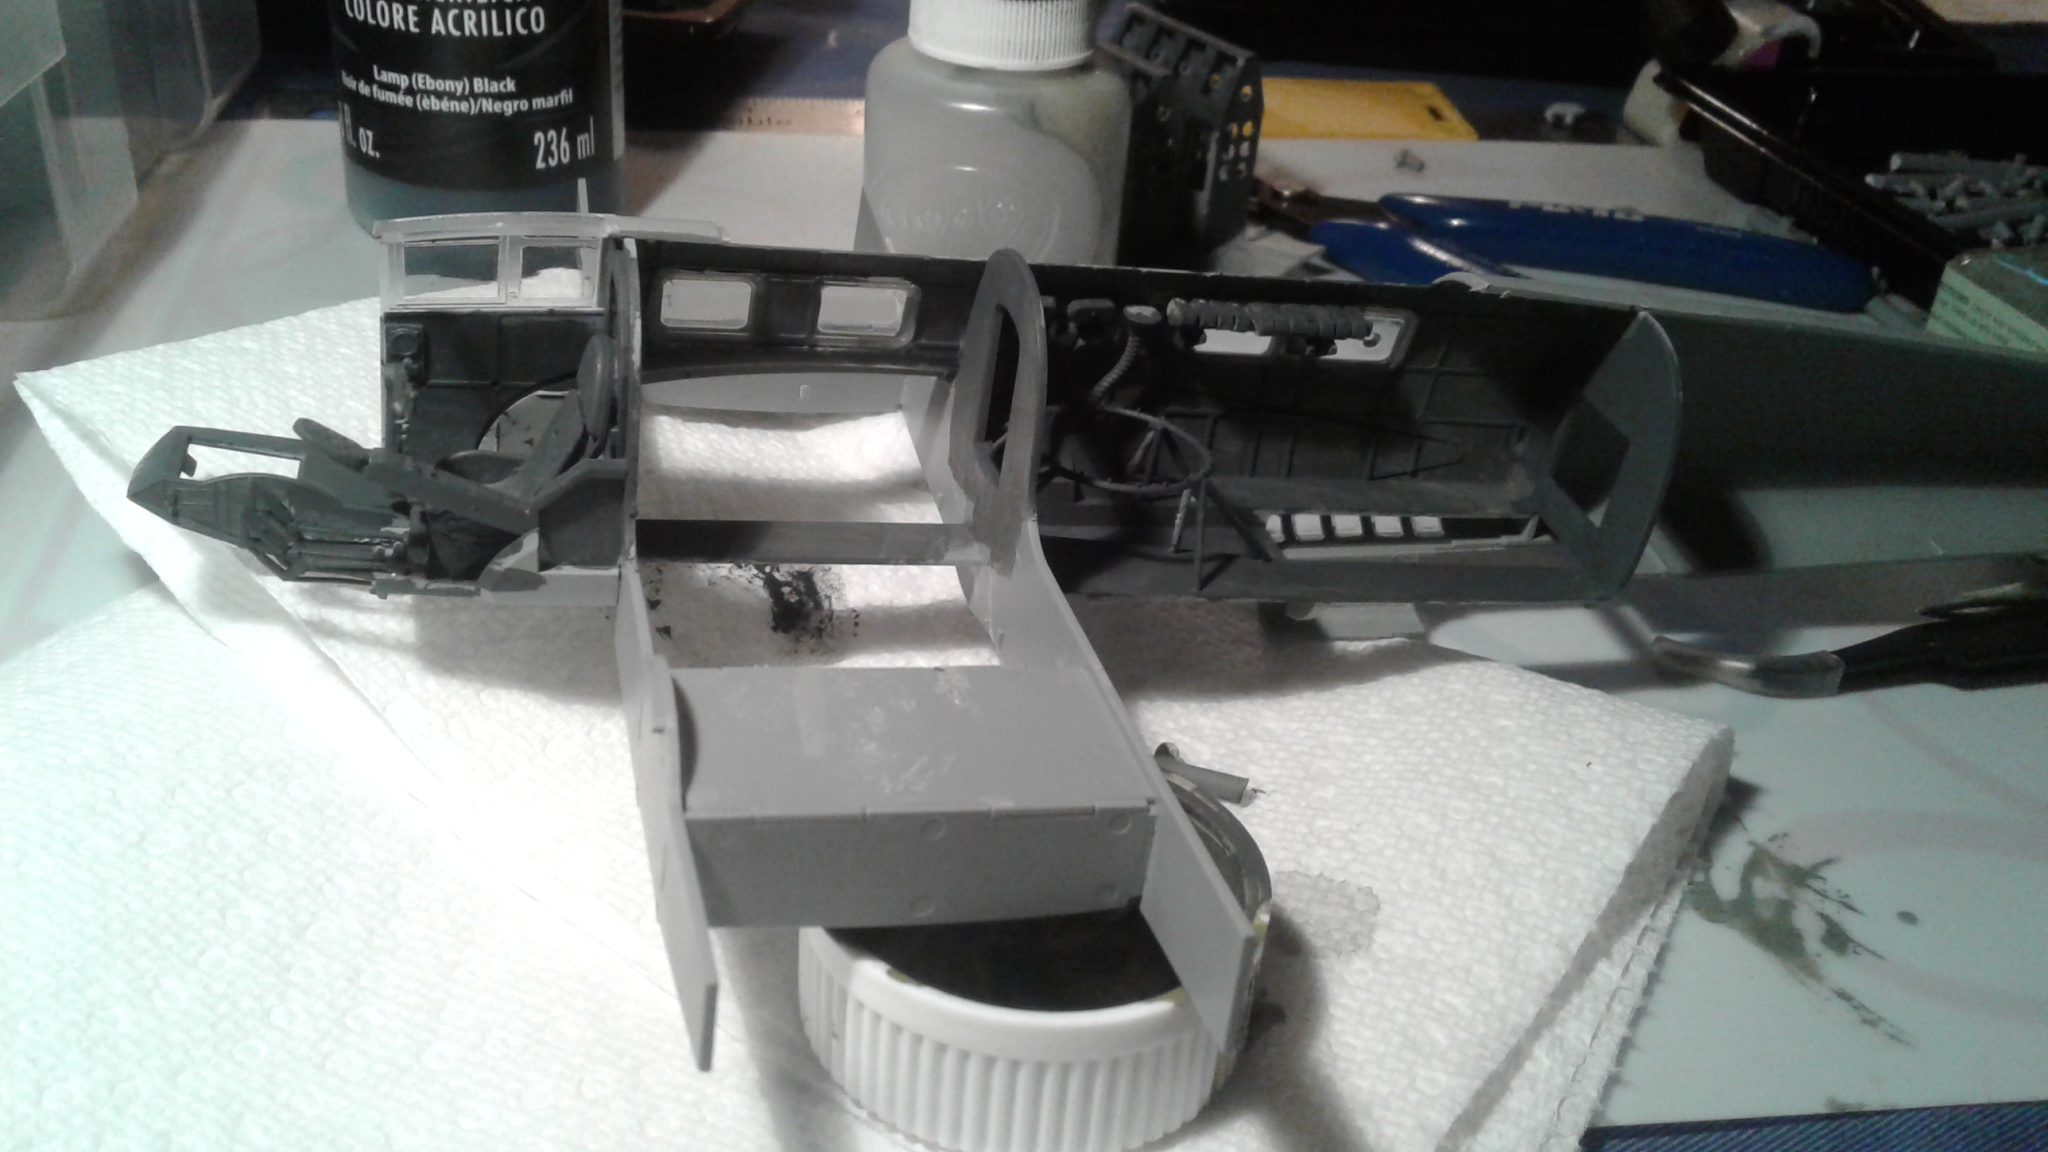
I have glued the fuselage parts yesterday afternoon after painting the interior with another homemade mix of RLM 02 or was it RLM 66…?
I have glued just part of the fuselage halves because of some warping mostly in the front.
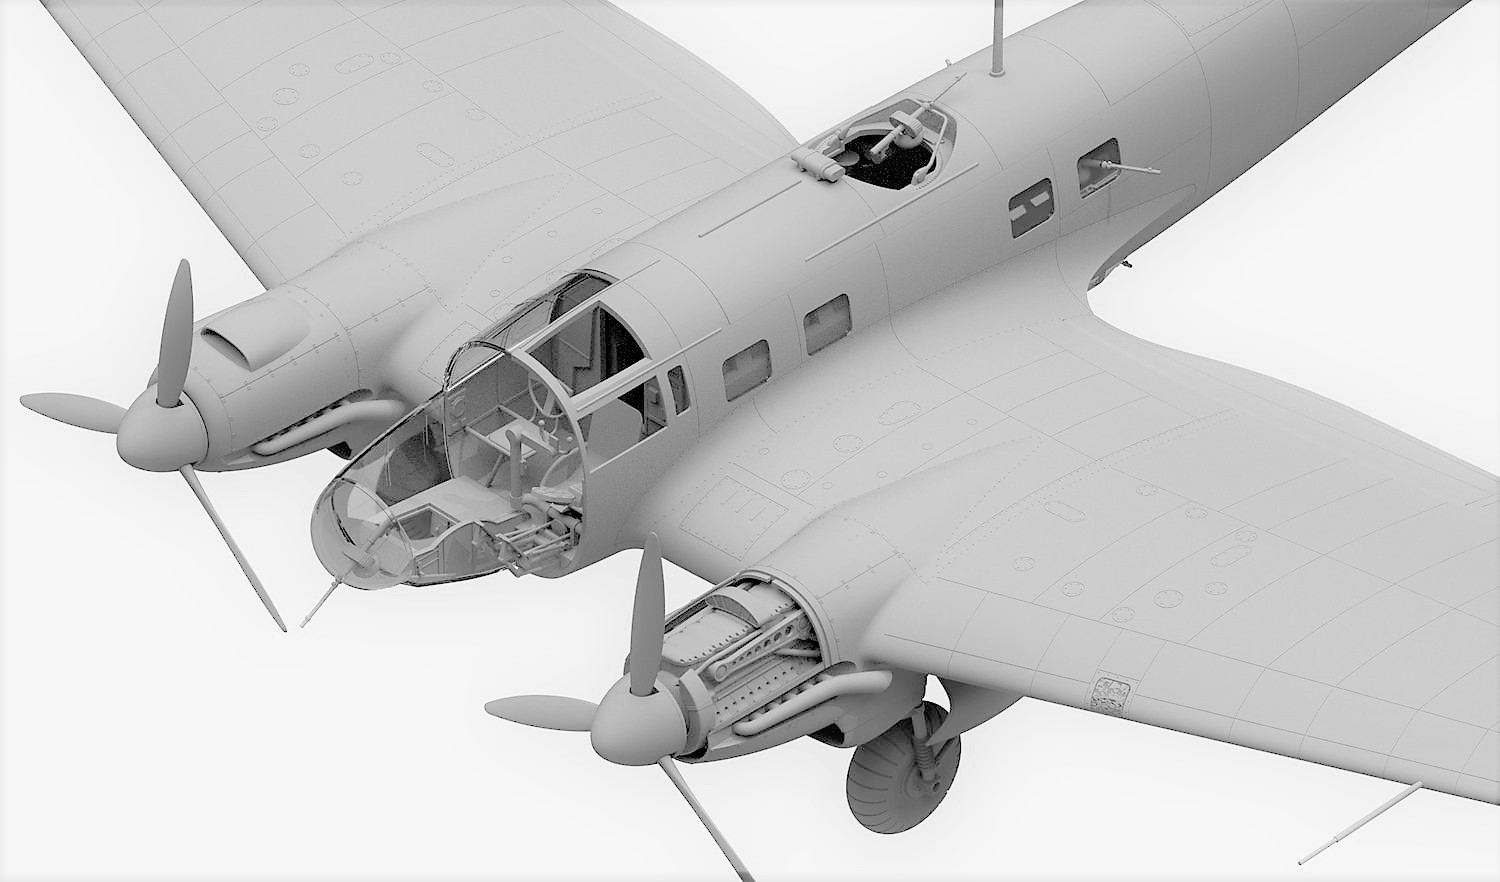
The He 111 is taking shape more and more and I am enjoying the build. Enjoyment is what it’s all about on My Forgotten Hobby.
Learning that you have to let it go sometimes is what I have to do. I have learned a lot since I started My Forgotten Hobby in December 2014.
I met fellow modelers who were my motivators.
The first motivator was Amateur Airplanes who has stopped writing about his hobby in 2018. Plane Dave was the next motivator, then came Inch High Guy even if Jeff is only into 1/72 scale model aircraft.
My collection is mostly 1/48 scale model aircraft although I have one 1/72 scale Wellington and a few model ships in different scales.
Now speaking about motivators, here is something I have watched on YouTube before. I had not noticed that both Revell and ICM had contributed to this model kit.
Watching it again will help me avoid unforeseen problems in the next steps. I should have watched it more carefully the first time.
I will surely be coming back to YouTube to help me with my next build once my broken canopy arrives in the mail.
I am not superstitious but I won’t follow the instructions…
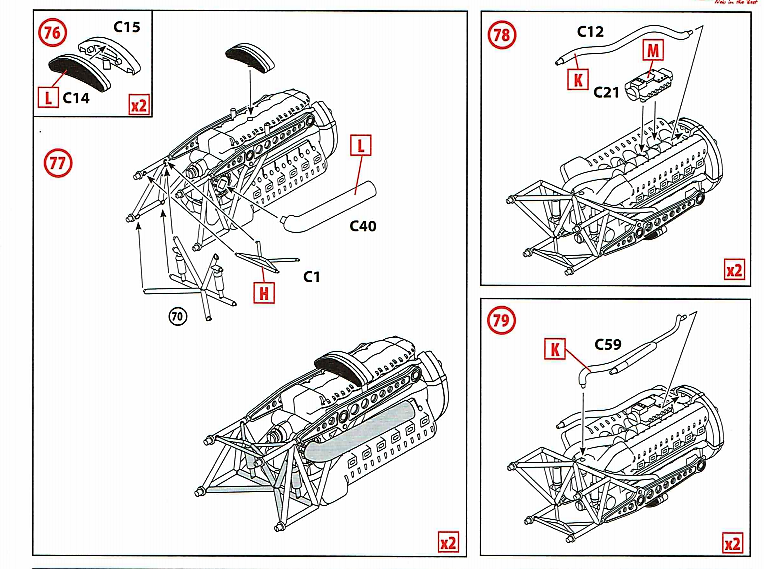
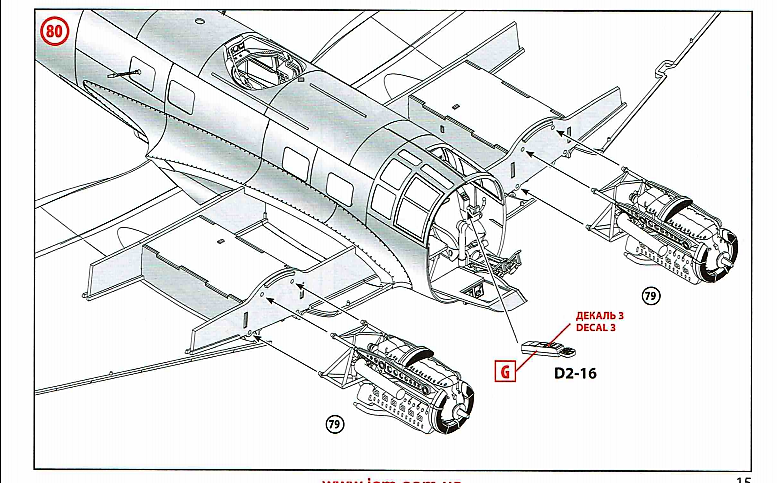
There is no way I will be glueing the engines right now with these fragile attachment points.
With the warm temperature we were having outside since last week in Quebec, I was thinking of using my airbrush outdoors one more time. However that window of opportunity just closed this morning with a minus 2 degree Celsius.
Last night I had mixed some leftover paint for painting the interior and I had used a brush.
But this morning I have mixed feeling about the interior colour I had used.
My Forgotten Hobby III, just like My Forgotten Hobby and My Forgotten Hobby II, is more of a diary where I write about how I sometimes procrastinate or often struggle with building some model kits.
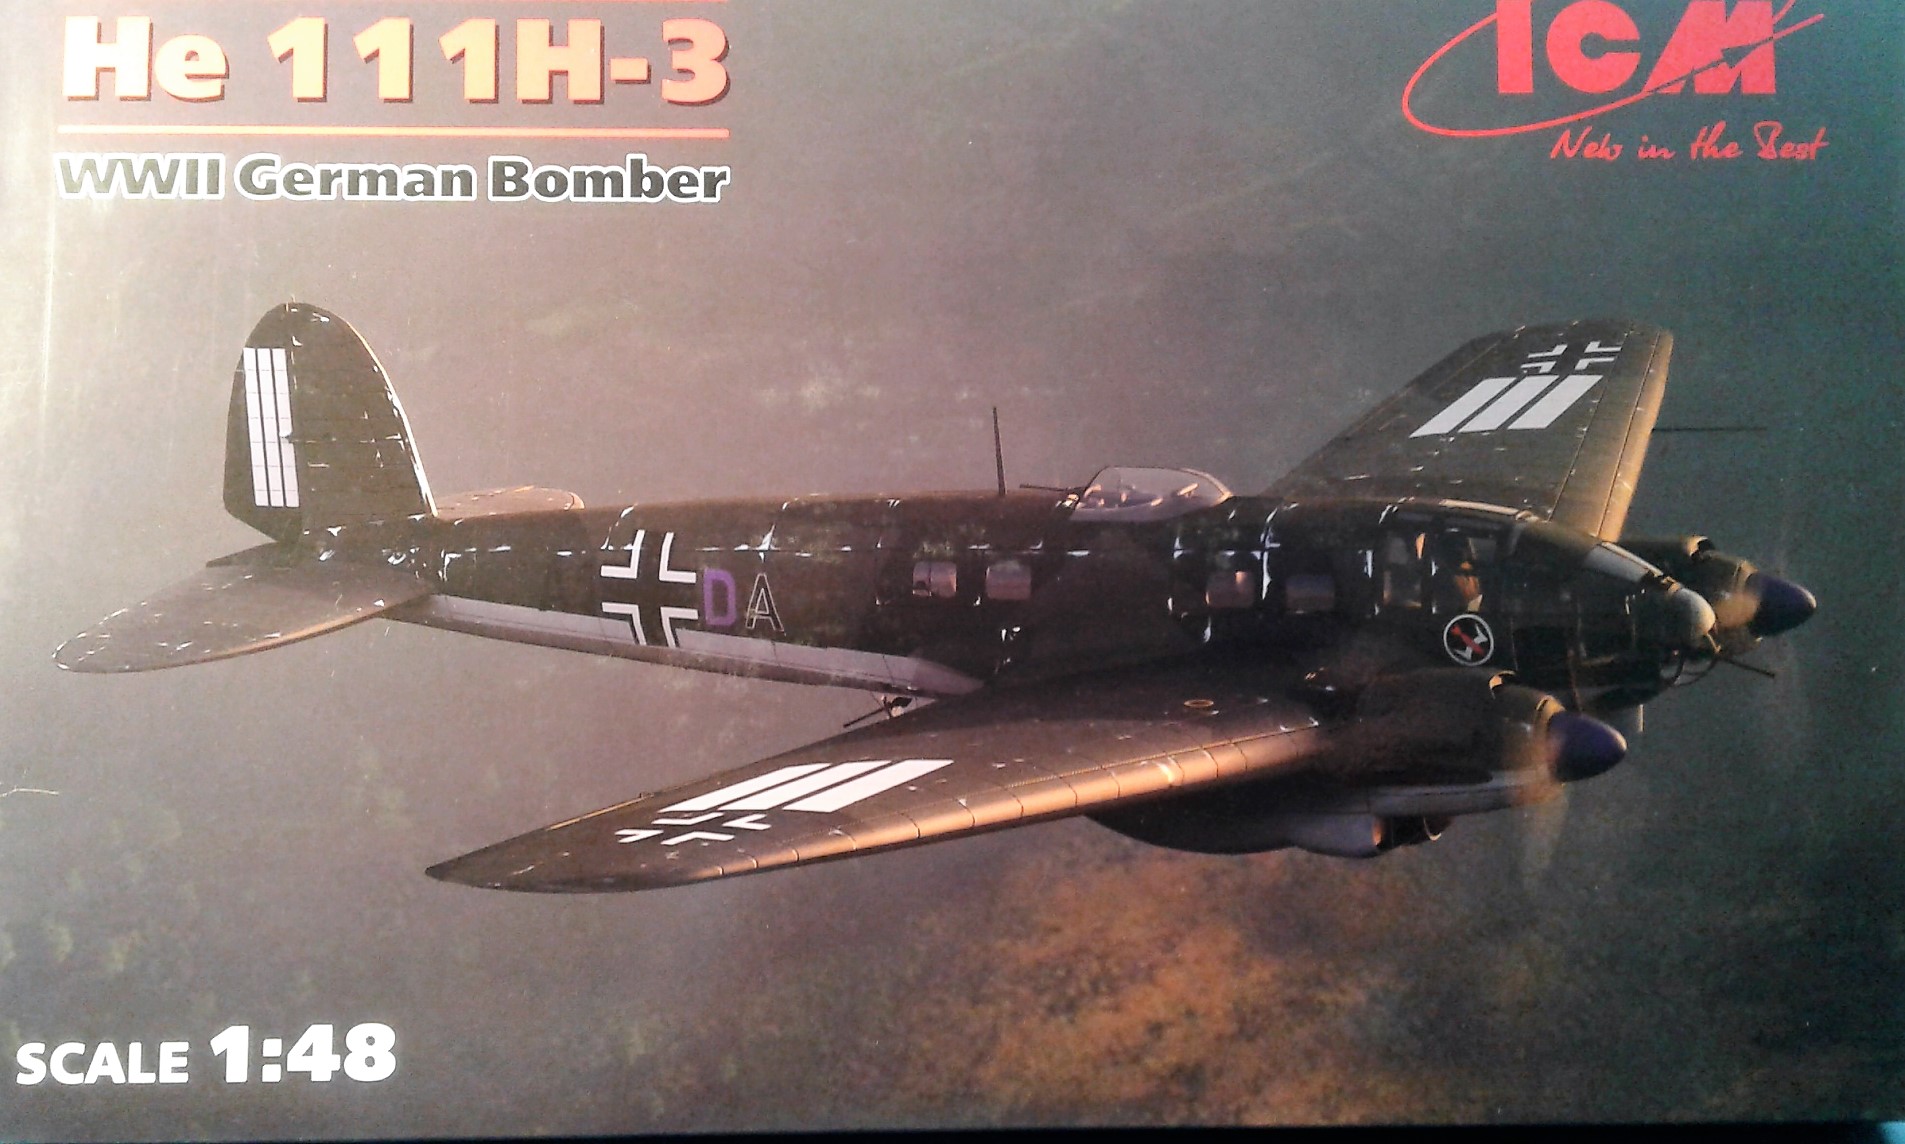
ICM He 111-H3, or is it ICM He 111H-3, is the first time I am building something from ICM. I have to say that I am quite impressed by it just like Plane Dave was.
I wonder if Plane Dave had the same problems with the fragile parts. Luckily I found a way. I am leaving some parts on the sprues before snapping them off.
It worked perfectly.
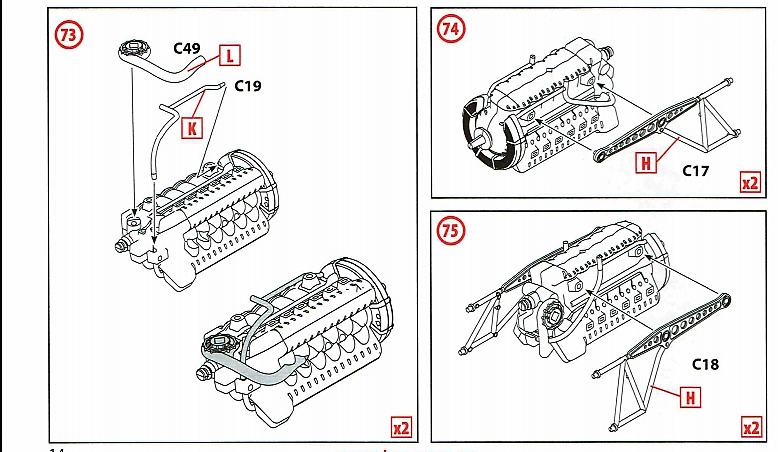
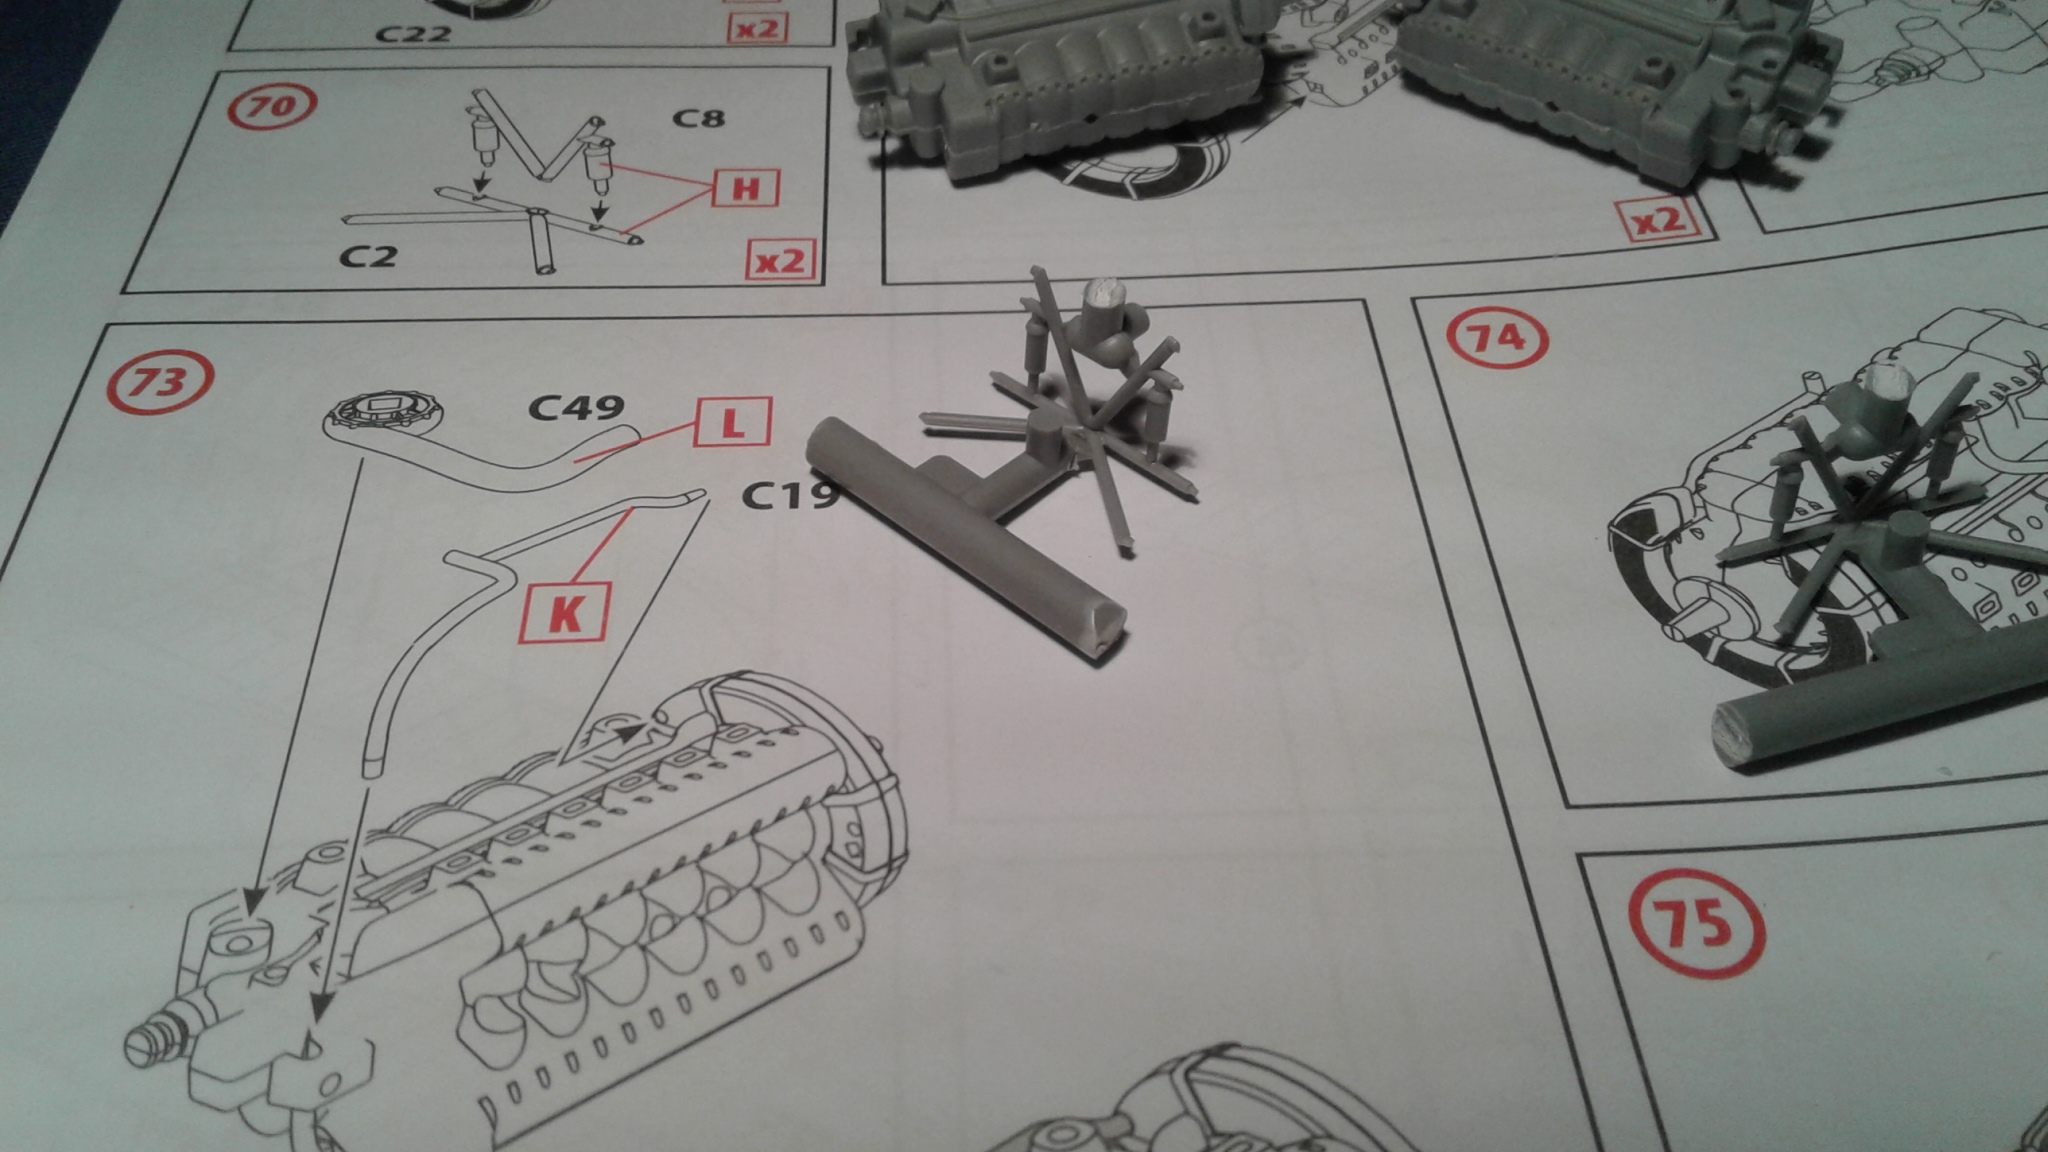
Steps 73 to 79 have been done and will be set aside.
Painting the interior will be next once I have researched how to paint it properly.