Trumpeter Vickers Wellington Mk X – Steps 7 and 8? Not so fast!

I was still searching for more information. This I had found this on the Internet for James. He wanted to know where the crew members were stationed.

Wellington

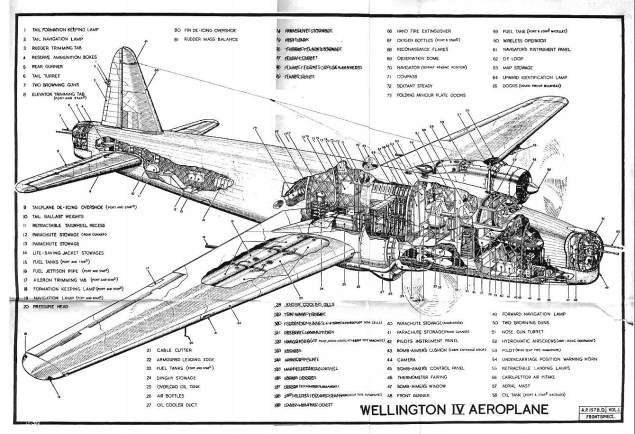
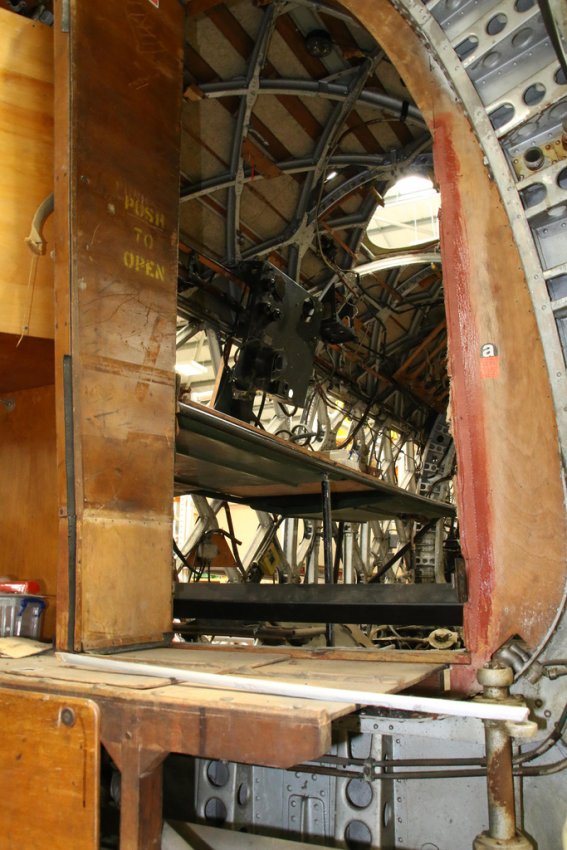
We can see where they were stationed in the Wellington.

Wellington (2)

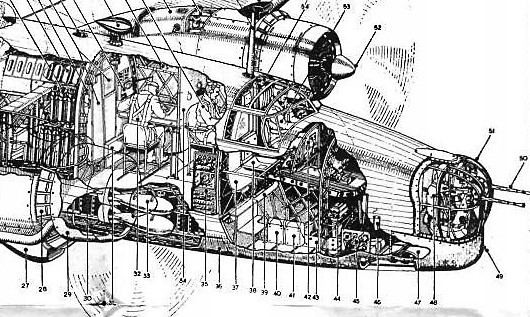
Pilot at the controls, then the wireless-operator behind him listening to messages, and the navigator looking at his charts.

Wellington (3)

The gunners were in front and in the rear ready for action.

Wellington (4)

Wellington (5)


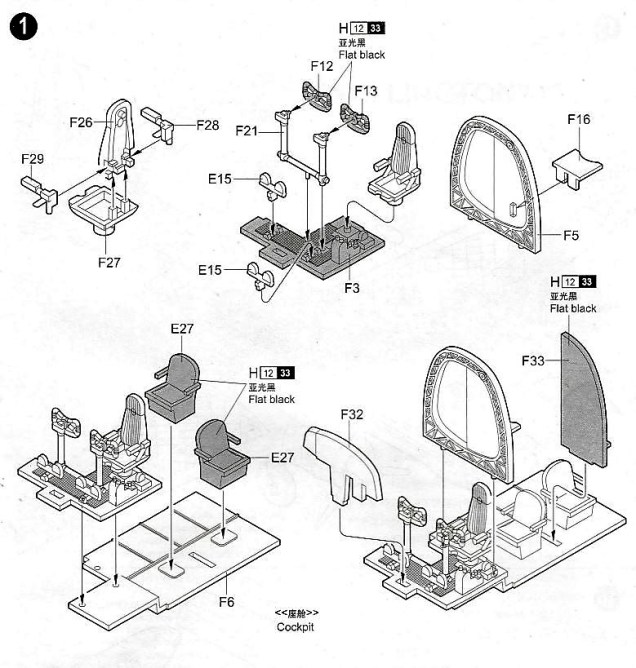
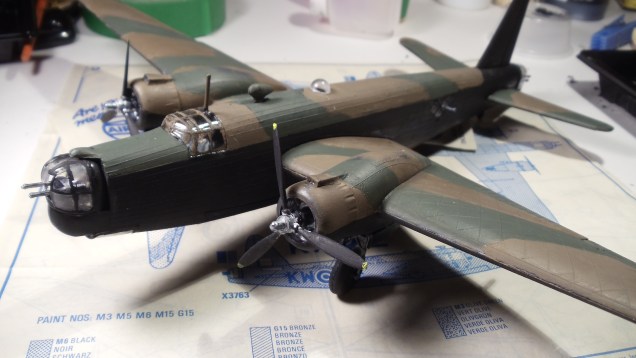
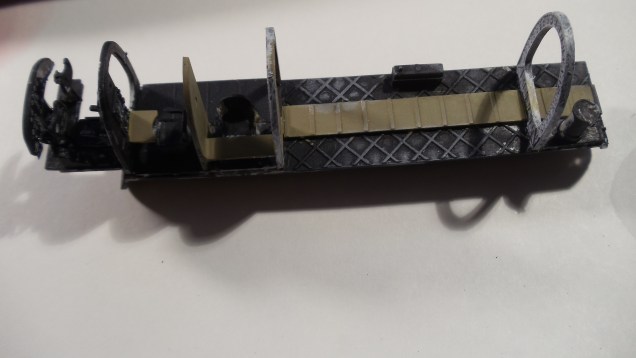
Last time I wrote steps 7 and 8 were next in line, but first I had to paint the parts black before assembly.

Step 7

Step 8

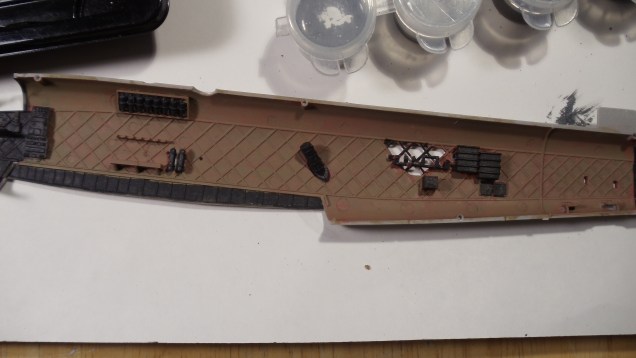
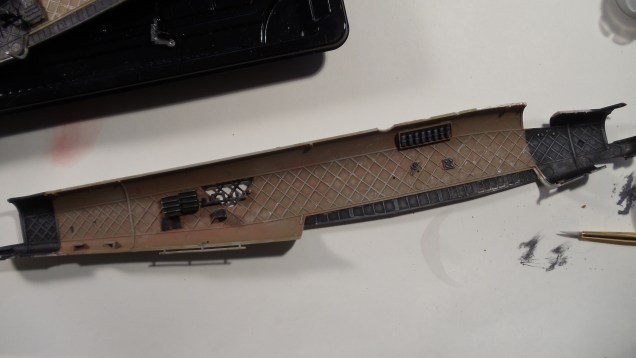
While painting those parts I had second thoughts about the reddish brown I had seen on photos.

imageproxy (4)

imageproxy (46)

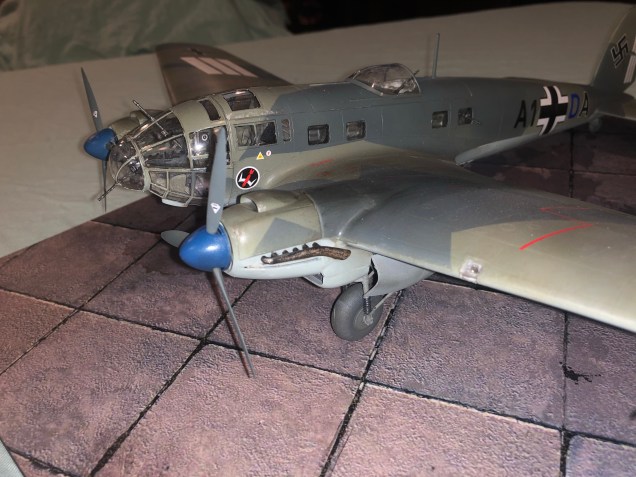
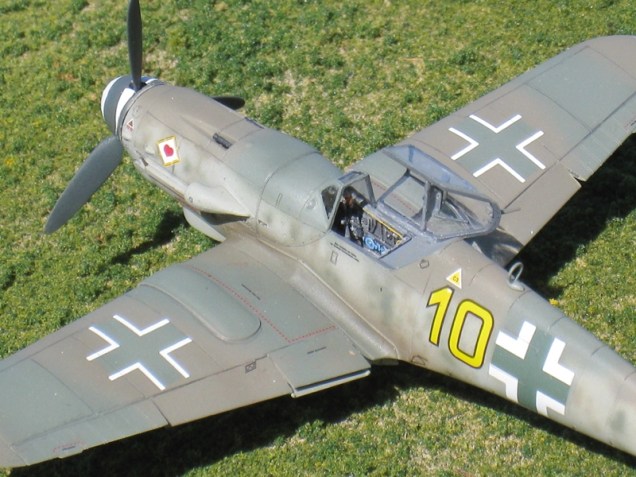
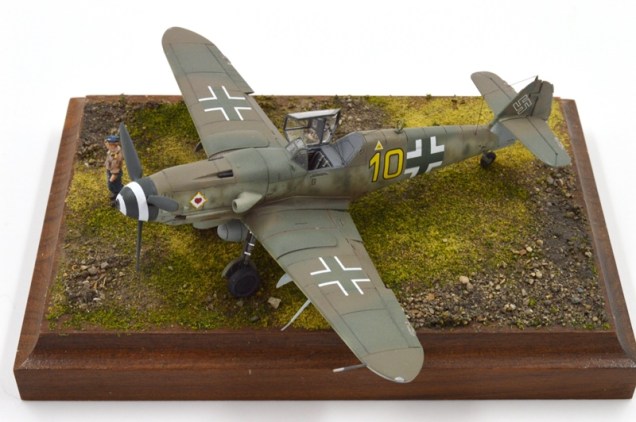
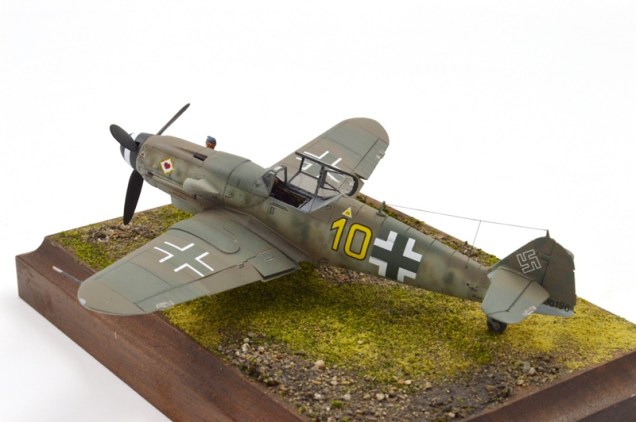
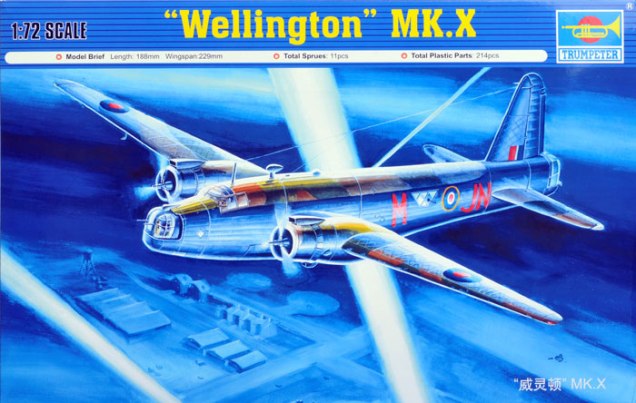
This is how James’ model kit would have looked.

DSC07740

DSC07743

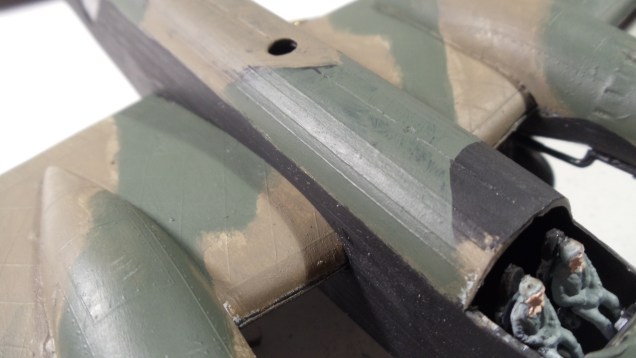
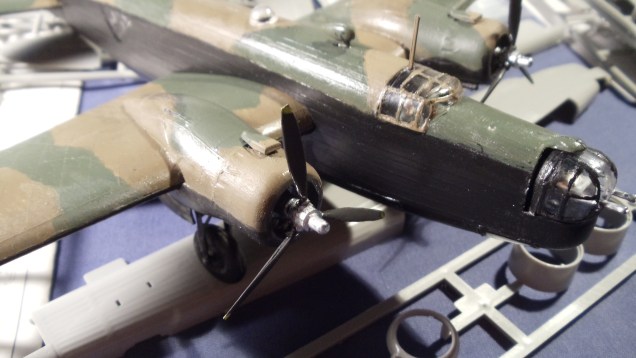
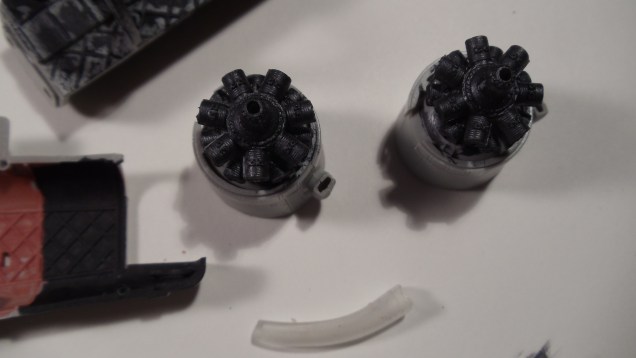
I had also painted other parts like the engines.

DSC07744

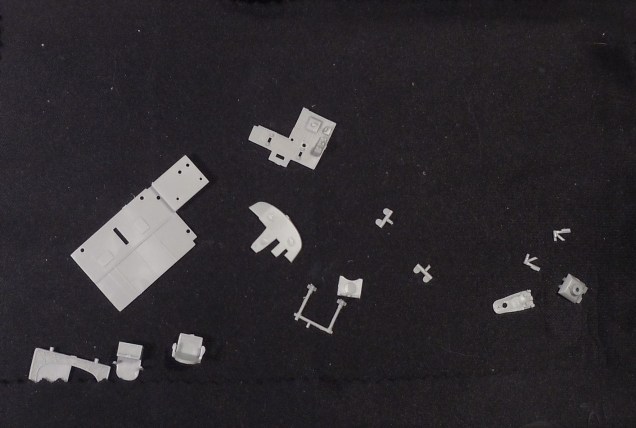
And the cockpit area.

DSC07745

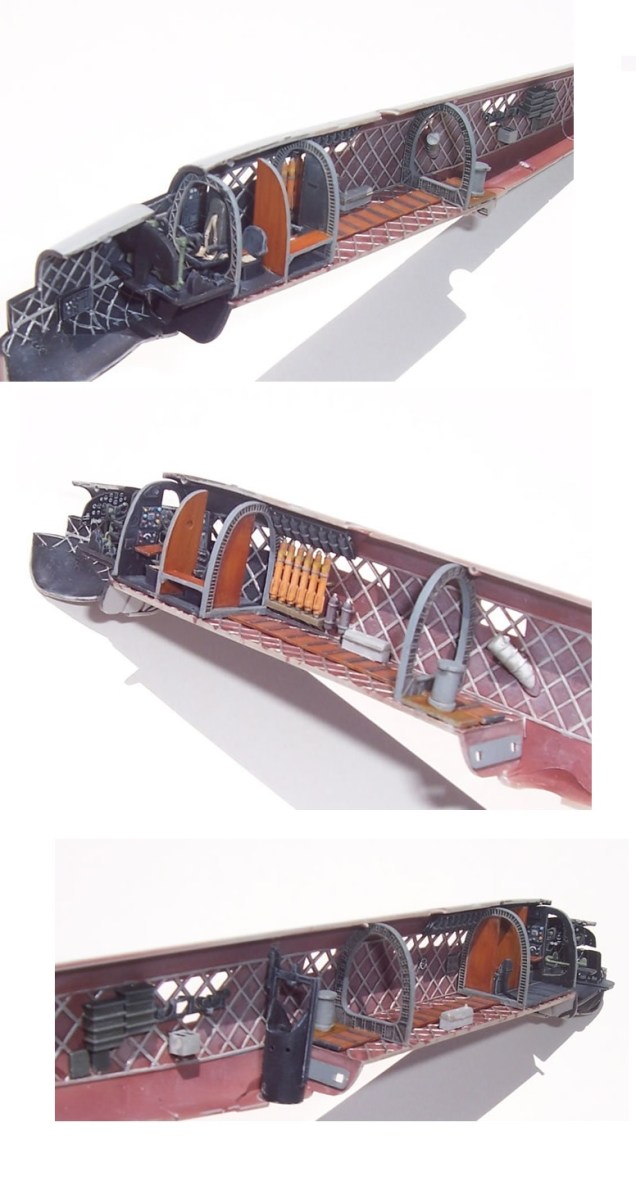
This is how the interior would have looked.

DSC07741
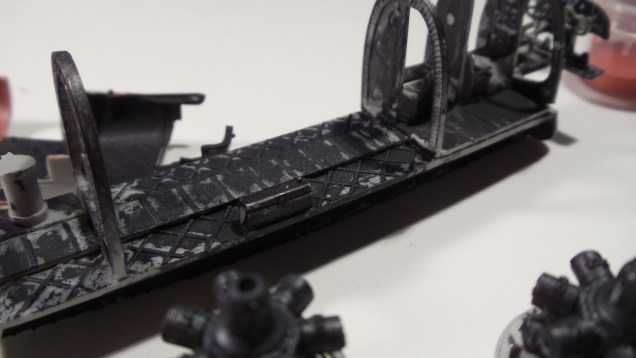
Now the interior will look like this even if no one will ever see it once the fuselage parts are glued.

DSC07761

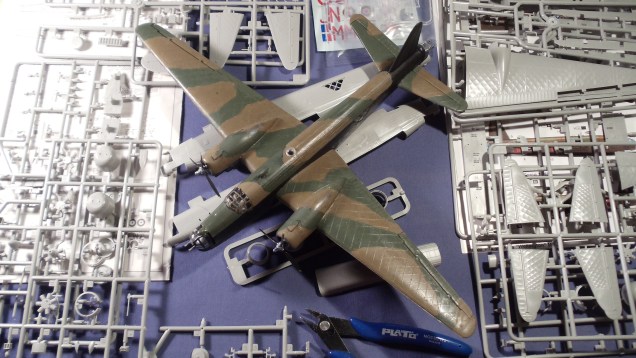
I have painted more details.

DSC07761


DSC07763

DSC07764

But more touch-ups will be needed later.

DSC07765

Next time?

Steps 7  and 8.

Trumpeter Vickers Wellington Mk X – Steps 7 and 8

These steps are next in line.

Step 7

Step 8

This photo should come handy.

imageproxy (42)

Having completed the first six steps I have added a base coat for the interior of the Wellington. Most of the details, if not all, won’t be seen when the fuselage parts are glued together. Painting instructions are minimal. Some parts of the interior could be reddish brown as seen on these photos.

imageproxy (4)

imageproxy (46)

These photos show other parts of the interior made of wood and aluminum.


imageproxy (44)

imageproxy (46)

imageproxy (38)

imageproxy (32)

imageproxy (8)

Many modelers have been searching for this information for a long time on the Internet, and the correct information has yet to be found anywhere. So I am left with this link as reference which seems the most logical way to paint the interior…

http://www.olddogsplanes.com/wellington.html


WW2 Aircraft Manuals – Downloadable — Stephen Taylor, WW2 Relic Hunter

I have uploaded all the WW2 aircraft manuals I have collected over the years, (over 150), and they are listed below grouped as US, UK and German, (plus one Russian…..love the IL2!). When I first start digging WW2 relics it was from old RAF and USAAF bases in the UK. My first love was always […]

via WW2 Aircraft Manuals – Downloadable — Stephen Taylor, WW2 Relic Hunter

Trumpeter Vickers Wellington Mk X – From Step 1 to Step 6

I have completed the first six steps. I can’t show you any photos for now because James wants to use them first in his documentary. I am taking different shots of all the steps and he validates which ones he will be using.

I am very surprised by the engineering and the fit of all the parts for now.

The bomb bay is nicely detailed but won’t show up because the bomb bay doors are molded in one long piece.

You have to read the instructions very carefully since there are parts for a Mk III also. This can be confusing sometimes.

Assembling the engines was a little tricky even if there were locating pins to help alignment.

Most of the details if not all won’t be seen when the fuselage parts are glued. Painting instructions are minimal.

The interior should be sort of a reddish brown as seen on some photos.

Some parts like the machine guns are quite fragile and I will have to glue them before glueing the fuselage. Extra care will be needed when I will be handling the model kit for painting the interior which will be next.

I will use this as reference…

http://www.hyperscale.com/2010/features/wellingtongrxiv72md_1.htm

painting

More painting ideas here…

http://www.olddogsplanes.com/wellington.html

On YouTube…


Fine Molds Bf 109 K-4 of Heinrich Hackler in 1/72 Scale

Jeff Groves's avatarInch High Guy

Bf 109 K-4 of 11. / JG 77, Neuruppin Germany, November 1944, pilot Heinrich Hackler, Fine Molds kit.

Leutnant Heinrich Hackler was one of the stalwarts of JG 77 and had fought with the unit from the beginning of the Russian campaign.  While he never enjoyed a spectacular series of victories, he was a steady scorer and had amassed a total of 56 victories (some sources say 67) by the end of 1944.  He was killed on 01JAN45 during Operation Baddenplatte, the Luftwaffe’s New Years Day strike against Allied airfields, shot down by ground fire.

Hackler_02

Hackler_03

Hackler_04

Hackler_01

DSC_5118

DSC_5119

DSC_5120

DSC_5121

View original post

Trumpeter Vickers Wellington Mk X – Step 1 – Tiny pieces

Step 1

Very tiny pieces indeed.

DSC07654 (2)

I have cut them from the sprues very carefully. I am adding some photos of the cockpit area I found on the Internet. The photos are from Rich Ellis at The RAF Museum Cosford. This is the link.

https://www.britmodeller.com/forums/index.php?/topic/72653-vickers-wellington-mkx/


I will start assembling the parts next Monday with step 1 and step 2, and step 3 if everything goes well.

Lockheed P-38G Lightning

I had missed Dave’s posts so much since 2019. I was not getting any more notifications.

atcDave's avatarPlane Dave

The P-38 Lightning would become a major part of the American war effort against the Japanese.  It was flown by more aces than any other Army Air Force type in the Pacific.  But it is perhaps best known for one mission that pushed the limits of what anyone had considered before.

img_0252

Let’s take a look at an ambush that made history.

View original post 954 more words

Trumpeter Vickers Wellington Mk X – Step 1

wp-1581120085826.jpg

Now that James Girling has written the introduction for my next build, I see no other reasons to procrastinate.

Step 1

However I won’t be posting photos on the progress report because James wants to add my photos to his documentary he will be releasing later. Maybe he will decide on a trailer later. We’ll see what happens.

It’s no use comparing a 2006 model kit with a late 1950s model kit of the Wellington. One thing though Airfix box art in the 70s was striking.

I had high expectations with Airfix’s rendition of the Wellington when I had opened the box.

However the more I was building it the more my expectation level was sagging lower and lower. I became fond of the late 50s model kit though and I soldiered on.

There was this ugly seam.


The more I looked at it the uglier it got…

I then decided after some filing to let it go.


Then came the painting of the clear parts where some of the frames were hardly noticeable. I used the cocktail toothpick method to scrape away excess paint…


The clear parts were glued meticulously…


With just a little more scraping needed.


But then something looked wrong…


I was easily fixed.

DSC07623


DSC07622


DSC07624

This is where I am right now. 

DSC07625


DSC07621


DSC07620

Decals will come later when we hit warmer temperatures here in Quebec.

DSC07619