These steps are next in line.


This photo should come handy.

Having completed the first six steps I have added a base coat for the interior of the Wellington. Most of the details, if not all, won’t be seen when the fuselage parts are glued together. Painting instructions are minimal. Some parts of the interior could be reddish brown as seen on these photos.


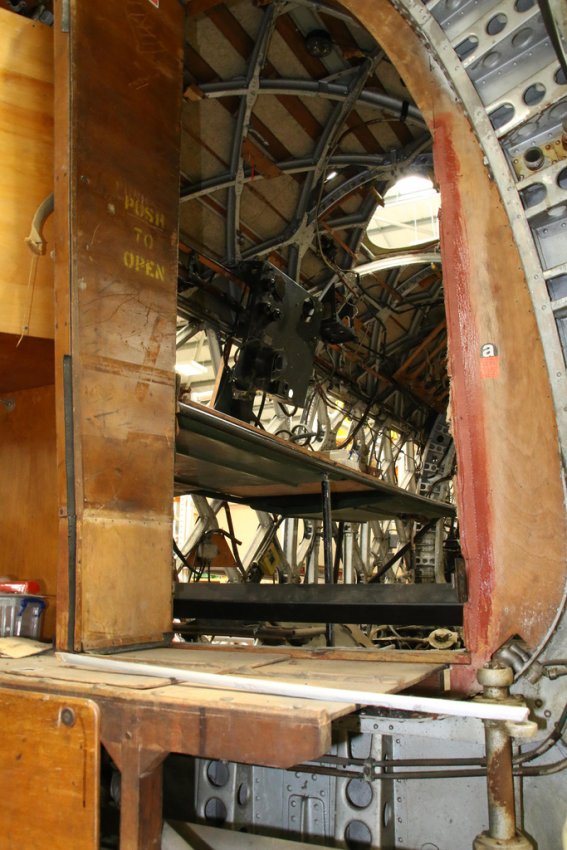
These photos show other parts of the interior made of wood and aluminum.


Many modelers have been searching for this information for a long time on the Internet, and the correct information has yet to be found anywhere. So I am left with this link as reference which seems the most logical way to paint the interior…
http://www.olddogsplanes.com/wellington.html
